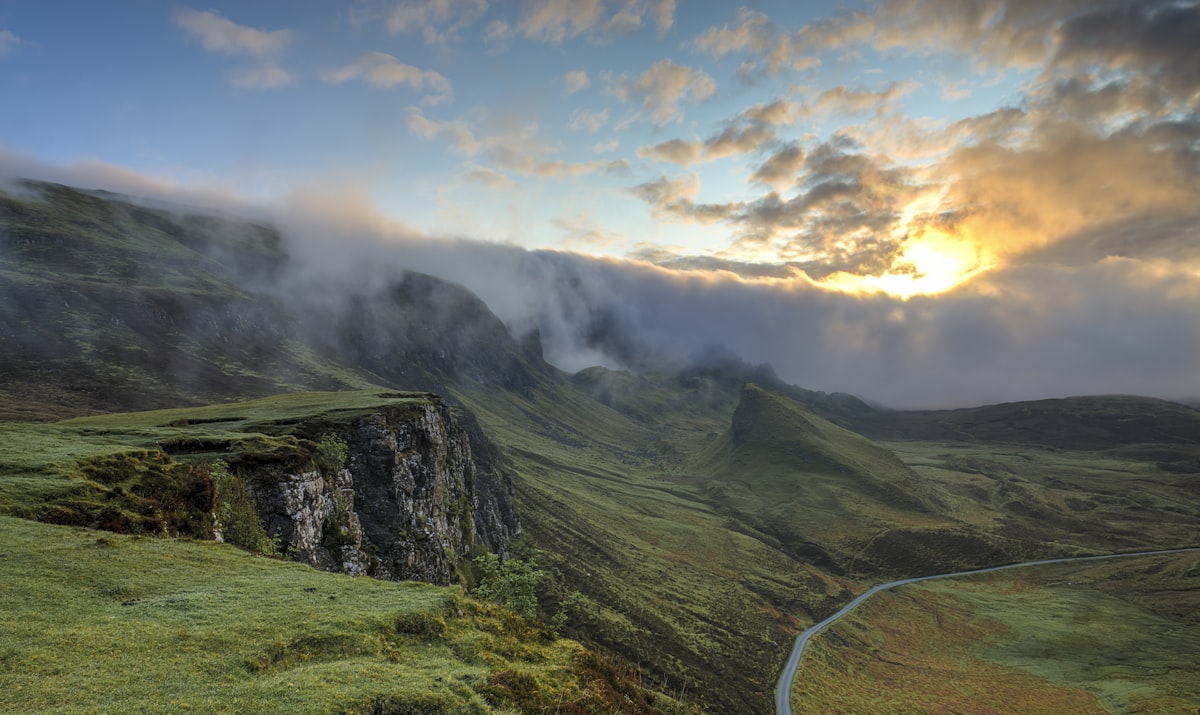
Landscape photography demands sharpness from foreground to horizon. A single exposure at f/16 or f/22 gets close, but diffraction softens the image at small apertures, and some scenes have foreground elements so close that even f/22 can’t hold everything sharp. Focus stacking solves this by merging multiple exposures focused at different distances.
When You Need Focus Stacking
Not every landscape requires stacking. If your nearest foreground element is 10 feet away and you’re shooting at f/11 on a full-frame camera, depth of field covers the entire scene. Focus stacking becomes necessary when:
- Your foreground is within 3 feet of the lens
- You want to shoot at f/8 or f/11 for peak sharpness instead of f/16-f/22
- You’re using a telephoto lens where depth of field is inherently shallow
- You need absolute sharpness for large prints (30+ inches)
Capturing the Stack in the Field
Use a Tripod
Non-negotiable. The frames must align precisely. Even minor shifts between frames create alignment problems that software struggles to correct.
Shoot in Manual Mode
Exposure must be identical across all frames. Use manual exposure, manual white balance, and if possible, manual focus. Any variation between frames creates visible banding in the merged result.
Focus Sequencing
Start with focus on the nearest foreground element. Take the shot. Then shift focus slightly deeper into the scene. Take another shot. Continue until you’ve focused on the most distant element (usually the horizon or a distant mountain).
How many frames do you need? It depends on aperture and the distance range:
- f/8, foreground at 2 feet to infinity: 5-8 frames
- f/11, foreground at 3 feet to infinity: 3-5 frames
- f/8, macro-close foreground to mid-distance: 8-15 frames
Overlap the depth of field between frames. Each frame’s sharp zone should extend into the next frame’s sharp zone. More overlap is better — the software can discard redundant data, but it can’t fill gaps.
Focus Manually
Autofocus can be unreliable for precise focus stacking. Switch to manual focus and use live view at 10x magnification to verify focus placement for each frame. Move the focus point by rotating the focus ring in small, consistent increments.
Merging in Photoshop
Step 1: Load as Layers
File > Scripts > Load Files into Stack. Check “Attempt to Automatically Align Source Images.” Photoshop compensates for any minor tripod shifts or focus breathing (the slight zoom change that occurs when you adjust focus).
Step 2: Auto-Blend Layers
With all layers selected, go to Edit > Auto-Blend Layers. Choose “Stack Images” and check “Seamless Tones and Colors.” Photoshop analyzes each layer, identifies the sharpest areas, and creates masks that combine only the sharp regions from each frame.
Step 3: Inspect the Result
Zoom to 100% and scroll through the entire image. Look for:
- Blend artifacts at transition zones between frames, especially along straight lines (tree trunks, building edges)
- Ghosting from any movement between frames (swaying grass, moving clouds, shifting water)
- Soft spots where the depth of field between two frames didn’t overlap sufficiently
Step 4: Fix Problems Manually
Auto-Blend gets it right about 90% of the time. For the remaining 10%, manually paint on the layer masks to select a better frame for problem areas. Use a soft brush at low opacity to blend transitions smoothly.
Dealing With Movement
Wind is the enemy of focus stacking. Grass, flowers, branches, and clouds move between frames. Strategies:
Wait for calm. Patience is cheaper than fixing movement in post. Wait for a lull in the wind.
Shoot fastest sequence possible. Reduce the time between frames to minimize movement. Some cameras offer automatic focus bracketing that fires frames in rapid succession.
Accept some movement. For distant elements like clouds, slight movement between frames usually blends fine. It’s close foreground movement (grass, flowers) that causes visible ghosting.
Fix in post. For small areas of movement, select the cleanest version of that area from a single frame and mask it in. For wildflowers, this might mean choosing one frame’s flower position and masking it over the blend artifacts.
Focus Stacking in Helicon Focus
While Photoshop’s Auto-Blend works well, dedicated focus stacking software like Helicon Focus offers more control. Helicon provides multiple blending algorithms and lets you manually paint focus selections where automatic blending fails. For critical work or difficult stacks, it’s worth the investment.
The Sharpness Payoff
A well-executed focus stack at f/8 delivers significantly sharper results than a single frame at f/22. You get the optical sweet spot of your lens across the entire depth of field, without any diffraction softness. For large prints, the difference is obvious — crisp detail from inches in front of the lens to the distant horizon.