Fog transforms ordinary landscapes into ethereal, otherworldly scenes. It simplifies backgrounds, isolates subjects, creates depth through atmospheric layering, and adds a mood that fair-weather photography rarely achieves. But photographing in fog presents unique challenges that require adjusting your usual approach.
Finding Fog
Fog isn’t random — it forms under predictable conditions:
Radiation fog forms on clear, calm nights when the ground cools and condenses moisture in the air above it. Look for it in valleys, near bodies of water, and over fields. It’s thickest at dawn and burns off within a few hours of sunrise.
Advection fog occurs when warm, moist air moves over a cooler surface. Coastal fog is the classic example — warm Pacific air meeting cold ocean currents creates the fog that blankets the California coast. This fog can last all day.
River and lake fog forms when water temperature exceeds air temperature. Cool autumn mornings over relatively warm lakes produce fog that hovers just above the water surface.
Check weather forecasts for dew point and temperature convergence. When the forecast temperature is within 2-3 degrees of the dew point, fog is likely. Clear skies and calm wind the previous evening increase the probability.
Exposure Challenges
Fog fools your camera’s meter. All that bright, white mist causes underexposure — the meter sees a bright scene and dials down the exposure, turning your atmospheric fog into dingy gray.
Overexpose by +1 to +1.5 stops relative to what the meter suggests. Fog should read as bright and luminous in the final image. Check your histogram — the data should lean right (toward the highlights) without clipping.
Shoot RAW. The subtle tonal gradations in fog — the way objects fade from solid to ghostly to invisible — are exactly the kind of detail that JPEG compression destroys. RAW preserves these gradations for post-processing.
Watch for contrast. Fog dramatically reduces contrast. Your camera captures a narrow dynamic range in fog, which means less latitude for pushing shadows or pulling highlights in post. Get the exposure right in camera.
Composition in Fog
Use Depth Layers
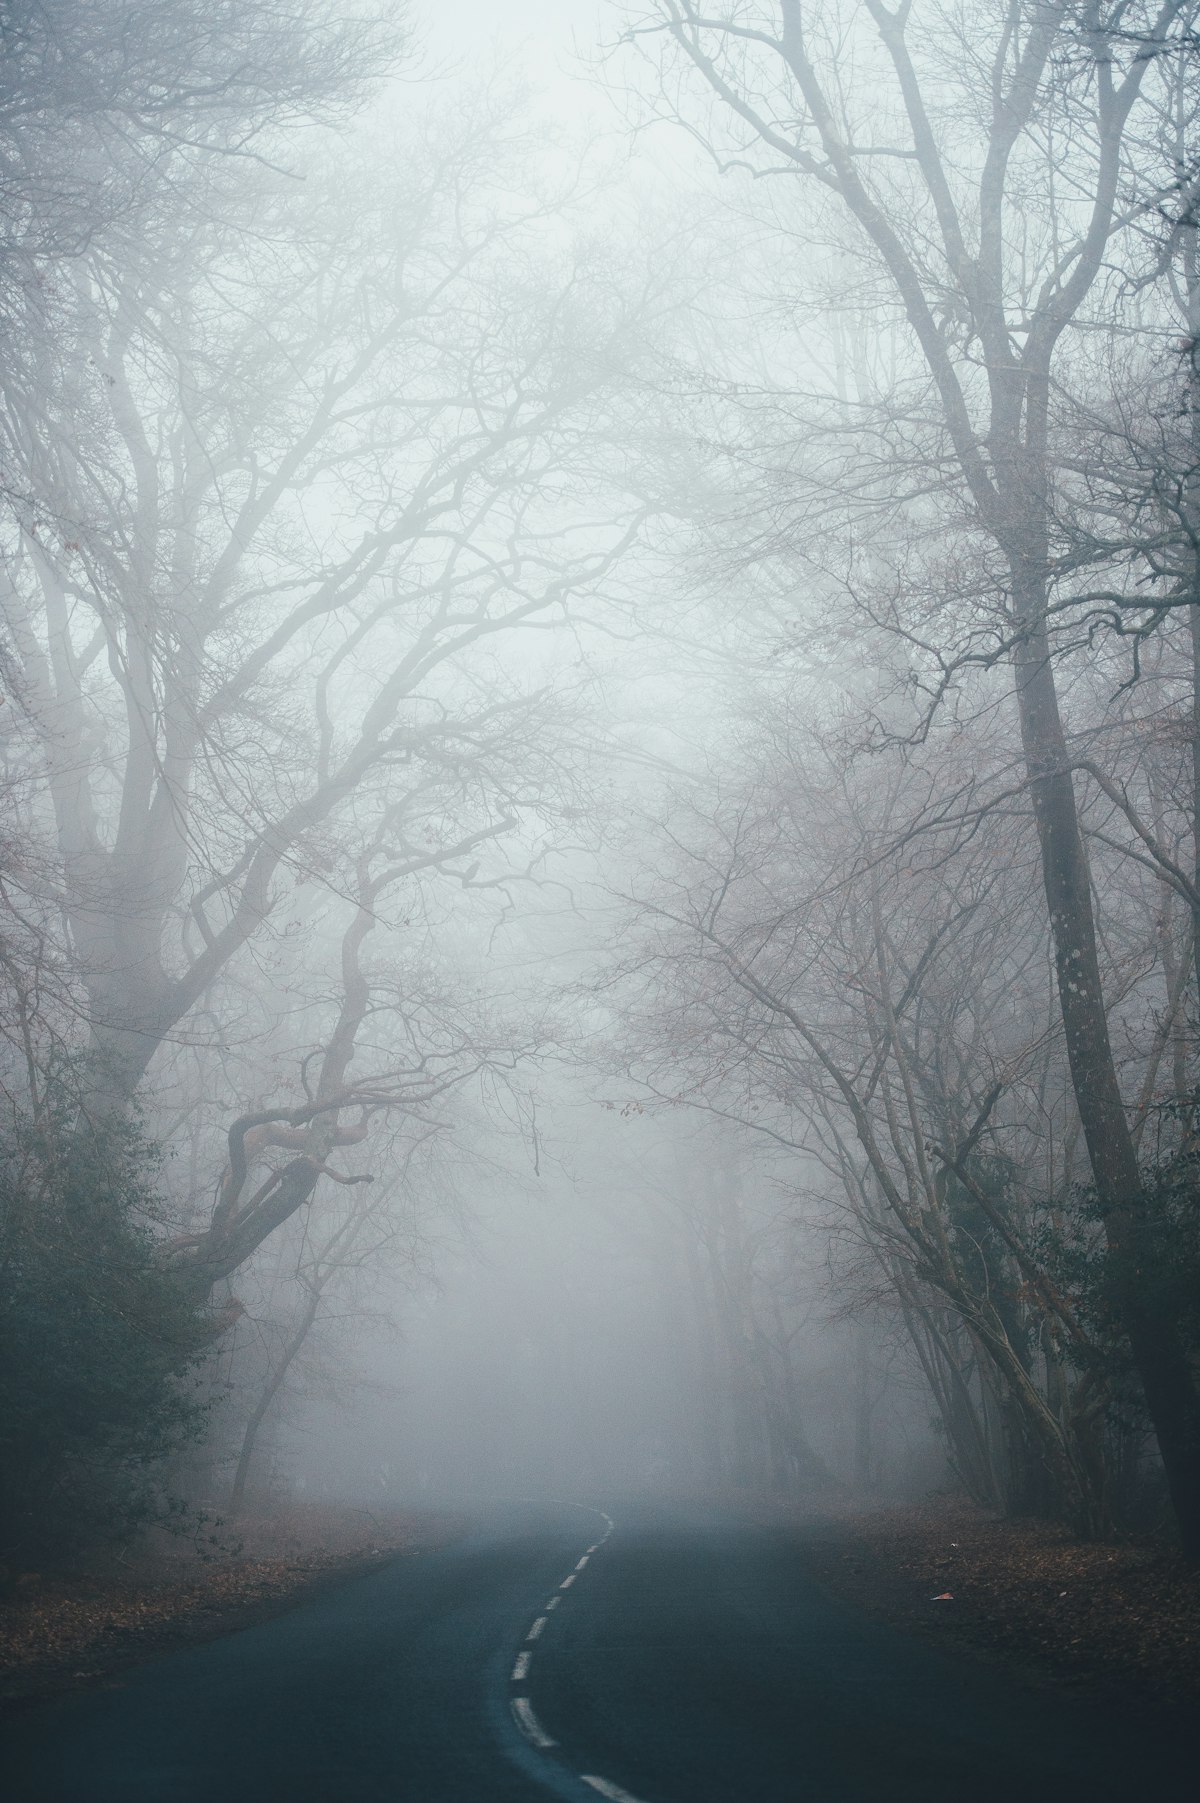
Fog creates natural depth layering. Objects close to you are clear and contrasty. Objects a bit farther are softer and lower contrast. Distant objects fade to silhouettes, then disappear entirely. Compose to include elements at multiple depths — this layering effect is one of fog’s greatest photographic gifts.
Isolate Subjects
Fog is a natural background eliminator. A tree, person, building, or boat that would blend into a cluttered background on a clear day stands alone in fog, surrounded by clean negative space. Seek single subjects or small groups rather than wide, complex scenes.
Look for Silhouettes
Strong shapes stand out powerfully against foggy backgrounds. Trees with distinctive branch patterns, bridge structures, fence posts in a row — any recognizable silhouette becomes a compelling subject when fog provides a clean backdrop.
Find Light Sources
Headlights, streetlights, and the sun itself create visible light beams in fog. The water droplets in fog scatter light, making beams visible that would be invisible in clear air. Sun rays through trees in morning fog are perhaps the most photographically rewarding manifestation.
Position yourself so the light source is partially obscured by an object (tree trunk, building corner) to create rays that fan out from a visible source.
Working in Fog
Protect Your Gear
Fog is water droplets in the air, and those droplets condense on every surface, including your lens. Carry a lens cloth and wipe the front element frequently. Check for condensation before every shot — a foggy lens creates a soft, hazy image that’s easy to mistake for the atmospheric effect of the fog itself.
If moving between warm (car interior) and cool (outside) environments, seal your camera in a plastic bag before transitioning. Let it acclimate to the temperature change slowly to prevent internal condensation.
Fog Density Changes Rapidly
Fog thins and thickens constantly, especially in the hour around sunrise. A scene that’s completely obscured may reveal dramatic depth layers five minutes later, then close in again. Stay in position and shoot continuously through density changes. Different fog thicknesses produce dramatically different images of the same scene.
Don’t Wait for the Fog to Clear
Many photographers arrive during dense fog, can’t see the landscape they came to photograph, and leave. This is a mistake. The period when fog is thinning — revealing and concealing elements in a constantly changing display — produces the most dynamic images. The best shots often happen in the transition between fog and clarity.
Post-Processing Fog Images
Lift the exposure. Even with exposure compensation, fog images often benefit from an additional half-stop of brightness in post.
Add subtle contrast. Fog reduces contrast dramatically. A gentle S-curve in the tone curve restores dimensionality without destroying the atmospheric quality.
Warm slightly. Fog tends to render cool and neutral. A very slight white balance shift toward warm (100-200K) adds a golden quality that suggests morning light.
Don’t over-process. Fog’s beauty lies in its softness and subtlety. Heavy contrast, aggressive clarity, and strong color saturation fight against the very qualities that make fog images special.