Chasing Starlight: Mastering Night Sky Photography in the Field
There’s a particular silence that descends when you’re alone under the stars with your camera. It’s different from daytime shooting—quieter, somehow more intimate. After spending countless nights in remote locations chasing the Milky Way, I’ve learned that night sky photography demands both technical precision and patience. It’s not enough to show up; you need to understand what you’re looking at and how your equipment will respond in darkness.
Finding Your Location: More Than Just Darkness
The biggest mistake I see photographers make is assuming any dark spot will work. Light pollution is insidious. I use a combination of tools—Dark Site Finder and Stellarium—to identify genuinely dark locations. But here’s what matters in practice: drive there during twilight. Arrive 30-45 minutes before astronomical sunset so you can scout the landscape while there’s still faint light to see by.
When you’re out there, your eyes need time to adjust. Wait at least 20 minutes before you shoot. This isn’t wasted time—use it to plan your composition, identify foreground elements, and let your pupils fully dilate. You’ll see far more stars than you initially thought existed.
Camera Settings: The Technical Foundation
I shoot with manual mode exclusively for night sky work. Here’s my starting point that rarely changes:
ISO: 3200-6400 (depending on your camera’s noise performance). Modern sensors handle this range without excessive grain that matters at landscape print sizes.
Aperture: f/2.8 or wider, if your lens allows it. This is non-negotiable. A fast lens isn’t optional—it’s essential.
Shutter Speed: This is where the “500 rule” comes in. Divide 500 by your focal length to find your maximum exposure before stars begin trailing. At 20mm, that’s roughly 25 seconds. At 50mm, about 10 seconds. I usually stay slightly under this limit—22 seconds at 20mm—to ensure pin-sharp stars.
Focus: Manual focus to infinity. Use your camera’s live view mode, zoom into a bright star, and adjust until it appears as the smallest possible point. This takes time. Don’t rush it.
Reading the Conditions
Weather matters differently at night. I check humidity forecasts religiously. High humidity creates dew on your lens in minutes, which has ruined more of my night sessions than missed forecasts ever did. Bring lens cloths, a headlamp with a red filter (preserves night vision), and consider a dew heater if you’re working in humid conditions.
Wind surprises people, but it matters. Camera vibration from wind will degrade sharpness even with fast shutter speeds. If you’re near exposed ridges or open areas, pay attention to gusts.
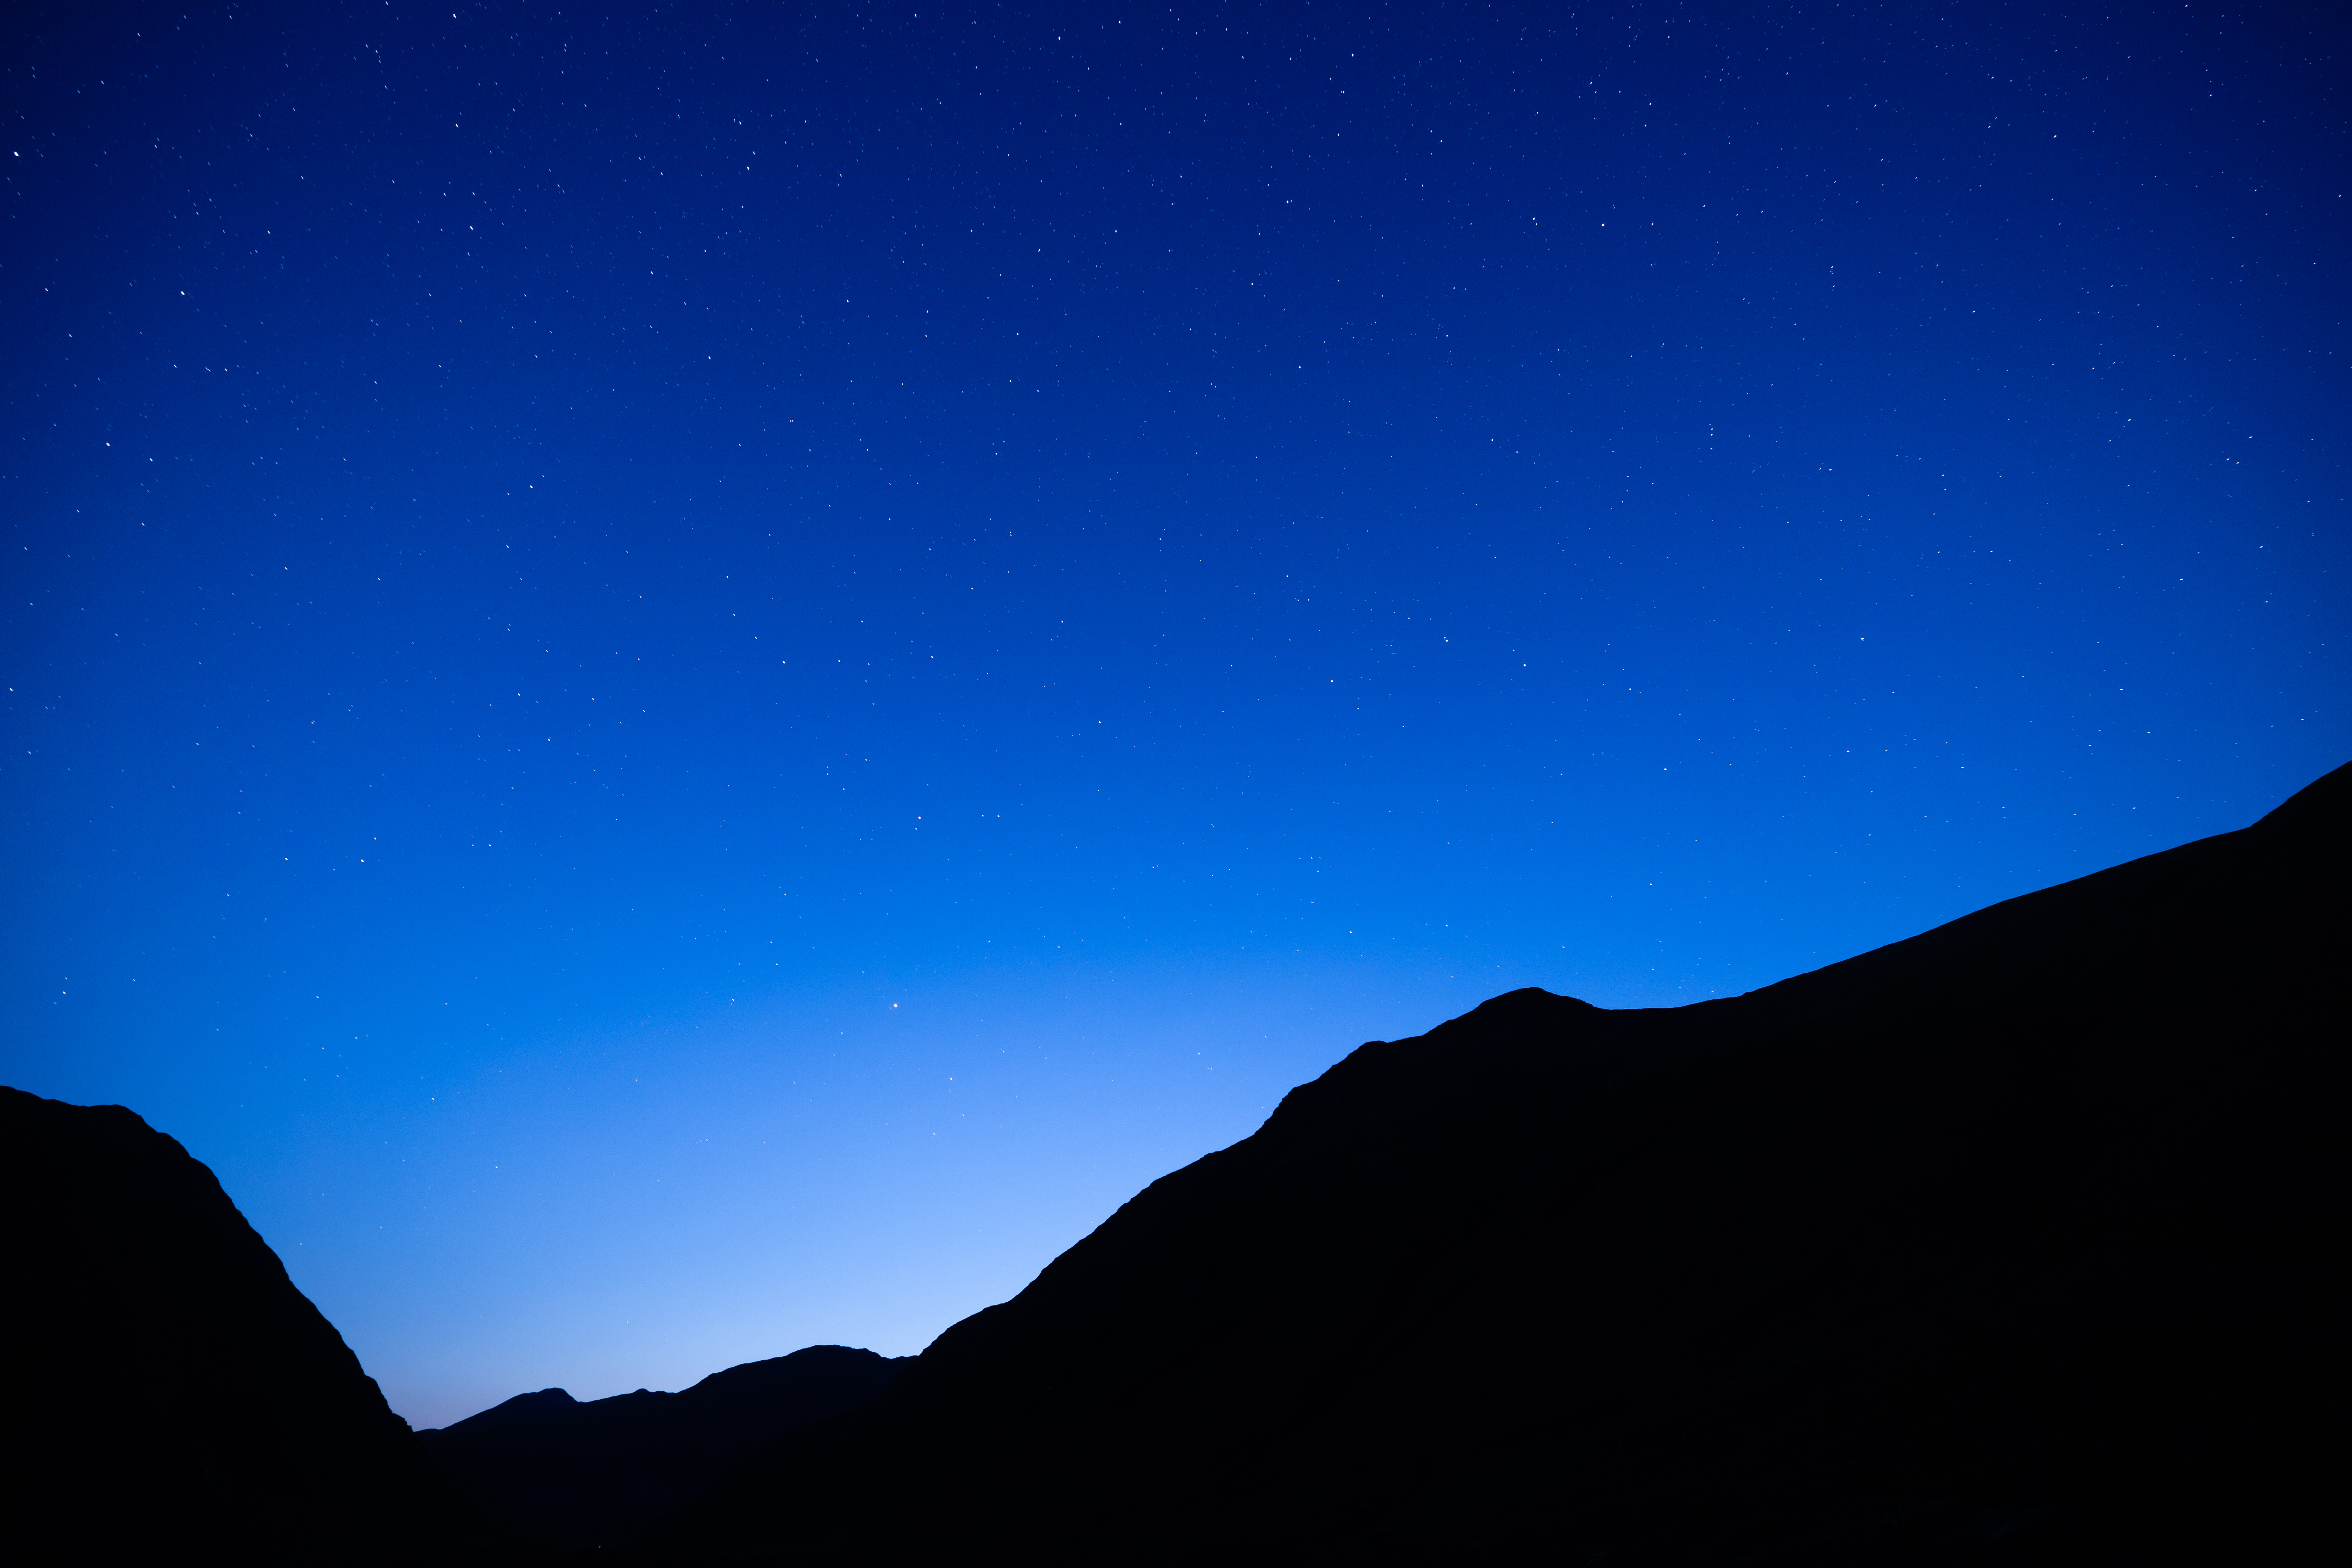
The Foreground Separates Good from Great
Raw star images are stunning, but they’re not landscapes. Your foreground tells the story. Position your camera so the landscape anchors the composition—a tree line, mountain ridge, or rock formation silhouetted against the sky. Use a dim headlamp to gently illuminate foreground elements during a long exposure if they’re too dark, but be subtle. The sky should dominate, not the foreground.
Patience Becomes Strategy
The Milky Way’s position and brightness change throughout the night and across seasons. I shoot a series of 10-20 exposures, not just one frame. Longer sessions—even when I’m not shooting continuously—let me observe how the stars move, how light pollution shifts, and how my compositions evolve with fresh eyes.
Standing in that silence, watching the Earth rotate beneath the galaxy, you realize why photographers pursue this work. It requires precision, but it rewards contemplation.
Comments (5)
The before and after really sells it. Incredible difference.
Love this. I referenced a similar technique in one of my recent posts. Always good to see other perspectives.
The tip about chasing starlight mastering ni was the missing piece for me. Thank you.
Tried this technique this morning. Game changer for real.
Well explained. I think my audience would really benefit from this — mind if I link to it?
Leave a Comment