The Art of Capturing Panoramas: Creating Images Wider Than Your Vision
There’s a moment in the field when a landscape refuses to fit within the boundaries of a single frame. I’ve stood on countless ridges, looking out across valleys and mountain ranges that stretch impossibly wide, feeling the frustration of knowing my camera’s sensor can only capture a fraction of what my eyes see. That’s when panoramas become not just a technical exercise, but a necessity—a way to honor the true scope of a scene.
Panoramic photography is deceptively simple in concept but demands precision in execution. You’re essentially creating a composite image by stitching multiple overlapping photographs together. Done well, it’s nearly invisible. Done poorly, it’s painfully obvious. After years of experimenting with panoramas in the field, I’ve learned what separates a compelling wide image from a gimmicky one.
Starting with the Right Gear—and Mindset
You don’t need specialized equipment to shoot panoramas. I use the same camera and lenses I’d use for any landscape work. What you do need is a sturdy tripod and a level head—literally. An unlevel horizon line will compound across multiple images and become impossible to correct in post-processing.
A panoramic head is useful but not essential. What matters most is consistency: keeping your camera at the same height and distance from the subject while rotating the lens around the nodal point. If you’re shooting handheld, you can create panoramas, but you’re working against yourself. A tripod gives you control and repeatability.
The Golden Rules of Overlap
The most common mistake I see is insufficient overlap between frames. When you’re shooting in the field, it’s tempting to rotate quickly and capture the next shot. Resist that urge. I aim for 25-40% overlap between consecutive images—enough that stitching software can reliably find matching details and blend them seamlessly.
This means shooting more frames than you might expect. A landscape that feels like a single sweep might require five, six, or even eight individual captures. That’s not inefficient; that’s being thorough.
Settings That Won’t Sabotage You
Lock your exposure settings before you begin. Use manual mode, not aperture priority or shutter priority. I typically use f/8 to f/11 for sufficient depth of field, and ISO low enough to keep noise minimal while maintaining a fast enough shutter speed for hand-held moments or subtle wind-blown elements.
Autofocus is your enemy here. Lock focus on your main subject—usually the middle distance—before you start shooting. Each frame must have consistent focus. I shoot in manual focus once I’ve established distance, ensuring that every image in my sequence is optically identical except for position.
White balance matters too. Set it manually to daylight, cloudy, or whatever matches your conditions. Don’t let your camera drift between warm and cool tones across the panorama.
Composition Within the Panoramic Frame
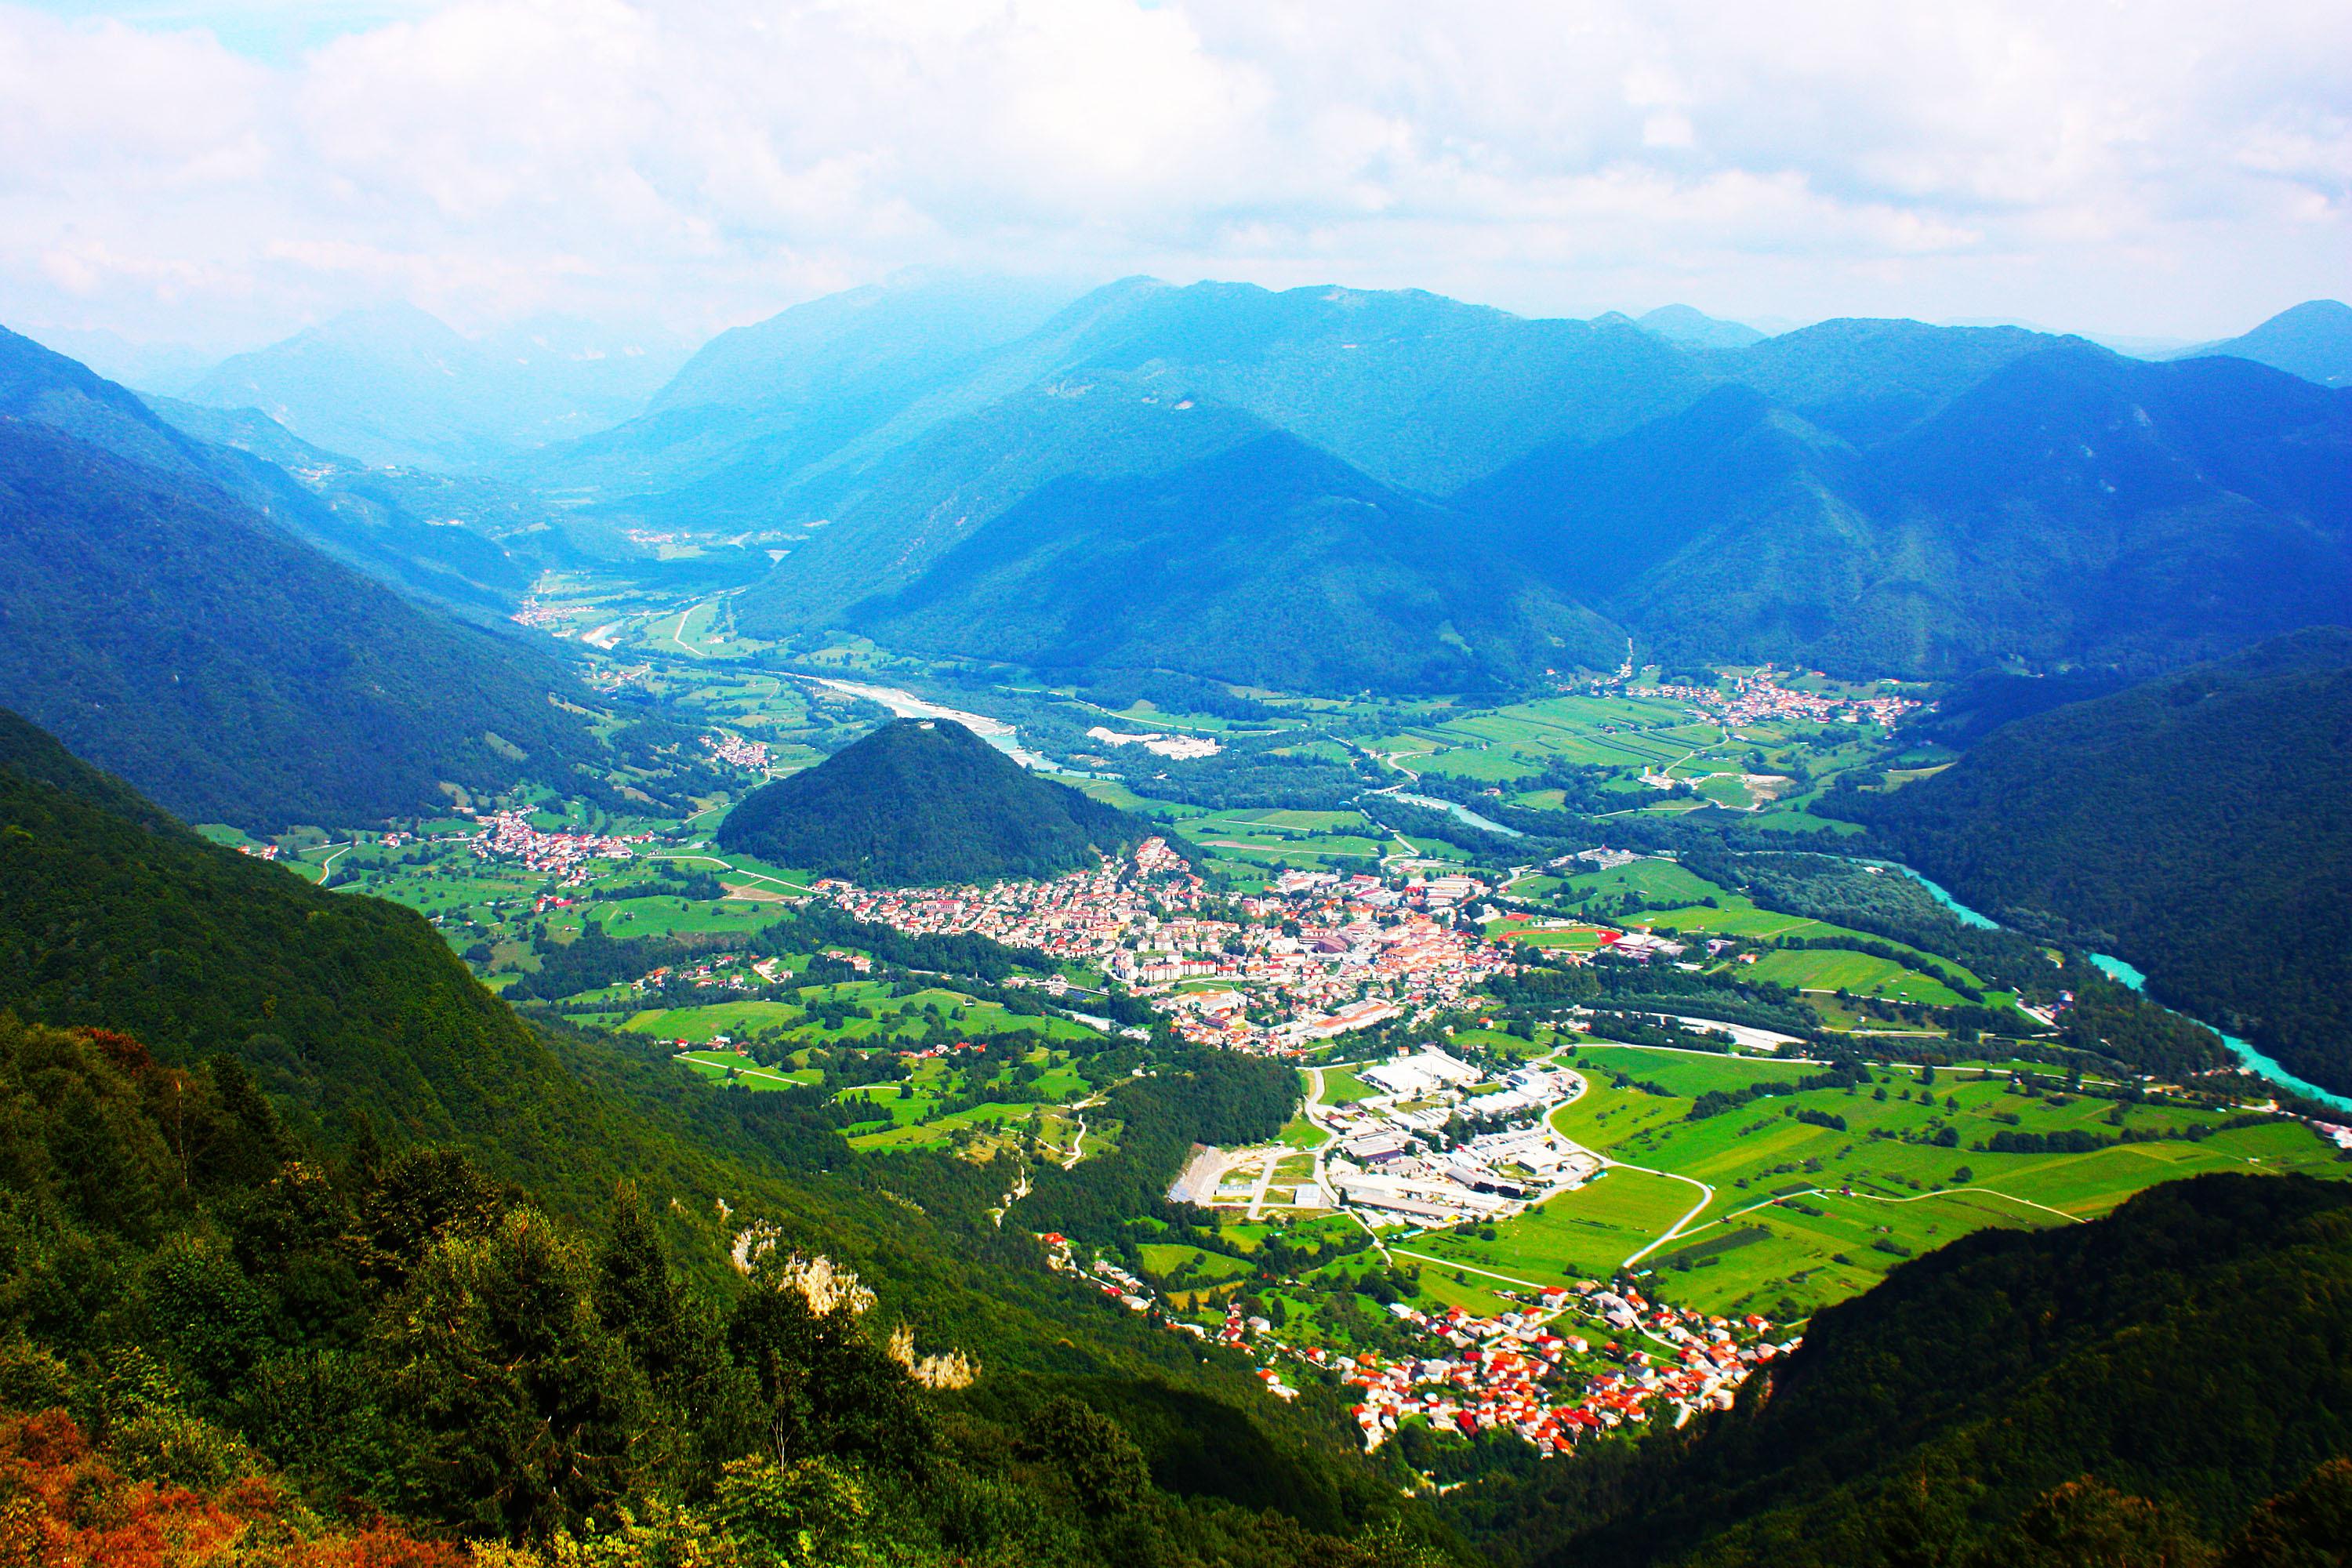
The extreme width of a panorama fundamentally changes composition. Leading lines become more powerful. A river or path that curves through the landscape gains graceful momentum across the extended frame. Foreground elements matter more than ever—they ground the viewer before the landscape stretches away.
I often include an obvious anchor point on the left or right edge to give the panorama a sense of place, rather than letting it feel like an abstract strip of landscape.
The Moment Matters Most
Technical precision means nothing if you’re capturing a dull scene. I shoot panoramas during compelling light—golden hour, storm approaches, moments when the landscape feels alive. A technically perfect panorama of flat, gray terrain is still a flat, gray panorama.
The width of the frame is a tool for storytelling, not an end in itself. Use it to show scale, to reveal the relationship between foreground and distant mountains, to capture the sweep of a coastline. That’s when panoramic photography transcends technique and becomes art.
Comments (3)
I've watched a dozen tutorials on this and yours is the clearest by far.
Quality content like this is rare. Keep it up.
Tried this technique this morning. Game changer for real.
Leave a Comment