I’ve spent countless mornings standing in alpine meadows, watching light pour over distant peaks, and I’ve learned that mountain photography isn’t about chasing dramatic vistas—it’s about understanding the light that defines them.
The Golden Window: Timing Your Ascent
Mountains demand respect for time. When I plan a shoot, I work backward from my desired location. If I want to photograph a peak during golden hour, I calculate sunrise time, add 45 minutes (when light becomes truly directional), then subtract my hiking duration and a 20-minute buffer for setup.
The most common mistake I see is arriving during peak daylight. That harsh, shadowless noon light flattens mountains into cardboard cutouts. Instead, I aim to be composed and ready 30 minutes before sunrise or two hours before sunset. This demands leaving your trailhead in near-darkness, but the payoff—that first moment when warm light touches the highest elevations—is worth every stumbling step.
Reading the Mountain’s Face
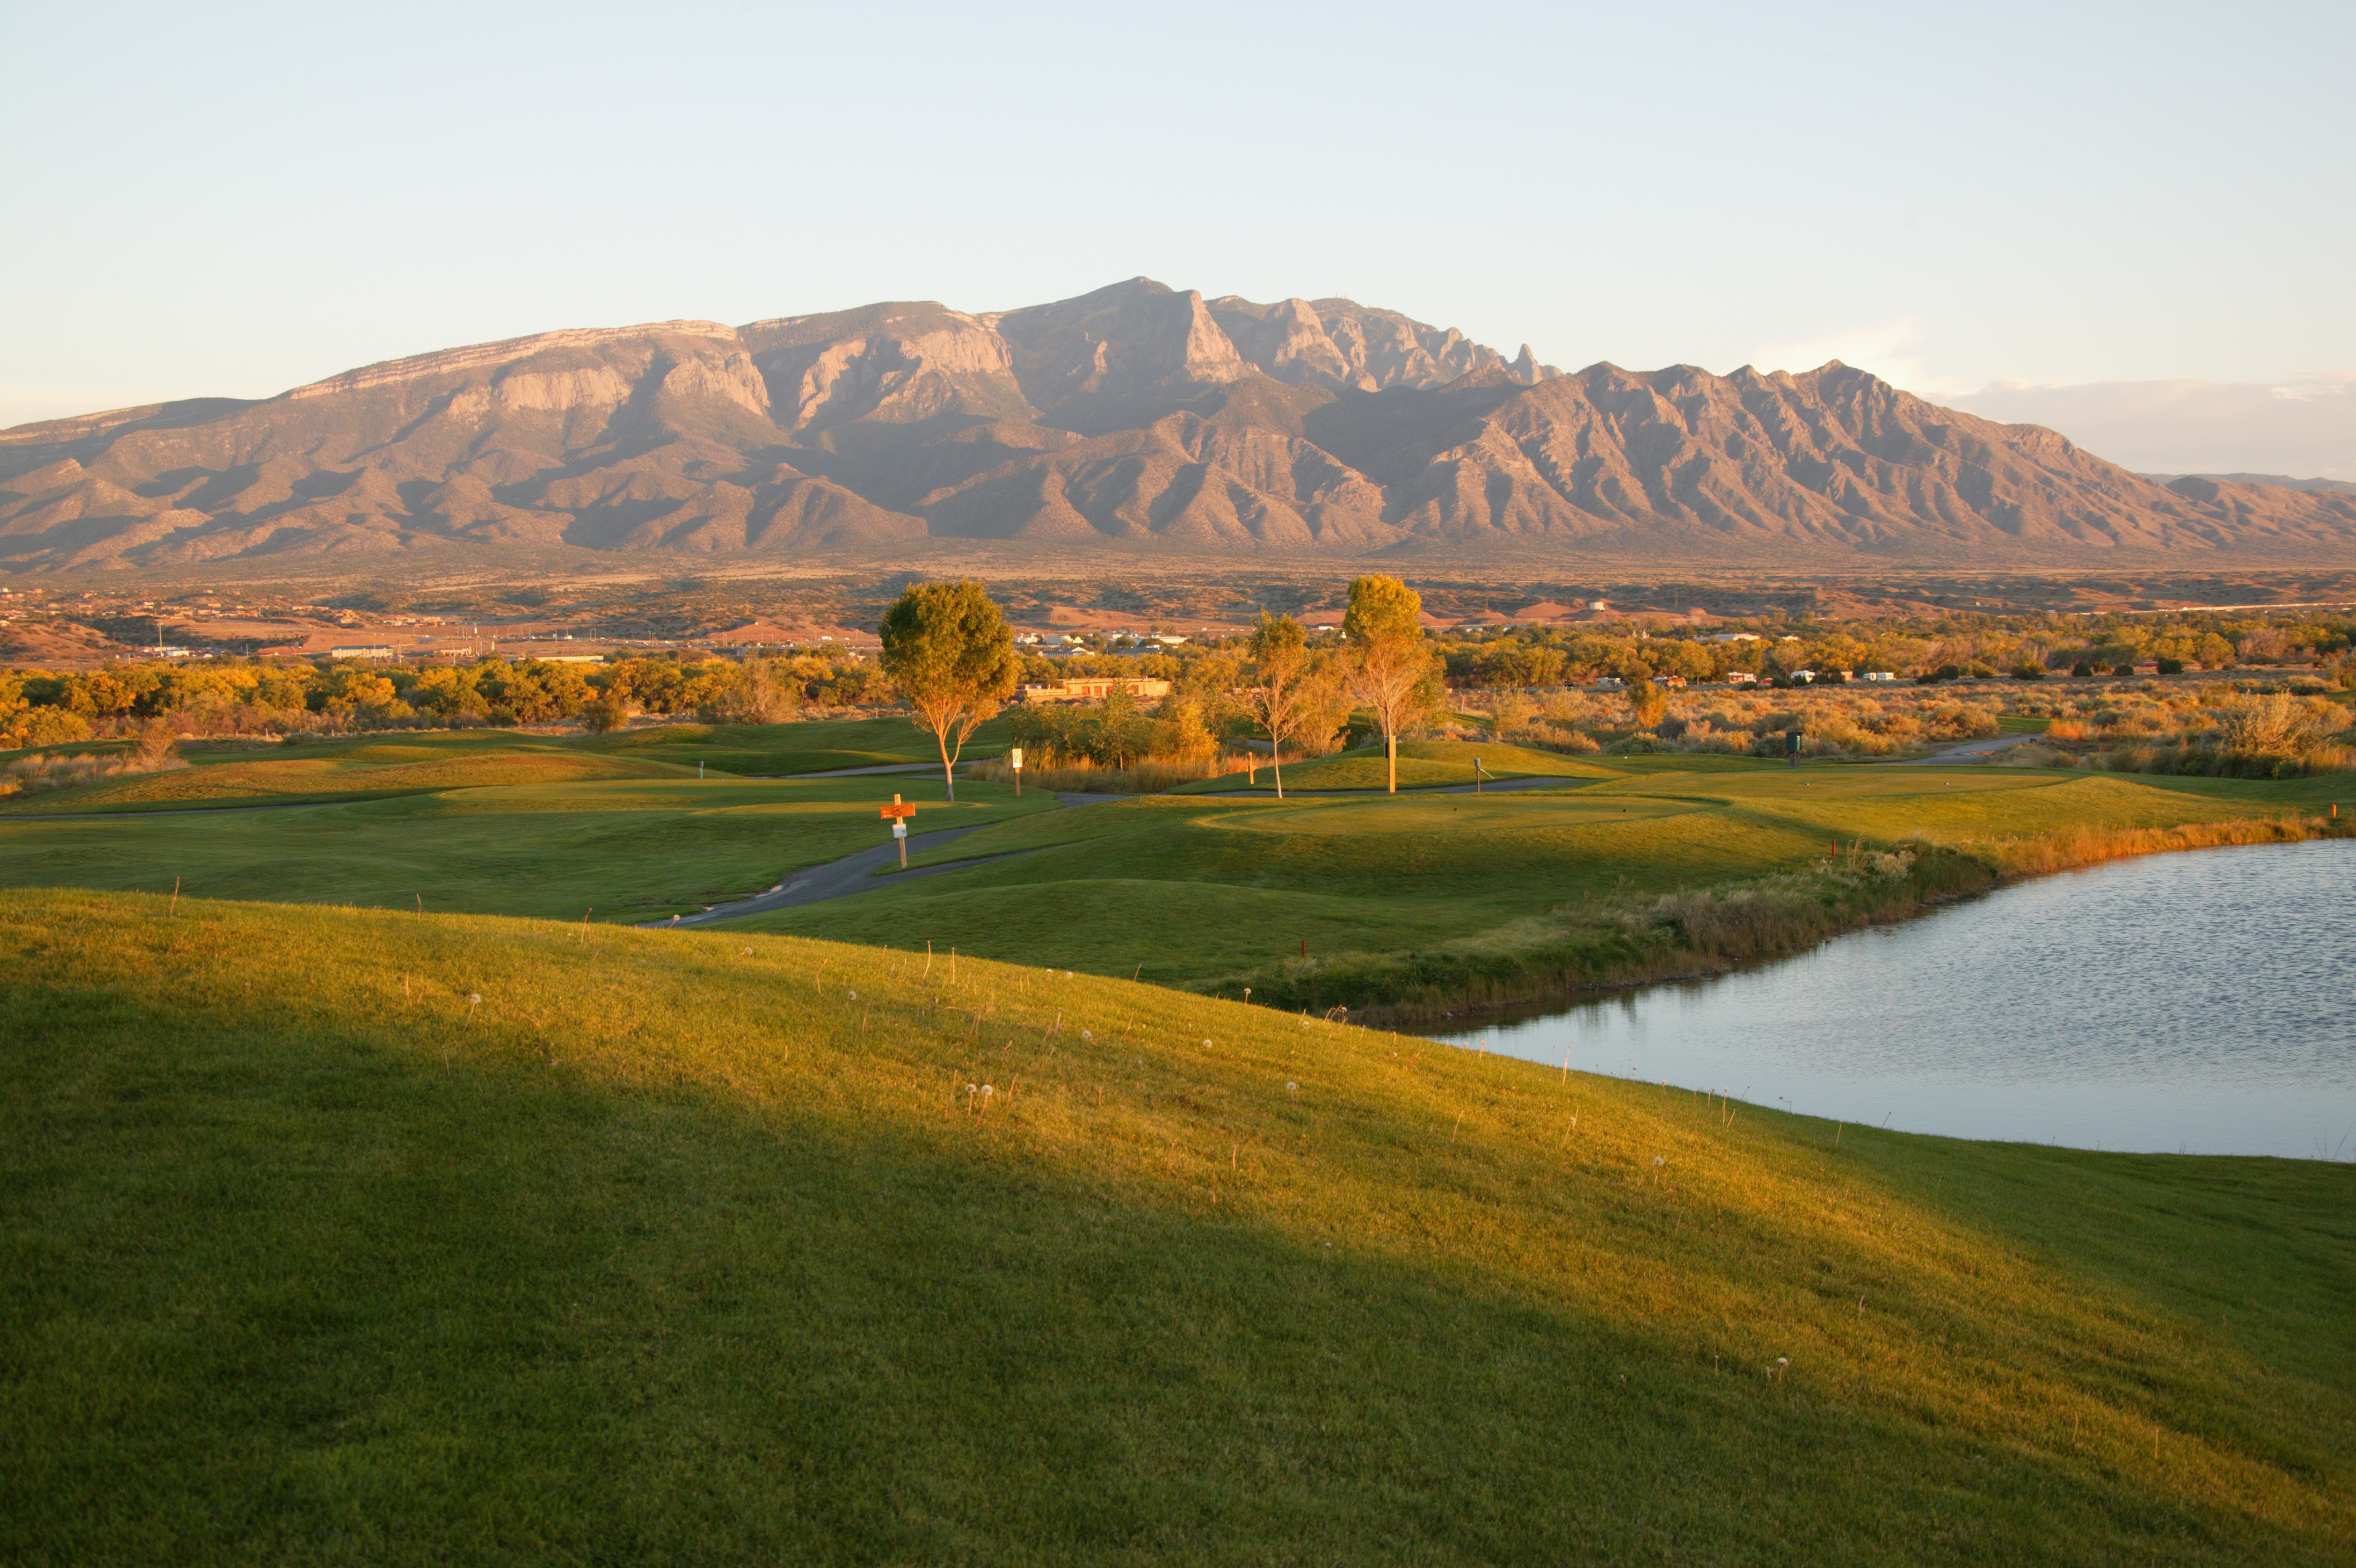
Mountains aren’t uniform subjects. I’ve learned to study the terrain before I shoot. Which ridgelines will catch first light? Where will shadows create leading lines? A peak’s orientation matters enormously. North-facing slopes stay in shadow longer, often rendering them a deep, moody blue—perfect for creating depth in an image. South-facing slopes warm quickly, sometimes too quickly, washing out subtle detail.
Stand at your location and observe for five minutes before raising your camera. Watch how light moves. Notice where clouds gather. I often find my best shots aren’t at the moment I arrived, but 10 or 15 minutes later when the light has shifted just slightly, revealing texture I initially missed.
Exposure and the Challenge of Dynamic Range
Mountain scenes present extreme contrast. A bright peak against shadowed foothills can span six stops of light or more—beyond what any sensor can capture in a single exposure. I’ve moved away from chasing exposure compensation adjustments. Instead, I shoot in aperture priority (f/8 to f/11) and use exposure bracketing: three shots at metered exposure, one stop underexposed, one stop overexposed.
This gives me options in post-processing. I’m not creating HDR composites in the dramatic sense; I’m blending exposures to preserve highlight detail in the sky while maintaining shadow texture in the lower elevations. If I’m shooting without bracketing, I slightly underexpose and bring up shadows in processing rather than blow out the sky.
Composition in Vertical Space
When I first started photographing mountains, I composed horizontally, centering peaks. That’s static. Mountains have depth—they layer. I now deliberately position foreground elements (a fallen log, a wildflower cluster, a stream) within the lower third of my frame. The middle ground might contain a ridgeline, and the background shows the distant peak. This creates genuine depth and pulls the viewer’s eye into the landscape rather than stopping at the summit.
A polarizing filter isn’t optional for me. It cuts atmospheric haze and deepens skies without introducing color casts, revealing the mountain’s true form.
The Weight of Solitude
There’s something about standing alone in the mountains before dawn that clarifies your vision. The cold, the quiet, the physical effort—they strip away distraction. I’ve made some of my strongest images not because I found the perfect location, but because I was present enough, patient enough, to see what was actually in front of me rather than what I hoped to find.
Mountain photography teaches patience. Master that, and everything else follows.
Comments (11)
The before and after really sells it. Incredible difference.
Love this. I referenced a similar technique in one of my recent posts. Always good to see other perspectives.
This is exactly what I needed today. Been struggling with this for weeks.
This should be required reading for anyone starting out.
This saved me so much time on my last edit. Wish I'd found this sooner.
I've watched a dozen tutorials on this and yours is the clearest by far.
Just subscribed. If the rest of your content is this good, I'm in.
Great article! I actually covered something related on my site — the retouching angle is really complementary to this.
This is going in my reference folder. Incredibly useful.
I've watched a dozen tutorials on this and yours is the clearest by far.
Really solid breakdown. This pairs perfectly with the photoshop work I've been writing about.
Leave a Comment