The Call of Darkness
There’s a moment just after twilight fades when the landscape disappears entirely, and you’re left standing in absolute darkness with nothing but your camera and the weight of the universe above. That’s when night sky photography truly begins. I’ve spent countless nights perched on remote hillsides and desert flats, watching the Milky Way emerge as my eyes adjusted and the light pollution fell away. It’s a humbling experience—one that demands patience, preparation, and a willingness to embrace the unknown.
The night sky has taught me more about photographic fundamentals than any textbook could. Working without available light forces you to understand your camera’s capabilities at their extreme limits. You learn ISO not as a number, but as a trade-off between signal and noise. You understand aperture not as theory, but as the difference between capturing starlight and missing it entirely.
Location Scouting in Daylight
The most critical step happens long before sunset. I always scout locations during the day, identifying foreground elements—a gnarled tree, a rock formation, an abandoned structure—that will anchor your composition when darkness comes. Use tools like Light Pollution Map (lightpollutionmap.info) to identify genuinely dark skies. You might be surprised how quickly light pollution increases even 20 miles from a city.
When you return at night, arrive at least an hour before you plan to shoot. This gives your eyes time to adjust and lets you locate your foreground elements with a headlamp (always use a red light to preserve night vision). Scout your framing while you still have the faintest twilight glow on the horizon.
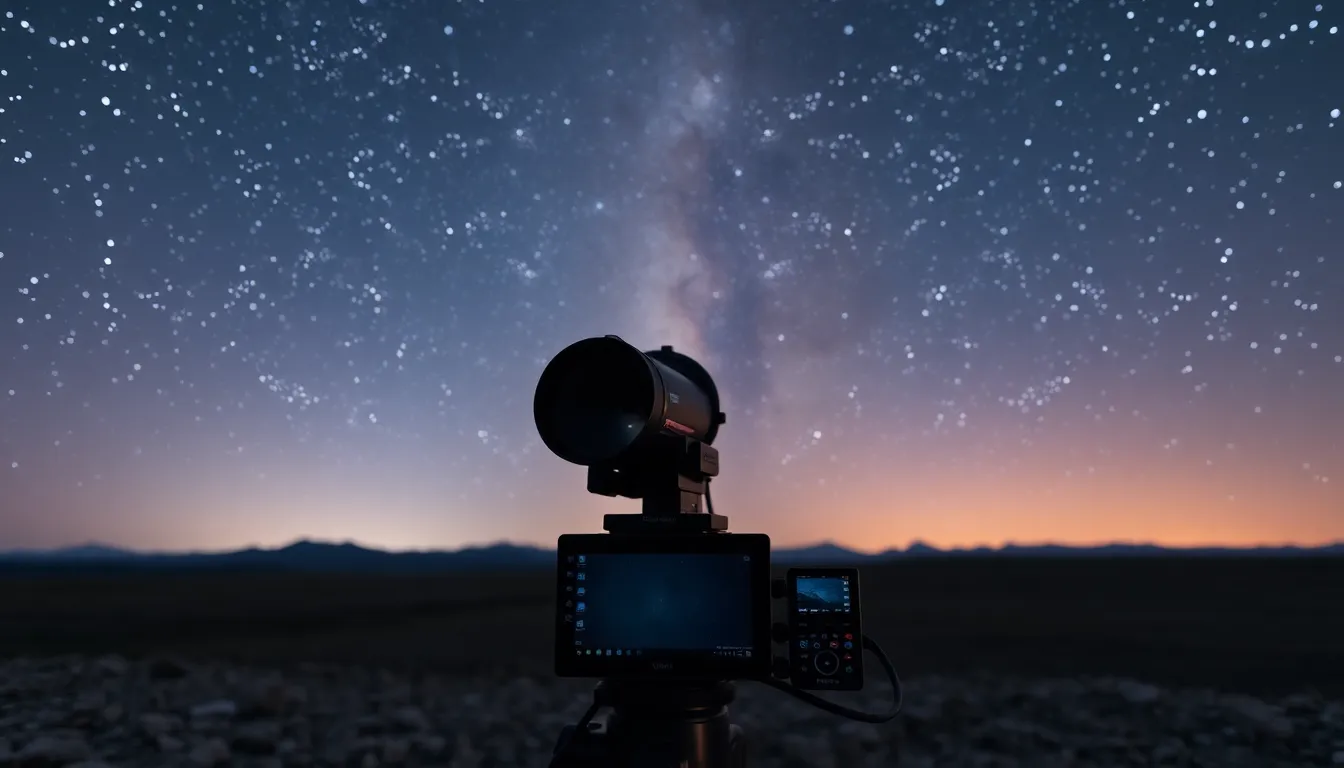
Camera Settings That Work
I’ve learned these settings through trial and error in the field:
Start here: ISO 3200, f/2.8 aperture, 20-second exposures at 16mm focal length. Adjust from there based on your specific camera and sky conditions.
The 20-second rule is real—any longer at wide angles and stars begin trailing noticeably. For longer focal lengths, use this formula: 300 ÷ focal length = maximum shutter speed in seconds. A 50mm lens? That’s 6 seconds maximum.
Use manual focus (autofocus won’t work in darkness). Focus on a bright star or, if available, zoom your live view on a bright star and manually adjust until it’s a sharp point. I tape my focus ring once I’ve locked in, preventing accidental shifts between shots.
Shoot in RAW format exclusively. Night sky images need the latitude that RAW provides—you’ll recover shadow detail and control the black levels in post-processing that compressed JPEGs simply won’t allow.
The Long Game
Night sky photography demands more patience than daylight work. Clouds roll in unexpectedly. Unexpected light pollution appears from distant towns. Your battery drains faster in cold temperatures (they always do). I always bring twice as many batteries as I think I’ll need and keep one in an inside pocket, close to body heat.
Bring a dim, red-light flashlight and a star chart app like Stellarium or SkySafari Pro. These apps show you exactly where constellations and the Milky Way core will appear in your frame, allowing you to plan your composition before the night progresses.
Why We Return
After months of planning and overnight camps, there’s nothing quite like reviewing your files and finding that single frame where the Milky Way arcs perfectly above a silhouetted landscape. That moment—when preparation, technical skill, and natural wonder align—reminds me why I keep returning to the darkness.
The night sky doesn’t ask for perfection. It simply asks for presence.
Comments
Leave a Comment