There’s a particular kind of confidence that comes from arriving at a location in the dark and already knowing exactly where to stand. I’ve been waking up before 4am for two decades, and I still catch myself second-guessing compositions by headlamp. That’s why this Watch the full tutorial on YouTube from Thomas Heaton stopped me mid-coffee this week. Watching him work a pre-scouted hillside above the Old Man of Storr in near-darkness, leveled tripod already planted before the sky even hinted at color, reminded me of something my old mentor used to say: the mountain doesn’t care about your schedule. You either show up prepared or you show up hoping.
What Heaton demonstrates here isn’t flashy. There’s no elaborate post-processing breakdown, no exotic gear. What he shows is a disciplined, repeatable field process for shooting a iconic location under genuinely difficult conditions. Wind, competing photographers, an unpredictable sky, and a tight window of usable light. The techniques he uses — pre-dawn scouting, panoramic sequencing, dual-format thinking — translate directly to any dramatic landscape, whether you’re on Skye or standing in the high desert outside Bend at 5am like I usually am.
The specific challenge this tutorial solves for me is one I see constantly in my workshops: photographers who arrive at a location at golden hour, look around for the first time, and then wonder why their compositions feel rushed and unsatisfying. Heaton’s workflow is a case study in removing improvisation from the moments that matter most.
Step 1: Scout the Location the Evening Before
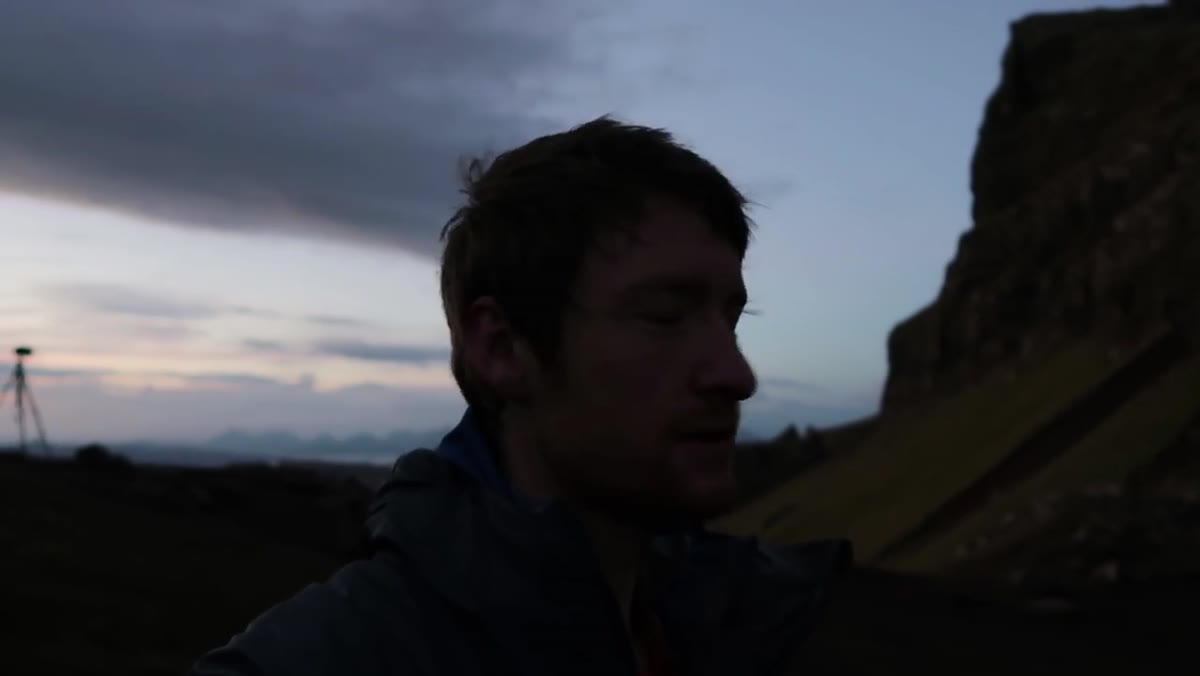
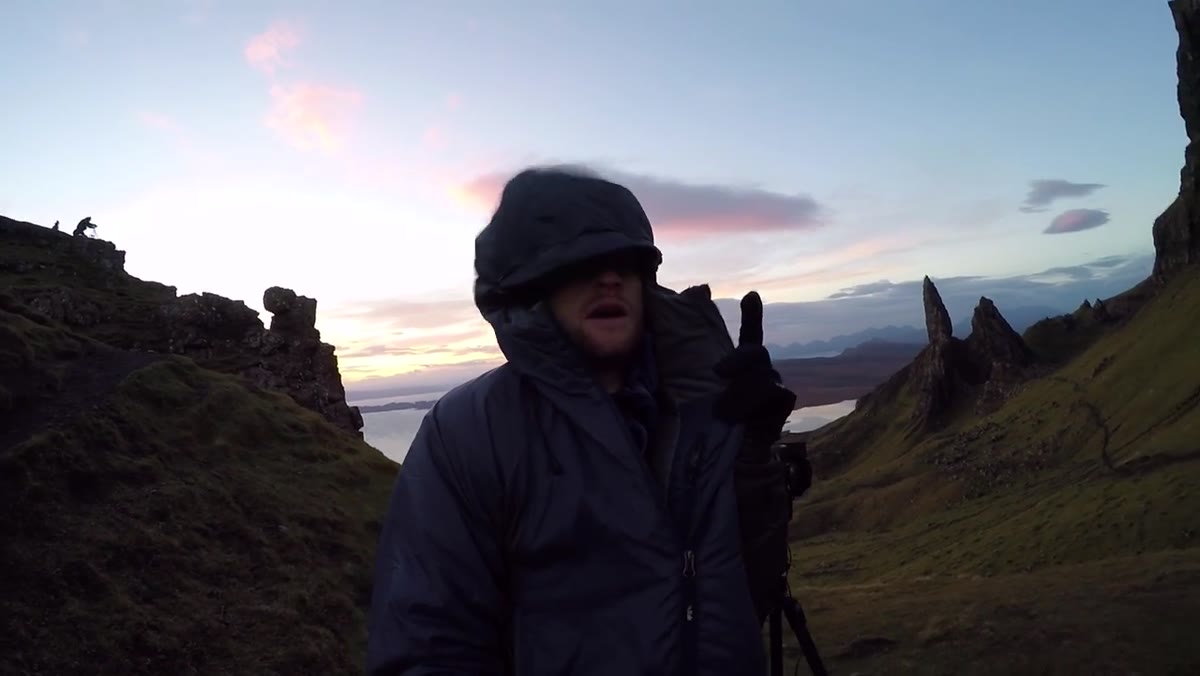
 Heaton arriving at pre-scouted hilltop location in darkness
Heaton mentions arriving at a spot he had identified and walked the previous evening. This is not optional. The one hour you spend at a location during daylight saves you four hours of fumbling in the dark and eliminates the cognitive load of composition-making when you should be focused entirely on light. Walk the site. Note where the sun will rise relative to your subject. Identify your anchor point and your fallback position. If there’s a dominant foreground element like the Storr pinnacles, figure out the exact angle where the sidelight will rake across the texture. Mark it on a maps app or simply pace it out and remember it.
Heaton arriving at pre-scouted hilltop location in darkness
Heaton mentions arriving at a spot he had identified and walked the previous evening. This is not optional. The one hour you spend at a location during daylight saves you four hours of fumbling in the dark and eliminates the cognitive load of composition-making when you should be focused entirely on light. Walk the site. Note where the sun will rise relative to your subject. Identify your anchor point and your fallback position. If there’s a dominant foreground element like the Storr pinnacles, figure out the exact angle where the sidelight will rake across the texture. Mark it on a maps app or simply pace it out and remember it.
When I guide workshops in the Cascades, I make every participant do a dry run the afternoon before any dawn shoot. Complaints happen then. Gratitude happens at sunrise.
Step 2: Arrive Early Enough to Level Your Tripod Before the Action Starts
 Tripod set up and leveled on the hillside before sunrise
Heaton flags that he had his tripod leveled and his composition locked in before the light arrived. This sounds obvious. It is not practiced nearly enough. A crooked horizon discovered during a six-image panoramic sequence is a problem that costs you irreplaceable minutes. Set up, level, do a dry run of your pan sequence in the dark. Fire a test frame, check for focus on a distant light source or a bright star, and then wait. The camera should be ready before the sky is.
Tripod set up and leveled on the hillside before sunrise
Heaton flags that he had his tripod leveled and his composition locked in before the light arrived. This sounds obvious. It is not practiced nearly enough. A crooked horizon discovered during a six-image panoramic sequence is a problem that costs you irreplaceable minutes. Set up, level, do a dry run of your pan sequence in the dark. Fire a test frame, check for focus on a distant light source or a bright star, and then wait. The camera should be ready before the sky is.
I refuse to use auto mode on anything, including the tripod head’s built-in level. I carry a small hot-shoe bubble level as a backup because I’ve learned through painful experience that in-camera electronic horizons can drift when a cold wind is pushing the rig.
Step 3: Read the Sky and Commit to One Compositional Direction
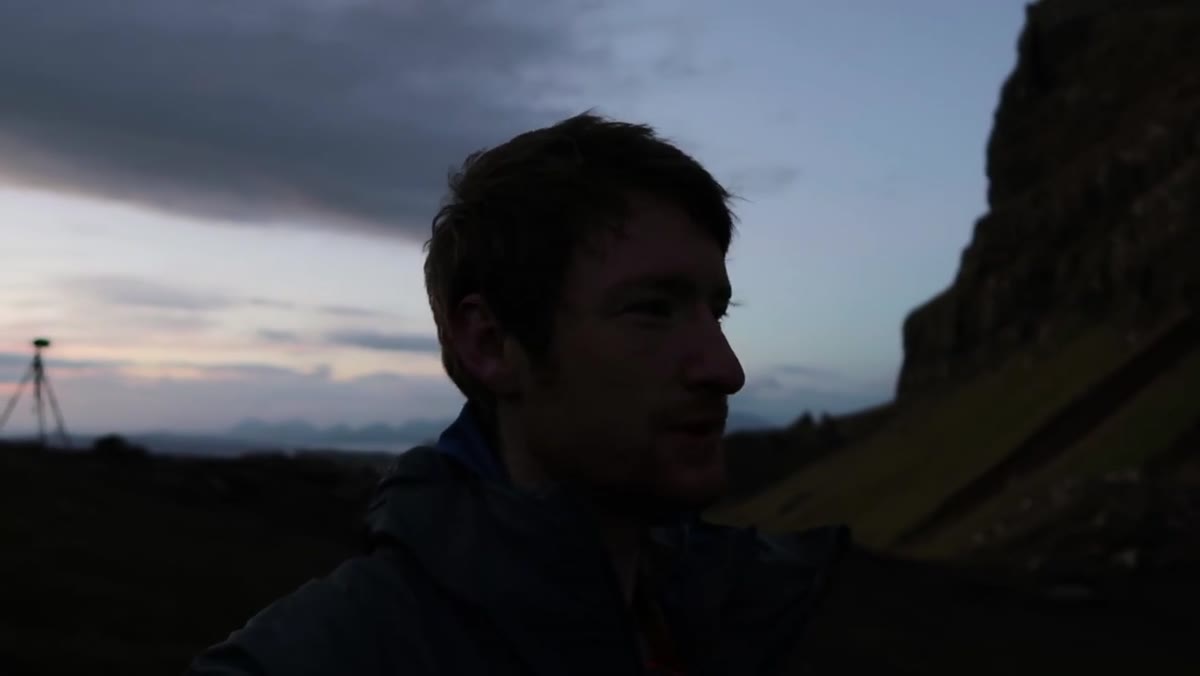 Heaton scanning horizon and discussing panoramic crop decision
Before the first light crested, Heaton had already committed to a panoramic composition and articulated exactly why. He could see that the clear band of sky to the east would let the rising sun through without obstruction, which meant warm directional sidelight rather than flat diffused brightness. That forecast shaped everything: the horizontal panoramic format to capture the width of the scene, the framing relative to the pinnacles, the decision to shoot multiple vertical frames and stitch them.
Heaton scanning horizon and discussing panoramic crop decision
Before the first light crested, Heaton had already committed to a panoramic composition and articulated exactly why. He could see that the clear band of sky to the east would let the rising sun through without obstruction, which meant warm directional sidelight rather than flat diffused brightness. That forecast shaped everything: the horizontal panoramic format to capture the width of the scene, the framing relative to the pinnacles, the decision to shoot multiple vertical frames and stitch them.
Weather reading is a skill you build slowly. Study the band of sky nearest the horizon the night before. A clean, unobstructed strip below the clouds is your green light. A solid wall of cloud at the horizon is your signal to reconsider your angle entirely or shift to a composition that works in flat light. You make this call before sunrise, not during it.
Step 4: Shoot a Vertical Panoramic Sequence for Maximum Format Flexibility
 Camera oriented vertically on tripod head for panoramic sequence
Heaton’s specific approach here is smart and worth adopting directly. By rotating the camera to a vertical orientation and sweeping across the scene in overlapping frames, he captured data that could be stitched into a wide horizontal panoramic print AND extracted as a single vertical frame with a 4x5 crop ratio. Two finished images from one sequence, one decisive moment.
Camera oriented vertically on tripod head for panoramic sequence
Heaton’s specific approach here is smart and worth adopting directly. By rotating the camera to a vertical orientation and sweeping across the scene in overlapping frames, he captured data that could be stitched into a wide horizontal panoramic print AND extracted as a single vertical frame with a 4x5 crop ratio. Two finished images from one sequence, one decisive moment.
For the technical execution: overlap each frame by at least 30 percent, keep your exposure locked in manual to avoid tonal shifts between frames, and rotate around the lens’s nodal point rather than the tripod head’s center axis. This minimizes parallax errors that cause stitching headaches later, particularly in foreground elements. Heaton shot six frames across this sequence. For a scene with significant foreground interest at wide focal lengths, six to eight frames is a reasonable target.
Step 5: Wait for Sidelight to Hit the Subject, Then Shoot Decisively
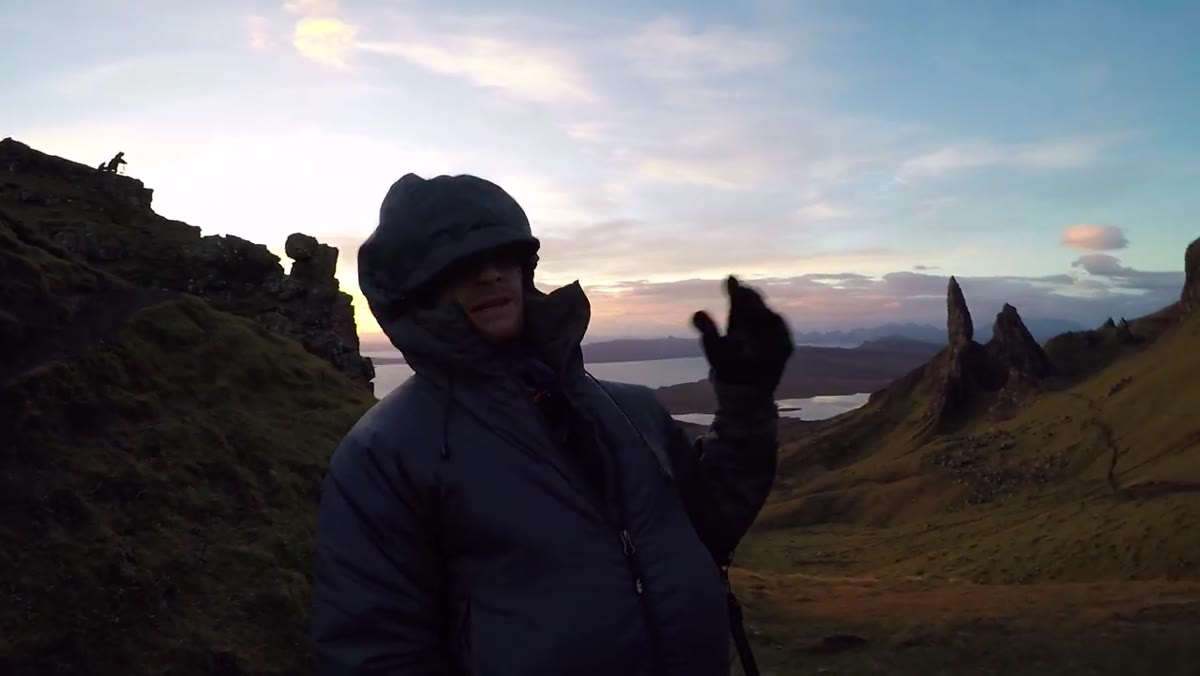 First sunlight striking the rock formations behind Heaton
The moment Heaton actually fires his sequence is when the first direct sunlight touches the rocks. Not the soft pre-dawn glow, not the bright overhead light that arrives ten minutes later. The sidelight. This is the window. It can last as little as three minutes on a fast-rising sun over flat terrain. On Skye with complex topography, you might get slightly longer, but the quality of that raking light degrades quickly as the sun climbs and the angle flattens.
First sunlight striking the rock formations behind Heaton
The moment Heaton actually fires his sequence is when the first direct sunlight touches the rocks. Not the soft pre-dawn glow, not the bright overhead light that arrives ten minutes later. The sidelight. This is the window. It can last as little as three minutes on a fast-rising sun over flat terrain. On Skye with complex topography, you might get slightly longer, but the quality of that raking light degrades quickly as the sun climbs and the angle flattens.
When you see the light make contact with your subject, stop talking, stop adjusting, and shoot. You can refine afterward. You cannot recreate that moment.
The Case for Sleeping Where You Shoot
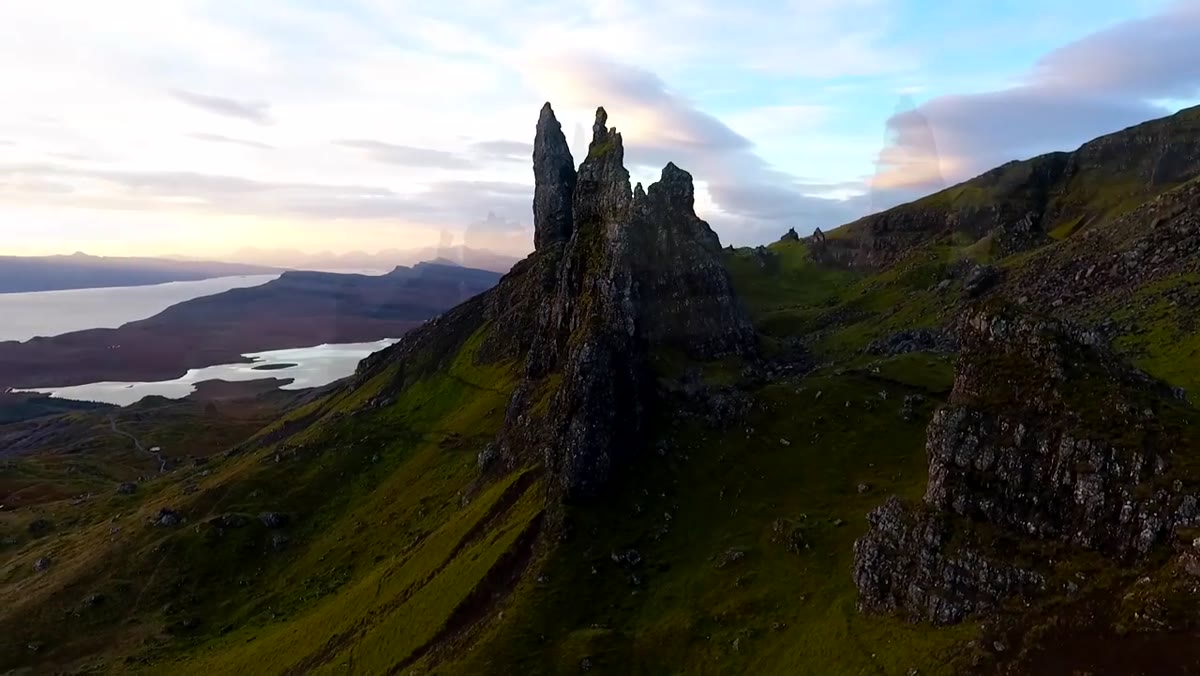
After watching Heaton’s extended breakdown of the VW California camper van he used as a base for this trip, I’ve been thinking seriously about this for my own practice. The logistical advantage is real and underrated. When your bed is ten minutes from the location, you eliminate the calculation of whether a potentially good sunrise is worth a 90-minute drive each way. You just go. I once drove six hours to a location in the Oregon coast range, sat in fog for two solid days, and came home with one photograph taken during a 20-minute clearing on day two. That image became my best-selling print. The point isn’t the van. The point is proximity and commitment. However you arrange it, closing the distance between where you sleep and where you shoot changes how willing you are to take uncertain bets on uncertain mornings.
The single most important thing Heaton demonstrates in this tutorial is that great landscape photography is mostly preparation, not luck. The pre-scouted location, the leveled tripod in the dark, the compositional decision made before the light arrives. By the time that first sidelight touched the Storr, Heaton had nothing left to figure out. He just had to press the shutter.
Watch the full tutorial on YouTube and pay particular attention to the moments before the light arrives. That’s where the real technique lives.
Comments
Leave a Comment