
There’s a particular kind of frustration that only landscape photographers understand. You drive out before dawn, set up in the dark, wait for the sky to come alive, and then watch a perfectly clear, completely cloudless morning deliver exactly nothing. No color, no drama, no depth. Just a pale orange ball hauling itself over the horizon while your composition sits there looking like a postcard nobody would buy. I’ve been shooting landscapes full-time for two decades, and I still feel that sting every single time.
What separates a productive morning from a wasted one almost always comes down to clouds. Not temperature, not wind, not some magical alignment of personal motivation. Clouds. They shape the light, fill the sky, and determine whether you’re going to get a moody, color-drenched sunrise or a forgettable gradient. The problem is that standard weather apps are built for people who want to know whether to bring an umbrella, not for photographers who need to know what the sky is going to look like at the precise moment the sun clears the ridge. That gap in tools is exactly what Watch the full tutorial on YouTube by Mark Denney addresses. In it, he walks through Clear Outside, a free app available on both iPhone and Android, and explains why it’s been his most reliable forecasting tool for years. After watching it, I realized I could articulate why I’ve trusted the same app myself.
The core argument Mark makes, and the one that resonates most with how I actually work, is that clouds are doing multiple jobs simultaneously. They control the quality and character of your light. Full overcast turns the entire sky into a softbox, which is ideal when I’m shooting the Deschutes River near home and I want the water to hold detail without harsh shadows cutting across the rocks. Partial clouds create moving pools of light across a meadow that you simply cannot replicate in post. And then there’s the third job, the one that keeps me setting my alarm for 4am, which is that high cloud formations are exactly what catch the first and last light of the day and throw it back as those burning magentas and deep reds that make a sunrise feel genuinely earned.
Step 1: Understand What You’re Actually Looking For Before Opening the App
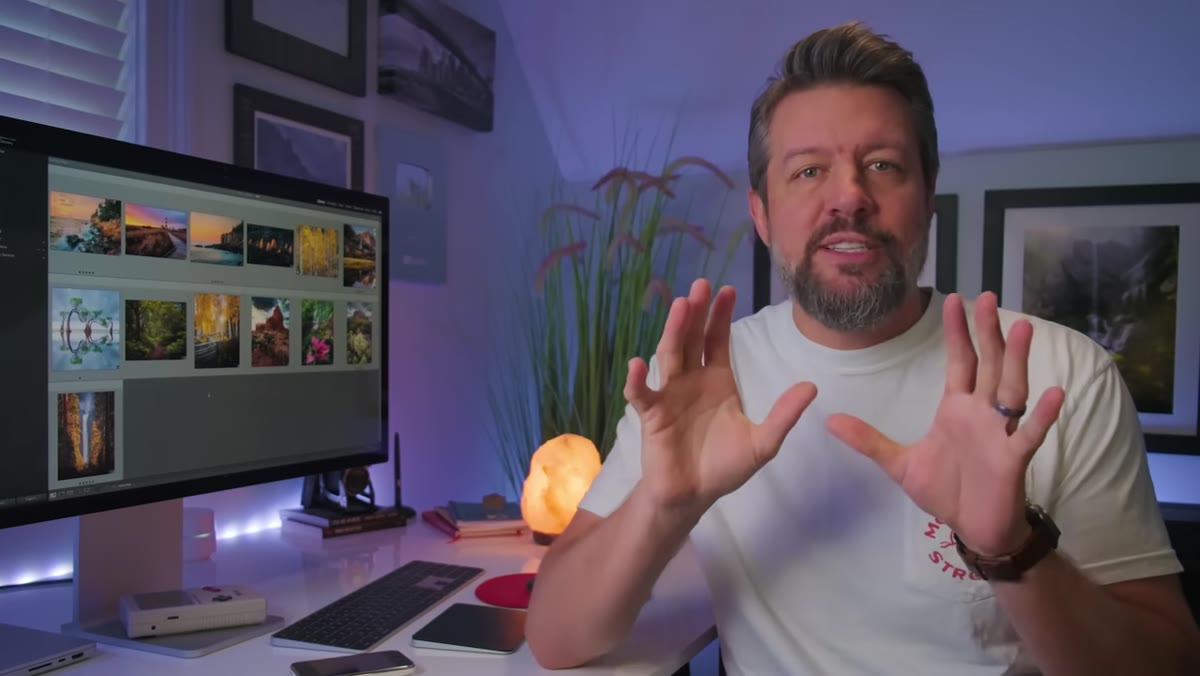 Mark explaining clouds vs. temperature as key weather variables
Before you download anything, you need to recalibrate what you’re asking a weather app to tell you. Most photographers default to checking the general forecast. Clear skies, good. Rain, bad. That binary thinking is what leads to shooting in flat, uninteresting light. What you want to know is the cloud percentage, the cloud altitude, and how those two variables will interact with the specific time of your golden hour. Clear Outside is built around those questions rather than around whether you need a rain jacket.
Step 2: Download Clear Outside and Set Your Location
 App home screen showing location and forecast layout
Pull up your app store and search “Clear Outside.” It’s free on both platforms with no paywall hiding the core forecast features. Once you open it, the app will ask for your location or you can search a specific spot, which matters a great deal if you’re scouting a location an hour from home rather than shooting in your backyard. I often check forecasts for a specific ridgeline or canyon rather than the nearest town, since elevation and terrain can shift cloud behavior significantly.
Step 3: Read the Cloud Cover Layers, Not Just the Percentage
 Clear Outside displaying low, medium, and high cloud layer breakdown
This is the step that makes Clear Outside genuinely different from every general weather app I’ve tried. The app breaks cloud cover into three altitude layers: low, medium, and high. Each one behaves differently and produces a different photographic result. Low clouds often mean flat, featureless fog at ground level, which can be magical for certain shots but kills a sunrise entirely. Medium clouds give you that dramatic, billowing structure. High clouds, the wispy cirrus formations, are the ones that catch early light and paint the sky in color before the sun even fully appears. Learning to read all three layers together is what shifts forecasting from guesswork into something closer to informed anticipation.
Step 4: Cross-Reference the Cloud Timing with Your Golden Hour Window
 Hourly forecast view showing cloud changes across early morning hours
Clear Outside displays its forecast in hourly blocks, which means you’re not just looking at a daily summary. You can see exactly what the cloud situation looks like at 6am versus 7am versus 8am. This is where the app earns its keep. I’ll look at the overnight trend, see what percentage of high cloud is forecast for the thirty minutes before and after sunrise, and use that to decide whether the drive is worth making. A morning showing 40 to 60 percent high cloud cover with low ground cloud and minimal medium cloud is usually a signal to set that alarm. A morning showing 100 percent cover across all layers tells me to sleep in.
Step 5: Use the Forecast to Anticipate Light Quality, Not Just Light Presence
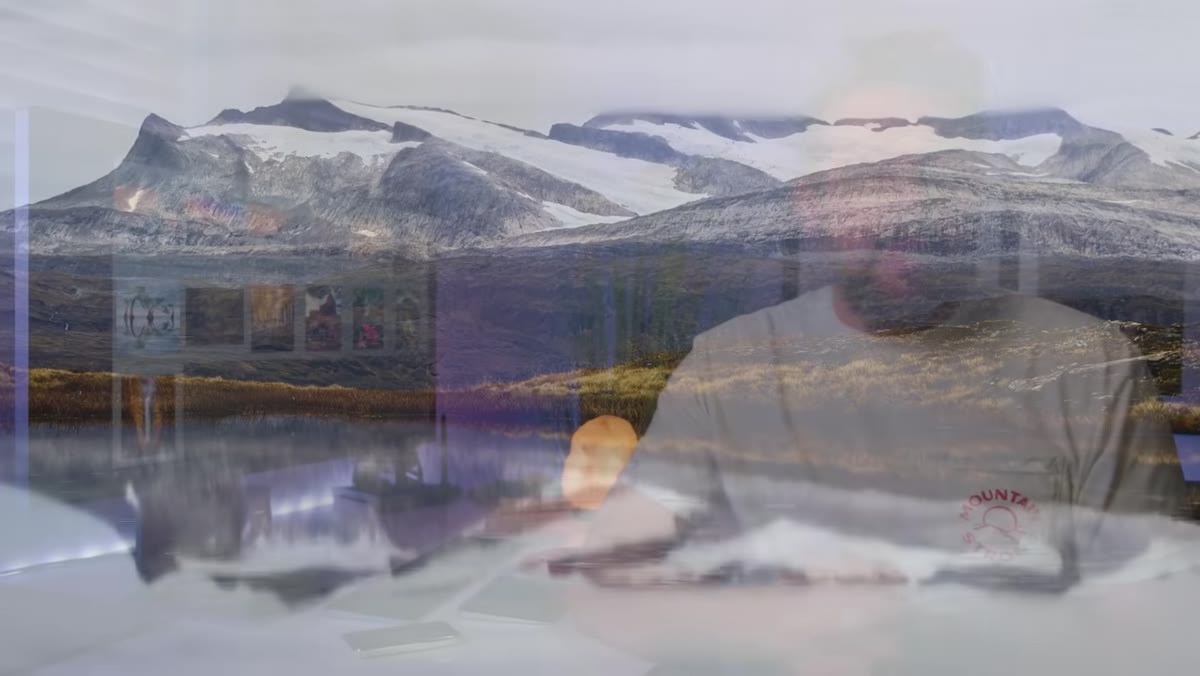 Mark describing how cloud types affect golden hour color and mood
One reframe that Mark makes in the tutorial that I think is worth sitting with: the goal isn’t to find perfect conditions, it’s to understand what the conditions will produce so you can position yourself accordingly. Full overcast is not a failed sunrise, it’s an invitation to shoot waterfall detail and forest interiors without fighting contrast. A partly cloudy afternoon is when I want to be on an open hillside watching light move across the terrain. Matching your subject to the forecasted conditions rather than hoping the conditions match your subject is a fundamental shift in how you plan a shoot.
What I’d Add After Two Decades of Using It
Clear Outside is excellent, but no app is a substitute for watching how local weather actually behaves in your specific terrain. I’ve been shooting the high desert of Central Oregon long enough to know that the app’s cloud forecast sometimes underestimates how quickly marine layer burns off in the morning or how fast an afternoon storm builds over the Cascades. I keep mental notes on seasonal patterns that the algorithm doesn’t account for. Use the app as your starting point, then layer your own accumulated field knowledge on top of it. The longer you shoot a region consistently, the more accurately you’ll be able to interpret what any forecast is actually going to look like on the ground.
My mentor once told me the mountain doesn’t care about your schedule, and he was right. But it does reward the people who show up prepared, who understand what conditions they’re walking into and why. Clear Outside is the closest thing I’ve found to a genuinely useful pre-dawn planning tool, and the fact that it costs nothing removes every excuse not to use it. Watch Mark Denney’s full breakdown and see how he works through the interface in real time: Watch the full tutorial on YouTube. The app takes five minutes to learn and will change how you decide when to go out.
Comments
Leave a Comment