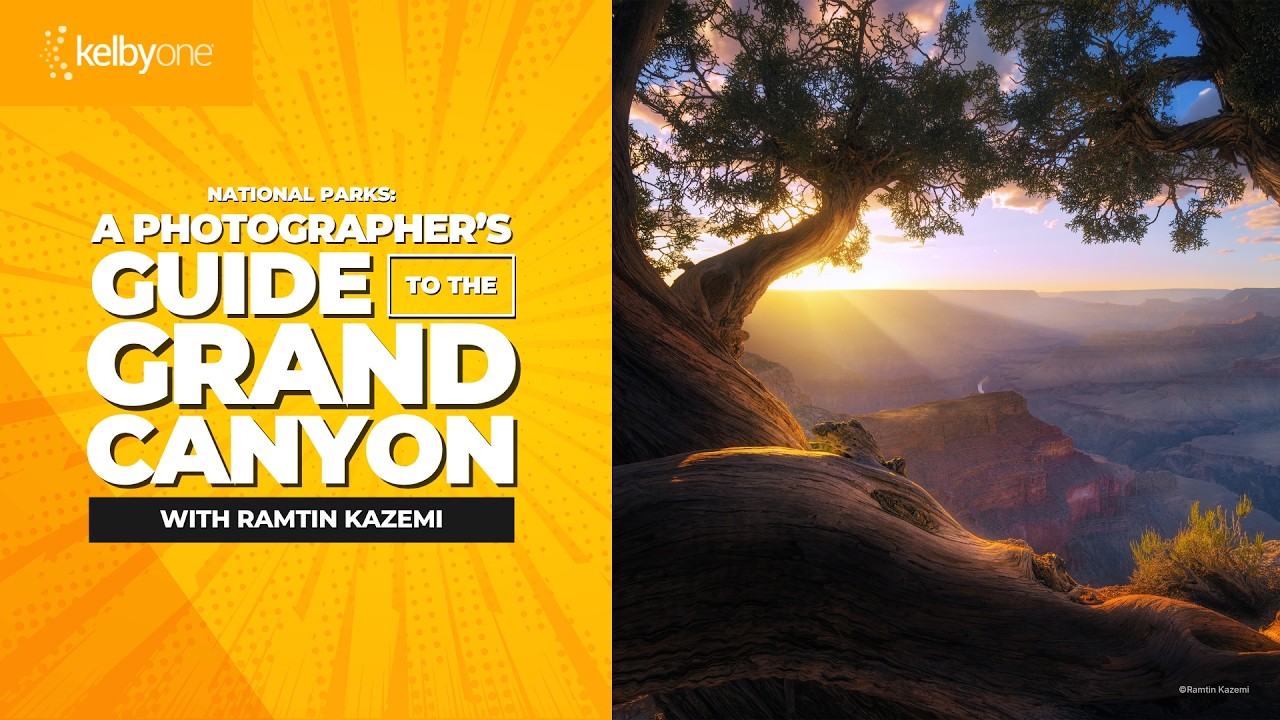
The Grand Canyon has humbled me more than once. I’ve stood at the South Rim at golden hour with every piece of gear I own, fired off hundreds of frames, and driven home with nothing I’d hang on a wall. The problem wasn’t the canyon. The problem was showing up without a plan built around how that specific light moves through that specific geography. A canyon that runs east to west, with two distinct rims at different elevations and different access roads, rewards photographers who understand its structure. Everyone else gets a snapshot.
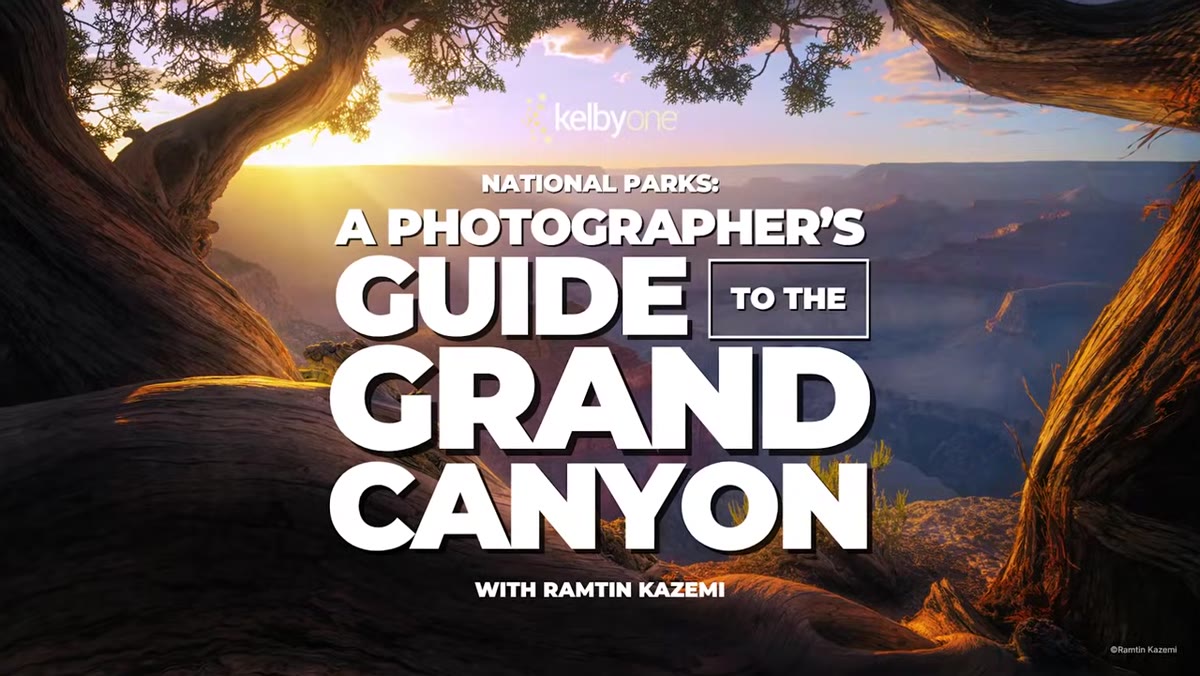
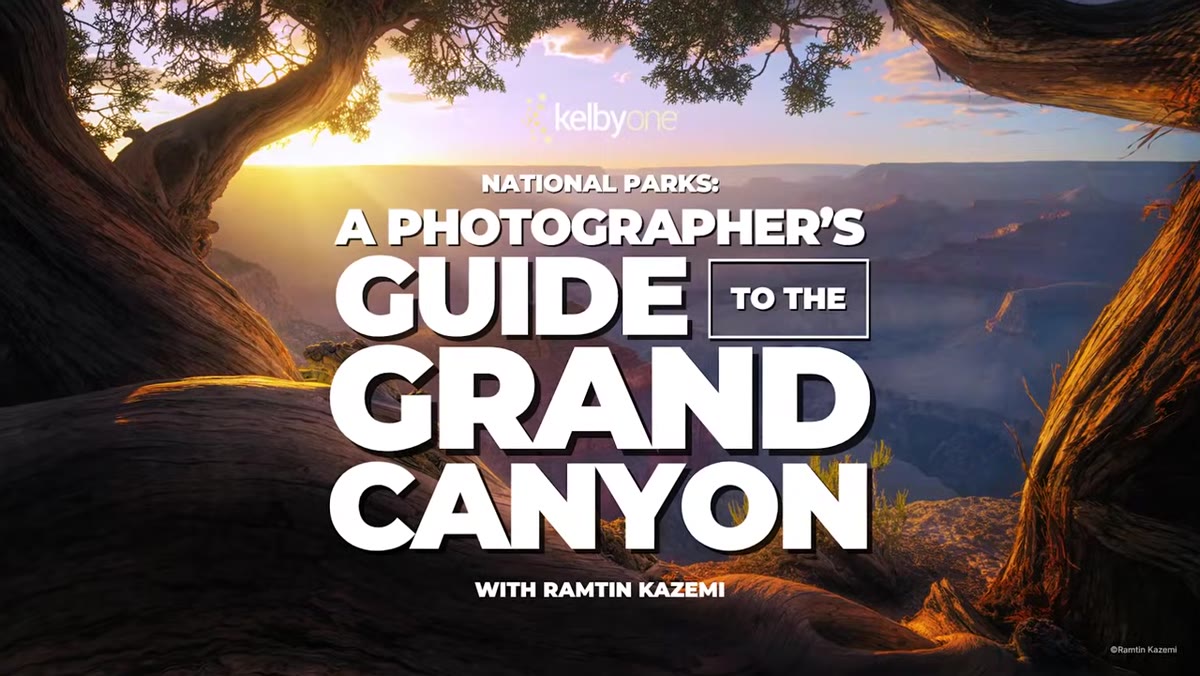
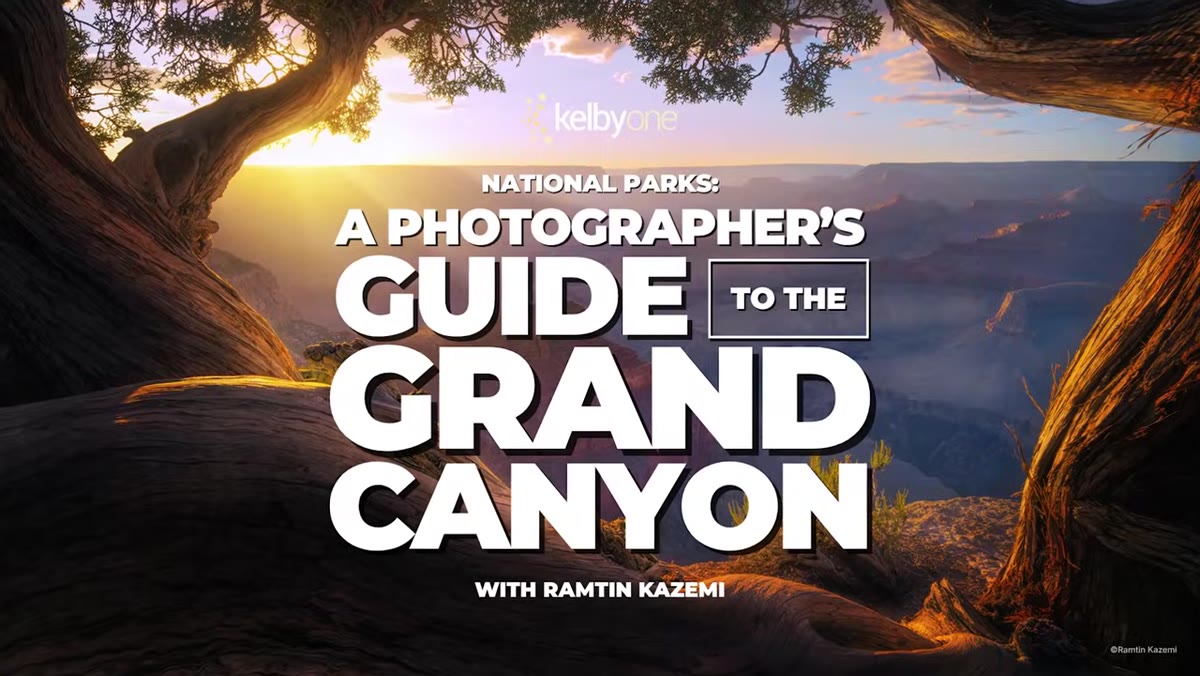
That’s exactly why I kept coming back to this KelbyOne tutorial from landscape photographer Ramtin Kazemi. Watch the full tutorial on YouTube. Ramtin was filmed on location as the weather actually changed around him, which makes this tutorial unusually honest. He’s not teaching from perfect conditions. He’s teaching from real ones, the kind where fog fills the canyon at sunrise or the sun drops behind the rim twenty minutes earlier than your app said it would.
What follows is my breakdown of the core lessons, expanded with the kind of field context that only comes from standing in a lot of wrong spots at the right time.
Step 1: Understand the Canyon’s Orientation Before You Book a Single Night
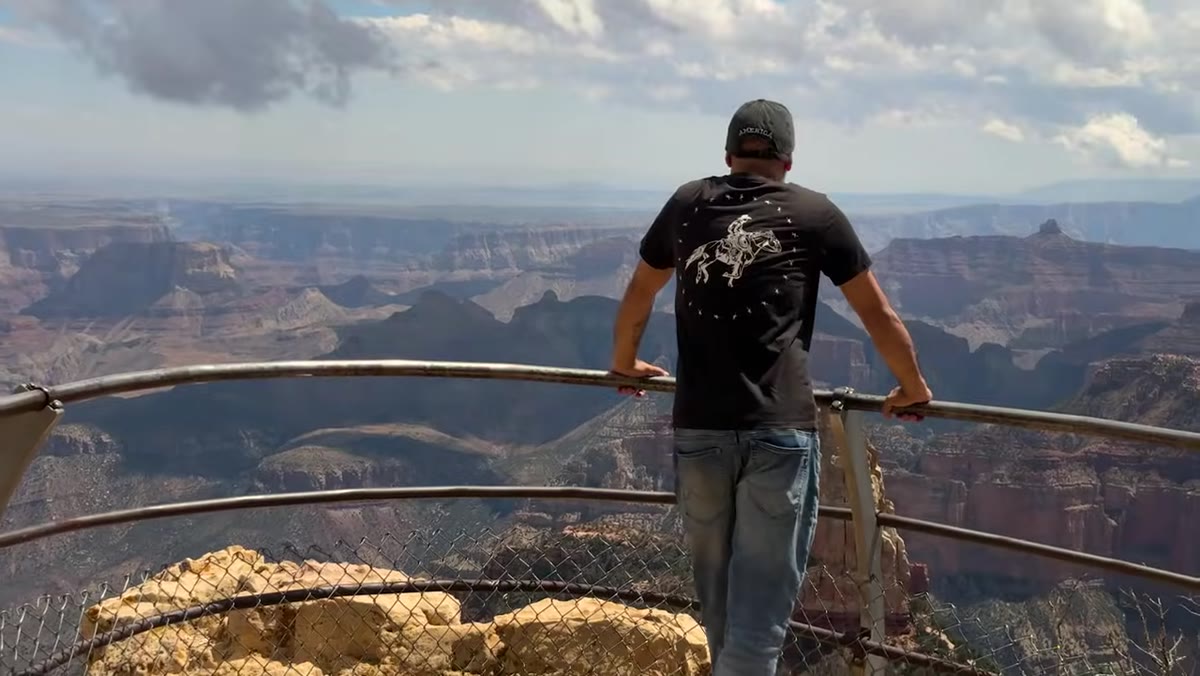 Ramtin gesturing toward North and South Rim geography
The Grand Canyon runs roughly east to west. That single fact changes every decision you make, from which rim you sleep on to which overlook you drive to at 4am. The South Rim catches the last light in the west and the first light bouncing off the canyon walls in the east. The North Rim, sitting about 1,000 feet higher and far less visited, gives you a completely different angle on the same formations. Ramtin lays this out as the foundation of his planning process. Before scouting a single overlook, he builds a mental map of where the sun enters and exits the canyon at different times of year. This isn’t obsessive. It’s efficient. If you know the light, you stop wasting pre-dawn hours at overlooks that face the wrong direction.
Step 2: Plan Both Rims as a Single Loop, Not Separate Trips
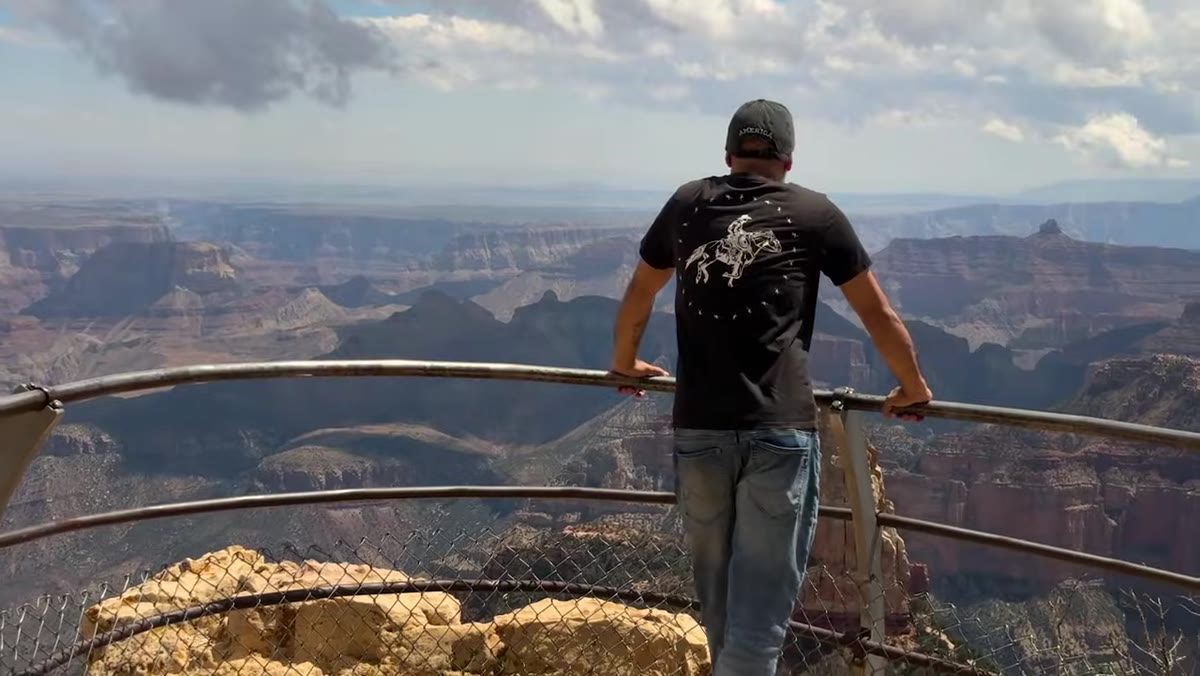 Map or rim overview showing North and South Rim positions
Ramtin structures his guide around treating the canyon as one coherent subject with two vantage points, not two separate destinations. If you’re coming from Las Vegas, a full loop is genuinely achievable and dramatically expands what you can shoot. The North Rim is quieter, darker at night, and less photographed. The South Rim gives you infrastructure, more shooting windows throughout the day, and overlooks spread along a longer road. The strategic move is to plan your itinerary so you’re on the correct rim for the light you want. Don’t just pick the rim that’s easier to reach and hope for the best.
Step 3: Find the Overlooks Most Photographers Skip
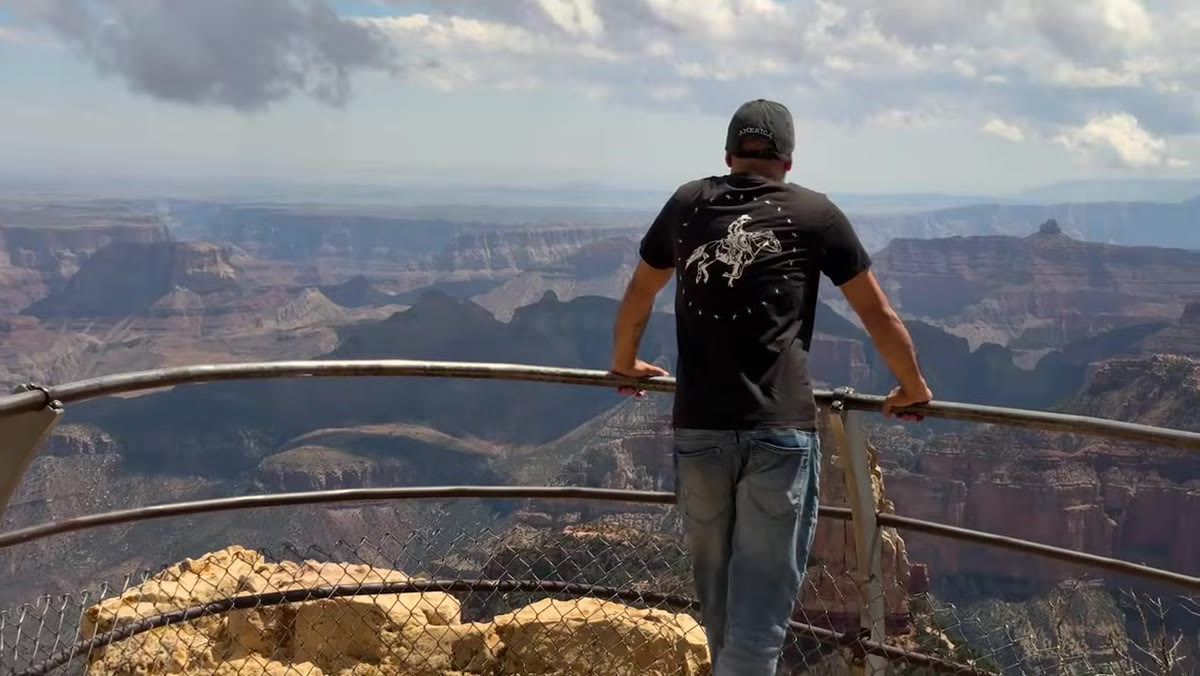 Cape Royal overlook with canyon view in background
The tutorial devotes serious attention to locations that don’t appear on most photography itineraries. On the North Rim, Ramtin highlights Cape Royal, Angel’s Window, and Point Imperial. Cape Royal in particular gives you a wide, sweeping composition that frames the canyon differently than anything on the South Rim. Angel’s Window is a natural rock arch that you can use as a foreground element, which immediately adds depth to what could otherwise be a flat, overwhelming scene. On the South Rim, Pima Point, Hopi Point, and Shoshone Point each have distinct advantages depending on where the sun is in its arc. The lesson here is to scout at noon, when the light is harsh and unflattering, so you understand the geometry before you commit to a 4am alarm. I’ve done this for years and it remains the single most reliable way to avoid showing up in the dark to the wrong spot.
Step 4: Shoot the Fog, Don’t Wait for It to Clear
 Fog filling canyon at dawn during shoot
One of the most valuable sections of this tutorial addresses what most photographers treat as a failure condition: fog in the canyon. Ramtin filmed during changing weather, and rather than stopping to wait it out, he used it. Fog simplifies a scene that is almost compositionally overwhelming in clear conditions. It creates natural depth, separates layers of rock, and softens the visual noise of a landscape that has almost too much information in every frame. The technical adjustment is mostly about exposure. With fog, you’re often metering for a scene that’s brighter than the canyon usually reads. Dial in your exposure compensation carefully, bracket if you’re uncertain, and resist the instinct to pack up and wait for the postcard version of the view.
Step 5: Build Panoramas That Actually Stitch
 Camera on tripod rotating through pano sequence at overlook
Panoramas at the Grand Canyon are almost unavoidable. The scale of the place demands them. But stitching errors, warped horizons, and exposure mismatches are common failures, especially at a location where the light is changing fast and you feel pressure to capture everything. Ramtin walks through the fundamentals: rotate on the nodal point of your lens rather than the camera body, overlap each frame by at least 30 percent, lock your exposure manually before the first frame and don’t touch it, and keep your horizon level. If you’re shooting near sunrise or sunset, the light will shift across your sequence. The more frames you have to stitch, the worse that shift becomes, so err toward fewer, wider frames. A clean three-frame stitch is worth more than a fifteen-frame mess.
Step 6: Helicopter Shots Require a Different Technical Mindset
 Aerial canyon frame from helicopter window
Ramtin includes aerial work in the tutorial, and the technical shift from ground-level photography is significant. From a helicopter, vibration is constant and your shutter speed needs to compensate for it completely, not partially. He shoots at speeds that would feel excessive on the ground, and he turns off any image stabilization that could conflict with the movement of the aircraft. The compositional challenge from the air is finding anchor points in a landscape that suddenly looks abstract. The canyon’s depth becomes your primary compositional tool. Look for the Colorado River as a leading line, and position the aircraft so the light rakes across the canyon walls rather than flattening them.
What Twenty Years in the Field Adds to This
I once drove six hours to a location, sat in fog for two full days, and drove home with exactly one usable frame. That frame became my best-selling print. The fog I’d cursed the entire trip turned out to be the whole point. What Ramtin teaches in this tutorial is the same thing that experience eventually forces on you: the conditions you didn’t plan for are often the ones worth photographing. The Grand Canyon is so vast that it’s easy to feel like the location will do the work for you. It won’t. You still have to show up with intention, make compositional decisions under pressure, and adapt when the weather, the light, or the access road doesn’t cooperate.
The single most transferable idea in this entire tutorial is to build your plan around the canyon’s geometry first, then fit your schedule around the light. Everything else, the gear list, the overlook order, the fog strategy, follows from that foundation.
Watch the full tutorial on YouTube, and if you want access to the complete course with all six lessons, Ramtin’s full guide is available at KelbyOne.
Comments (2)
My workflow just got 10x faster. Not even kidding.
Well explained. I think my audience would really benefit from this — mind if I link to it?
Leave a Comment