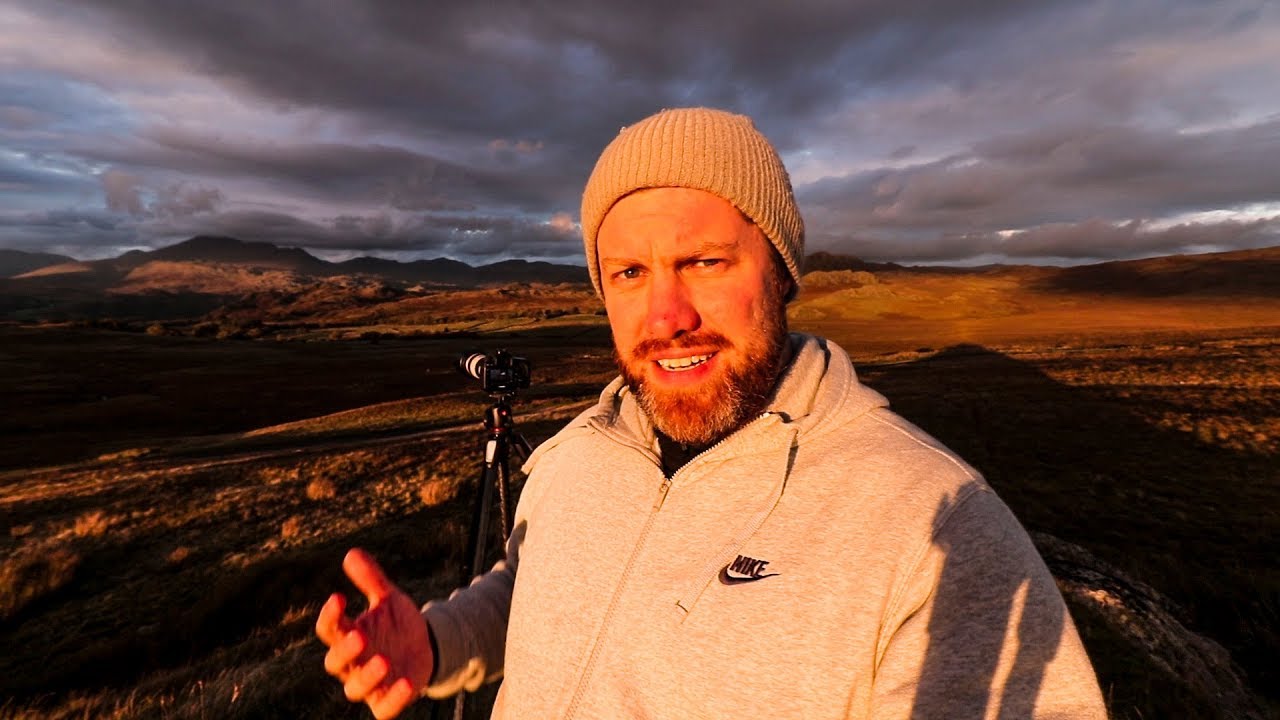
There’s a particular compositional problem I keep running into in the field: a small, interesting subject sitting in a wide, open landscape. A lone structure, a single tree, a weathered dock. Shoot it head-on and it feels like a snapshot. Zoom in tight and you lose the sense of place entirely. The challenge is making the smallness of the subject feel intentional, even powerful, rather than like a failure of nerve. That tension is exactly what I found myself thinking about while watching Watch the full tutorial on YouTube from First Man Photography, where he works through a quiet solo session at Devoke Water in the Lake District with a small boathouse as his anchor point.
What struck me watching this wasn’t the gear or even the specific location. It was the clarity of his thinking before he ever touched the camera. He circles the subject, rejects the obvious angle, and builds a case for every technical decision from a compositional premise. That’s a workflow I recognized immediately because I do some version of it on every shoot. And the technique he uses to pull it all together, an extreme long exposure with a 16-stop ND filter, is one of the most underused tools for solving exactly this kind of small-subject-in-big-landscape problem.
Step 1: Reject the Obvious Angle First
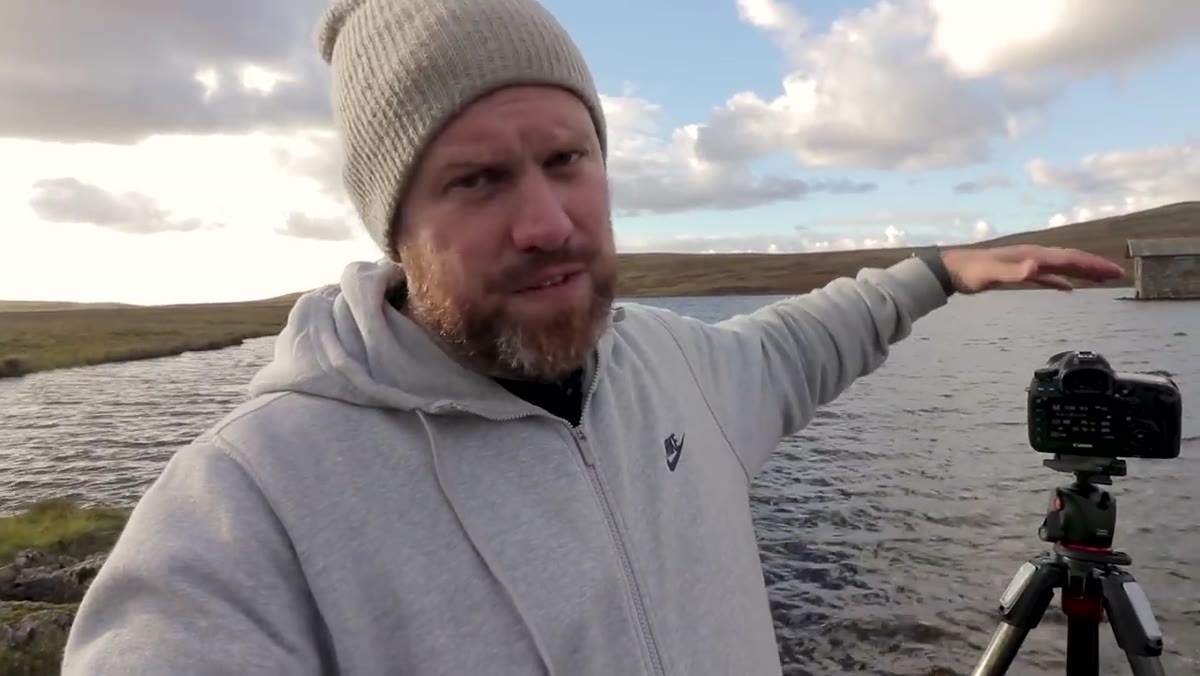
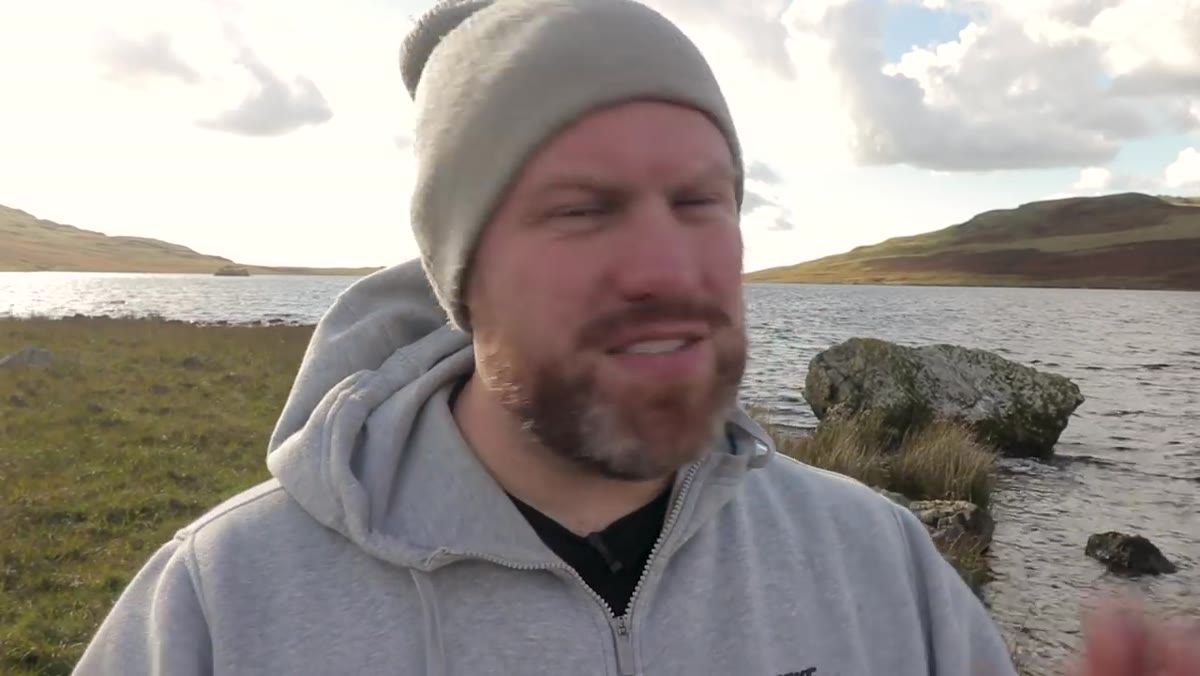 Photographer walking around the boathouse to find a better side angle
Before setting up a tripod, he walks the scene and consciously rules out the most obvious composition, the straight-on view. Head-on has its logic, he notes the hill framing behind it, but he decides the full side view will give him something more interesting to work with structurally. This matters more than it sounds. The temptation on location, especially when light is moving and time feels short, is to plant the tripod at the first decent-looking spot. Resist that. I’ve made it a rule to physically walk a full loop around any subject before I shoot. What you find on the third side is almost always better than what you saw from the parking lot.
Step 2: Use Negative Space Intentionally
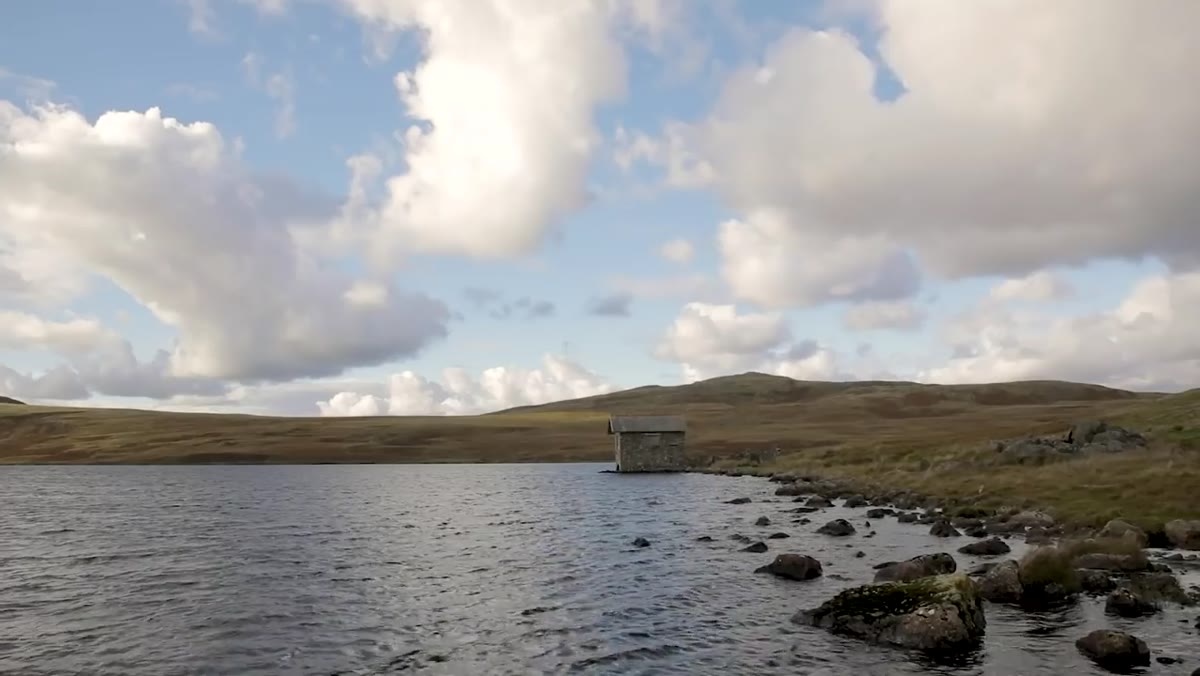 Wide composition showing boathouse anchored in bottom right corner
Once he commits to the side angle, he places the boathouse low in the frame, specifically in the bottom right corner, and treats the water and sky as negative space rather than empty filler. This is a deliberately counter-intuitive move. Most photographers are trained to fill the frame. But here the emptiness is doing real work: it exaggerates the scale of the natural environment and makes that small man-made structure feel isolated and significant rather than just small and forgotten. When you’re composing a small subject in a large scene, ask yourself whether the space around it is earning its place or just sitting there. If it’s earning it, let it breathe.
Step 3: Establish Your Base Exposure Before the Filter Goes On
 Camera settings shown at f/8, 1/60s, ISO 100 without ND filter
This is the step most people skip and it’s the one that causes the most pain. Before attaching any ND filter, he meters the scene normally and locks in a base exposure. His starting point is f/8, 1/60th of a second, ISO 100. These are clean, sensible landscape settings and that’s exactly the point. You want a solid, accurate base reading because everything that follows is a mathematical extension of that number. If your base is sloppy, every calculation downstream is sloppy too. I always take a test shot and check the histogram before the filter goes anywhere near the lens.
Step 4: Calculate the Filtered Exposure with a Dedicated App
 Phone screen showing PhotoPills ND filter calculator with settings entered
With the base exposure confirmed, he pulls out his phone and opens PhotoPills to calculate the final exposure time for a 16-stop ND filter. Plugging in f/8, 1/60th, and ISO 100 at 16 stops gives him a result of over 18 minutes, which is too long for what he’s after. He adjusts ISO to 400 and arrives at 4 minutes and 33 seconds, which sits in a usable range for his camera. This is the right way to do it. Trying to calculate 16 stops of light reduction in your head under pressure, with clouds moving and the sun doing something unexpected, is a losing game. Use the app. The key variable to dial when you need to shorten the exposure without changing aperture is ISO, and bumping it two stops from 100 to 400 cuts roughly four minutes off the timer here.
Step 5: Plan Around the Light Before You Start the Exposure
 Sun moving in and out of clouds above the lake scene
One detail he flags before triggering the shutter is worth its own step: he’s actively watching the sun move in and out of cloud cover and thinking about how that movement will average out across four and a half minutes of exposure. He wants cloud for most of the duration with just enough light breaking through to graze the left-hand side of the boathouse. This is the kind of anticipation that separates a calculated long exposure from a lucky one. Before you start a multi-minute exposure, watch the light cycle for at least two or three minutes. If the sun is on a consistent pattern, you can time your shutter trigger so the exposure begins when you want. If it’s chaotic, that chaos will show in your image, sometimes beautifully, sometimes not.
Step 6: Consider a Monochrome Treatment from the Start
 Photographer describing the soft, ethereal quality of the scene
He mentions early that he’s already thinking about a black-and-white conversion or at minimum a heavy desaturation in post, and this thinking influences his exposure decisions. Long exposures in overcast conditions flatten the tonal range of a scene and smooth out texture in ways that suit monochrome work extremely well. The silky water, blended clouds, and simplified landscape translate directly into the kind of quiet, almost painterly image that makes you stop scrolling. I’d add this to your pre-shoot checklist: if the light is soft and grey and the scene is atmospheric rather than colorful, commit to mono in your head before you start. It frees you from chasing color contrast and lets you think purely in terms of light, shadow, and form.
What I Do Differently After 20 Years
The one thing I’d push back on slightly, or at least add nuance to, is the ISO adjustment as a first resort for shortening long exposure times. Bumping to ISO 400 is perfectly fine on modern full-frame sensors, and his Canon 5D Mark IV handles it cleanly. But if I’m already on a tripod in flat light with time to spare, my first adjustment would be aperture rather than ISO. Stepping from f/8 to f/5.6 gives you a full stop without touching the sensor’s noise floor. Useful if you’re shooting older glass that shows ISO noise more readily, or if you want to sell prints large. That said, his method is faster in the field, which counts for a lot when the light is shifting.
The core lesson in this tutorial is deceptively simple: decide what you want the viewer to feel before you decide what settings to use, and then work backward from there. Every technical choice he makes, the side angle, the negative space composition, the extreme exposure length, follows from a single emotional premise about smallness in a vast natural environment. Watch the full tutorial on YouTube to see that thinking play out in real time, and pay close attention to how much of his best work happens before the filter ever goes on the lens.
Comments
Leave a Comment