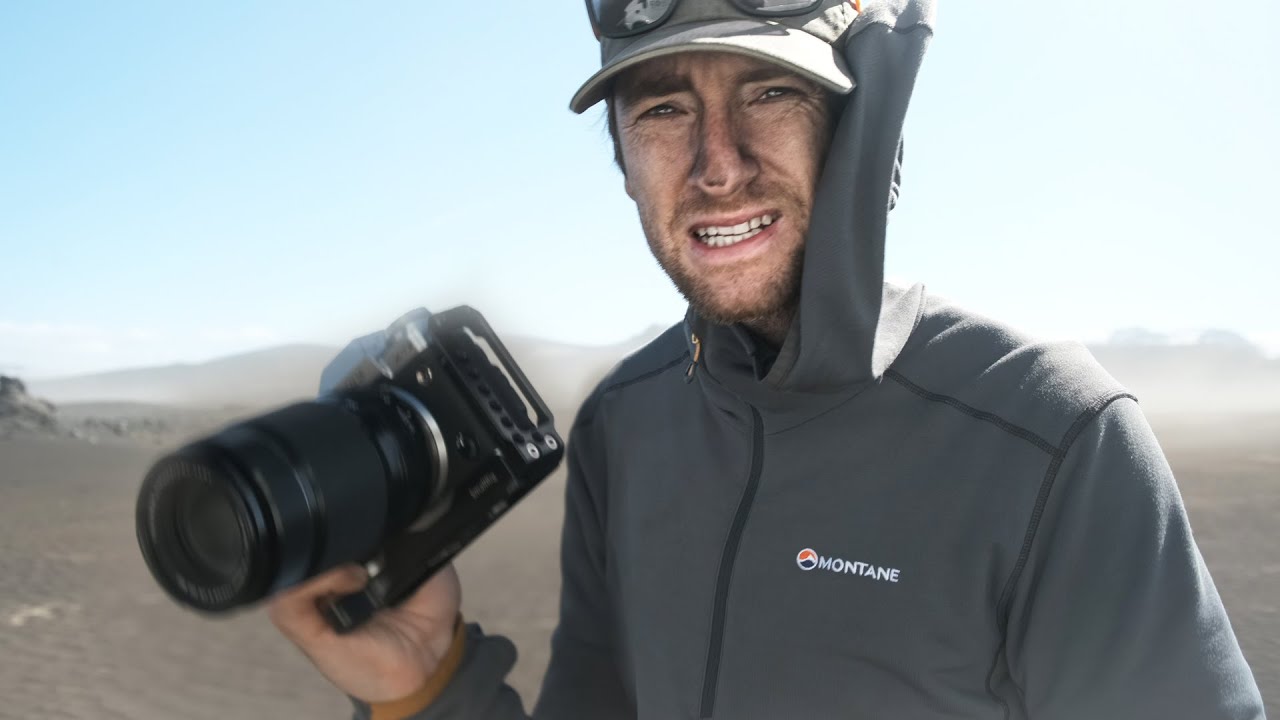
There is a version of landscape photography that looks like meditation. Tripod planted, composition locked, waiting for the light to arrive like a guest you’ve been expecting all week. I’ve lived in that version for most of my career. But there’s another version, the kind that doesn’t ask permission, that shows up sideways and fast and demands you keep up. I didn’t fully appreciate how much skill that second version requires until I watched Thomas Heaton get swallowed by a sandstorm on Iceland’s black sand desert and come out the other side with frames that looked like they were shot on another planet.
Watch the full tutorial on YouTube
In this Thomas Heaton tutorial, what starts as a drive through the Icelandic interior becomes an unplanned shoot inside a full dust and ash storm. There’s no golden hour setup here, no waiting for clouds to part. Instead, Heaton demonstrates something I think gets undervalued in landscape photography education: the ability to read a chaotic environment quickly, extract a composition strategy from it, and then adapt your gear decisions in real time. After twenty years shooting landscapes professionally, I still find myself learning something from watching a photographer I respect work through conditions I haven’t faced.
Step 1: Recognize When Chaos Becomes Opportunity
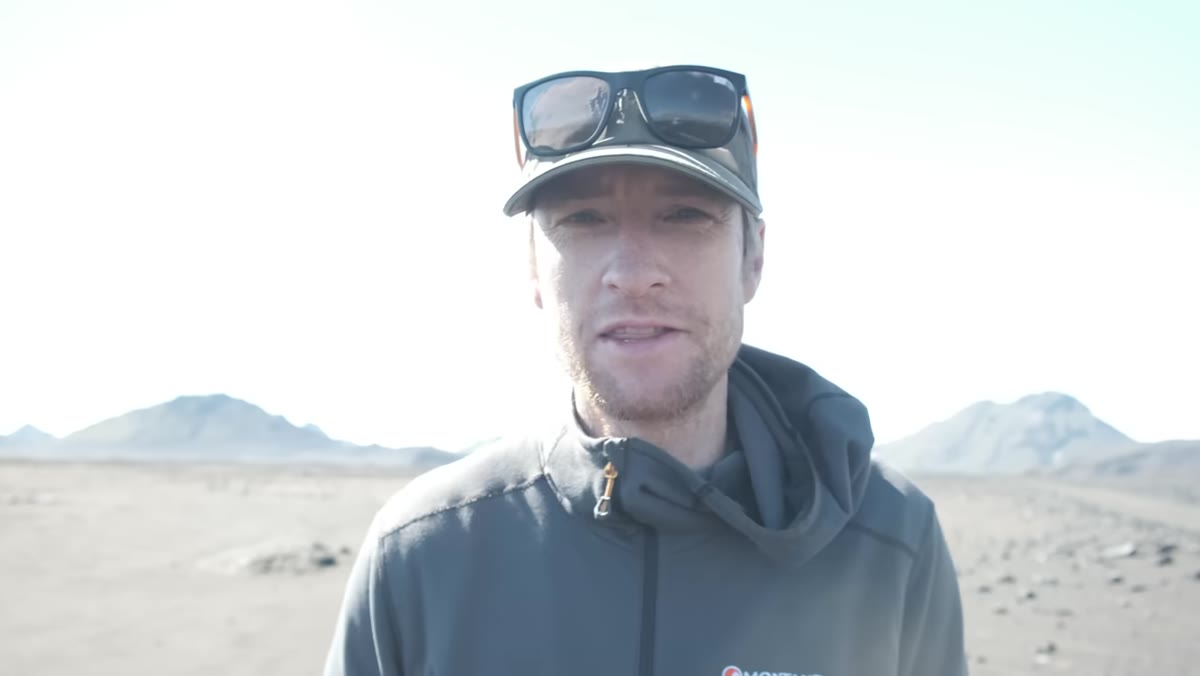 Heaton filming inside the storm from the roadside
When Heaton first spots the storm from the vehicle, he doesn’t immediately grab his camera. He reads the scene first. Is it rain? Is it wind-driven dust? The distinction matters because it determines how aggressive the conditions will be on exposed glass and sensors. Once he identifies it as a dry ash and dust storm rather than precipitation, he looks for a pull-off that gives him something to work with compositionally. Black sand underfoot, snow-streaked peaks in the distance, obsidian rocks as foreground texture. The storm itself becomes the light source and atmosphere, not an obstacle to good light.
The lesson here is to pause for thirty seconds before you open the car door. Identify what the weather is actually doing, not just whether it looks dramatic. Dramatic and photographable are not always the same thing, but when they align, the window is usually short.
Step 2: Leave the Tripod Behind and Shoot Handheld
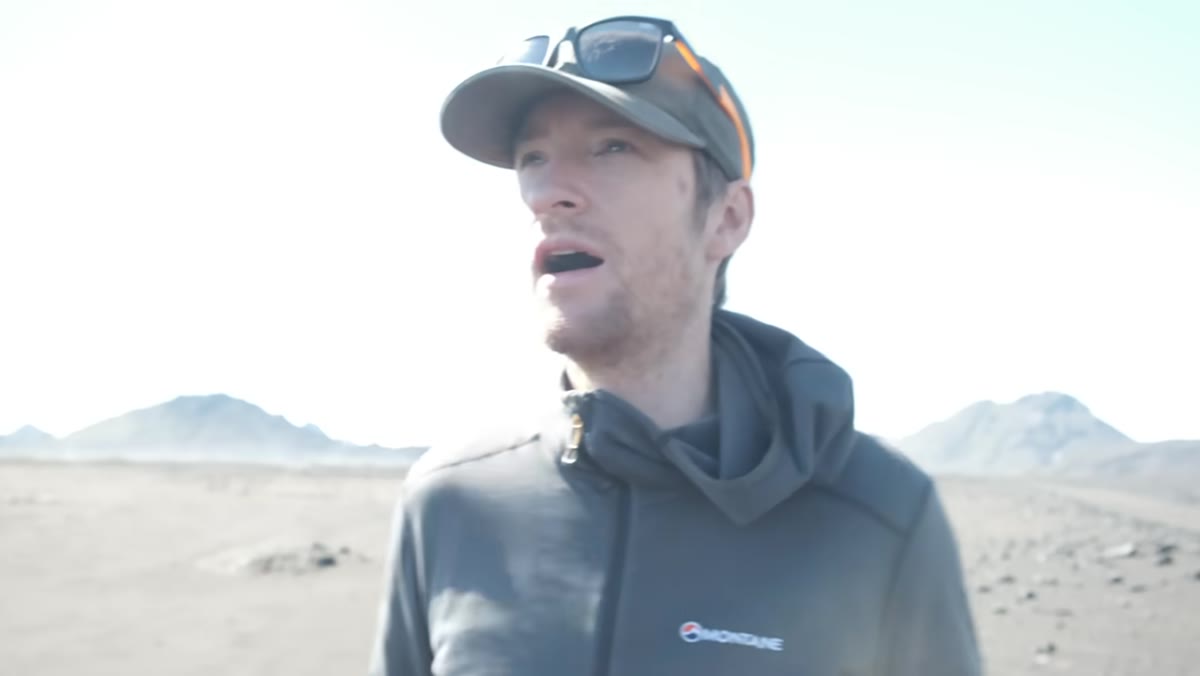 Heaton shooting handheld in blowing dust and ash
Heaton makes a deliberate choice to leave his tripod in the vehicle. In conditions where grit is airborne, every mechanical joint on a tripod head becomes a collection point for debris. More practically, a tripod locks you into one position when you need to be moving constantly, testing angles, responding to how the dust is swirling. He works with a 55-200mm zoom, using the focal length range to shift between wide environmental frames and compressed, detail-oriented shots of the ridgelines disappearing into the haze.
Going handheld in wind means bumping your shutter speed. Heaton is shooting digital here with enough light to stay at a safe speed, but as a rule, in gusty conditions I add at least one stop to whatever the focal-length rule would suggest. If you’re at 200mm, you want 1/400s or faster, not 1/200s, because the wind is moving you even when you think you’re planted.
Step 3: Look for Shapes and Contrast, Not Subjects
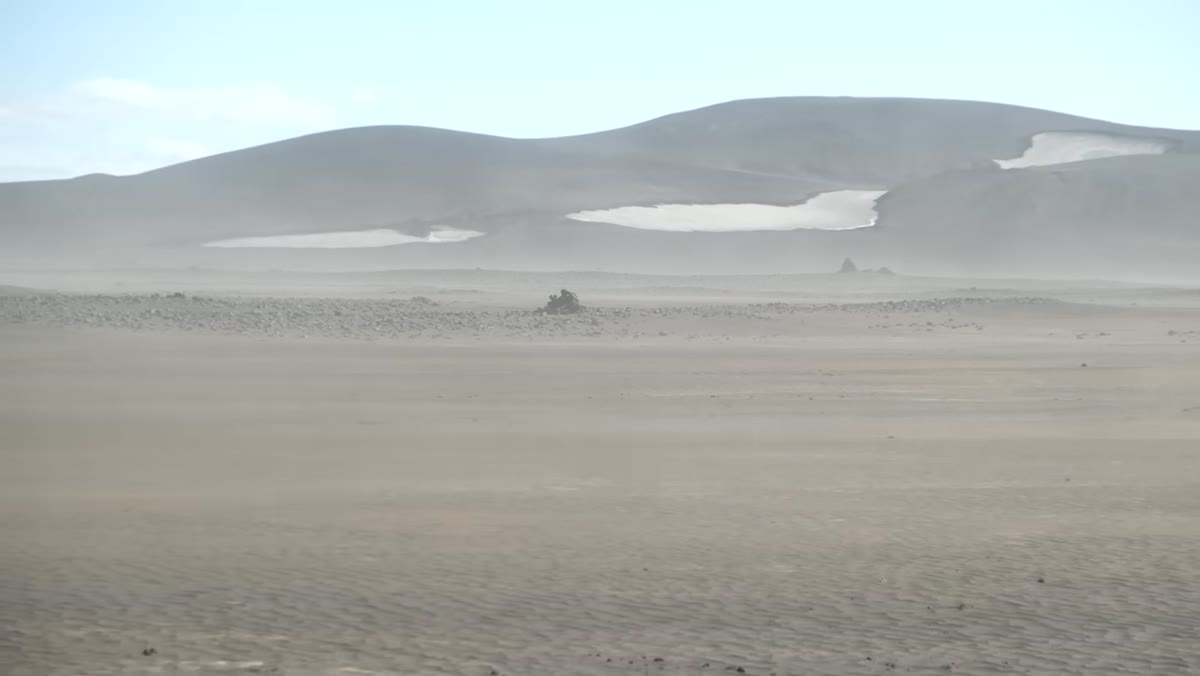 Wide shot showing hazy ridgelines and blowing dust layers
This is the step that most changed how I thought about difficult light conditions. Heaton is explicit about it: when visibility collapses and the landscape becomes a wash of grey and brown, stop looking for a subject and start looking for shapes and areas of contrast. A rock by itself is uninteresting. A rock with a dust veil moving behind it and a snow-patched ridge in soft focus beyond that, now there are three layers of contrast doing compositional work for you.
This reframing is worth practicing at home by looking at your existing shots in black and white and identifying where the contrast edges are, independent of what the subject is. When you train yourself to see that way, you can find frames in conditions that would otherwise feel impossible.
Step 4: Account for Autofocus Limitations in Low Visibility
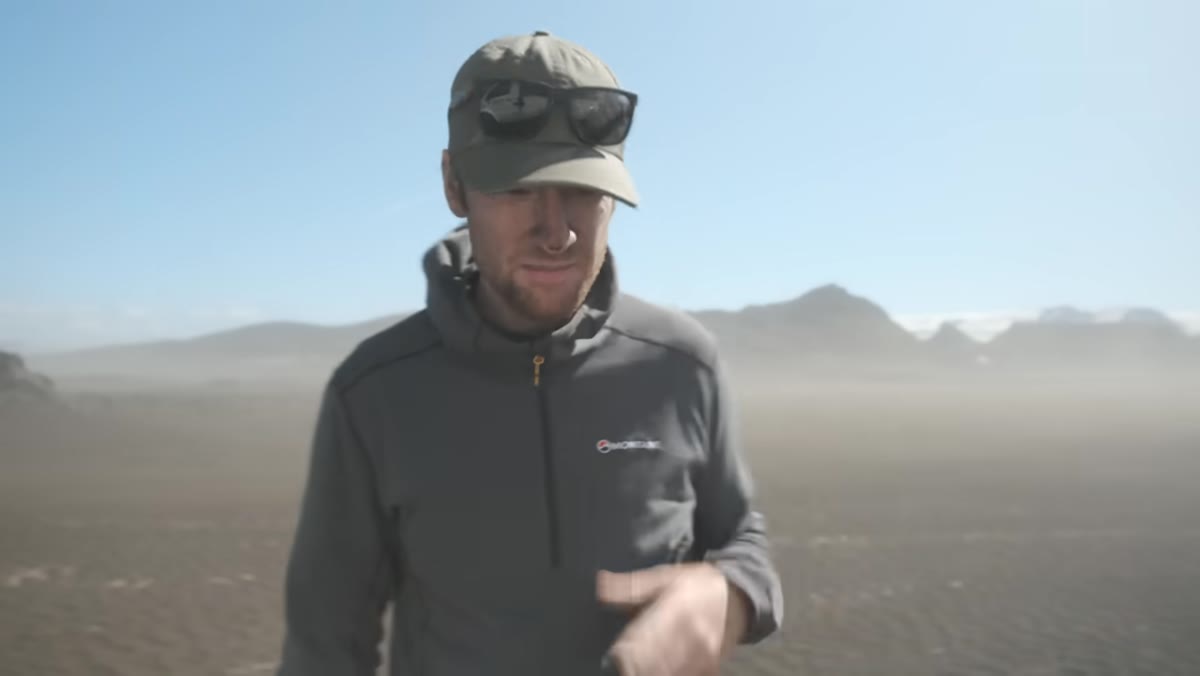 Heaton checking focus while shooting through blowing dust
Heaton flags something important here that’s easy to miss when you’re excited by dramatic conditions. Contrast-detection autofocus struggles when the air itself reduces contrast between your subject and the background. He’s monitoring his hit rate actively rather than assuming the camera is keeping up. His solution is to stay aware of how much clarity remains in the scene and to verify focus on the camera’s rear screen when possible between bursts.
If your camera allows you to set a manual focus distance and shoot zone-focused, this is a situation where that approach pays off. At smaller apertures and shorter focal lengths, you can set focus to a hyperfocal distance and remove the autofocus variable entirely. For a zoom lens in the 24-70mm range at f/8, most of your scene will be sharp without the camera needing to hunt through blowing debris.
Step 5: Adapt Your Gear Protection on the Fly
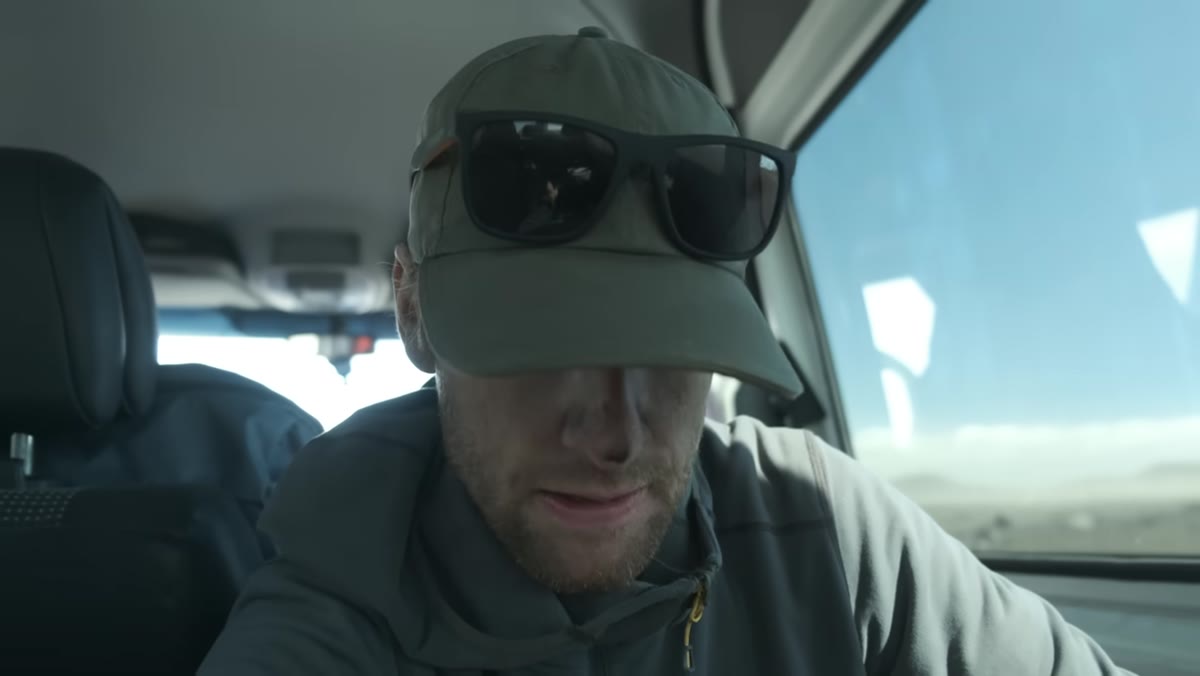 Heaton preparing his medium format film camera inside the vehicle
Here is where the tutorial becomes something genuinely instructive rather than just entertaining. Heaton decides he wants to shoot the scene on medium format film, a 6x6 camera that is not weather-sealed and has no autofocus. His solution is methodical rather than impulsive. He prepares everything inside the vehicle: takes a meter reading, pre-sets focus to infinity, plans the composition mentally. Then he wraps the camera in a carrier bag as improvised weather protection and runs out to shoot.
The image has motion blur from hand-holding a large format camera at a focal length that needed a faster shutter speed than the conditions allowed. He documents that failure honestly. The technique is sound even if that particular frame didn’t land, and the lesson is that your improvised protection should account for what you’re asking the camera to do, not just where the dust might enter.
Step 6: Meter and Lock Settings Before You Expose Yourself to the Elements
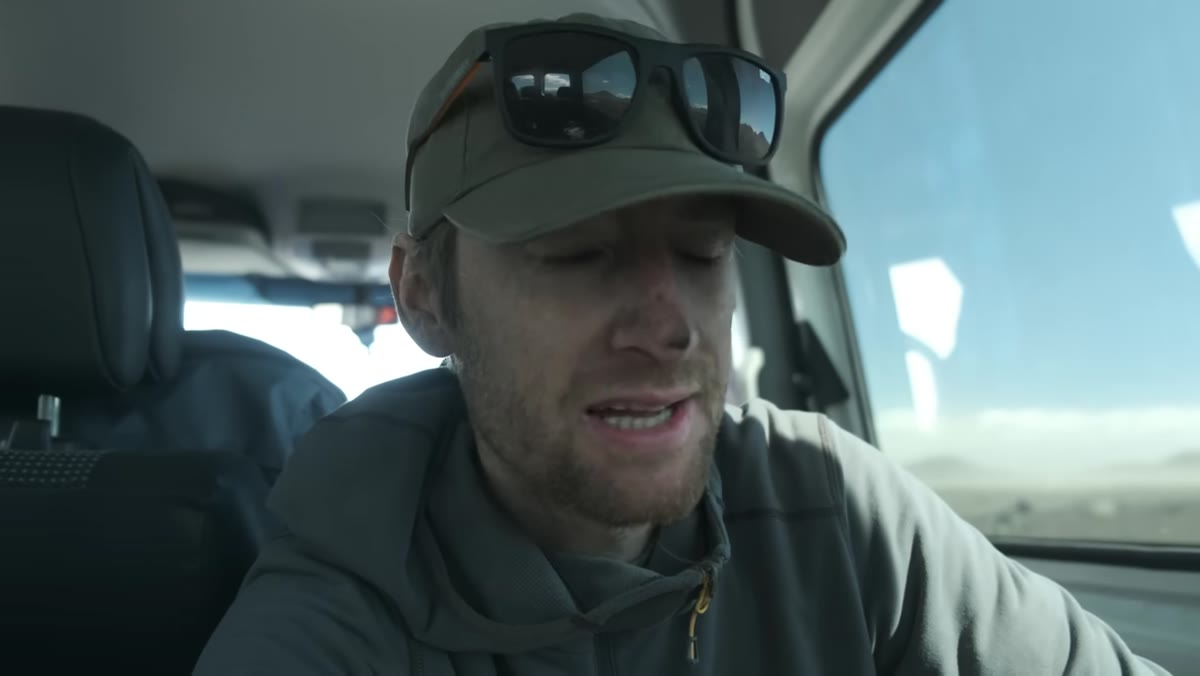 Heaton dialing in settings inside vehicle before exiting
Heaton’s pre-shoot ritual inside the vehicle is worth its own step. He takes the meter reading while protected, sets everything manually, and walks out with the camera already configured. No fumbling with dials in flying grit. No lens cap accidentally left on. The sequence is: meter, set exposure, set focus, protect camera, exit, shoot.
For manual shooters, this is simply good practice in any difficult condition, but it becomes essential when every second outside degrades your gear a little more. Know what you’re walking into before you open the door.
What I’d Add: The Film Instinct is Worth Keeping
Heaton’s impulse to reach for his medium format film camera in the middle of a sandstorm made complete sense to me. I still shoot film occasionally, not because it produces better results in every situation, but because loading a roll and knowing you have twelve frames forces a different quality of attention than a 512GB card does. In chaotic conditions, that constraint can actually help. You slow down just enough to see the frame before you fire it. His attempt didn’t work mechanically, but the instinct to bring considered intention into a frantic situation is exactly right.
The single most transferable idea from this tutorial is that instinct and preparation are not opposites. Heaton moves fast and responds intuitively, but every decision he makes in the field, leaving the tripod, pre-setting the film camera, monitoring autofocus, is backed by deliberate thinking done either before or quickly during the shoot. Chaos rewards the photographer who has already solved the technical problems in their head.
Watch the full tutorial on YouTube and pay close attention to the moments between the frames, the decisions Heaton makes before he ever raises the camera to his eye.
Comments
Leave a Comment