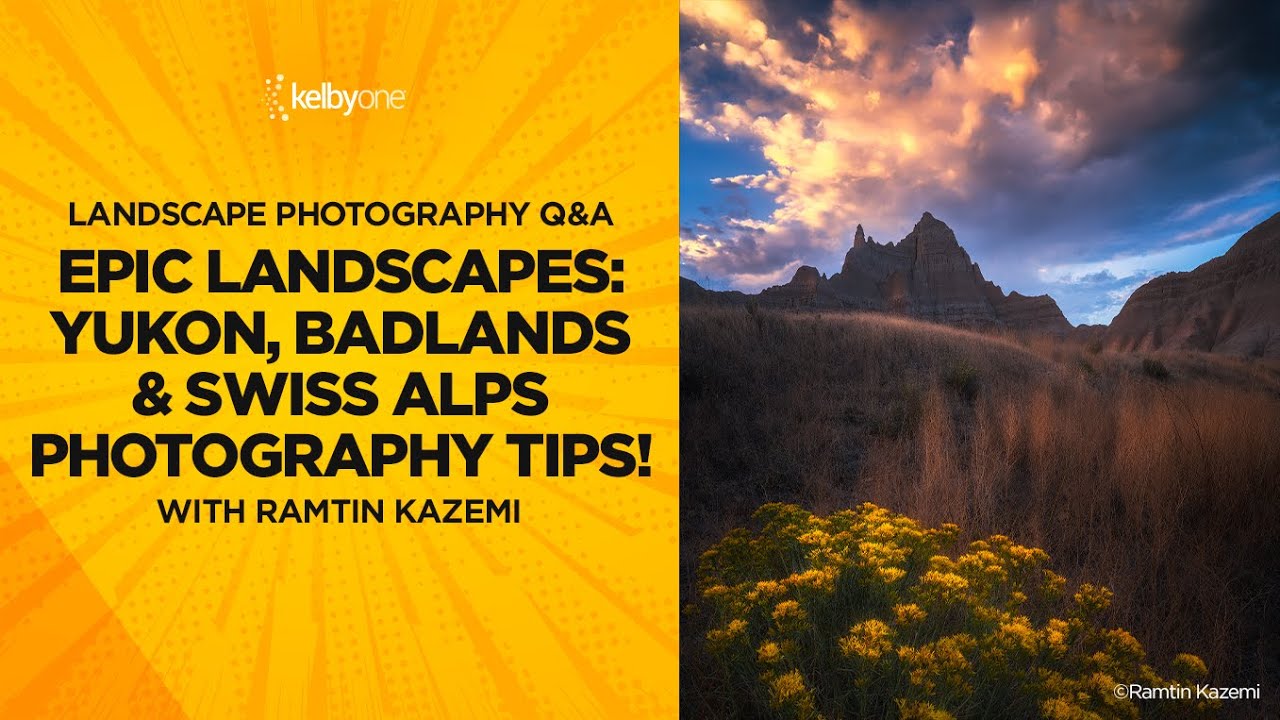
There’s a particular kind of frustration that comes from standing in a genuinely beautiful place and knowing your image isn’t going to match what you’re seeing. The foreground rock is sharp, the distant ridge is a smear. Or the light is extraordinary but the sky is a flat white sheet. These aren’t beginner problems. They follow you into your twentieth year behind a camera if you don’t have clean, deliberate systems for handling them. I’ve been shooting landscapes full-time out of Bend, Oregon long enough to know that the photographers worth learning from aren’t the ones with the most dramatic locations. They’re the ones who have thought hard about their process and can explain it clearly.
That’s exactly what Ramtin Kazemi does in his Watch the full tutorial on YouTube conversation with KelbyOne. Ramtin walks through his work from the Yukon, the Badlands, and the Swiss Alps, and what could have been a highlight reel turns into a genuinely useful breakdown of how he thinks in the field. The tutorial covers location scouting instincts, focus stacking decisions, and his approach to sky replacement. I’m going to pull the technical core out of it and add some field context from my own experience.
Step 1: Scout for Accessibility, Not Just Drama
 Ramtin and host reviewing Badlands location images on screen
The first thing that struck me watching Ramtin discuss his Badlands work was how he reframed what “great location” actually means. The host points out that Ramtin’s superpower isn’t just finding beautiful places. It’s finding places nobody else has thought to look at. One of the Badlands images that looked like it could have been shot on another planet was, in reality, two minutes from the trail. Ramtin was clear about this. You could see other visitors in the frame.
This is worth sitting with. The instinct most photographers have is to assume that effort equals reward, that the harder the hike, the better the shot. Sometimes that’s true. But Ramtin’s approach is to study a location carefully enough that you find the overlooked angles close to access points. This takes research before you arrive, not improvisation when you get there. Study trail maps, satellite imagery, and other photographers’ work from the same area, but specifically look for what they’re not shooting.
Step 2: Understand When Focus Stacking Is Actually Necessary
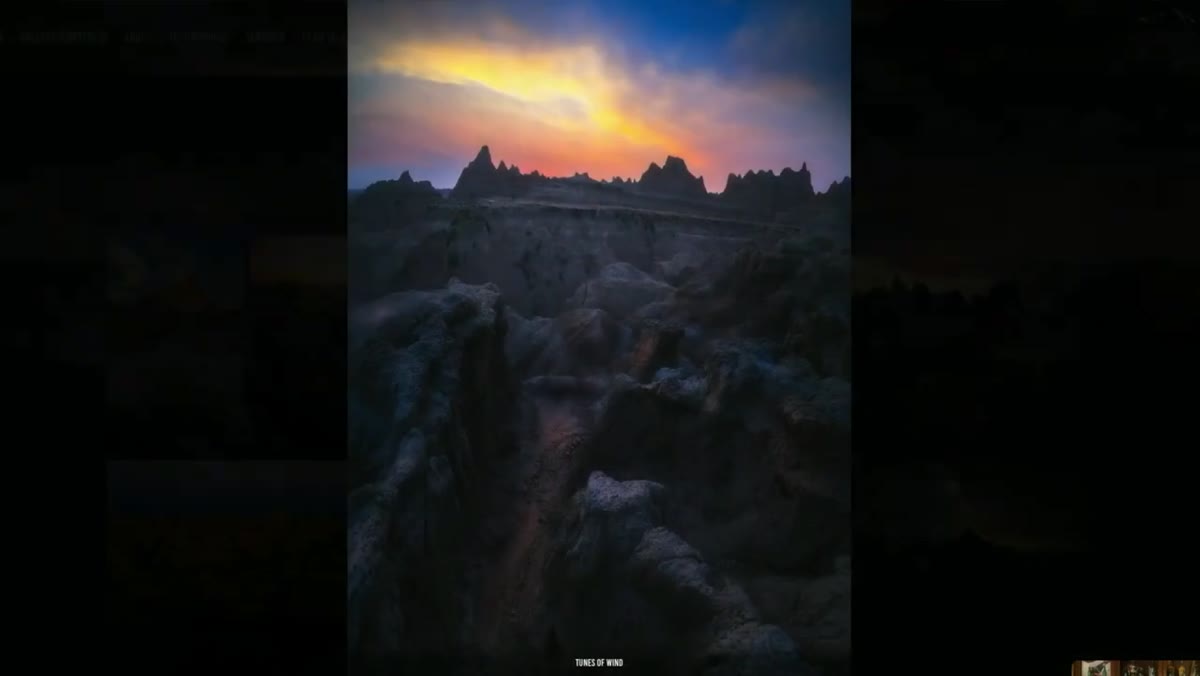 Host explaining focus stacking concept with Badlands image on screen
Focus stacking comes up early in the tutorial because a viewer asks directly whether Ramtin uses it. His answer is conditional, which I appreciate. The technique involves taking multiple exposures at different focus distances, from your nearest foreground element out to the horizon, and merging them in post so the entire frame is sharp. Most modern cameras can automate this process, firing a sequence of shots as the focus plane steps through the scene.
Ramtin’s key point is that the decision depends on how close your foreground subject is to the lens. With an ultra-wide angle, you can often get away with a single exposure at f/11 or f/16. But as you move toward longer focal lengths, even 24mm or 35mm, the physics work against you. A subject very close to the glass simply cannot share a focus plane with a mountain range two miles away, regardless of how small your aperture is. If you’re shooting at anything longer than ultra-wide and you want a sharp foreground element, stack. Set your camera to its focus bracketing mode, choose 7 to 10 exposures, and let it run. Merge in Photoshop using Auto-Align Layers followed by Auto-Blend Layers set to Stack Images.
Step 3: Set Your Sky Replacement Rules Before You’re in the Field
 Gallery images showing Badlands skies discussed in sky replacement context
The sky replacement question is one that makes a lot of landscape photographers uncomfortable, partly because the conversation around it has become more polarized than it needs to be. Ramtin handles it with unusual clarity. He uses sky replacement, but he has a rule he applies consistently: any sky he drops into an image must come from the same trip, shot at a similar focal length, with matching light direction and quality.
He estimates that roughly 20% of his gallery work involves a replaced sky. The other 80% is exactly what was overhead when he pressed the shutter. I think what matters most here isn’t the percentage. It’s the rule. Having a personal standard you apply before you’re standing in the field, tired and disappointed by flat light, keeps you from making decisions you’ll rationalize later. My own rule is similar. I’ll blend exposures from the same scene but I won’t import a sky from a different location entirely. Where you draw the line matters less than the fact that you’ve drawn one.
Step 4: Choose Your Hardest Locations with Full Logistical Honesty
 Host and Ramtin discussing Yukon terrain and expedition logistics
When asked about his most challenging location, Ramtin named the Yukon without hesitation. No roads. Helicopter access only. Overnight temperatures dropping well below freezing. Grizzly bears in the surrounding tundra. This isn’t hardship tourism. The Yukon, specifically Tombstone Territorial Park, produces images that look like Patagonia. The reward is real. But so is the preparation required.
What I took from this part of the conversation is the importance of matching your ambition to your honest assessment of your gear, fitness, and experience. Ramtin didn’t describe the Yukon as a destination for everyone. He described it as a place that demands respect and serious pre-trip logistics. If you’re planning a remote expedition shoot, work backwards from your most critical needs: shelter, communication, bear safety, power for your batteries, and weather contingencies. The photography is the last item on that list, not the first.
Step 5: Recognize What Makes a Location Underused
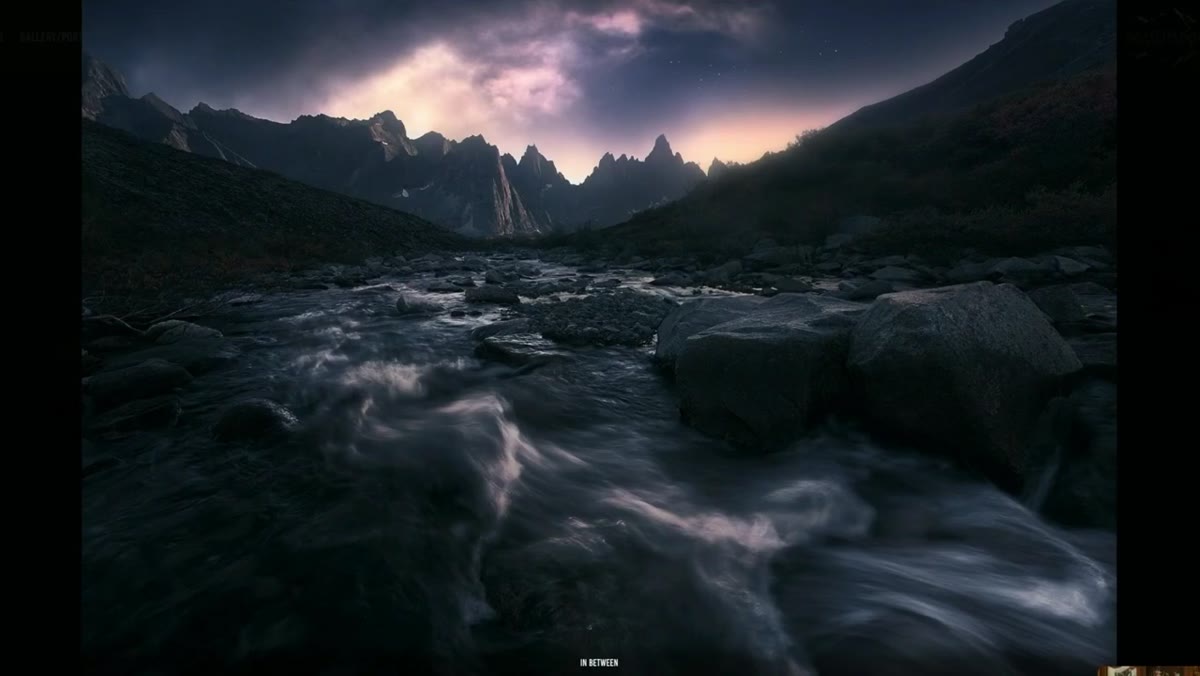 Yukon landscape images displayed showing dramatic mountain terrain
One of the quieter observations in the tutorial is that photographers collectively over-concentrate on a small number of iconic locations. The host notes that the same Utah and Arizona landscapes appear constantly, and Ramtin’s Yukon work stands out partly because it’s genuinely unfamiliar to most viewers. The Yukon images he shows don’t look like Canada to most people. They look like somewhere further and harder.
Identifying underused locations requires deliberate effort to look past the first page of search results. Regional and territorial parks that don’t appear in major photography guides are often extraordinary. Indigenous land offices, parks departments, and local outdoor clubs are better starting points than photography forums when you’re trying to find somewhere new. Do the unglamorous research and you’ll regularly find places that look extraordinary simply because they haven’t been shown to death.
A Note from the Field
I’ve learned to separate two things that often get conflated: shooting difficulty and image quality. Some of my most technically successful images came from places I reached in under ten minutes. One of them came from two days of sitting in fog at a location I’d driven six hours to reach. The fog finally broke for forty minutes on the morning I was giving up and driving home, and that single frame became my best-selling print.
What Ramtin demonstrates across his entire body of work is that system and intention produce results more reliably than grinding effort alone. The focus stacking protocol, the sky replacement rule, the scouting instinct. These aren’t shortcuts. They’re the structure that lets you stay calm when conditions get difficult and make good decisions when it counts.
The single most transferable idea from this tutorial is that disciplined rules made before you’re in the field protect the quality of your work when you’re tired, cold, and tempted to cut corners. Build your rules now. Watch the full tutorial on YouTube to see Ramtin’s complete image gallery and hear him walk through his thinking in his own words.
Comments
Leave a Comment