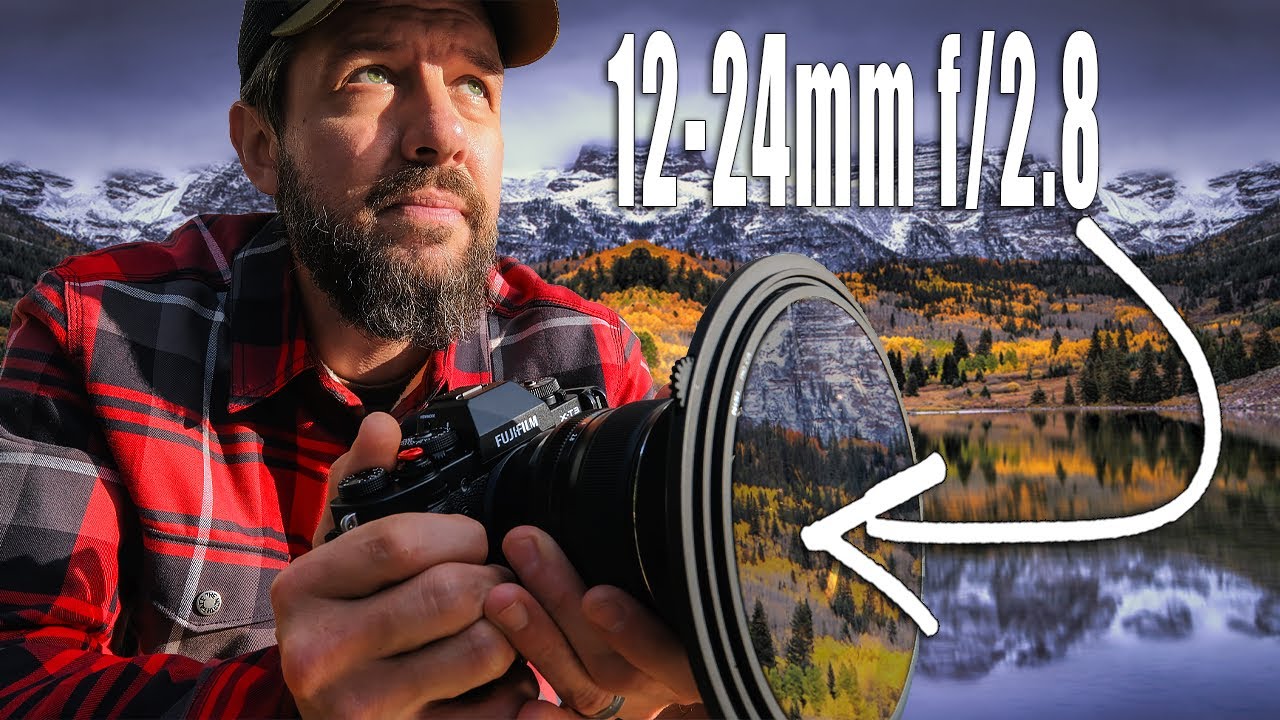
I bought my first ultra-wide lens the same way most photographers do: reluctantly, and only after the gear I already trusted stopped delivering what I needed. When I made a system change a while back, I found myself in a familiar place of re-learning focal lengths I thought I understood. The ultra-wide is a genuinely different animal from a standard wide angle, and the differences matter most when you’re standing in a field at 5am with one hour of good light and no margin for error.
That’s why this tutorial from Mark Denney landed so well for me. Watch the full tutorial on YouTube. Mark is a thoughtful photographer who doesn’t traffic in hype, and in this particular video he works through five genuine challenges he encountered after switching to an ultra-wide lens for his landscape work. These aren’t beginner mistakes. They’re the kind of subtle, compounding problems that show up after months of real use, which is exactly why the breakdown is worth your time.
What follows is my own working-through of what Mark covers, layered with what I’ve encountered across twenty years of getting up before the rest of the world to go stand in places most people only see on calendars.
Step 1: Understand Why Weather Dependency Changes Everything at Ultra-Wide
 Mark explaining weather dependency with ultra-wide landscape image on screen
A telephoto lens gives you a narrow slice of the world. You can compose around a bad sky, point lower, tighten the frame, and often come away with a perfectly workable image on an ugly morning. An ultra-wide lens does not allow that kind of escape. The field of view is so broad that the sky occupies a massive portion of your frame whether you want it to or not, and a flat, textureless, uninspiring sky will sink an otherwise strong composition every time.
Mark explaining weather dependency with ultra-wide landscape image on screen
A telephoto lens gives you a narrow slice of the world. You can compose around a bad sky, point lower, tighten the frame, and often come away with a perfectly workable image on an ugly morning. An ultra-wide lens does not allow that kind of escape. The field of view is so broad that the sky occupies a massive portion of your frame whether you want it to or not, and a flat, textureless, uninspiring sky will sink an otherwise strong composition every time.
Mark illustrates this with a coastal shot where the wave action and foreground elements were genuinely interesting, but fog had erased any sky drama entirely. No amount of post-processing recovered what simply wasn’t there. He returned the next morning under better conditions and came away with a photograph that worked. The lesson is operational, not philosophical: when you carry an ultra-wide lens, you are committing to the sky as a primary compositional element, which means checking conditions more carefully before you drive, and being far more willing to walk away and come back. I’ve driven six hours to a location and sat in fog for two days. It taught me that patience is not passive. It’s a planning strategy.
Step 2: Treat Foreground Interest as a Non-Negotiable Requirement
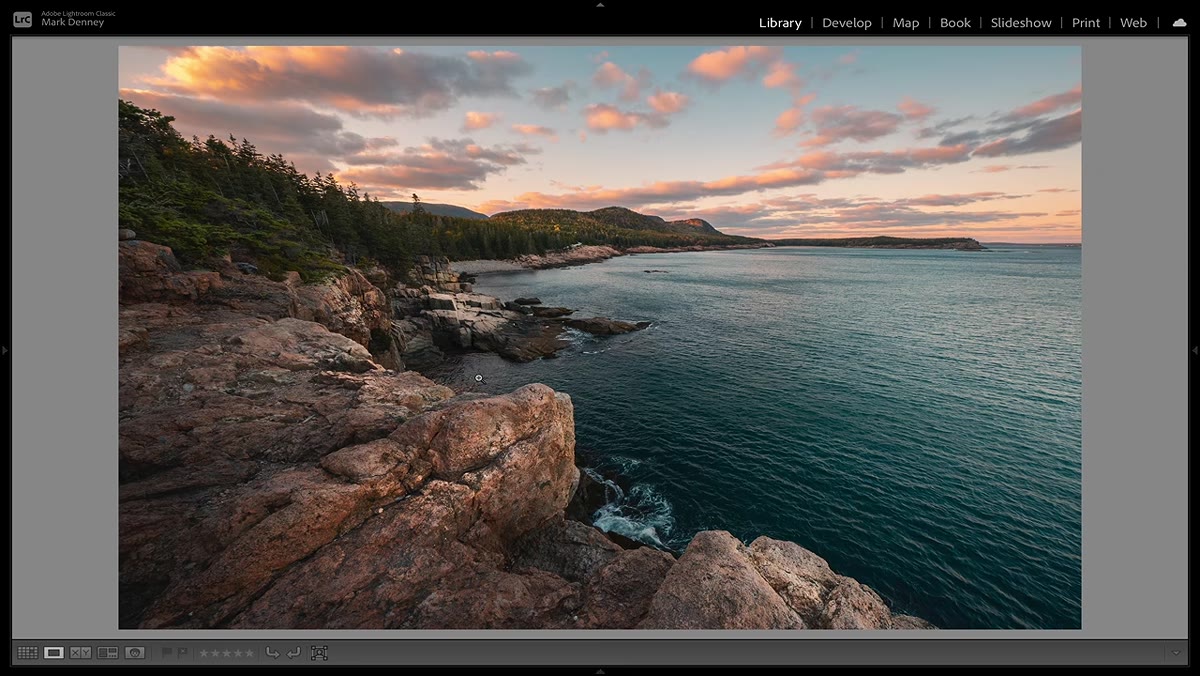
 Ultra-wide coastal composition showing flat sky and wave foreground
Because the ultra-wide pulls everything away from you and compresses apparent distance, a weak foreground doesn’t just make a photo average. It makes it empty. The lens exaggerates spatial relationships in both directions: a compelling foreground becomes dramatic and immersive, and a boring one becomes a visual dead zone that the eye crosses without stopping.
Ultra-wide coastal composition showing flat sky and wave foreground
Because the ultra-wide pulls everything away from you and compresses apparent distance, a weak foreground doesn’t just make a photo average. It makes it empty. The lens exaggerates spatial relationships in both directions: a compelling foreground becomes dramatic and immersive, and a boring one becomes a visual dead zone that the eye crosses without stopping.
Before you set up your tripod, walk the scene and find an anchor. Rocks with interesting texture, tide pools with reflective water, leading lines of grasses or roots, anything with shape and detail that will hold up under magnification. Get low. The closer your front element is to that foreground element, the more pronounced the depth effect becomes, and the more your image will feel like it pulls the viewer in rather than just documenting a location.
Step 3: Recalibrate Your Sense of Subject Distance
 Wide-angle distortion example showing distant subject appearing smaller than expected
This one catches experienced photographers off guard. You’ve trained your eye on a 24mm or 35mm perspective for years, and you understand intuitively how close something needs to be to read as significant in the frame. The ultra-wide invalidates that intuition. Distant subjects shrink. A mountain range that fills your viewfinder with a standard wide angle becomes a thin band near the horizon at 12mm or wider.
Wide-angle distortion example showing distant subject appearing smaller than expected
This one catches experienced photographers off guard. You’ve trained your eye on a 24mm or 35mm perspective for years, and you understand intuitively how close something needs to be to read as significant in the frame. The ultra-wide invalidates that intuition. Distant subjects shrink. A mountain range that fills your viewfinder with a standard wide angle becomes a thin band near the horizon at 12mm or wider.
The practical fix is to physically move closer to your primary subject, often much closer than feels natural, or to reframe the composition so the interest is built entirely from foreground and sky, with the middle distance functioning as transition rather than subject. Mark makes clear that this adjustment isn’t instinctive. You have to consciously override your compositional habits every time you pick up the lens.
Step 4: Watch for Edge and Corner Distortion During Composition
 Ultra-wide frame showing geometric distortion at edges of image
Even well-corrected ultra-wide lenses bend straight lines near the edges of the frame, and this becomes a real issue when you have a visible horizon, a tree line, or an architectural element anywhere near the corners. The distortion curves what should be straight and creates an unsettling visual tension that’s difficult to correct in post without cropping into your frame and losing the wide-angle effect you came for.
Ultra-wide frame showing geometric distortion at edges of image
Even well-corrected ultra-wide lenses bend straight lines near the edges of the frame, and this becomes a real issue when you have a visible horizon, a tree line, or an architectural element anywhere near the corners. The distortion curves what should be straight and creates an unsettling visual tension that’s difficult to correct in post without cropping into your frame and losing the wide-angle effect you came for.
The field solution is to keep strong horizontal lines away from the edges of your composition, ideally centered or at least in the middle third of the frame vertically. Also pay close attention to the horizon line itself. Even a few degrees of tilt becomes amplified at ultra-wide focal lengths and looks significantly worse than it would on a longer lens. Level your tripod head carefully, not just approximately. A ball head with a built-in bubble level helps. If you shoot handheld at ultra-wide, use your camera’s electronic level religiously.
Step 5: Build Your Exposure Strategy Around the Contrast Challenge
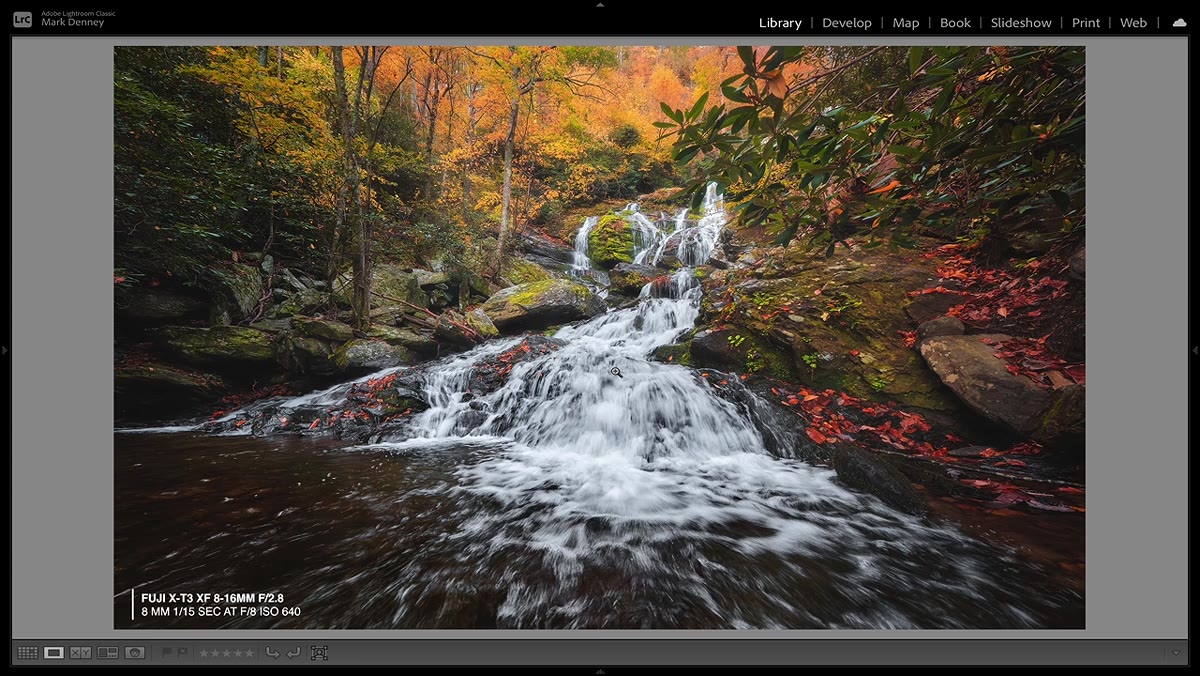 High-contrast ultra-wide landscape scene with bright sky and dark foreground
Broad skies and shaded foregrounds create exposure gaps that challenge any camera sensor, and the ultra-wide captures both extremes in the same frame with no easy way to exclude one or the other. Mark addresses this directly, pointing to the need for either graduated ND filters in the field or careful bracketing for blending in post.
High-contrast ultra-wide landscape scene with bright sky and dark foreground
Broad skies and shaded foregrounds create exposure gaps that challenge any camera sensor, and the ultra-wide captures both extremes in the same frame with no easy way to exclude one or the other. Mark addresses this directly, pointing to the need for either graduated ND filters in the field or careful bracketing for blending in post.
In practical terms: shoot RAW, always. Expose to protect your highlights, since shadow recovery is more forgiving than blown skies in most modern sensors. Use a two-stop or three-stop soft-edge graduated ND filter to bring the sky closer to foreground exposure levels before you press the shutter. If conditions are extreme, bracket two or three frames and blend manually in Lightroom or Photoshop using luminosity masks. This is not a workaround. It’s just the correct workflow for the focal length.
What I’d Add From My Own Time in the Field
The transition from a standard wide angle to an ultra-wide is less about learning new techniques and more about unlearning old reflexes. I spent the first several weeks second-guessing compositions that felt right to my eye but looked wrong on the back of the camera, and vice versa. The lens rewards deliberate, slow composition far more than reactive shooting.
I still occasionally shoot film to force myself to slow down and commit before pressing the shutter. A mentor told me once that the mountain doesn’t care about your schedule, and that’s doubly true with a lens that punishes rushed decisions. Give yourself more time at each location than you think you need. The ultra-wide only reveals what’s actually there. Your job is to find a version of what’s there that’s worth revealing.
The single most important thing Mark’s breakdown reinforced for me: the ultra-wide lens does not make landscape photography easier or more dramatic automatically. It raises the stakes on every element in the frame simultaneously, sky, foreground, light, distortion, and contrast. Master those five pressure points and the lens becomes genuinely powerful. Ignore any one of them and the width works against you.
Watch the full tutorial on YouTube to see Mark’s actual images and hear him walk through the reasoning behind each challenge in his own words. It’s worth the full watch.
Comments
Leave a Comment