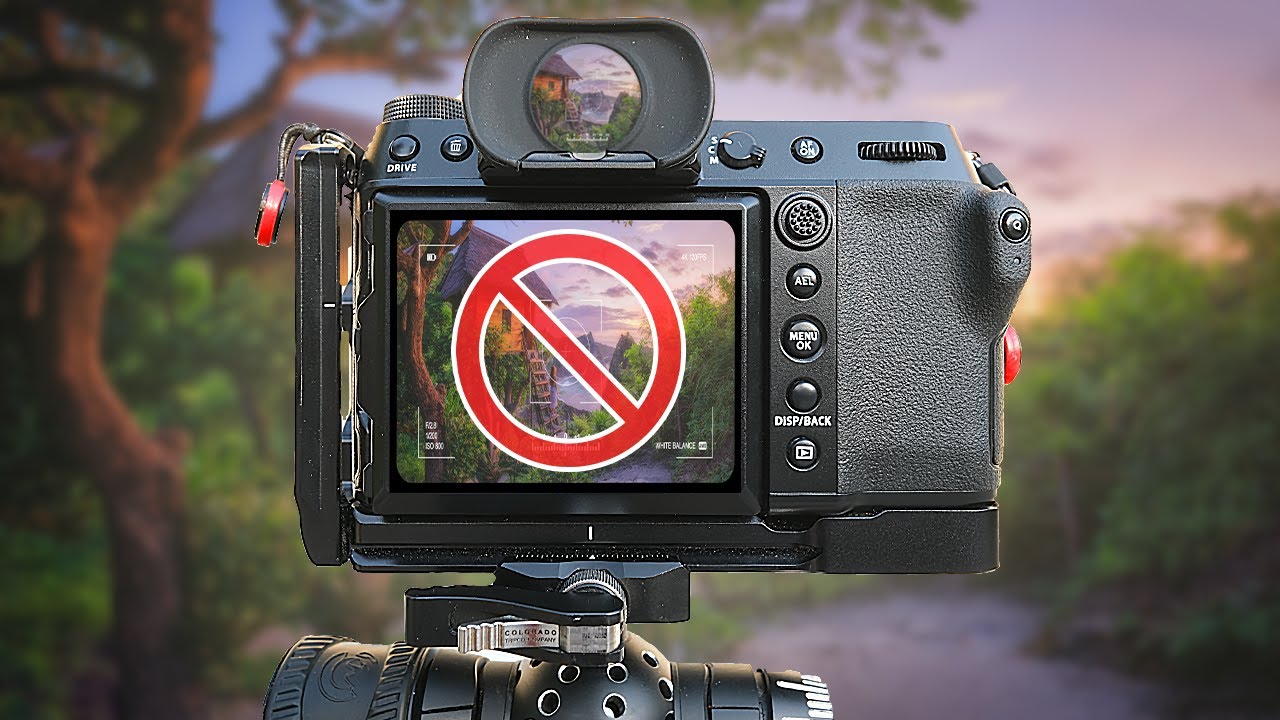
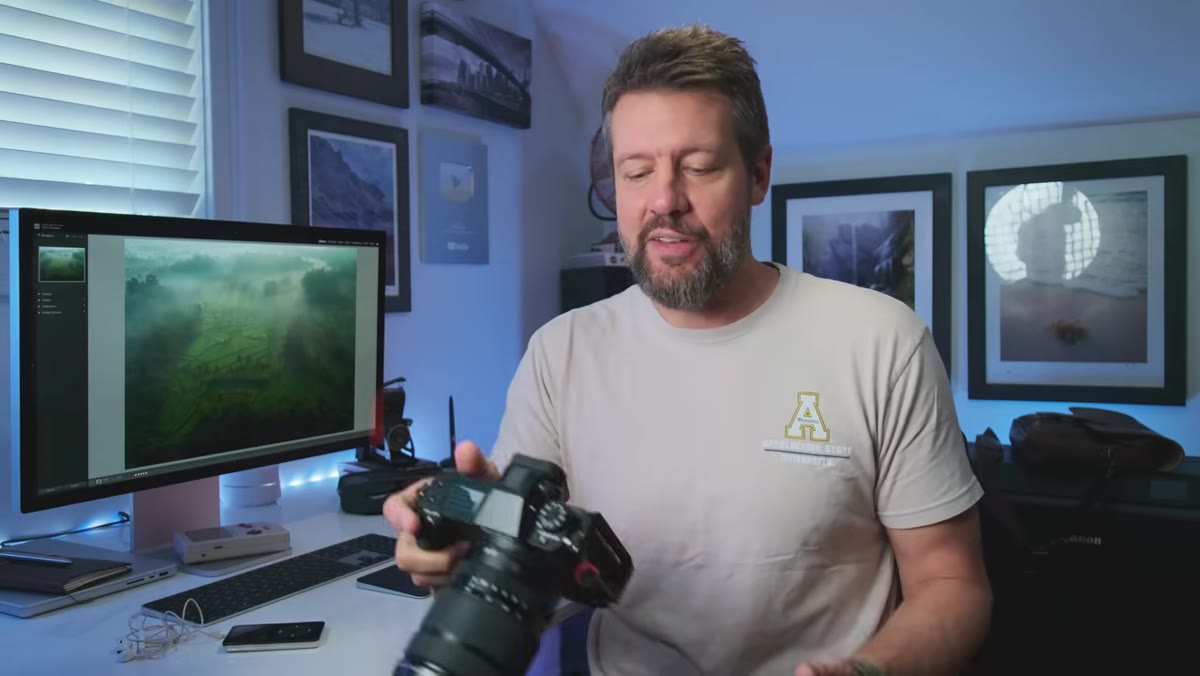
There’s a particular kind of reckoning that happens when something you’ve relied on for years stops working. I know that feeling from the field, from the moments where a trusted technique or piece of gear fails you at the worst possible time. For Mark Denney, the trigger was more personal: a long-overdue eye doctor visit confirmed what he’d been quietly suspecting. His vision had changed, and suddenly the way he’d been shooting landscape photography for years, with his face pressed to the LCD screen in live view, needed a serious rethink. Watch the full tutorial on YouTube
In this Mark Denney tutorial, he walks through the honest pros and cons of live view versus the electronic viewfinder for landscape photography specifically. He’s not making a universal declaration. He’s working through a real problem out loud, and the result is one of the more practically useful discussions I’ve seen on a topic that most photographers treat as settled. I’ve shot in both modes across two decades of work. Watching him lay this out methodically pushed me to think more carefully about when each approach actually earns its place in the workflow.
What follows is a breakdown of the key points from that video, structured as a working guide you can take into the field. Whether you’re reconsidering your setup or just curious which mode gives you an edge in specific situations, this walkthrough will give you something concrete to act on.
Step 1: Understand What Live View Actually Gives You
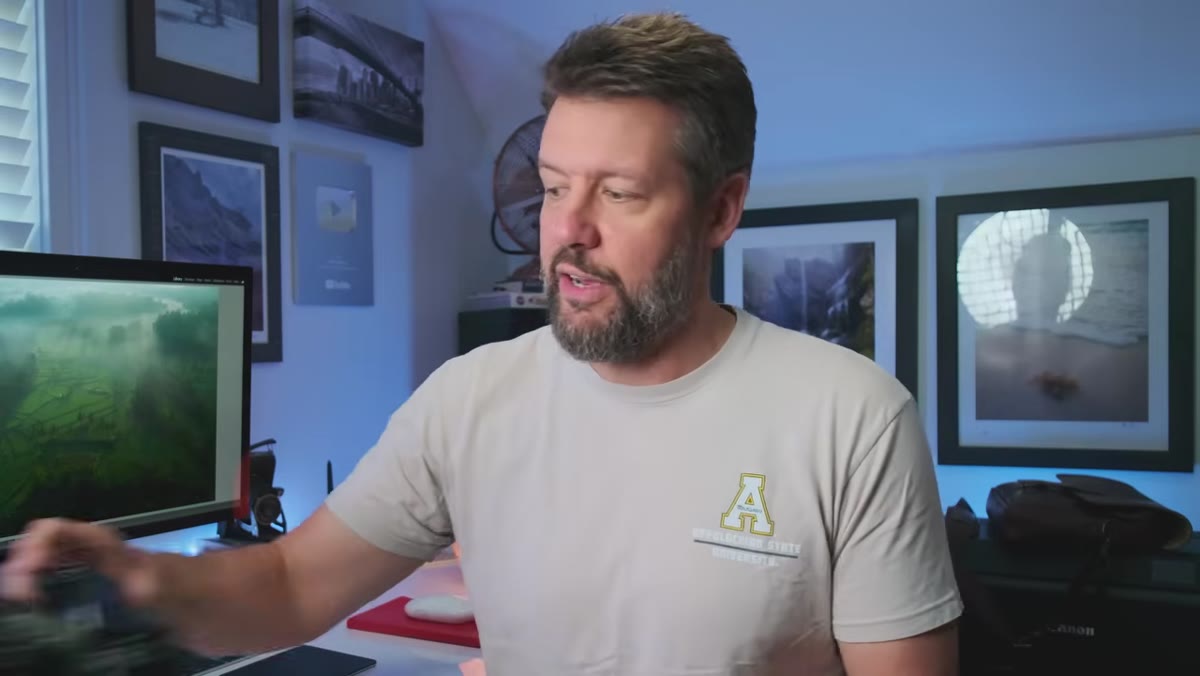 Camera screen showing LCD live view display in use
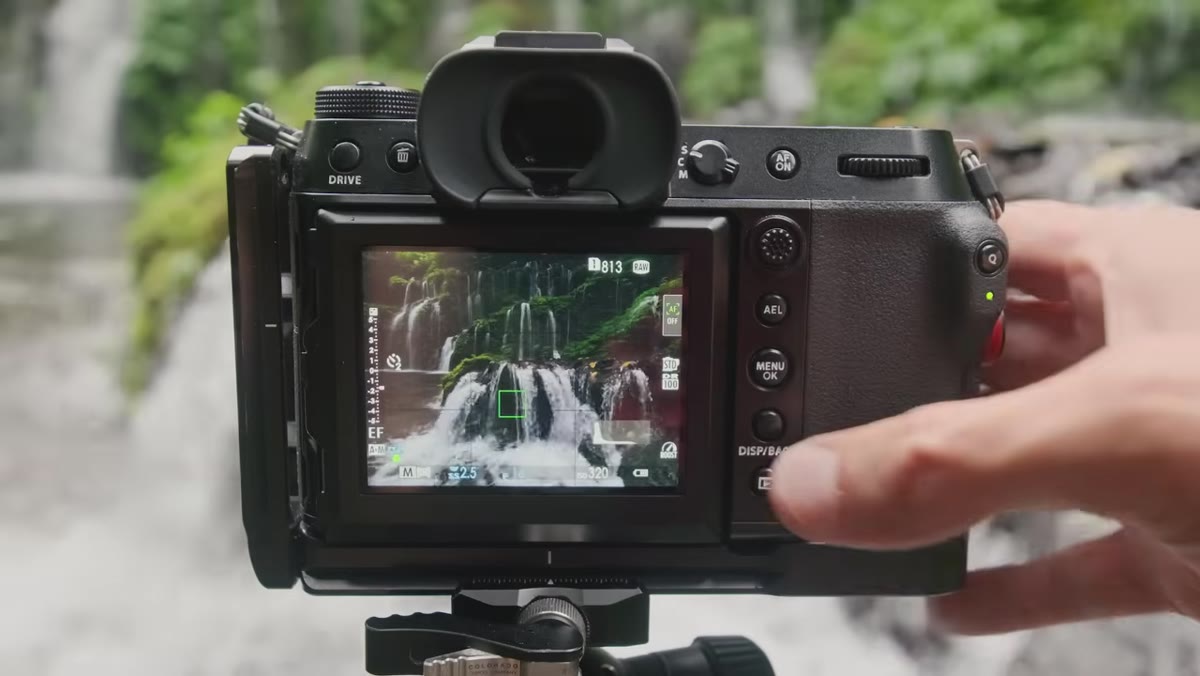
Live view, at its core, means shooting while watching the LCD screen on the back of your camera rather than pressing your eye to the viewfinder. When you hold the camera slightly away from your face, you gain something photographers underestimate: peripheral awareness. You can see light shifting in your scene, a wave building, a person walking into the edge of your frame. When your eye is locked into a viewfinder cup, that situational awareness narrows significantly. For landscape work, where the scene is always changing and timing matters, keeping your head up has real value.
Camera screen showing LCD live view display in use
Live view, at its core, means shooting while watching the LCD screen on the back of your camera rather than pressing your eye to the viewfinder. When you hold the camera slightly away from your face, you gain something photographers underestimate: peripheral awareness. You can see light shifting in your scene, a wave building, a person walking into the edge of your frame. When your eye is locked into a viewfinder cup, that situational awareness narrows significantly. For landscape work, where the scene is always changing and timing matters, keeping your head up has real value.
Step 2: Use the LCD Edge-Check Habit After Each Shot
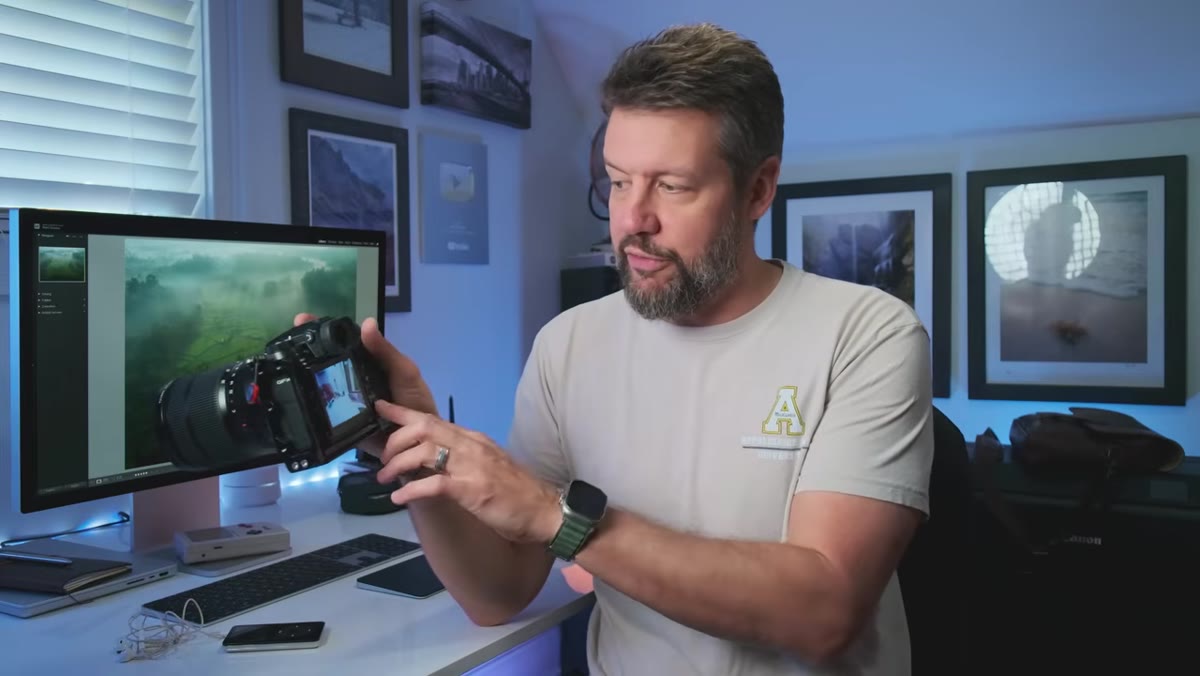 Photographer reviewing image edges on LCD screen
One of the more useful techniques Denney describes is zooming into a captured image on the LCD and slowly scanning around the edges of the frame. This is specifically about catching intrusions, a branch tip, a lens hood shadow, a power line corner, things that your eye skips over when you’re focused on the main subject during composition. Make this a post-capture habit rather than a post-processing discovery. Set your review zoom to something like 50 to 75 percent, then methodically walk your eye around all four edges before you move on to the next shot. It takes ten seconds and saves you the frustration of finding a perfect exposure ruined by a stray element.
Photographer reviewing image edges on LCD screen
One of the more useful techniques Denney describes is zooming into a captured image on the LCD and slowly scanning around the edges of the frame. This is specifically about catching intrusions, a branch tip, a lens hood shadow, a power line corner, things that your eye skips over when you’re focused on the main subject during composition. Make this a post-capture habit rather than a post-processing discovery. Set your review zoom to something like 50 to 75 percent, then methodically walk your eye around all four edges before you move on to the next shot. It takes ten seconds and saves you the frustration of finding a perfect exposure ruined by a stray element.
Step 3: Leverage Tap-to-Focus for Faster Focus Point Placement
 Hand tapping LCD screen to set focus point
Most modern mirrorless and DSLR cameras support tap-to-focus on the LCD, and in live view this is genuinely faster than navigating a joystick or d-pad to move a focus point across the frame. For landscape photography, where you might want to focus stack, testing two or three focus distances across a single scene, you can tap each zone rapidly and fire a frame for each. Enable this in your camera’s touch settings menu, usually found under AF or Touch Operation. Pair it with your preferred focus mode, single-shot AF for still subjects, and you have a clean, quick system for multi-point focus work without fumbling with buttons in the dark at 4 a.m.
Hand tapping LCD screen to set focus point
Most modern mirrorless and DSLR cameras support tap-to-focus on the LCD, and in live view this is genuinely faster than navigating a joystick or d-pad to move a focus point across the frame. For landscape photography, where you might want to focus stack, testing two or three focus distances across a single scene, you can tap each zone rapidly and fire a frame for each. Enable this in your camera’s touch settings menu, usually found under AF or Touch Operation. Pair it with your preferred focus mode, single-shot AF for still subjects, and you have a clean, quick system for multi-point focus work without fumbling with buttons in the dark at 4 a.m.
Step 4: Recognize Where Live View Earns Its Keep - Unusual Shooting Positions
 Camera positioned low to ground using tilting LCD screen
This is where live view has a clear, uncontested advantage. When you’re shooting from an unusual position, camera resting inches above a tidal pool, held overhead above a crowd at a viewpoint, angled down a cliff edge, the articulating or tilting LCD lets you actually see your composition without dislocating a shoulder. The viewfinder is useless in these positions unless your camera’s viewfinder can tilt, which most cannot. If your camera has a fully articulating screen, treat it as a compositional tool in its own right. Rotate it to face you when shooting low so you can see the frame without lying face-down on wet ground.
Camera positioned low to ground using tilting LCD screen
This is where live view has a clear, uncontested advantage. When you’re shooting from an unusual position, camera resting inches above a tidal pool, held overhead above a crowd at a viewpoint, angled down a cliff edge, the articulating or tilting LCD lets you actually see your composition without dislocating a shoulder. The viewfinder is useless in these positions unless your camera’s viewfinder can tilt, which most cannot. If your camera has a fully articulating screen, treat it as a compositional tool in its own right. Rotate it to face you when shooting low so you can see the frame without lying face-down on wet ground.
Step 5: Understand the Core Drawbacks of Live View
 Comparison of battery drain and screen glare in bright conditions
Live view is not without real costs. Battery drain is the most significant. Your LCD draws considerably more power than the viewfinder alone, and in cold temperatures, which are common in the pre-dawn landscape shooting window, that drain accelerates. Carry at least one fully charged spare battery if you shoot primarily in live view. The second drawback is glare. In bright midday light or when the sun is low and angled toward you, the LCD washes out and becomes nearly unreadable, forcing you to cup your hand around the screen or guess at exposure. This is the moment the viewfinder stops being a preference and becomes a necessity.
Comparison of battery drain and screen glare in bright conditions
Live view is not without real costs. Battery drain is the most significant. Your LCD draws considerably more power than the viewfinder alone, and in cold temperatures, which are common in the pre-dawn landscape shooting window, that drain accelerates. Carry at least one fully charged spare battery if you shoot primarily in live view. The second drawback is glare. In bright midday light or when the sun is low and angled toward you, the LCD washes out and becomes nearly unreadable, forcing you to cup your hand around the screen or guess at exposure. This is the moment the viewfinder stops being a preference and becomes a necessity.
Step 6: Make the Switch to the Viewfinder for Low-Light and Stability
 Photographer using electronic viewfinder in low light conditions
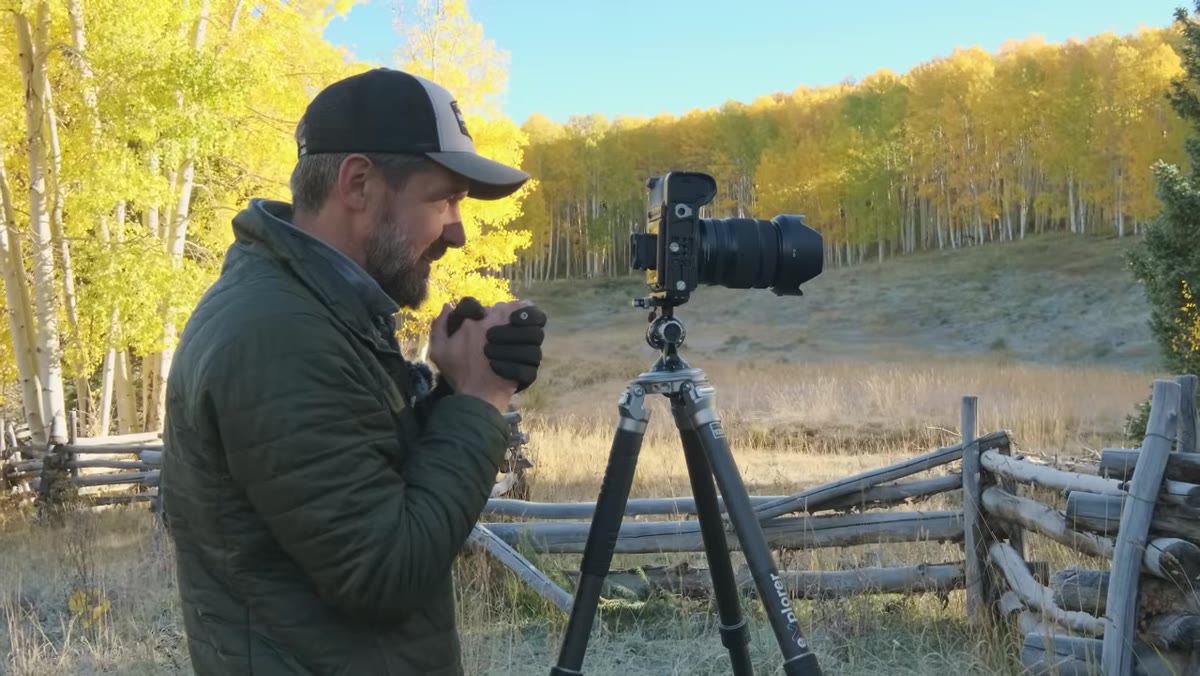
Denney makes the case that the electronic viewfinder, particularly on modern mirrorless cameras, has improved to the point where it’s a genuine tool rather than a compromise. In low light, which is most of landscape photography, the EVF often shows a brighter, more detailed preview than the LCD simply because you’re not competing with ambient light. There’s also a stability argument: pressing the camera to your face creates a three-point contact with your body, which reduces shake, especially relevant when you’re handholding to frame up before locking on a tripod.
Photographer using electronic viewfinder in low light conditions
Denney makes the case that the electronic viewfinder, particularly on modern mirrorless cameras, has improved to the point where it’s a genuine tool rather than a compromise. In low light, which is most of landscape photography, the EVF often shows a brighter, more detailed preview than the LCD simply because you’re not competing with ambient light. There’s also a stability argument: pressing the camera to your face creates a three-point contact with your body, which reduces shake, especially relevant when you’re handholding to frame up before locking on a tripod.
A Note From Twenty Years in the Field
I’ll be honest: I resisted the EVF for longer than I should have. I came up shooting with optical viewfinders, then migrated to live view when tilting screens became common, and I leaned on that workflow hard. What Denney’s video clarified for me is that this isn’t a binary choice. The smarter move is knowing which mode fits which condition. I use live view for low-angle compositions, for focus stacking in calm conditions, and for any shot where I need to be away from the eyepiece. I use the viewfinder for long handheld sessions in cold weather, for shooting into or near the sun, and when the light is moving fast and I need to be locked in.
My mentor told me once that the mountain doesn’t care about your schedule, and that patience applies to gear choices too. Don’t marry a method. Let the conditions tell you which tool to pick up.
The single most important takeaway from this tutorial is that your default shooting mode should be a conscious decision, not a habit you fell into. Evaluate what each mode costs you and what it gives you, then build a workflow around actual field conditions rather than comfort.
Watch the full tutorial on YouTube and hear Mark Denney work through this in his own words. His framing of a personal challenge as a teachable moment is exactly the kind of honest, experience-first photography content worth your time.
Comments (2)
Just used this on a wedding shoot edit. Client was thrilled.
Applied this to my portfolio shots and the improvement is noticeable.
Leave a Comment