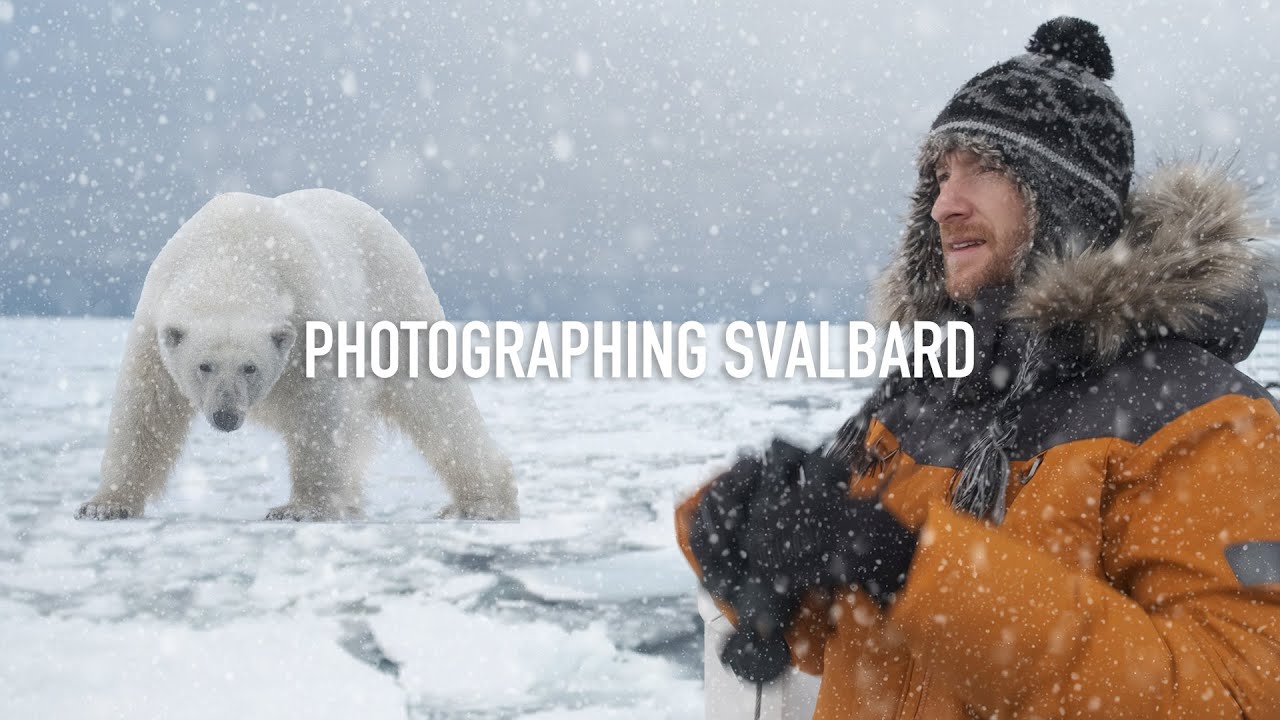
There are destinations that demand you become a better photographer just by showing up. Svalbard is one of them. I’ve spent two decades chasing light across the American West, and I can count on one hand the places that have genuinely humbled me from a distance. The high Arctic is near the top of that list. So when Thomas Heaton released footage from his 10-day photography expedition to Svalbard, I watched it twice before breakfast.
Watch the full tutorial on YouTube
In this Thomas Heaton tutorial, he documents the full arc of a small-group Arctic expedition aboard a dedicated photography vessel, working through ice fields, polar bear encounters, and constantly shifting light. What makes it worth studying isn’t just the scenery. It’s the framework he uses to solve the fundamental problem every traveling photographer faces: how do you consistently find and execute strong images when the environment is entirely unfamiliar and entirely unpredictable? I’ve been asking that question since I drove six hours to shoot the Oregon coast and sat in flat fog for two days. The answer is rarely about luck. It’s about preparation and adaptability, and Heaton demonstrates both.
Step 1: Choose Your Platform Intentionally
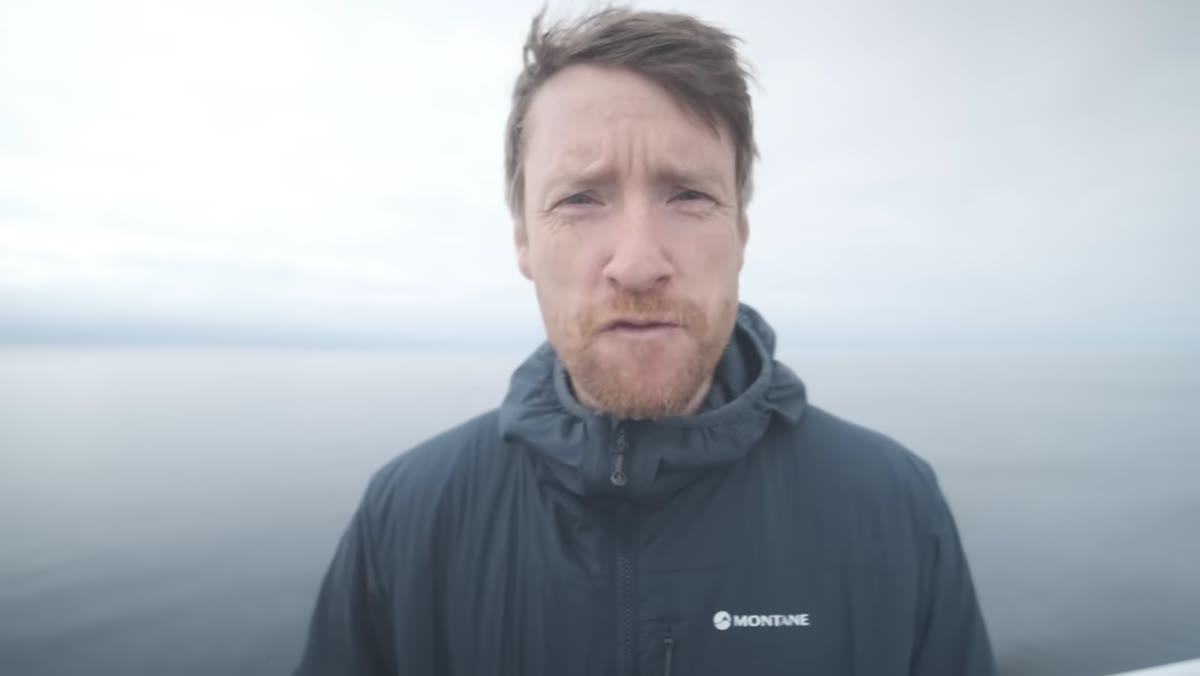 Thomas aboard the Vestland Explorer ice-breaking ship
The expedition runs aboard a small ice-capable vessel carrying a maximum of twelve passengers. That number is not incidental. Heaton makes clear that the intimacy of the group directly shapes the quality of access and shooting time you get. On a larger cruise ship, you are a tourist who occasionally takes photographs. On a vessel this size, the entire operational logic of the trip bends around the photography. When scouting polar bear signs, the ship can slow and hold position. When the light breaks over a peak unexpectedly, there is deck space and flexibility to respond. If you are planning your first serious expedition, the size and stated purpose of your vessel matters as much as the destination itself.
Thomas aboard the Vestland Explorer ice-breaking ship
The expedition runs aboard a small ice-capable vessel carrying a maximum of twelve passengers. That number is not incidental. Heaton makes clear that the intimacy of the group directly shapes the quality of access and shooting time you get. On a larger cruise ship, you are a tourist who occasionally takes photographs. On a vessel this size, the entire operational logic of the trip bends around the photography. When scouting polar bear signs, the ship can slow and hold position. When the light breaks over a peak unexpectedly, there is deck space and flexibility to respond. If you are planning your first serious expedition, the size and stated purpose of your vessel matters as much as the destination itself.
Step 2: Work Every Deck for Compositional Variety
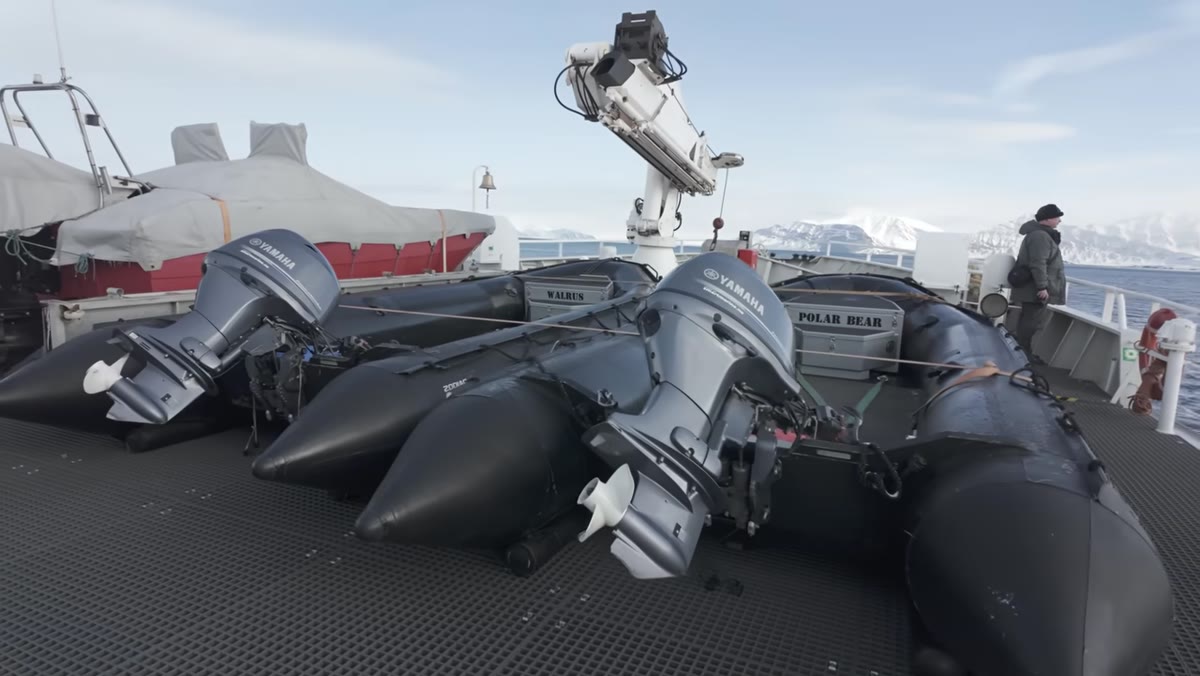 Overview of main deck with Zodiac crane and open shooting space
One of the most practical things Heaton demonstrates is treating the ship itself as a multi-level shooting platform. He methodically moves from the main deck at water level, up through the mid-decks, and finally to the elevated bridge level. Each floor changes your relationship to the ice and water entirely. From deck level, ice floes fill the frame and create foreground interest. From elevation, you can compress the distance between ice fields and the mountains behind them. I apply the same logic when shooting from riverbanks at home. I will wade out, shoot from the bank, and then climb the hillside above, because the story each position tells is genuinely different. Do not anchor yourself to one spot because it feels comfortable. Move vertically as deliberately as you move horizontally.
Overview of main deck with Zodiac crane and open shooting space
One of the most practical things Heaton demonstrates is treating the ship itself as a multi-level shooting platform. He methodically moves from the main deck at water level, up through the mid-decks, and finally to the elevated bridge level. Each floor changes your relationship to the ice and water entirely. From deck level, ice floes fill the frame and create foreground interest. From elevation, you can compress the distance between ice fields and the mountains behind them. I apply the same logic when shooting from riverbanks at home. I will wade out, shoot from the bank, and then climb the hillside above, because the story each position tells is genuinely different. Do not anchor yourself to one spot because it feels comfortable. Move vertically as deliberately as you move horizontally.
Step 3: Use a Polarizer in Icy, Reflective Conditions
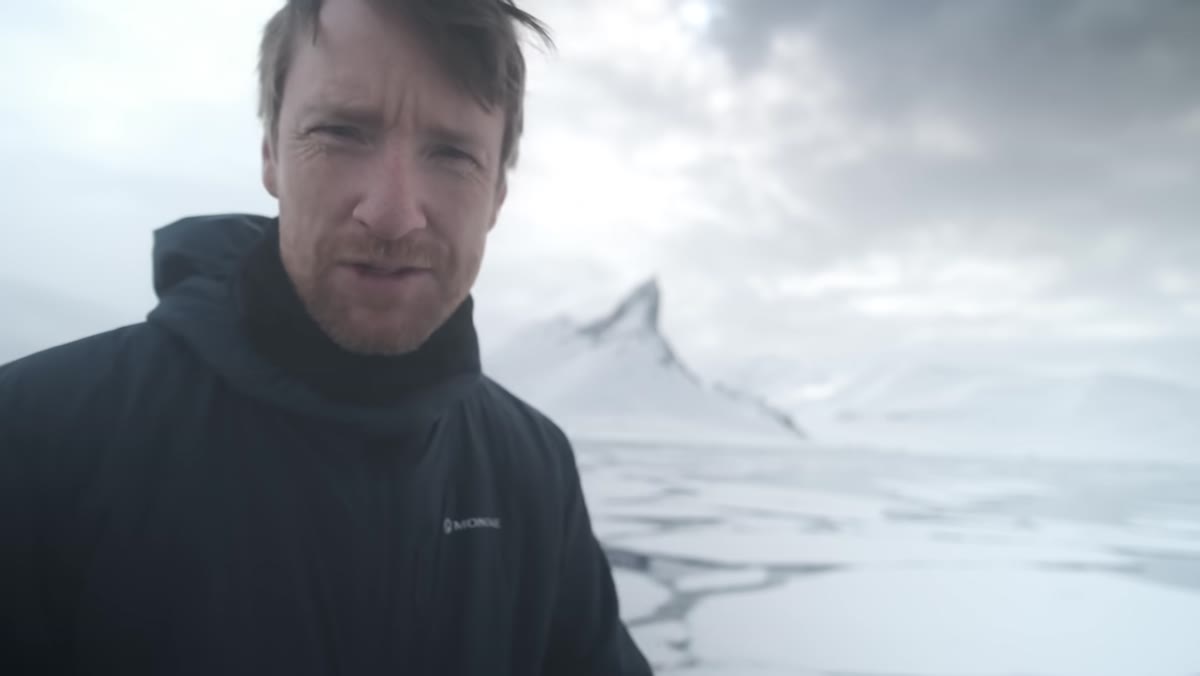 Drift ice and dark water viewed from ship deck
Heaton specifically calls out his use of a circular polarizer while cruising through drift ice, and the reason is instructive. The water in these Arctic channels is already dark, but without a polarizer it carries a surface glare that competes with the ice and the peaks behind it. Rotating the polarizer until it deepens the water to a near-black pulls the tonal contrast between the white ice slabs and the dark sea into something that feels almost graphic. The polarizer also cuts any haze bouncing off the snow surfaces, which keeps the mountains rendering with genuine depth rather than going flat and milky. In icy or wet environments, the polarizer is not optional gear. I run one on my wide-angle and my mid-range telephoto any time I am near water or snow, and I am constantly rotating it as the angle to the sun shifts.
Drift ice and dark water viewed from ship deck
Heaton specifically calls out his use of a circular polarizer while cruising through drift ice, and the reason is instructive. The water in these Arctic channels is already dark, but without a polarizer it carries a surface glare that competes with the ice and the peaks behind it. Rotating the polarizer until it deepens the water to a near-black pulls the tonal contrast between the white ice slabs and the dark sea into something that feels almost graphic. The polarizer also cuts any haze bouncing off the snow surfaces, which keeps the mountains rendering with genuine depth rather than going flat and milky. In icy or wet environments, the polarizer is not optional gear. I run one on my wide-angle and my mid-range telephoto any time I am near water or snow, and I am constantly rotating it as the angle to the sun shifts.
Step 4: Spot Wildlife from the Bridge, Then Descend to Shoot
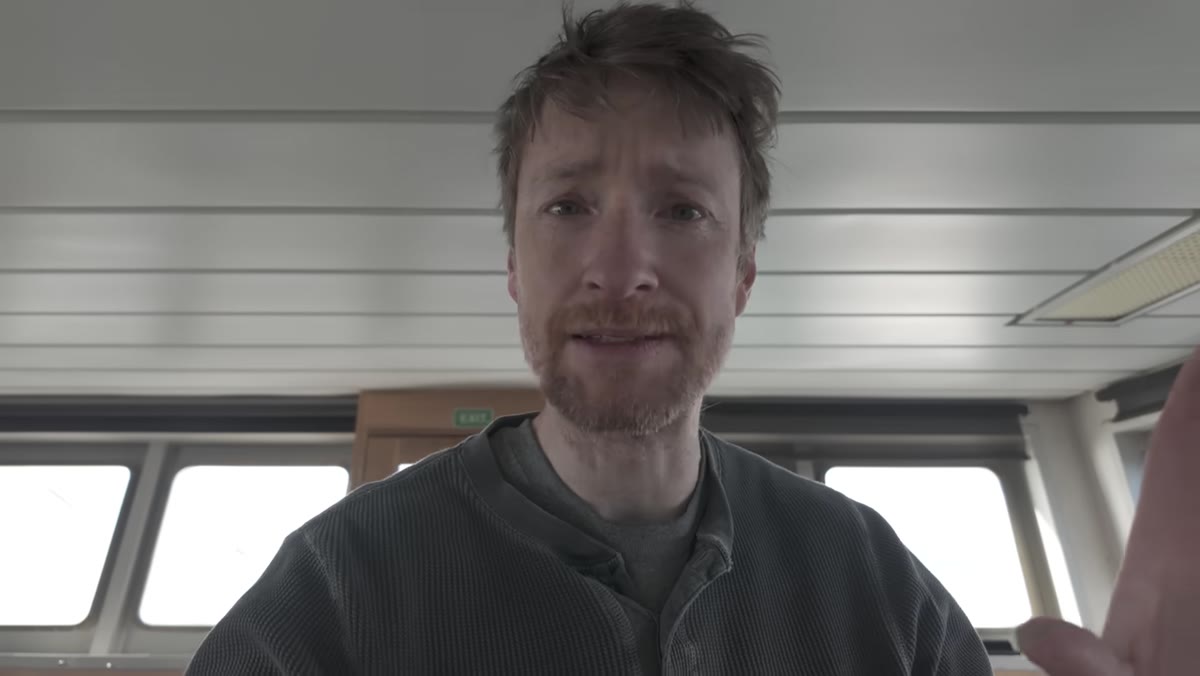 Ship’s bridge used for wildlife spotting with wide forward views
The ship’s bridge serves a dual function on this kind of expedition: navigation and spotting. Heaton notes that this elevated, glass-enclosed space gives both the crew and the photographers a wide-angle view of the surrounding terrain, and it is from here that polar bear signs are first identified. The lesson for field photographers is about using high ground for reconnaissance before committing to a shooting position. Whether I am in the Cascades or on a coastal headland, I try to spend the first fifteen minutes of any session simply looking. No camera up, no settings being fiddled with. Just reading the terrain, identifying where the light is falling, and noting where it will fall next. The bridge scene in Heaton’s video is a good visual reminder that the best frame often starts with patient observation, not with the camera already at your eye.
Ship’s bridge used for wildlife spotting with wide forward views
The ship’s bridge serves a dual function on this kind of expedition: navigation and spotting. Heaton notes that this elevated, glass-enclosed space gives both the crew and the photographers a wide-angle view of the surrounding terrain, and it is from here that polar bear signs are first identified. The lesson for field photographers is about using high ground for reconnaissance before committing to a shooting position. Whether I am in the Cascades or on a coastal headland, I try to spend the first fifteen minutes of any session simply looking. No camera up, no settings being fiddled with. Just reading the terrain, identifying where the light is falling, and noting where it will fall next. The bridge scene in Heaton’s video is a good visual reminder that the best frame often starts with patient observation, not with the camera already at your eye.
Step 5: Understand the Logistics That Protect Your Shooting Time
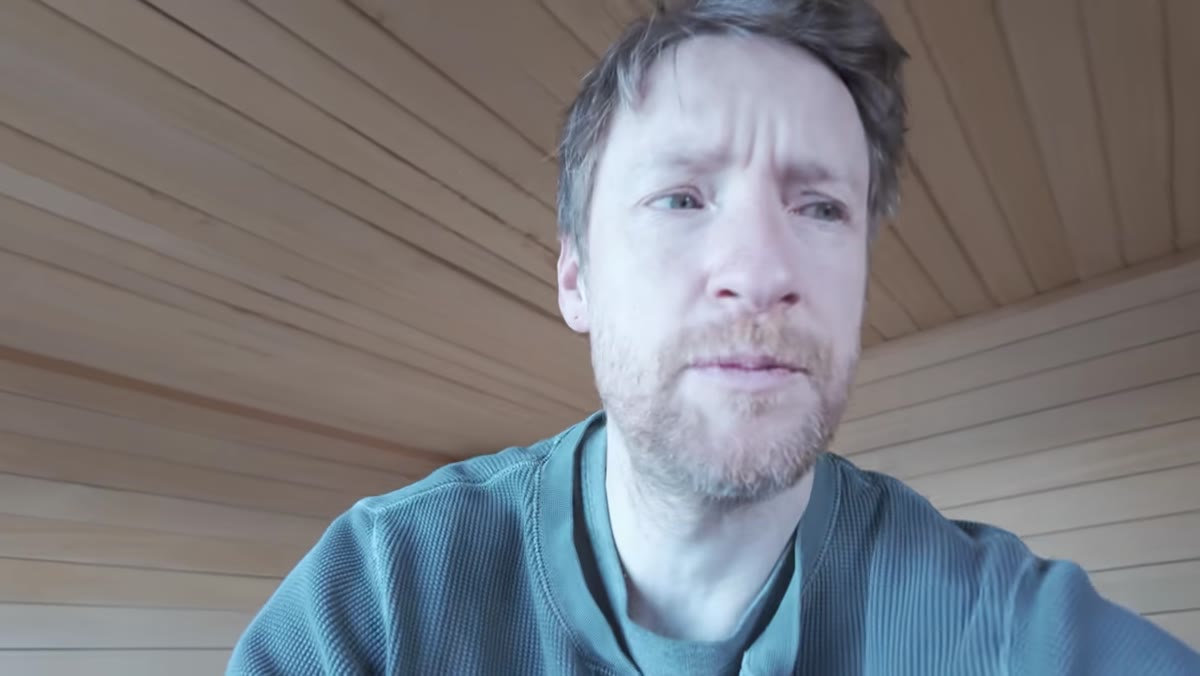 Hot tub, sauna, and common area inside the ship
Heaton takes a few minutes to walk through the interior of the vessel, and while this reads as a tour segment, there is a practical point embedded in it. When you are warm, fed, rested, and mentally calm between sessions, you shoot better. The common areas, the library, the on-tap coffee, the comfortable cabins: these are not luxuries peripheral to the photography. They are the recovery infrastructure that allows you to be genuinely present at 2am when the midnight sun does something extraordinary. I pack the same way for any multi-day workshop I run. Warm dry layers are not comfort items. They are performance gear. Suffering through cold exhaustion does not make you a more serious photographer. It makes you reactive and sloppy. Take care of the logistics so the creative work gets your best attention.
Hot tub, sauna, and common area inside the ship
Heaton takes a few minutes to walk through the interior of the vessel, and while this reads as a tour segment, there is a practical point embedded in it. When you are warm, fed, rested, and mentally calm between sessions, you shoot better. The common areas, the library, the on-tap coffee, the comfortable cabins: these are not luxuries peripheral to the photography. They are the recovery infrastructure that allows you to be genuinely present at 2am when the midnight sun does something extraordinary. I pack the same way for any multi-day workshop I run. Warm dry layers are not comfort items. They are performance gear. Suffering through cold exhaustion does not make you a more serious photographer. It makes you reactive and sloppy. Take care of the logistics so the creative work gets your best attention.
Step 6: Let the Wildlife Sign In Before the Shot
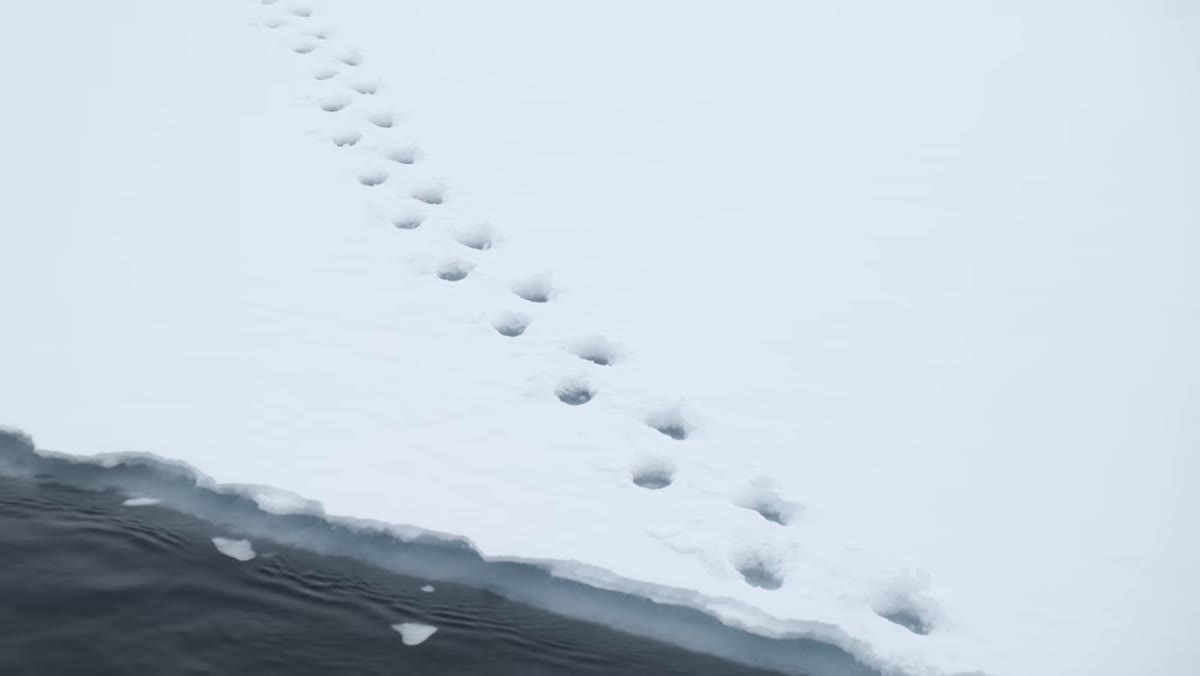 First polar bear signs spotted from the ship
Early in the trip, the first visible signs of polar bear activity generate immediate excitement, and rightly so. But Heaton’s framing of this moment is measured rather than frantic. The encounter begins as context, as evidence that the environment is alive and functioning, before it becomes a photographic subject. This sequencing matters. Photographers who lunge for the camera the moment wildlife appears tend to get technically poor frames of a retreating animal. Giving the scene a breath, reading the animal’s direction and behavior, and then raising the camera produces images with intention rather than reflex. I carry a 100-400mm zoom on any trip where wildlife is possible, already mounted and set to continuous autofocus with a fast shutter minimum, so that when the moment does arrive, my mechanics are handled and I can think about the frame.
First polar bear signs spotted from the ship
Early in the trip, the first visible signs of polar bear activity generate immediate excitement, and rightly so. But Heaton’s framing of this moment is measured rather than frantic. The encounter begins as context, as evidence that the environment is alive and functioning, before it becomes a photographic subject. This sequencing matters. Photographers who lunge for the camera the moment wildlife appears tend to get technically poor frames of a retreating animal. Giving the scene a breath, reading the animal’s direction and behavior, and then raising the camera produces images with intention rather than reflex. I carry a 100-400mm zoom on any trip where wildlife is possible, already mounted and set to continuous autofocus with a fast shutter minimum, so that when the moment does arrive, my mechanics are handled and I can think about the frame.
What I Would Add From My Own Work
The thing Heaton’s video reinforced for me is how much Arctic and high-mountain photography rewards the same discipline that good long-exposure work does back home: radical patience. My mentor used to say the mountain doesn’t care about your schedule, and that line has followed me for twenty years. The ice will not hold a formation for your convenience. The bear will not pause because your composition needs another second. Building your shooting practice around long, slow observation, around arriving before the light and staying after it, gives you more usable frames in unpredictable environments because you are already watching when the moment breaks. That is the single most transferable skill from an expedition like this.
The real takeaway from Heaton’s Svalbard footage is that expedition photography is not fundamentally different from any other kind. It rewards preparation, intentional positioning, and the willingness to wait without tensing up. Whether you are ever going to set foot in the Arctic or not, the methodology holds. Study the platform, work every angle, manage your gear and your body, and watch before you shoot.
Watch the full tutorial on YouTube
Comments
Leave a Comment