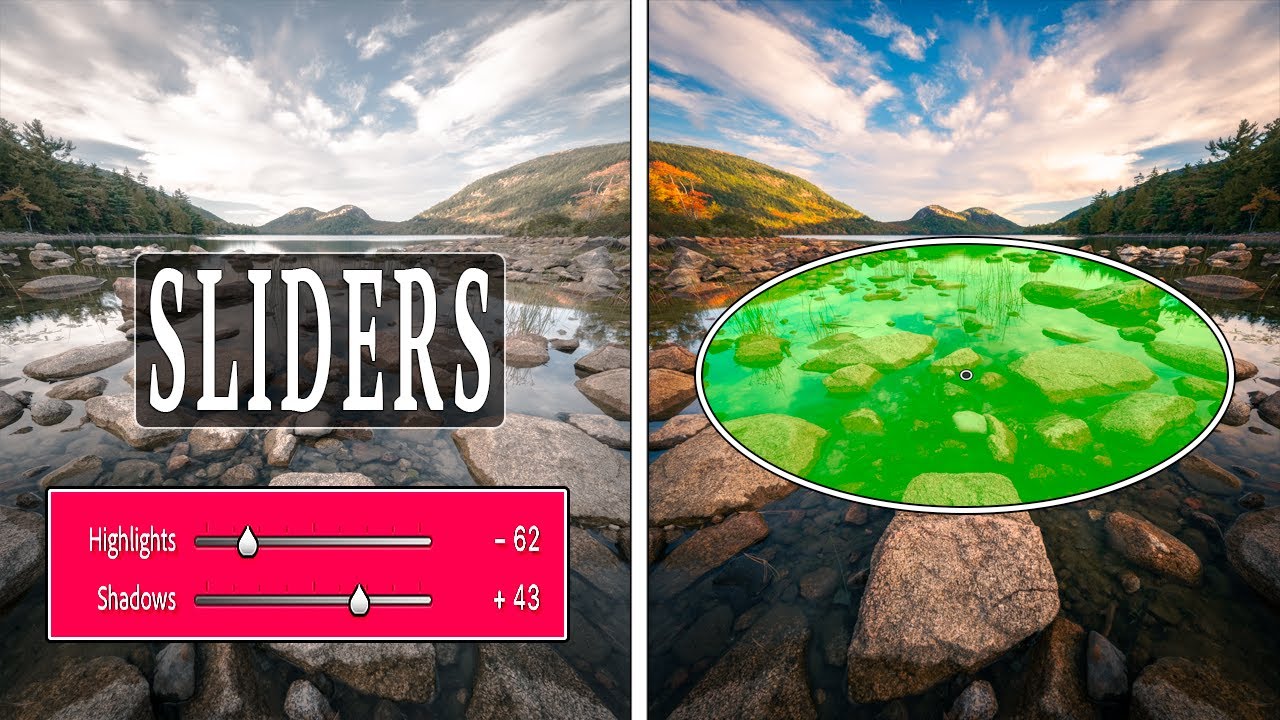
There’s a habit most of us pick up early and never fully question. You open a raw file, your eye goes straight to the Basics panel, and you start dragging sliders. Highlights down. Shadows up. Maybe nudge the exposure. It feels productive. It looks better than the raw file. And then you wonder why your images still feel a little flat, a little unresolved, like something is off but you can’t name it.
I spent probably the first decade of my career editing that way. Global adjustments. Everything applied to everything. It took me a long time to understand that a landscape photograph is almost never a single, unified scene from a tonal standpoint. The sky and the foreground are living in completely different worlds. Treating them with the same slider is like giving two patients the same prescription because they walked in through the same door. In this Mark Denney tutorial, he makes exactly that case, and he proves it by editing the same image twice: once with only global sliders, and once with only local adjustments. The difference is not subtle. Watch the full tutorial on YouTube if you want to follow along with his footage while you work through the steps below.
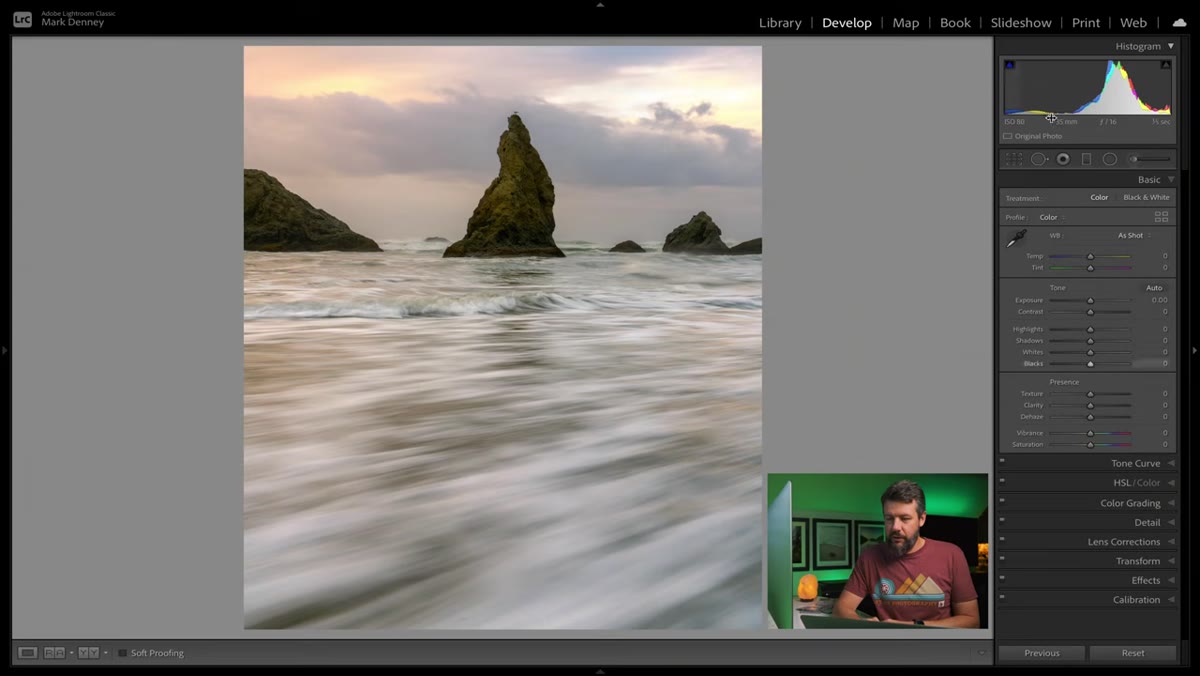
The image he works with is an Oregon coast seascape, sea stacks, a dramatic sky, and a bird perched at the top of the frame. It’s the kind of shot where the sky wants one thing and the rocks want another, and any global move that helps one hurts the other. Sound familiar?
Step 1: Edit the Photo Using Only Global Sliders
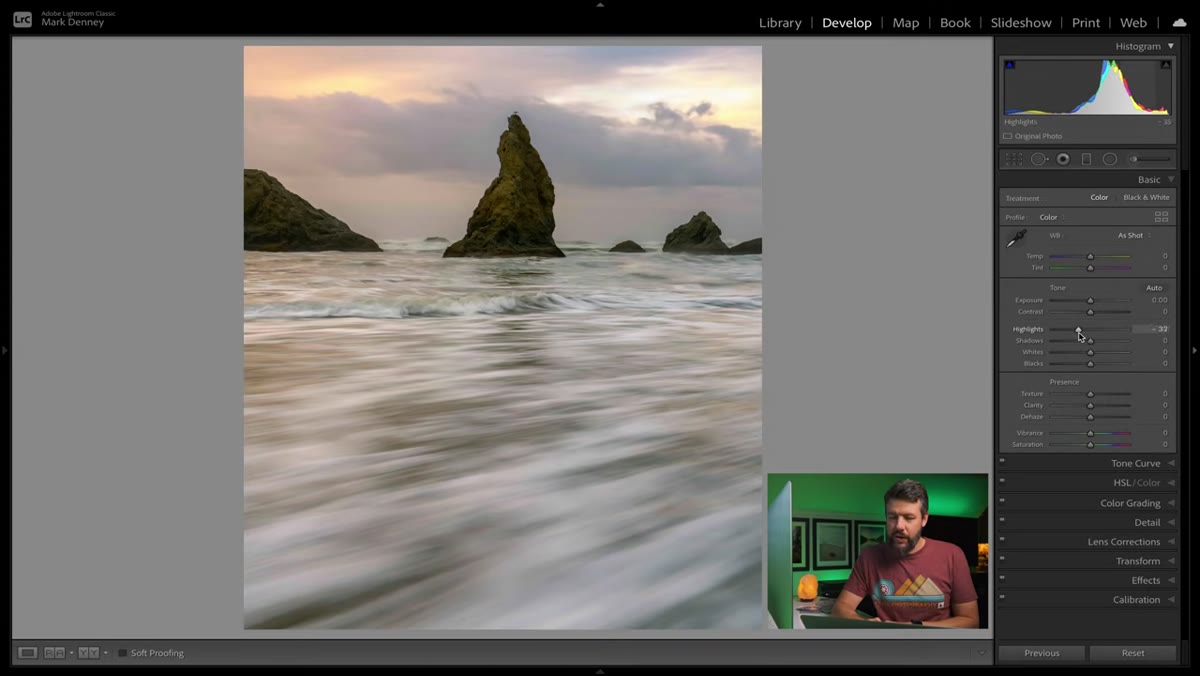 Highlights slider being pulled down in Basics panel
Mark starts with the approach most of us default to: pulling the highlights down to recover sky detail, lowering exposure slightly to add drama, then compensating by lifting shadows and blacks to pull the sea stacks back out of the dark. It’s the classic push-pull we’ve all done. The image improves. But when he’s done, the sea stacks look muddy and the sky looks a little processed, because every move made to save one area compromised another. This edit sets the baseline for comparison, so do it deliberately. Note where the image starts to fight you.
Highlights slider being pulled down in Basics panel
Mark starts with the approach most of us default to: pulling the highlights down to recover sky detail, lowering exposure slightly to add drama, then compensating by lifting shadows and blacks to pull the sea stacks back out of the dark. It’s the classic push-pull we’ve all done. The image improves. But when he’s done, the sea stacks look muddy and the sky looks a little processed, because every move made to save one area compromised another. This edit sets the baseline for comparison, so do it deliberately. Note where the image starts to fight you.
Step 2: Create a Virtual Copy and Reset
 Right-click menu showing “Create Virtual Copy” option
Before touching the second edit, Mark creates a virtual copy of the original file in Lightroom. Right-click the image in the filmstrip and choose “Create Virtual Copy.” Then reset all adjustments so you’re starting from the raw file again. This keeps both versions in your catalog for a side-by-side comparison at the end, which is the whole point of the exercise. Don’t skip this step. Seeing both edits next to each other is where the lesson actually lands.
Right-click menu showing “Create Virtual Copy” option
Before touching the second edit, Mark creates a virtual copy of the original file in Lightroom. Right-click the image in the filmstrip and choose “Create Virtual Copy.” Then reset all adjustments so you’re starting from the raw file again. This keeps both versions in your catalog for a side-by-side comparison at the end, which is the whole point of the exercise. Don’t skip this step. Seeing both edits next to each other is where the lesson actually lands.
Step 3: Apply a Graduated Filter to the Sky
 Graduated filter being dragged down from top of frame
Now the local adjustment approach begins. Instead of pulling the highlights slider globally, Mark reaches for the Graduated Filter tool. Click the icon in the toolbar above the Basics panel, or press M on your keyboard. Hold Shift while dragging from the top of the frame downward to keep the gradient perfectly level. Drag it to roughly the horizon line. This confines every adjustment you make to the sky region only, leaving the foreground untouched.
Graduated filter being dragged down from top of frame
Now the local adjustment approach begins. Instead of pulling the highlights slider globally, Mark reaches for the Graduated Filter tool. Click the icon in the toolbar above the Basics panel, or press M on your keyboard. Hold Shift while dragging from the top of the frame downward to keep the gradient perfectly level. Drag it to roughly the horizon line. This confines every adjustment you make to the sky region only, leaving the foreground untouched.
Once the filter is placed, pull the highlights down significantly, somewhere around -70 to -80, and bring the exposure down slightly, maybe -0.5 to -0.8. You’re now doing exactly what the slider edit did, but only where it needs to happen. The sea stacks don’t feel it at all.
Step 4: Apply a Second Graduated Filter to the Foreground
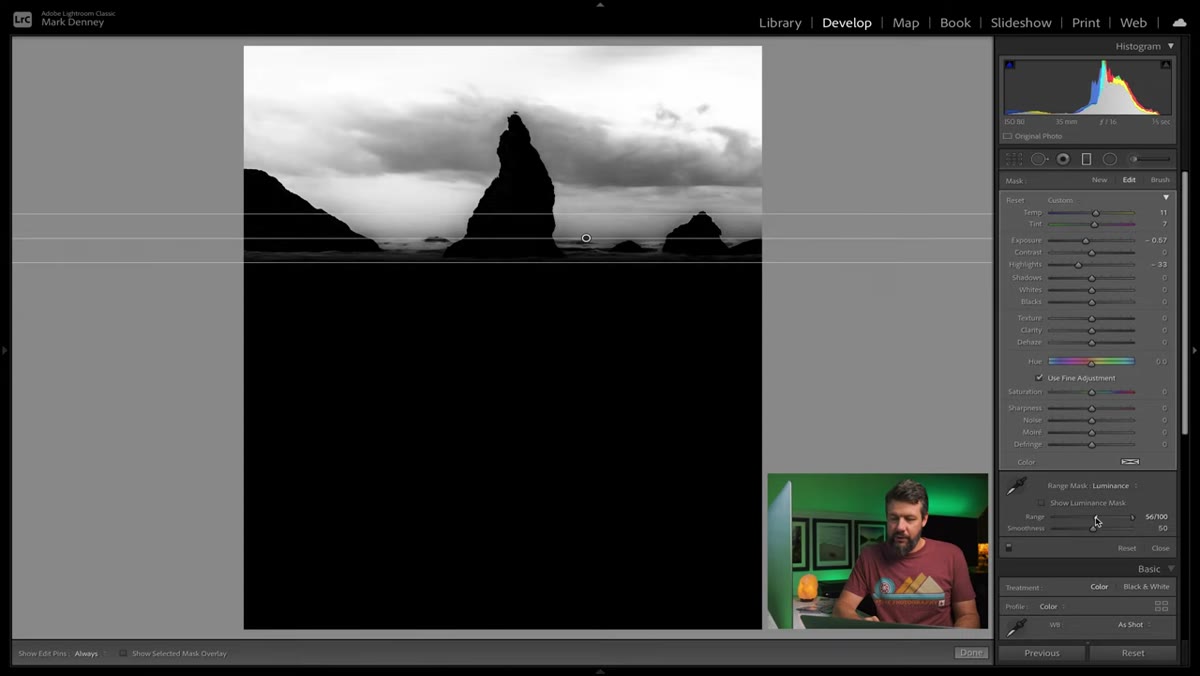 Second graduated filter dragged upward from bottom of frame
Create a new Graduated Filter by clicking “New” in the filter panel, then drag upward from the bottom of the frame to isolate the foreground rocks and water. This is the counter-move. Where the sky filter brought things down, this one brings things up. Lift the shadows, open the blacks slightly, and add a touch of exposure if the foreground is still feeling heavy. You’re essentially giving the sea stacks their own edit, tuned to what they actually need, not what’s left over from the sky compromise.
Second graduated filter dragged upward from bottom of frame
Create a new Graduated Filter by clicking “New” in the filter panel, then drag upward from the bottom of the frame to isolate the foreground rocks and water. This is the counter-move. Where the sky filter brought things down, this one brings things up. Lift the shadows, open the blacks slightly, and add a touch of exposure if the foreground is still feeling heavy. You’re essentially giving the sea stacks their own edit, tuned to what they actually need, not what’s left over from the sky compromise.
This two-filter approach, one from the top and one from the bottom, mirrors what a physical graduated ND filter does in the field, except you have far more precision and you can adjust each zone independently after the fact.
Step 5: Compare the Two Versions Side by Side
 Before and after comparison of slider edit vs. filter edit
With both virtual copies in your catalog, select them both and use Lightroom’s Compare view (press C) or Survey view (press N) to put them side by side. Mark does this in the video and the gap between the two edits is genuinely surprising, even if you’ve understood the concept intellectually before seeing it. The slider version looks processed. The filter version looks like the scene actually looked, just better. The sky has depth. The rocks have texture. Nothing is fighting anything else.
Before and after comparison of slider edit vs. filter edit
With both virtual copies in your catalog, select them both and use Lightroom’s Compare view (press C) or Survey view (press N) to put them side by side. Mark does this in the video and the gap between the two edits is genuinely surprising, even if you’ve understood the concept intellectually before seeing it. The slider version looks processed. The filter version looks like the scene actually looked, just better. The sky has depth. The rocks have texture. Nothing is fighting anything else.
Spend time here. This comparison is the lesson. If it doesn’t land visually, redo the exercise with one of your own files, preferably something with a bright sky and a darker foreground, which is most outdoor images.
One Thing I’d Add From the Field
Mark keeps this tutorial focused on Lightroom, which is the right call for the scope of the video. But I want to add one thing from twenty years of editing my own work: the local adjustment mindset starts before you open Lightroom. When I’m standing on a riverbank at five in the morning, I’m already mentally dividing the frame into zones, asking which areas are going to need help and where the light is doing the heavy lifting. That pre-visualization changes how I expose the shot. I’ll sometimes intentionally protect the sky at the expense of the shadows, knowing I’ll use a local adjustment to recover the foreground in post rather than compromising the sky to get a more balanced raw file.
The graduated filter is a post-processing tool, but the thinking behind it is a field skill. The two reinforce each other. Once you understand why local adjustments work, you start shooting for them.
The single most important thing to take from Mark’s tutorial is this: your landscape image is not one thing. It’s several zones that happen to share a frame, and each zone deserves its own treatment. Sliders are fast and sometimes useful for a quick pass, but filters are where the real editing happens. Stop treating the whole image as a single patient and start diagnosing each region on its own terms.
Watch the full tutorial on YouTube to see Mark’s before-and-after comparison on the Oregon seascape. It’s worth seeing with his actual footage.
Comments
Leave a Comment