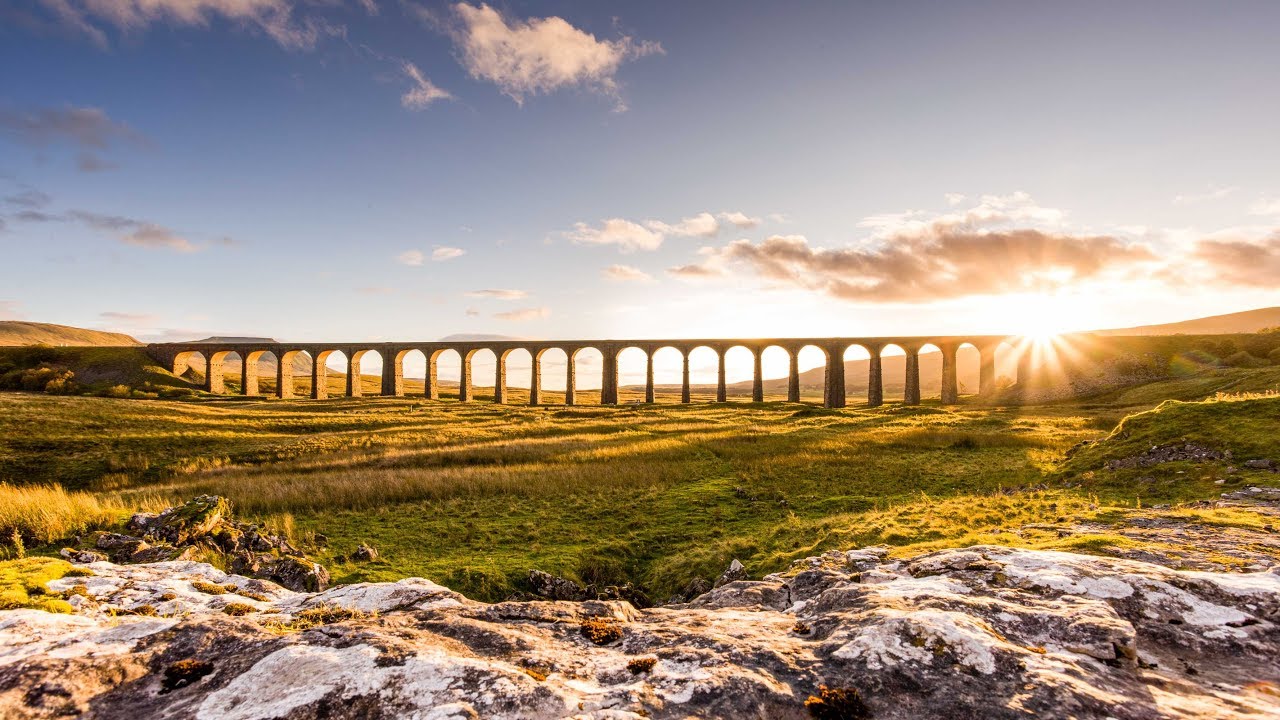
Shooting directly into the sun is one of those things I keep telling myself I’ll figure out properly, and then I get to the location, the light starts doing something extraordinary, and I just start firing frames and hope for the best. After twenty years of this, I have better instincts than I used to, but the two core problems never go away: the sky is always brighter than the foreground, and pointing your lens at the sun is an invitation for flare that can quietly destroy an otherwise strong image. Not obvious ghosting rings you can spot immediately, but that soft, milky veiling flare that bleeds contrast out of the whole frame before you even realize what happened.
In this First Man Photography tutorial, Adam walks through a technique so straightforward that my first reaction was mild embarrassment for not thinking of it myself. Watch the full tutorial on YouTube if you want to follow along with his footage. But if you want a breakdown you can read before your next shoot, here is exactly what he does and how to apply it in the field and at the desk.
Step 1: Understand the Two Problems You’re Actually Solving
 Adam explaining bright sky versus dark foreground exposure problem
Every sunset shot aimed toward the sun carries two distinct technical problems, and they need two separate solutions. The first is exposure range: your camera sensor cannot hold detail in a bright sky and a shadowed foreground at the same time. The second is flare, which degrades image contrast even when it isn’t obvious in the frame preview.
Adam explaining bright sky versus dark foreground exposure problem
Every sunset shot aimed toward the sun carries two distinct technical problems, and they need two separate solutions. The first is exposure range: your camera sensor cannot hold detail in a bright sky and a shadowed foreground at the same time. The second is flare, which degrades image contrast even when it isn’t obvious in the frame preview.
Treating these as one problem leads to compromised fixes. Knowing they’re separate lets you solve each cleanly.
Step 2: Choose Exposure Bracketing Over ND Grads
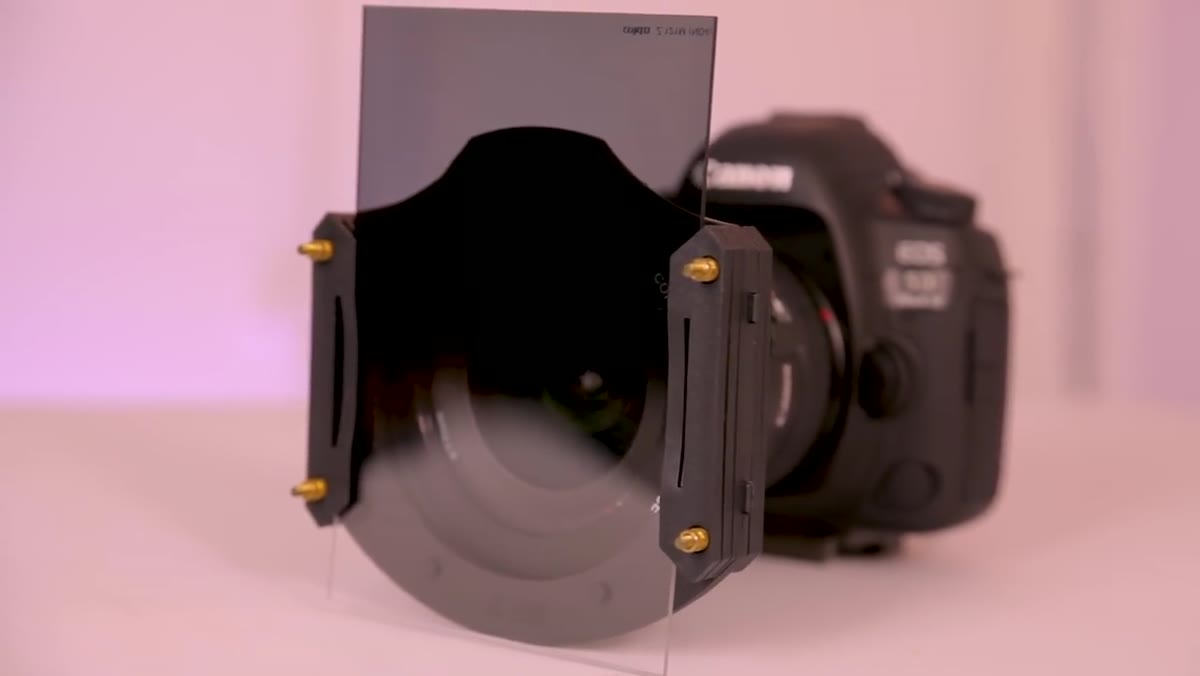 ND grad filter shown in hand before bracketing explanation
ND graduated filters slide in front of the lens and darken the sky half of the frame, which is a legitimate approach. But bracketing is cheaper, more flexible, and easier to adjust in post. The method is to shoot the same composition at multiple exposures, typically two stops over and two stops under your base exposure, and combine them later in Photoshop or Lightroom.
ND grad filter shown in hand before bracketing explanation
ND graduated filters slide in front of the lens and darken the sky half of the frame, which is a legitimate approach. But bracketing is cheaper, more flexible, and easier to adjust in post. The method is to shoot the same composition at multiple exposures, typically two stops over and two stops under your base exposure, and combine them later in Photoshop or Lightroom.
For settings, Adam is shooting at ISO 100 and f/16. The small aperture gives him enough depth of field to keep a foreground element that is very close to the lens sharp, while the low ISO preserves clean shadow detail. At f/16 you will also get a starburst effect on the sun itself, which can add to the image rather than detract from it, as long as flare is controlled.
Step 3: Compose With the Sun in the Frame
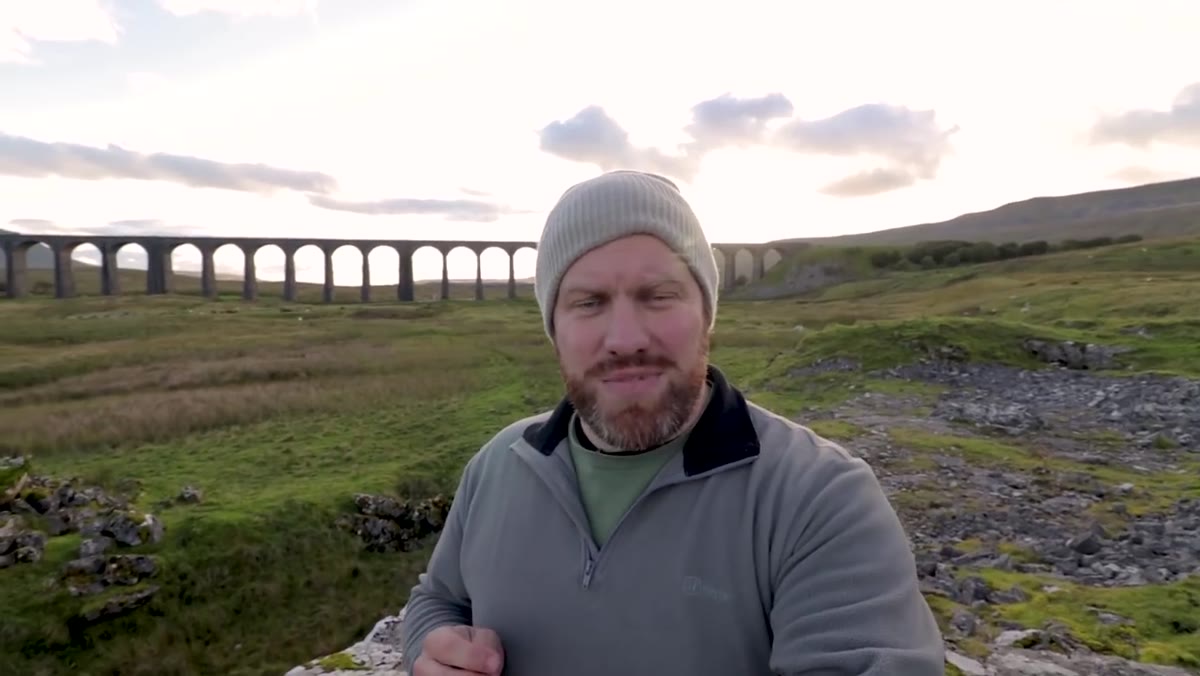 Camera positioned low on limestone ledge toward viaduct
The temptation when dealing with flare is to reframe and keep the sun out of shot. That is a valid call sometimes, but it means you are letting a technical limitation dictate your creative decisions, and that is the wrong order of priorities. If the strongest composition puts the sun directly in the frame, commit to that and use the technique to handle the flare.
Camera positioned low on limestone ledge toward viaduct
The temptation when dealing with flare is to reframe and keep the sun out of shot. That is a valid call sometimes, but it means you are letting a technical limitation dictate your creative decisions, and that is the wrong order of priorities. If the strongest composition puts the sun directly in the frame, commit to that and use the technique to handle the flare.
Get your camera low if the scene calls for it. Adam is nearly on the ground here, using a limestone ledge as a foreground element that pulls the eye toward a viaduct in the middle distance. The low angle changes the relationship between the foreground and the sky completely. Do not let tripod height default to comfortable standing height.
Step 4: Block the Sun With Your Finger on the Foreground-Exposed Frame
 Adam placing finger in front of lens to block direct sunlight
This is the core move. When you take the exposure that is optimized for the foreground, where the sky will be blown out but your shadows have full detail, you simply hold a finger in front of the lens to block the sun. Not covering the whole lens. Just enough to shade the sun itself from entering the glass.
Adam placing finger in front of lens to block direct sunlight
This is the core move. When you take the exposure that is optimized for the foreground, where the sky will be blown out but your shadows have full detail, you simply hold a finger in front of the lens to block the sun. Not covering the whole lens. Just enough to shade the sun itself from entering the glass.
Flare is caused by direct light hitting the lens elements and scattering. Block the source, and the flare disappears. Your finger will appear in the frame as a dark shape, but that is fine because you will remove it in post using the bracketed sky frame. This is not a workaround that feels like cheating. Your eye adapts dynamically to exactly this kind of contrast range. The camera cannot, so you are simply giving yourself the tools in post to produce what your eye actually perceived at the scene.
Step 5: Bring the Bracketed Frames Into Lightroom
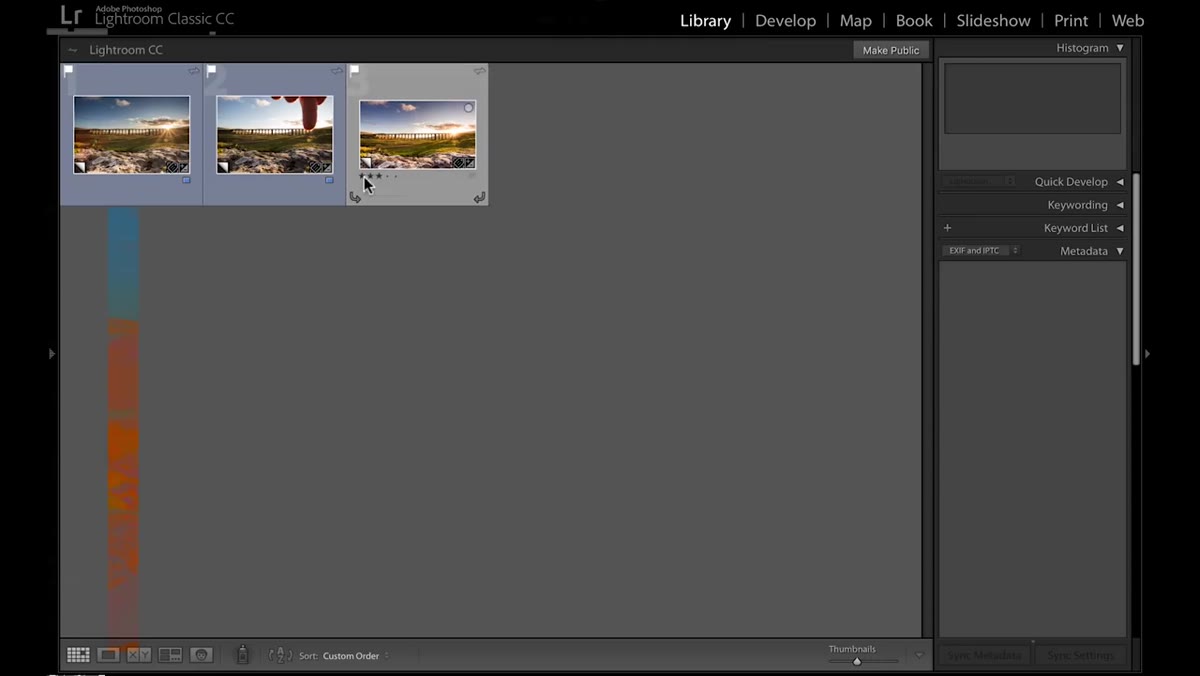 Multiple bracketed frames visible in Lightroom filmstrip
Import all your bracketed frames as a set. In Lightroom, do your global adjustments on each frame separately before you move into Photoshop to combine them. On the sky-exposed frame, you might pull highlights down and push shadows up slightly. On the foreground-exposed frame, the sky will be white and blown, and your finger will be sitting there in frame blocking the sun, which is exactly what you want to see.
Multiple bracketed frames visible in Lightroom filmstrip
Import all your bracketed frames as a set. In Lightroom, do your global adjustments on each frame separately before you move into Photoshop to combine them. On the sky-exposed frame, you might pull highlights down and push shadows up slightly. On the foreground-exposed frame, the sky will be white and blown, and your finger will be sitting there in frame blocking the sun, which is exactly what you want to see.
Keep your color grading decisions minimal at this stage. It is much easier to match the color between frames before you merge than after.
Step 6: Use Masks in Photoshop to Combine the Frames
 Lightroom and Photoshop workflow referenced for masking technique
Open the frames as layers in Photoshop, with the sky-exposed shot on top and the foreground-exposed shot underneath. Add a layer mask to the top layer and paint out the foreground area, revealing the well-exposed foreground from the layer below. The finger blocking the sun disappears naturally because that region is now being filled by the sky layer, which captures the sun without flare.
Lightroom and Photoshop workflow referenced for masking technique
Open the frames as layers in Photoshop, with the sky-exposed shot on top and the foreground-exposed shot underneath. Add a layer mask to the top layer and paint out the foreground area, revealing the well-exposed foreground from the layer below. The finger blocking the sun disappears naturally because that region is now being filled by the sky layer, which captures the sun without flare.
The masking does not need to be surgical along the horizon line. Sunsets rarely have hard edges there, and a soft brush transition reads as completely natural. Spend your precision on any areas where bright sky appears between foreground elements, like gaps between rocks or through tree branches.
A Note From My Own Experience With This Technique
I want to be honest about one place this gets tricky. If you are shooting in wind, or if your finger position shifts even slightly between the bracketed frames, the alignment in Photoshop becomes more difficult. I have started using a small piece of black foam taped loosely to a short rod that attaches to my tripod plate, so the blocker position stays completely consistent across all my bracketed frames. Low-tech, costs nothing, solves the drift problem entirely.
Also, this technique is particularly effective in the ten to twenty minutes before the sun actually hits the horizon, when it is still bright enough to cause serious flare but low enough in the sky that your finger can realistically block it without covering a large portion of the frame. That window is often the best light of the evening anyway.
The single most important thing to take away from this tutorial is that flare and exposure range are separate problems that deserve separate solutions. Handle the exposure with bracketing. Handle the flare by physically blocking the light source at the time of capture, not by retreating to a safer composition. The edit in post is simpler than it looks once you have the right frames to work with.
Watch the full tutorial on YouTube to see Adam’s actual Lightroom and Photoshop workflow on the finished image. His masking approach on the final composite is worth seeing in real time.
Comments (4)
This saved me so much time on my last edit. Wish I'd found this sooner.
Clear and practical. No fluff. Appreciate that.
Bookmarked. Coming back to this one for sure.
The before and after really sells it. Incredible difference.
Leave a Comment