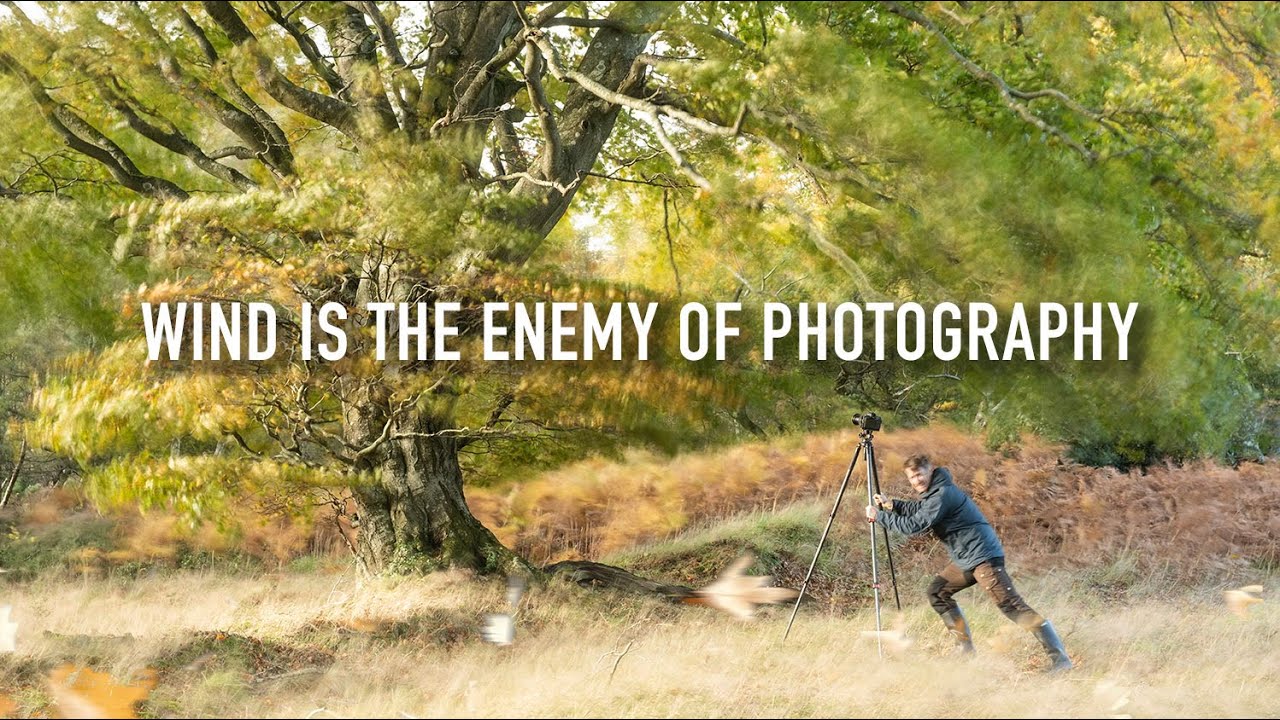
There’s a version of me that used to check the wind forecast the night before a shoot, see anything above fifteen miles per hour, and quietly close the laptop. I’d tell myself I’d go tomorrow. Tomorrow was always calmer in my head than it ever was outside. After twenty years making a living from landscape photography, I should have known better, but the habit stuck. Wind felt like the enemy, especially in autumn, when I’m chasing that clean, saturated foliage and I need the trees to hold still.
Then I came across a video from Thomas Heaton that stopped me cold. Watch the full tutorial on YouTube – it’s worth your full attention. Heaton admitted he’d told his newsletter subscribers that wind was the enemy of autumn photography, got pushback from his community, and then did exactly what a good photographer should do: he went outside in a storm to prove himself wrong. What he built from that experience is a practical, four-part framework that I’ve since carried into my own woodland shoots. It reframed not just a technique, but a mindset I didn’t realize I’d let calcify.
The core problem this solves is one most of us face in real shooting conditions, not ideal ones. We spend a lot of time imagining the perfect morning – still air, golden light, leaves frozen in peak color. That morning exists maybe four or five times a season. The rest of the time, it’s blustery and complicated. This tutorial is about those other days.
Step 1: Reframe the Conditions Before You Leave the House
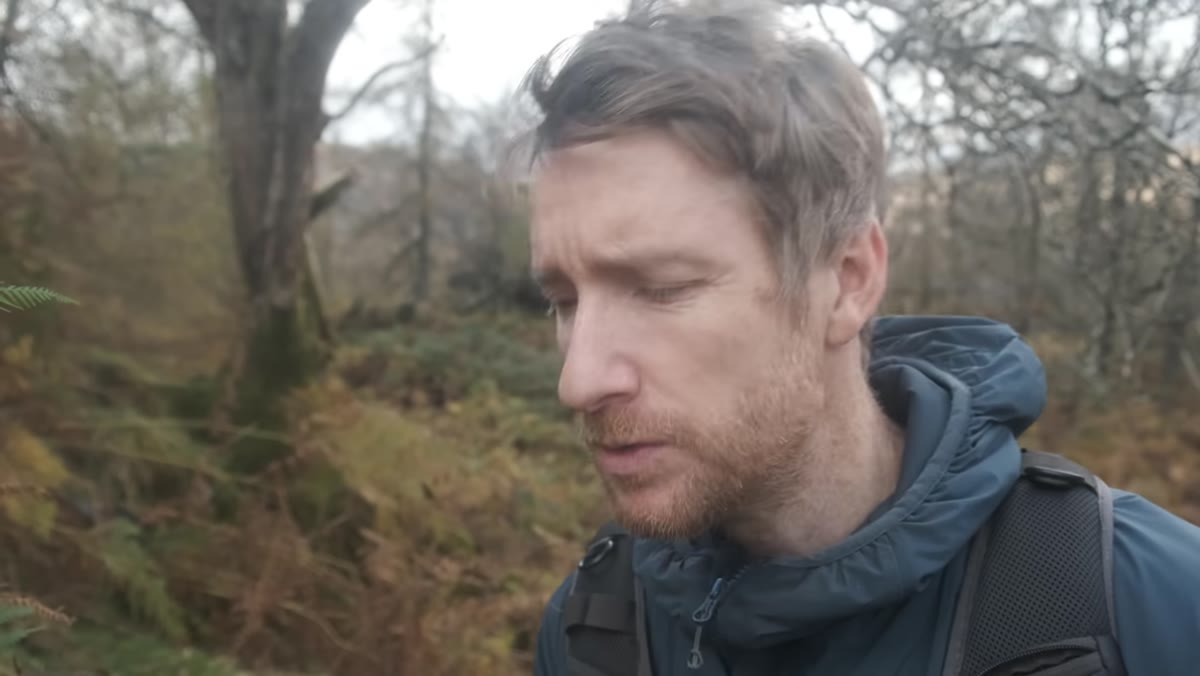 Heaton walking woodland path in wind, leaves moving
The first shift is psychological, and it has to happen before you pick up the camera. Heaton’s point is direct: if you live somewhere with consistent wind, treating it as a reason to stay home means you’re simply not shooting. The reframe is to ask “how do I use this?” instead of “how do I avoid this?” That question changes everything about how you scout and compose once you’re on location. I keep a small notebook in my bag, and before any shoot I’ll jot down the dominant condition of the day – wind, rain, flat light, whatever – and write one way I could lean into it rather than fight it. It takes thirty seconds and it breaks the avoidance reflex.
Step 2: Search for Four Ingredients in a Single Frame
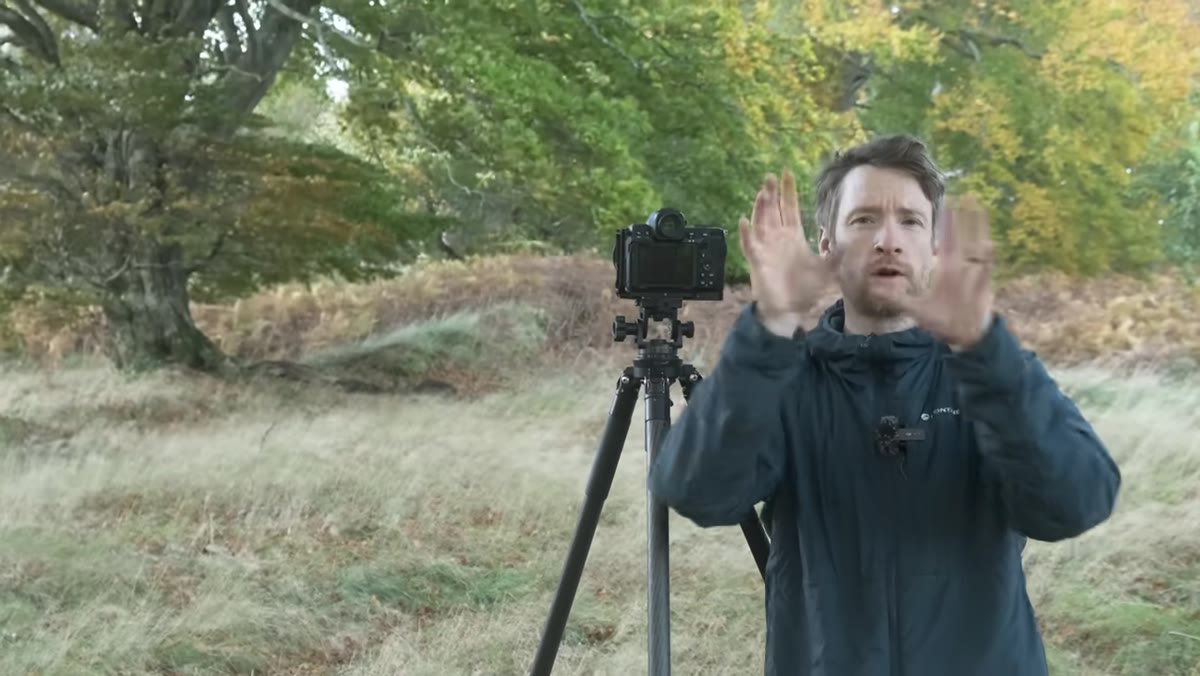
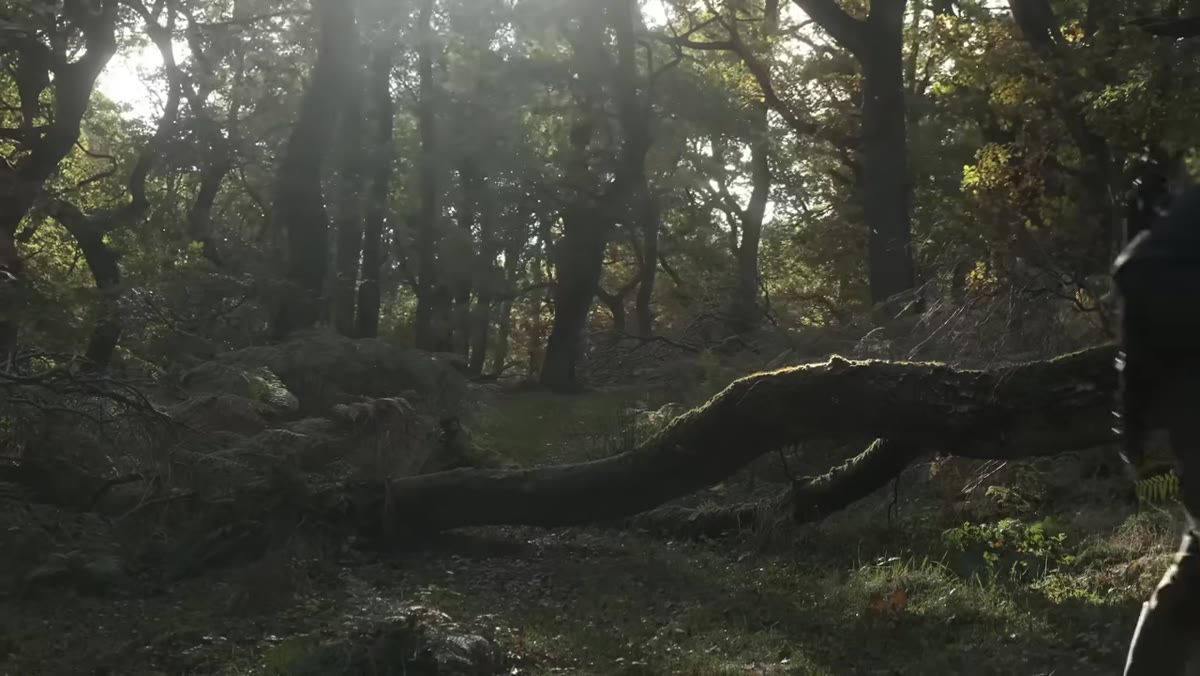 Heaton scanning woodland, gesturing toward trees
Once you’re on location, Heaton scouts with a specific checklist: structure, color, light, and movement. Structure means a clear anchor – a tree, a row of trees, a solid form that gives the eye somewhere to land. Color in autumn is usually obvious, but you need enough of it to register in a long exposure. Light means directional light, ideally backlit, which adds contrast and that luminous quality that separates a great woodland shot from a flat record of trees. Movement is the wind itself – the very thing we used to curse.
Heaton’s rule is to find at least three of the four in a single frame, with four being the target. This is a useful discipline because it stops you from firing frames at anything that looks vaguely autumnal. It slows you down and makes you evaluate the scene with criteria rather than feeling. I’ve started using the same list in my Pacific Northwest workshops, and participants consistently say it helps them stop wandering and start deciding.
Step 3: Commit to Movement as an Intentional Element
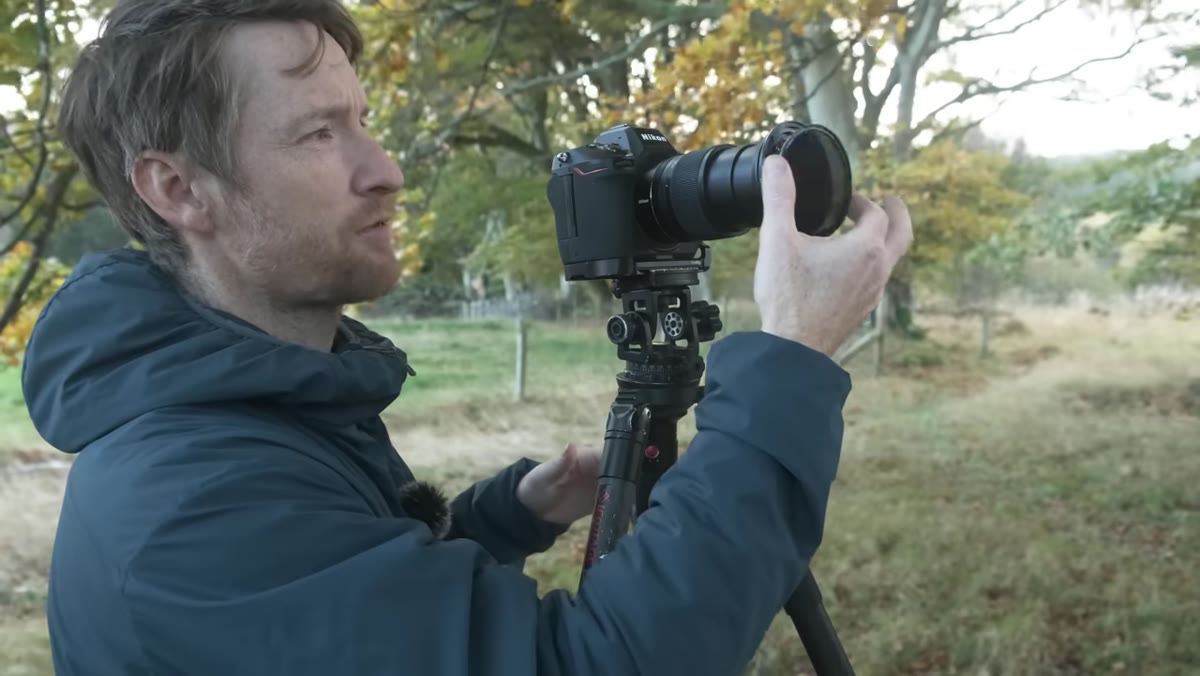
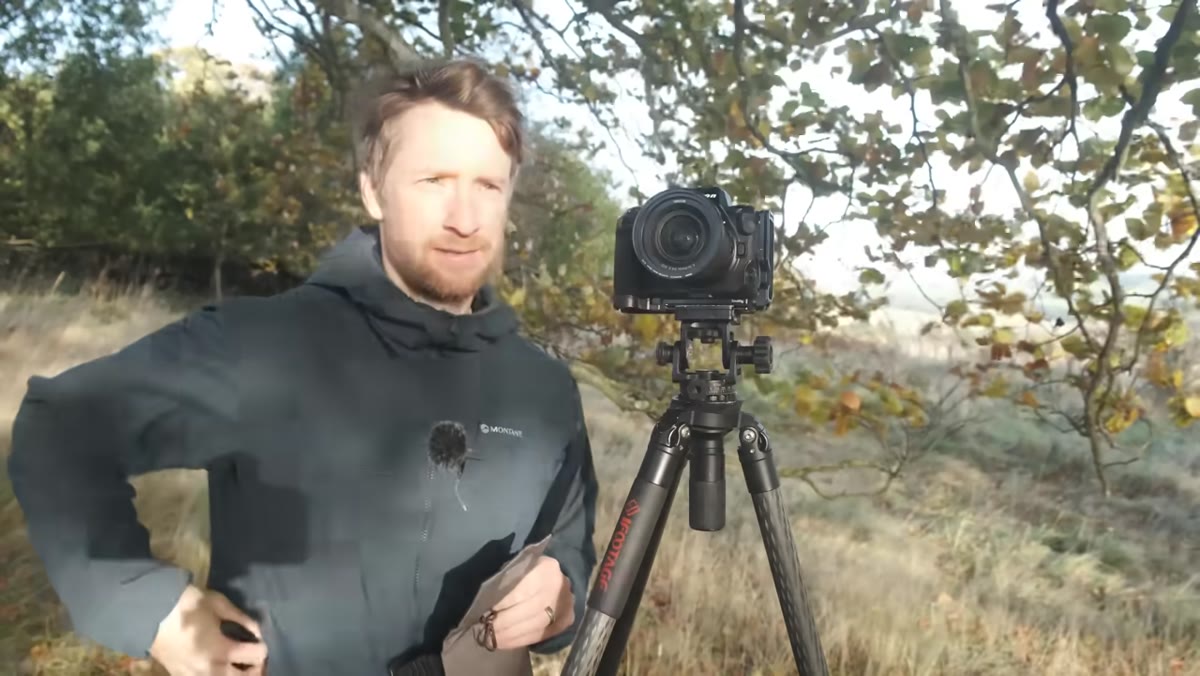 Heaton attaching ND filter to lens in field
Here’s where the technique gets specific. Heaton draws a line between movement that looks like a mistake and movement that reads as a deliberate artistic choice. A shutter speed that records just a little blur – something in the tenth-of-a-second range on a breezy day – often looks like camera shake or missed focus. It reads as an error. But a shutter speed long enough to render the foliage as a sweeping, painterly wash of color reads as intention. The viewer understands that you chose this.
To get into that intentional range, Heaton reaches for a six-stop ND filter. This is the practical tool that makes the technique work. On a bright autumn day, a six-stop filter gets you into exposure territory where leaves in a stiff wind become soft, abstract motion rather than frozen jitter. The image starts to look like a painting. That’s the goal.
Step 4: Adjust Your Filter Strength as Light Changes
 Heaton swapping six-stop for three-stop ND filter
Cloud cover and shifting sun will change your exposure math mid-shoot, so you need to stay flexible with your filtration. When Heaton loses his direct backlight to cloud, he swaps the six-stop for a three-stop. This keeps his shutter speed in the motion-blur range without overexposing the frame. The underlying principle is consistent: your filter choice should be driven by the shutter speed you need for the visual effect you want, not by habit or convenience.
In practice, I carry a small filter wallet with two or three ND options and I’ll meter the scene before attaching anything. I’m asking: what shutter speed do I need to make this movement look deliberate? Then I work backward to figure out which filter gets me there. On overcast days in Oregon’s forests, I often reach for a ten-stop to compensate for how dark the canopy gets, but Heaton’s principle applies equally – the shutter speed is the target, the filter is just the tool.
Step 5: Use Backlighting to Elevate the Abstract Quality
 Backlit autumn trees with leaves in motion, golden contrast
Heaton specifically calls out backlighting as the light condition that makes this technique sing. When the sun is behind the trees and you’re shooting into it, the leaves catch light along their edges and the whole canopy seems to glow. Combined with long-exposure motion blur, this creates a luminous, almost impressionistic quality. It’s the difference between a photo of a windy forest and an image that makes someone stop scrolling.
Positioning matters enormously here. You need to be patient and wait for the light to angle correctly, and you need to be willing to shift your position by several feet to put the sun in the right relationship to your subject. I’ll often spend twenty minutes walking a small area looking for the exact spot where the backlight comes through cleanly without flaring into the lens in a way that ruins the structure.
A Note from My Own Experience: Patience Is the Hidden Skill
I once drove six hours to shoot a lake in central Oregon, sat in dense fog for two days, and came home with a single frame. It became my best-selling print. That trip taught me that the conditions you plan for and the conditions you get are almost never the same thing. What Thomas Heaton is teaching in this tutorial is a version of that same lesson: the conditions in front of you are always workable if you have a framework for reading them.
Wind specifically has given me some of my most striking autumn work. The movement adds energy that still-air shots often lack. The challenge is building the mental flexibility to see that possibility in real time, when it’s cold and the forecast looks hostile and staying in with coffee sounds reasonable.
The single most important takeaway here is this: define what you’re looking for before you evaluate any scene. Structure, color, light, movement – pick your criteria, scout against them, and let the conditions tell you which one to lead with. The wind is not your enemy. It’s just an ingredient you haven’t learned to cook with yet.
Watch the full tutorial on YouTube and pay close attention to how Heaton scouts the scene and adjusts on the fly. The fieldwork thinking is as valuable as the technical settings.
Comments
Leave a Comment