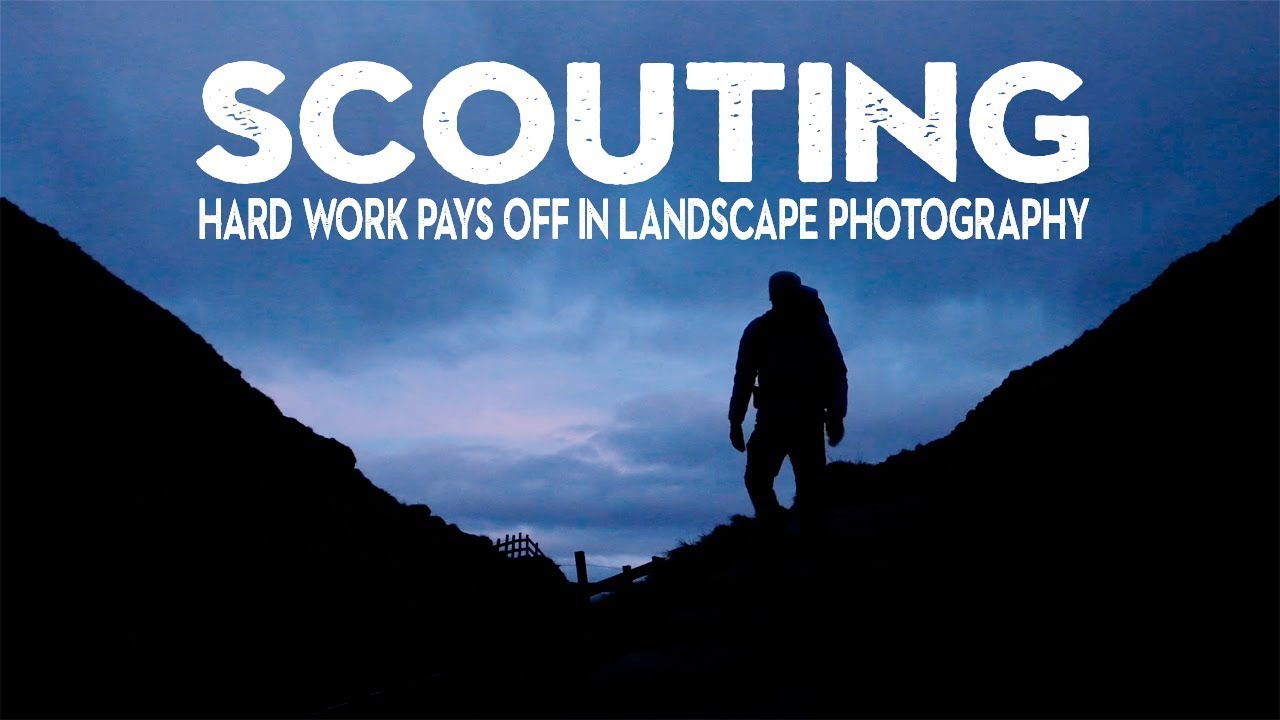
There’s a particular kind of quiet disappointment that settles in when you’ve driven an hour in the dark, hauled your gear up a hill, and the conditions you planned for simply aren’t there. No fog. No golden rim light. Just a flat grey sky doing absolutely nothing. I’ve been shooting landscapes full-time for twenty years and I still feel that sting every time. The temptation is to pack up, drive home, and wait for a better day. But the photographers who consistently build strong portfolios aren’t the ones who only shoot when conditions are perfect. They’re the ones who know what to do when the morning goes sideways.
That’s exactly what this tutorial addresses. In this Nigel Danson tutorial, Watch the full tutorial on YouTube, Nigel heads out to the Peak District in the UK expecting thick fog over Mam Tor. He gets gray, still, uninspiring light instead. What follows isn’t a complaint session. It’s a practical field demonstration of how working photographers salvage a shoot and, more importantly, make it productive for future sessions.
A mentor once told me that the mountain doesn’t care about your schedule. I’ve carried that with me ever since. What Nigel demonstrates here is the embodied version of that idea: adapt, observe, and do the work anyway. Here’s how to follow his approach the next time the weather breaks its promise.
Step 1: Accept the Conditions and Reframe Your Goal
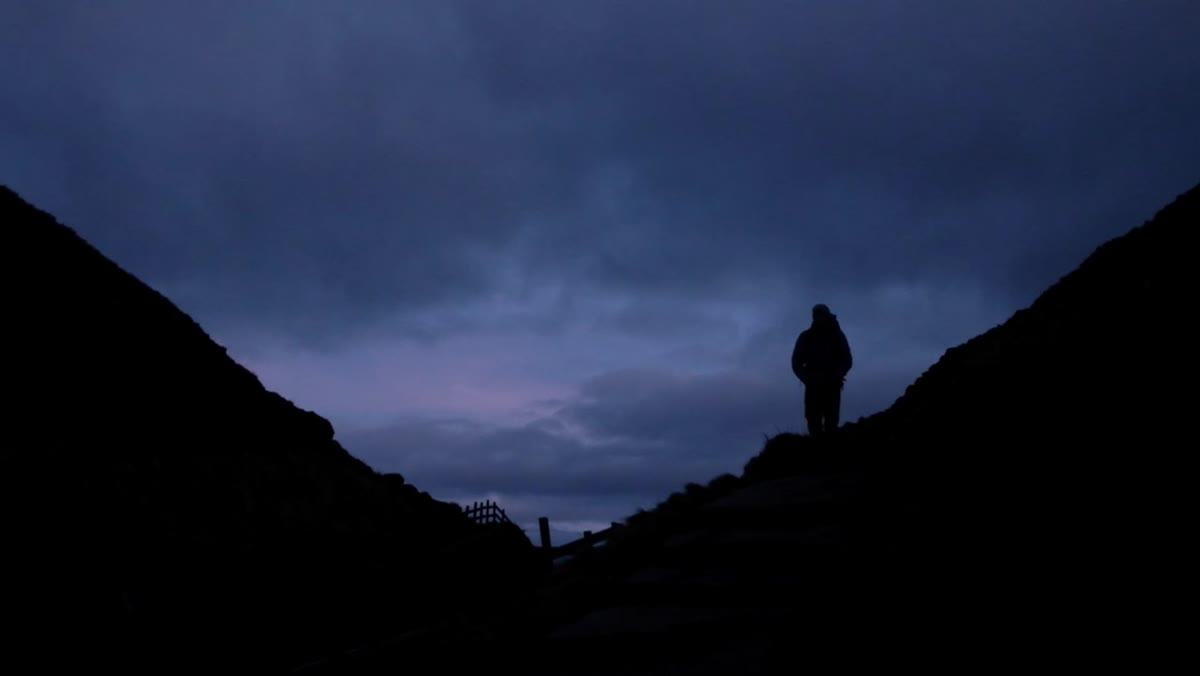 Nigel walking away from Mam Tor toward an alternate hillside
When the forecast doesn’t deliver, your first job is to let go of the shot you planned and decide what this outing is actually for. Nigel makes a deliberate choice to turn left instead of his usual right, heading toward less-traveled ground on a hillside adjacent to Mam Tor. The goal shifts from capturing a moody fog image to scouting for future opportunities. This isn’t giving up. It’s reassigning the purpose of the morning. Before you take a single frame, make that internal pivot clear to yourself. Ask: if I can’t get the shot I came for, what can I learn here instead?
Step 2: Scout with Intention, Not Just Your Eyes
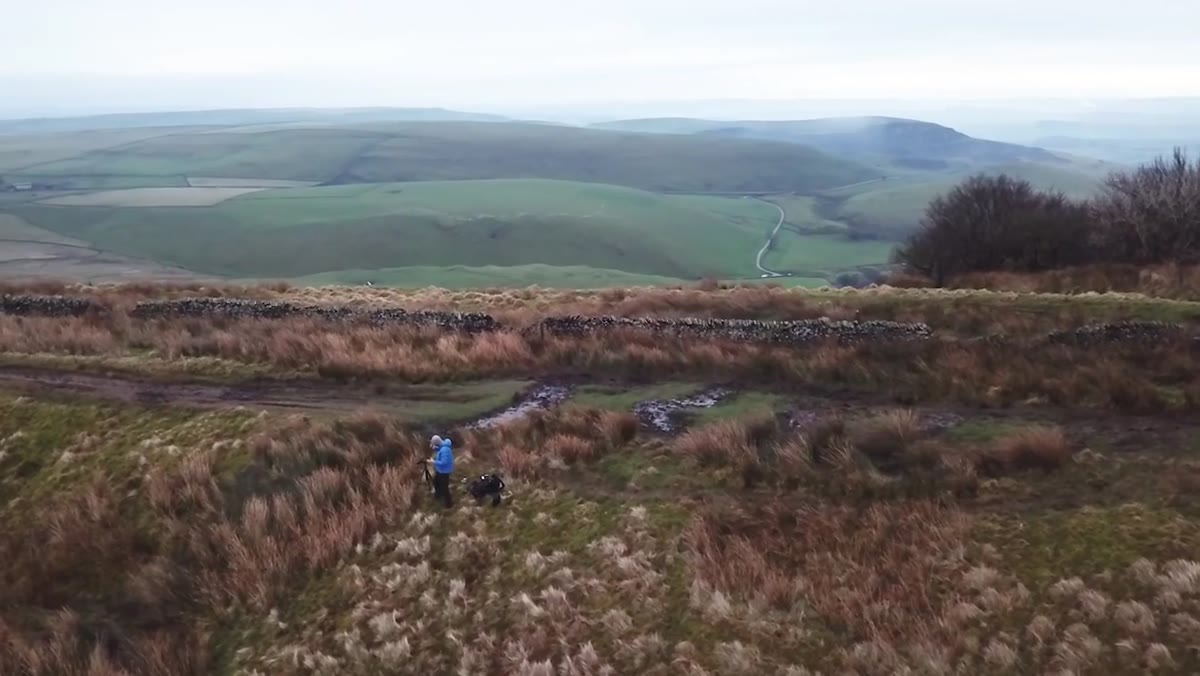
 Wide hillside view showing grasses and distant landscape under flat light
Scouting isn’t wandering. Nigel moves through the landscape with specific questions in mind: Where will the sun rise and set from this vantage point? What foreground elements are here that I haven’t used before? He identifies the sun’s position relative to the hillside and notes that at sunset, the light will fall across the slope in a way that could be spectacular. As you walk a new area, use your phone’s compass and a sun-tracking app like PhotoPills or The Photographer’s Ephemeris to map golden hour angles against the terrain you’re standing in. Physical presence at a location, even on a dull day, gives you spatial information no app can fully replicate.
Step 3: Use Dull Light to Experiment with Composition
 Camera pointed low toward bending grasses as a foreground lead-in
Flat light is actually useful for one thing: it removes the pressure of chasing a 10-minute window and gives you time to try compositions you’d normally rush past. Nigel gets low and finds a patch of bending grasses that create a natural lead-in line toward the valley below. His instruction here is worth taking seriously. Work toward simplicity at the bottom of your frame. A clean, uniform foreground pattern pulls the eye inward and upward toward the landscape’s main subject without competing with it. Try shooting from multiple positions, standing height, knee height, and ground level, and compare what changes in the relationship between foreground and background.
Step 4: Adjust Your Focal Length for Depth and Scale
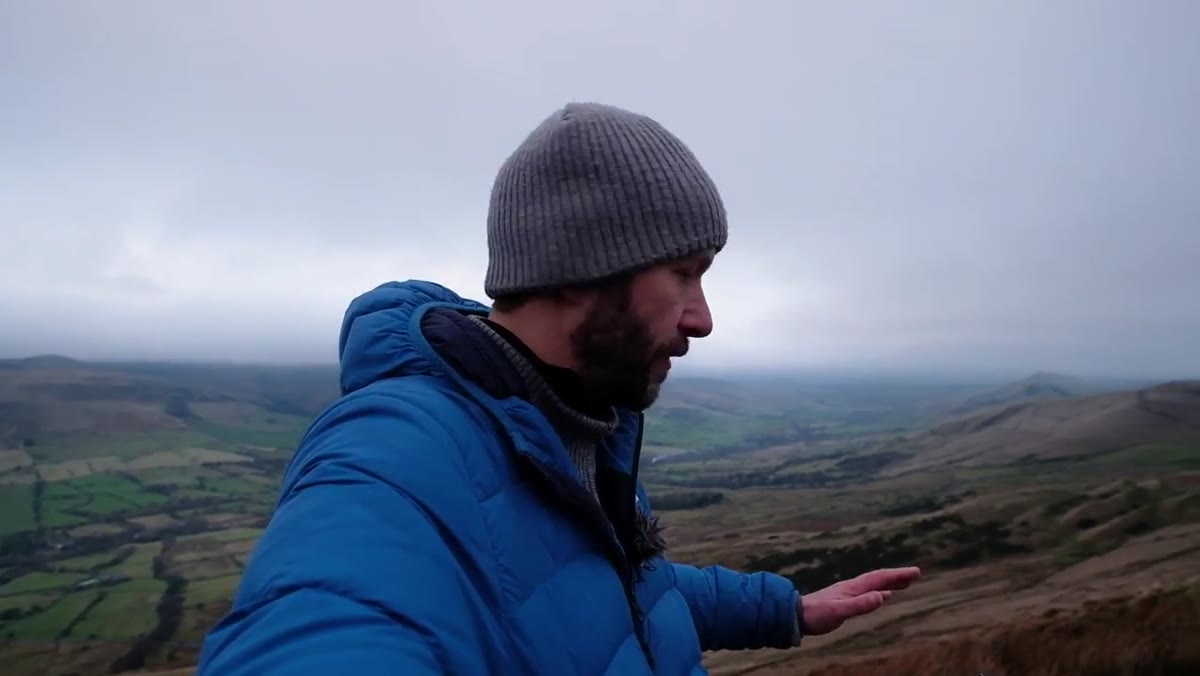 Camera display showing 24mm setting with hillside composition framed
Nigel shoots this scene at 24mm on a wide-angle lens and considers going even wider, down to 20mm, to emphasize the foreground grasses and stretch the depth of the landscape behind them. When you’re working with a sweeping hillside or any scene where you want to create a strong sense of space, go wider than your instinct suggests. The tradeoff is that wide angles exaggerate the foreground, so make sure what’s in that bottom third of the frame is actually worth seeing. A patch of interesting texture or a natural lead-in line rewards a wide-angle treatment. Flat, featureless ground does not.
Step 5: Control Sky Proportion Based on What It Contributes
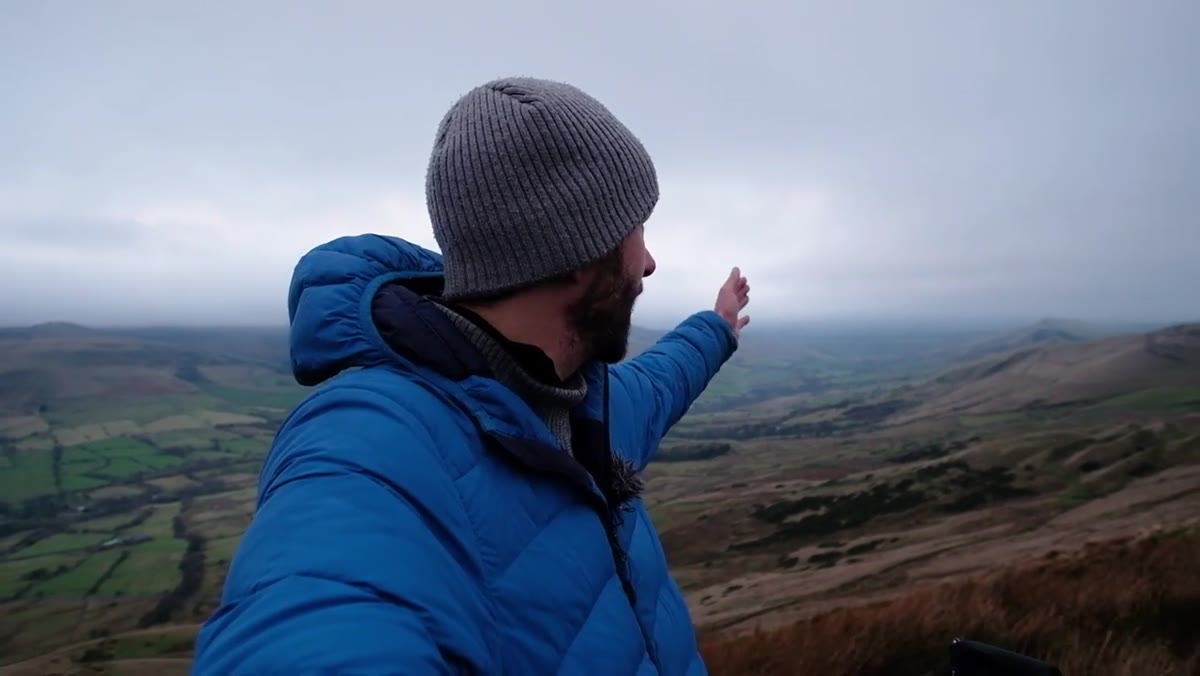 Framing showing roughly one-quarter sky in a dull overcast scene
On this particular morning, the sky is offering nothing. No clouds with structure, no color, no drama. Nigel responds by giving it roughly a quarter of the frame, sometimes less. This is a disciplined compositional call that many photographers resist because cropping the sky feels counterintuitive outdoors. But a dull, featureless sky competes with the landscape below it without contributing anything. If the sky isn’t earning its place in the frame, reduce it. Conversely, when you return to this same location under better conditions, the same composition will carry far more sky because the light and cloud movement will justify the real estate.
Step 6: Use ISO to Control Motion in the Foreground Grasses
 Nigel adjusting camera settings with wind blowing grasses in foreground
Wind introduces a creative variable that most photographers treat as a problem. Nigel reframes it as a choice. When grasses or other organic elements are moving, your shutter speed determines whether they read as sharp and graphic or soft and impressionistic. To freeze motion, raise your ISO and keep your shutter speed fast. To create a silky blur in the foreground, lower your ISO and let the shutter stay open longer. Neither is wrong. The question is which serves the mood of the image you’re making. Try both on the same composition before moving on. The difference between ISO 100 at half a second and ISO 800 at 1/200th can completely change the feeling of the final file.
What I’d Add From My Own Field Experience
Scouting days like the one Nigel describes often produce my best future work, but only if I actually document what I find. I keep a running note in my phone with GPS pins and short written observations: “southwest slope, bending grasses near wall, sunset light hits from the right, strong lead-in potential.” Without that record, I’ve walked the same ground twice and forgotten what I saw the first time. I’ve also started shooting quick reference frames without caring about exposure, just compositions I want to remember. The image doesn’t need to be good. It needs to jog my memory three weeks later when conditions finally align.
One more thing. The moment you frame a subpar location as a failed shoot, you stop absorbing information. Nigel’s whole approach here depends on staying curious even when the morning isn’t giving you what you came for. That mindset isn’t passive. It’s a skill you build through repetition, and days like this one are where it gets built.
The single most important takeaway here is this: a bad weather day spent in the field is worth more than a good weather day spent at home. You come back with knowledge of the land, tested compositions, and a plan. The light will show up eventually. When it does, you’ll already know exactly where to stand.
Watch the full tutorial on YouTube to see Nigel work through this in real time. Watching him make decisions on the fly, in genuinely flat light, is more instructive than any perfect-conditions reel.
Comments
Leave a Comment