Capturing the Soul of the Coast: Light, Timing, and Composition at the Water’s Edge
I’ve spent countless dawn and dusk hours on rocky shores and sandy beaches, watching light transform water and stone into something that makes you hold your breath. Coastal photography isn’t about stumbling upon perfection—it’s about understanding the specific conditions that create it, then positioning yourself to be ready when they arrive.
Understanding Coastal Light
The coast offers light like nowhere else on land. Water reflects and scatters light in ways that soften shadows and create depth, but this generosity comes with its own challenges. I’ve learned to arrive at least 30 minutes before sunrise or sunset, not to catch the moment itself, but to observe how light behaves with your specific landscape.
On overcast days, when many photographers stay home, the coast becomes a different animal entirely. The soft, diffused light eliminates harsh shadows on rocks and makes the texture of water genuinely visible rather than blown out into white abstraction. I’ve taken some of my most compelling coastal work on grey mornings when the sky and sea merge into monochromatic gradients.
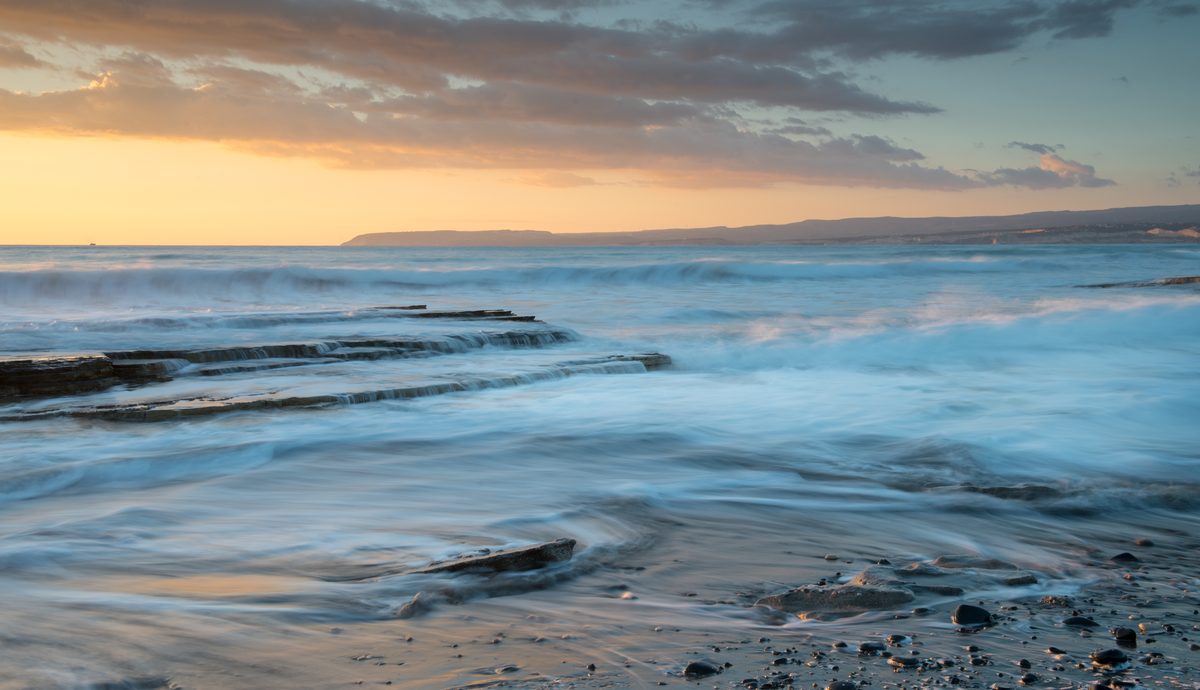
Direct sunlight, by contrast, creates drama. When golden hour light strikes wet rocks or catches foam, it produces contrast and warmth that feels earned. The key is positioning yourself so the sun is behind you or at a 45-degree angle—shooting into the light often results in lens flare and underexposed foregrounds, mistakes I’ve made enough times to know better.
Timing Your Visit: More Than Just the Hour
Most photographers know about golden hour, but coastal timing requires deeper thinking. I check tide tables obsessively. Low tide reveals interesting rock formations and textures in the sand that high tide submerges entirely. High tide, meanwhile, brings waves higher onto beaches and creates different compositional possibilities.
I also consider the season. Winter swells create more dramatic waves, but the light is lower and colder-toned. Summer offers longer shooting hours and warmer light, but the sun’s higher angle at noon makes midday work nearly impossible. Spring and autumn provide the sweet spot: lower sun angles, manageable temperatures, and often fewer tourists in the frame.
Weather forecasting is equally crucial. Wind patterns determine wave behavior—offshore winds create cleaner lines and more defined spray, while onshore winds tend to produce choppier, less photogenic water movement.
Composition Strategies That Work
The horizon line trips up many coastal photographers. I rarely place it dead center, but I also resist the urge to always follow the rule of thirds religiously. Instead, I ask: what’s more interesting—the sky or the water? If the clouds are dramatic, I’ll push the horizon lower. If the water shows compelling patterns or reflections, the horizon moves up.
Leading lines along beaches, rock formations, and wave patterns naturally guide the viewer’s eye. I actively scout for these compositional elements before the light becomes ideal. A row of rocks leading toward distant cliffs, a line of foam marking a tidal line, even the curve of a sandy cove—these structural elements matter as much as the light hitting them.
Foreground interest separates good coastal images from forgettable ones. Rather than shooting from standing height, I’ll kneel or lie prone to emphasize rocks, shells, or tide pools. This changes perspective dramatically and adds dimension that elevates the entire frame.
Practical Settings to Start With
For coastal work, I typically begin with an aperture of f/11 to f/16 to maintain depth of field across uneven terrain. Shutter speed depends entirely on your intention with water—1/125th second freezes wave movement, while 2-4 second exposures create that dreamy, smoothed water texture. An ND filter is invaluable here, allowing longer exposures even in bright conditions.
The coast demands respect and patience. It’s not a place to rush through, checking boxes. Sit. Watch. Wait for the light to do something true.
Comments
Leave a Comment