The Mountain’s Demand for Patience
I’ve stood on countless ridgelines at dawn, waiting for the first light to spill across a valley I’d hiked to in darkness. There’s something humbling about mountain photography—the landscape won’t bend to your schedule, and the weather won’t cooperate simply because you drove six hours to be there. This is precisely why I love it.
Mountains demand something different from us than other landscape subjects. They’re three-dimensional puzzles where light, shadow, and scale interact in ways that a photograph must somehow translate onto a flat plane. Understanding this challenge is your first step toward better mountain images.
Mastering Exposure in Extreme Contrast
The greatest technical obstacle I face in alpine terrain is managing the brutal contrast between illuminated peaks and shadowed valleys. A bright snow-covered summit and a forested slope in shadow can represent a difference of four to six stops of light—far beyond what your sensor can capture in a single exposure.
I’ve developed a reliable approach: shoot in aperture priority mode (f/8 to f/11 typically) and bracket three exposures: one metered for the highlights, one for the midtones, and one for the shadows. I meter directly on the brightest area of sky first, then on the darkest foreground element. This gives me the data I need either to blend exposures in post-processing or to select the single frame that best represents what I saw.
On days when I’m working with a single exposure, I’ll deliberately underexpose by 0.5 to 1.0 stops to preserve detail in bright skies. A blown-out sky in a mountain image reads as carelessness.
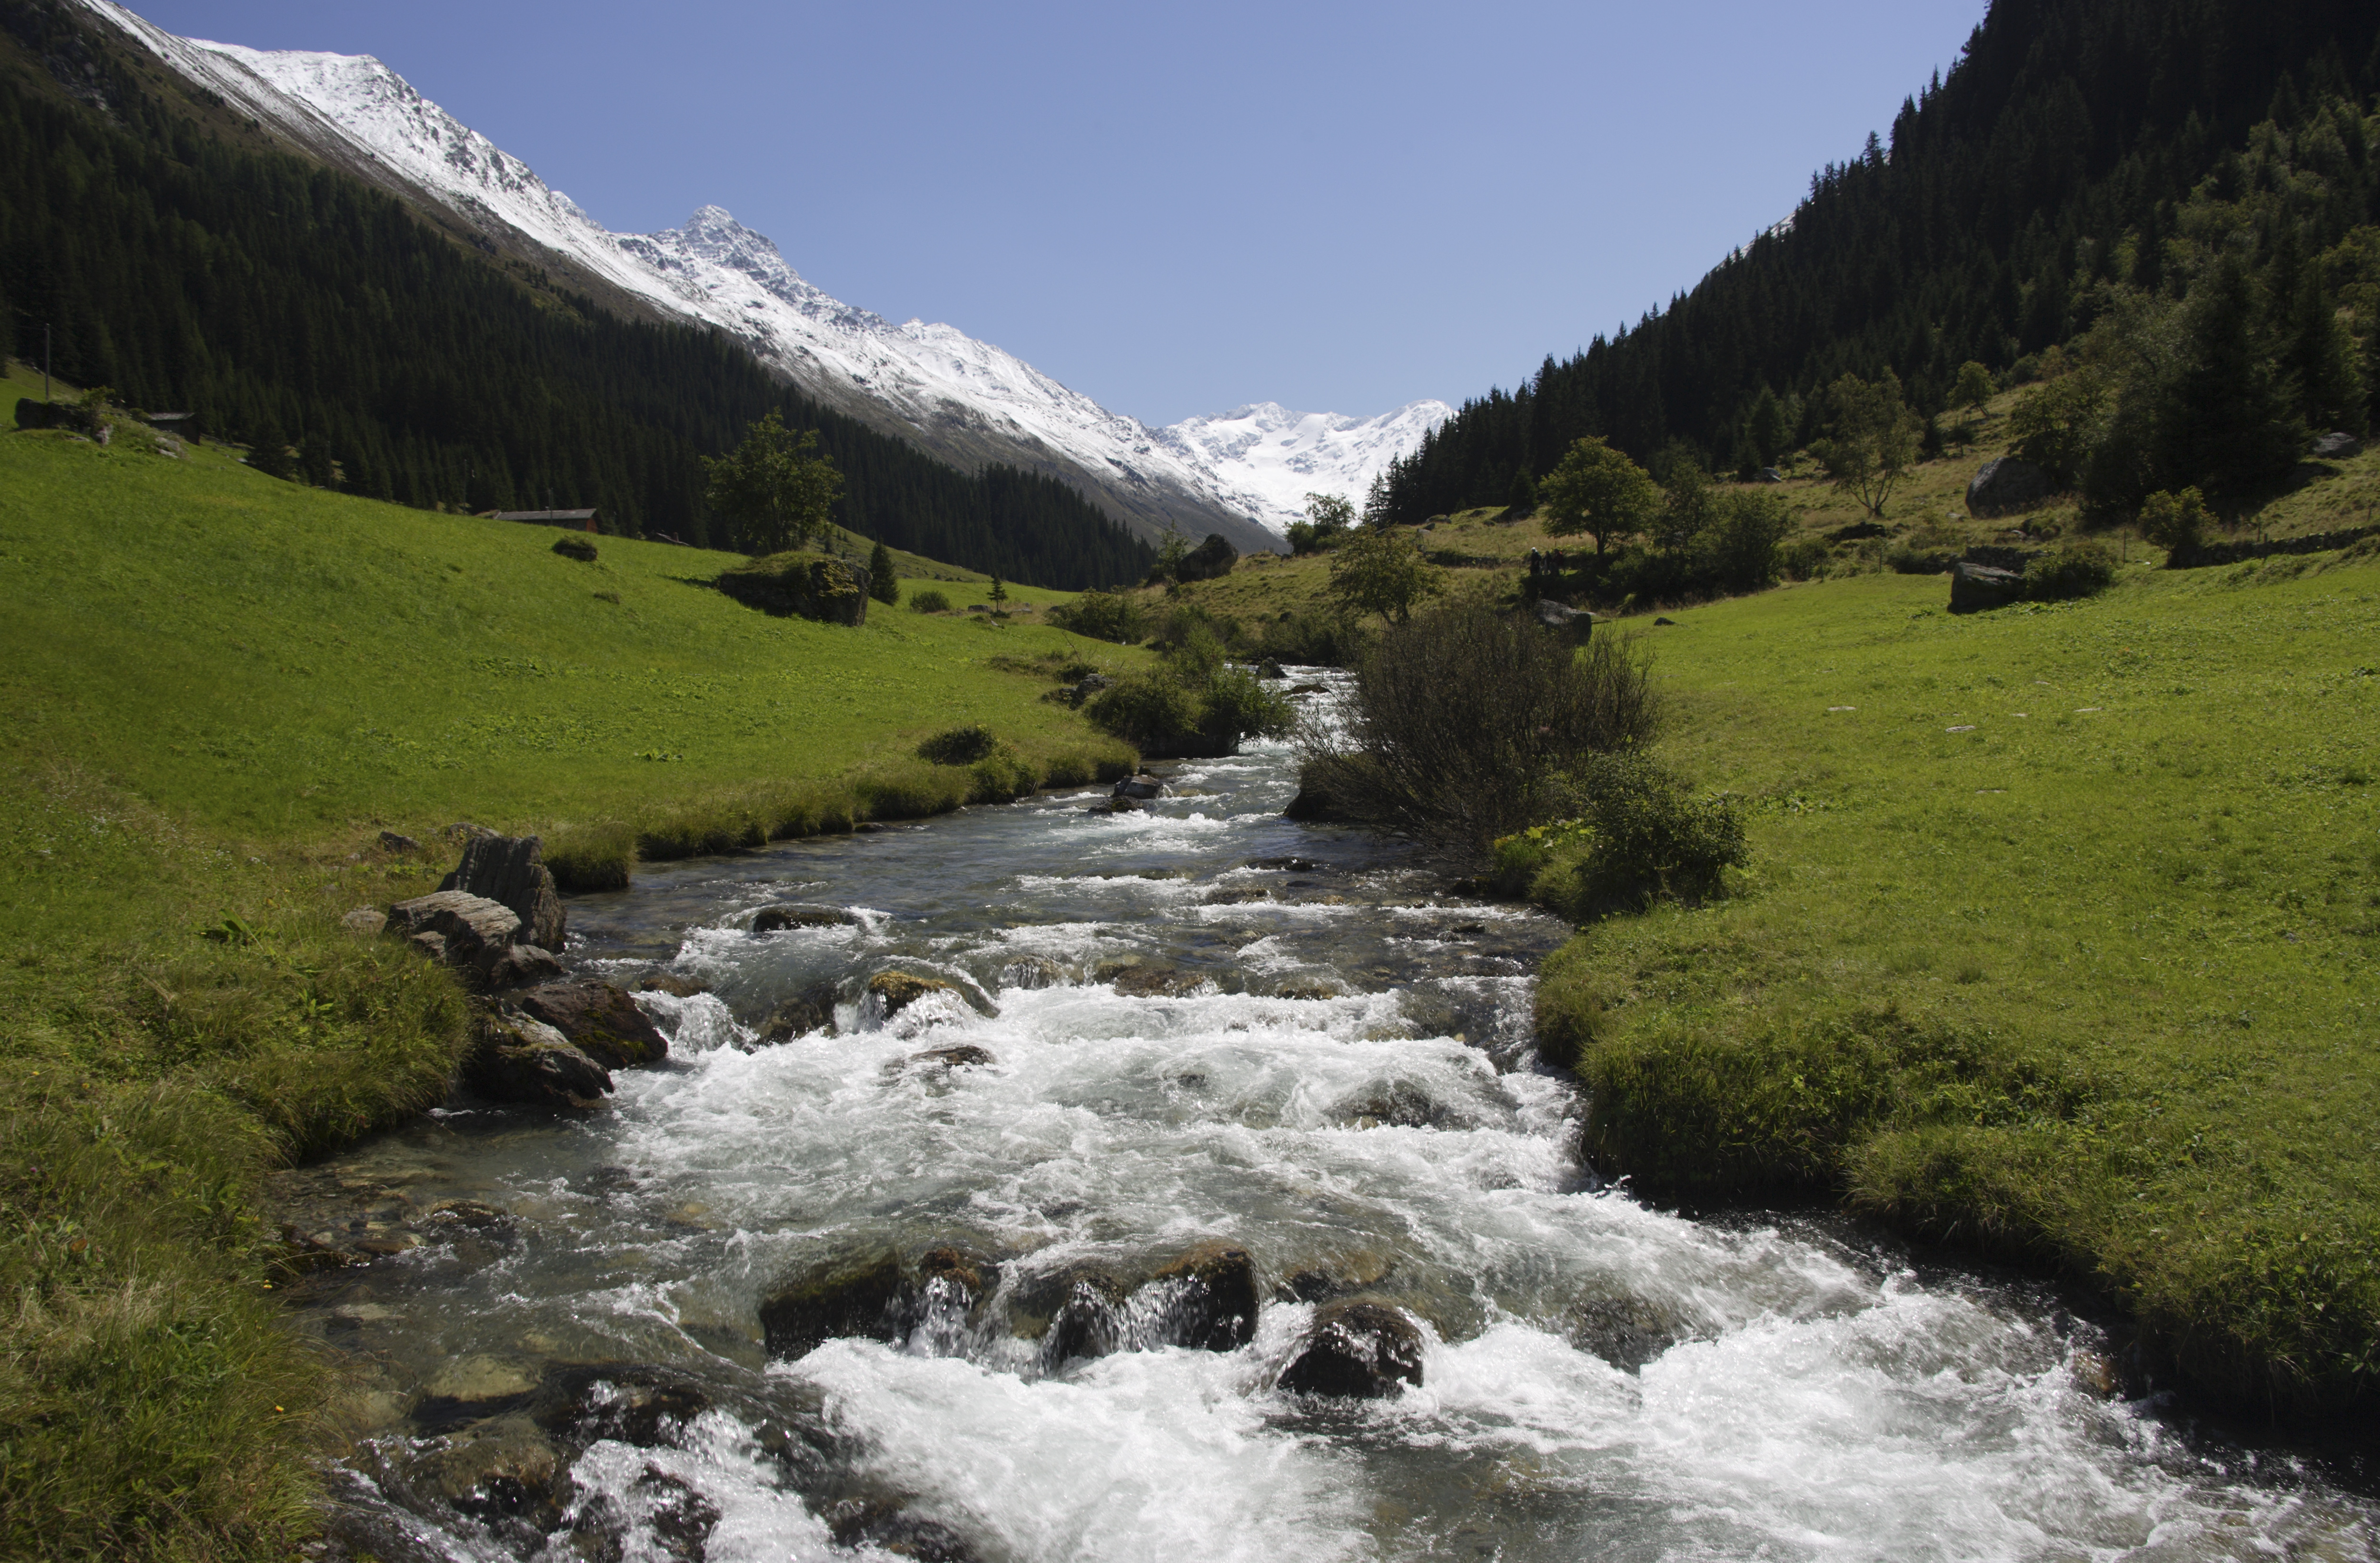
Composition: Using Depth to Show Scale
Mountains are deceptive. Stand before a peak that appears monumental, and your camera may render it as a small triangle on the horizon. The three-dimensional reality of scale doesn’t translate automatically.
I combat this by deliberately including foreground elements—a weathered tree, alpine flowers, a rocky outcrop—that anchor the viewer’s eye and create a sense of perspective. This foreground-to-background depth is what separates a snapshot of a mountain from a compelling alpine photograph.
When composing, I position the horizon in the lower third of the frame to emphasize sky and peaks, reserving this composition for when the sky genuinely commands attention through color or cloud formation. If the foreground terrain is particularly interesting, I’ll invert this ratio and place the horizon higher.
Reading Weather and Light Patterns
Some of my strongest mountain images came during marginal weather—when storm systems are moving through but haven’t completely obscured the peaks. Heavy cloud cover creates diffuse, directional light that sculpts ridgelines beautifully without the harshness of clear-sky sun.
I’ve learned to recognize certain cloud formations that precede dramatic light. Lenticular clouds above a peak, for instance, often signal wind at altitude and rapid light changes. Cumulus clouds building on the horizon suggest that golden hour light might be interrupted—so I work quickly during those conditions.
Check weather forecasts the night before, but also trust what you observe in the field. Atmospheric conditions shift constantly in mountains, and sometimes the most photographic light appears when you least expect it.
Final Thoughts: Preparation Meets Presence
Mountain photography rewards meticulous preparation—studying maps, checking weather, testing equipment—but it also demands that you remain present enough to notice when conditions shift in your favor. Bring extra batteries; cold temperatures drain them faster than you’d expect. Use a sturdy tripod; wind is constant at elevation. Protect your sensor from dust and moisture.
But beyond the gear and settings, remember that mountains have humbled photographers far better than I am. Respect that, stay patient, and let the landscape teach you.
Comments
Leave a Comment