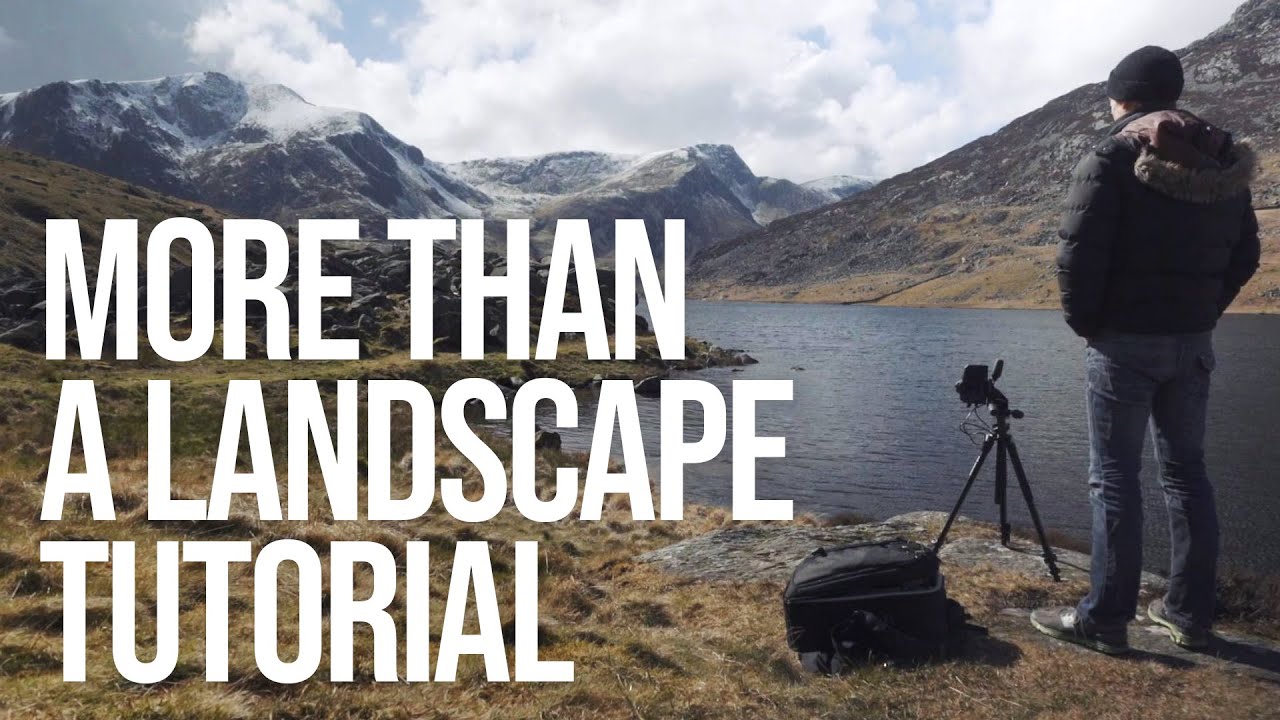
There’s a specific kind of professional rut that doesn’t look like a rut from the outside. Your work is consistent. Clients are happy. You hit your marks. But somewhere in the middle of a shoot, you realize you haven’t made a single conscious decision in the last twenty minutes. You’ve just been executing muscle memory. I know this feeling well. After two decades shooting landscapes full-time out of Bend, I’ve caught myself standing at a location I’ve visited fifty times, framing the same shot, waiting for the same light, and calling it a day. Familiarity is the enemy of growth, and it sneaks up on you quietly.
That’s why this Sean Tucker tutorial stopped me mid-scroll. Watch the full tutorial on YouTube. Tucker is primarily a portrait and product photographer, not a landscape specialist, and he leans into that openly. He packs his car and drives to Snowdonia in Wales specifically because he doesn’t know what he’s doing there. He’s uncomfortable, uncertain, and shooting without a safety net. Watching a working professional choose discomfort on purpose is a better tutorial than most technical breakdowns I’ve seen, but there’s plenty of concrete technique here too. Here’s how the approach breaks down, step by step.
Step 1: Choose Discomfort Deliberately
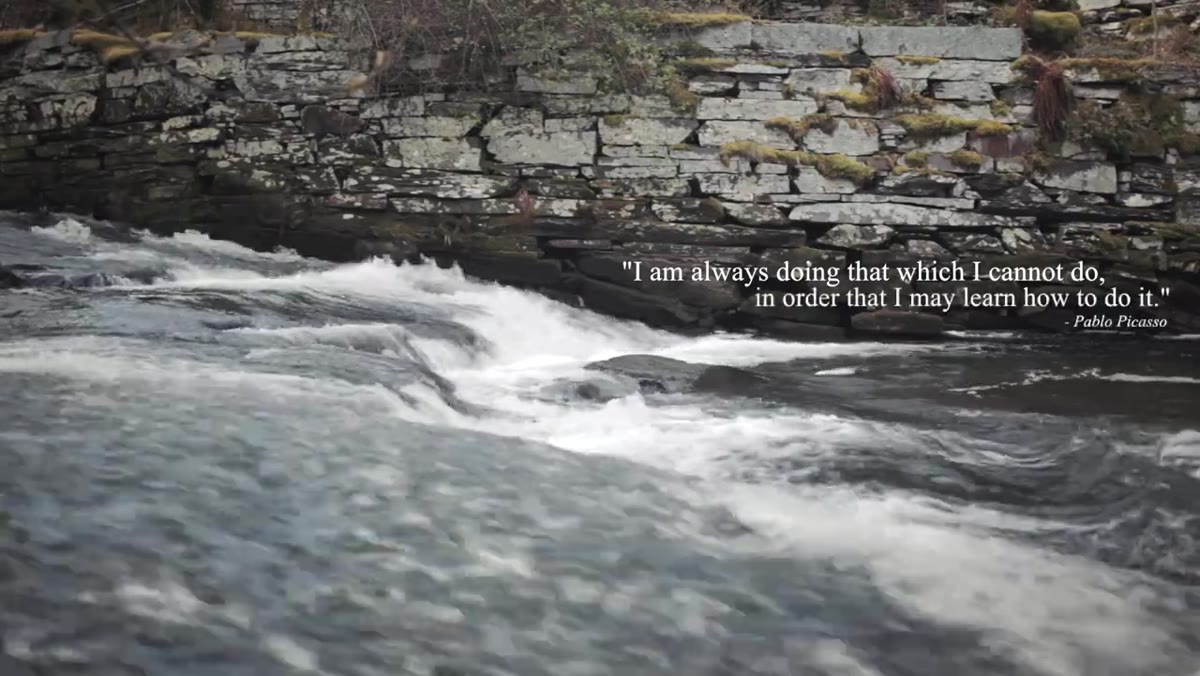 Tucker explaining his frustration with studio autopilot
Tucker opens by naming the problem honestly: he can move through a familiar shoot without thinking. His fix isn’t a new lens or a preset pack. It’s removing himself from every variable he controls and placing himself somewhere genuinely unknown. For landscape photographers, this might mean driving to a region you’ve never scouted, shooting a season you usually skip, or leaving your most reliable lens at home.
Tucker explaining his frustration with studio autopilot
Tucker opens by naming the problem honestly: he can move through a familiar shoot without thinking. His fix isn’t a new lens or a preset pack. It’s removing himself from every variable he controls and placing himself somewhere genuinely unknown. For landscape photographers, this might mean driving to a region you’ve never scouted, shooting a season you usually skip, or leaving your most reliable lens at home.
The point isn’t hardship for its own sake. It’s about forcing your brain back online. When you don’t know the terrain, the light behavior, or the compositions waiting for you, you have to actually look. That alertness is what produces your best work, and it’s worth manufacturing if it doesn’t come naturally anymore.
Step 2: Scout Your Location the Evening Before
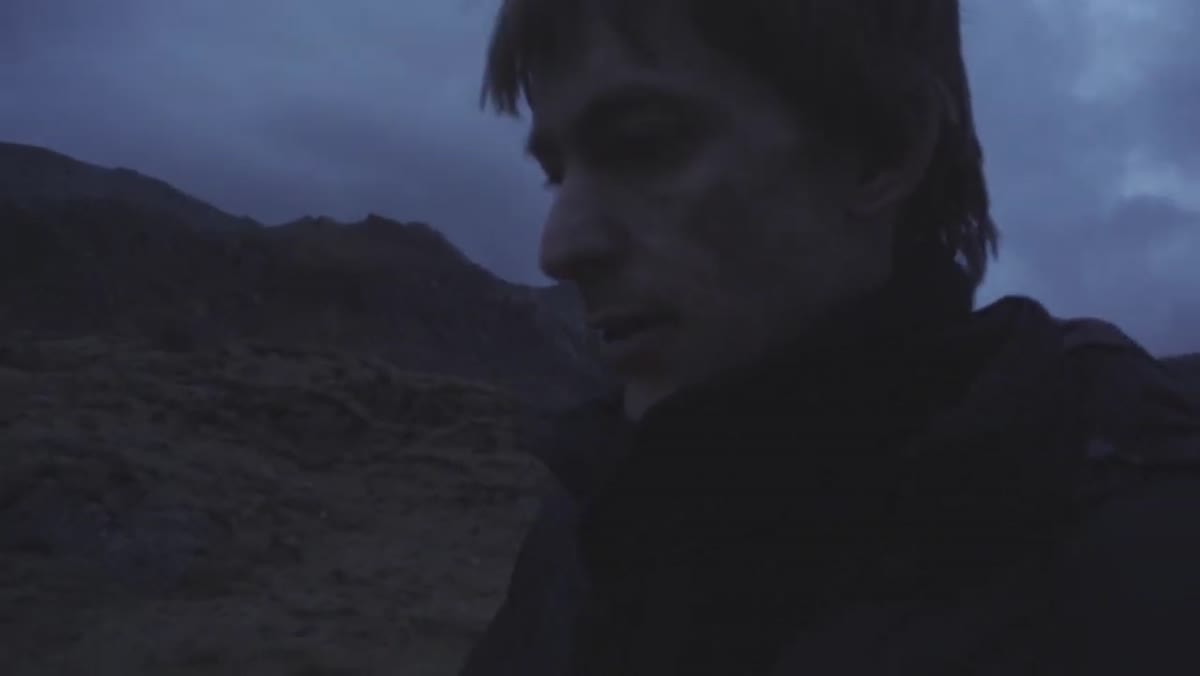
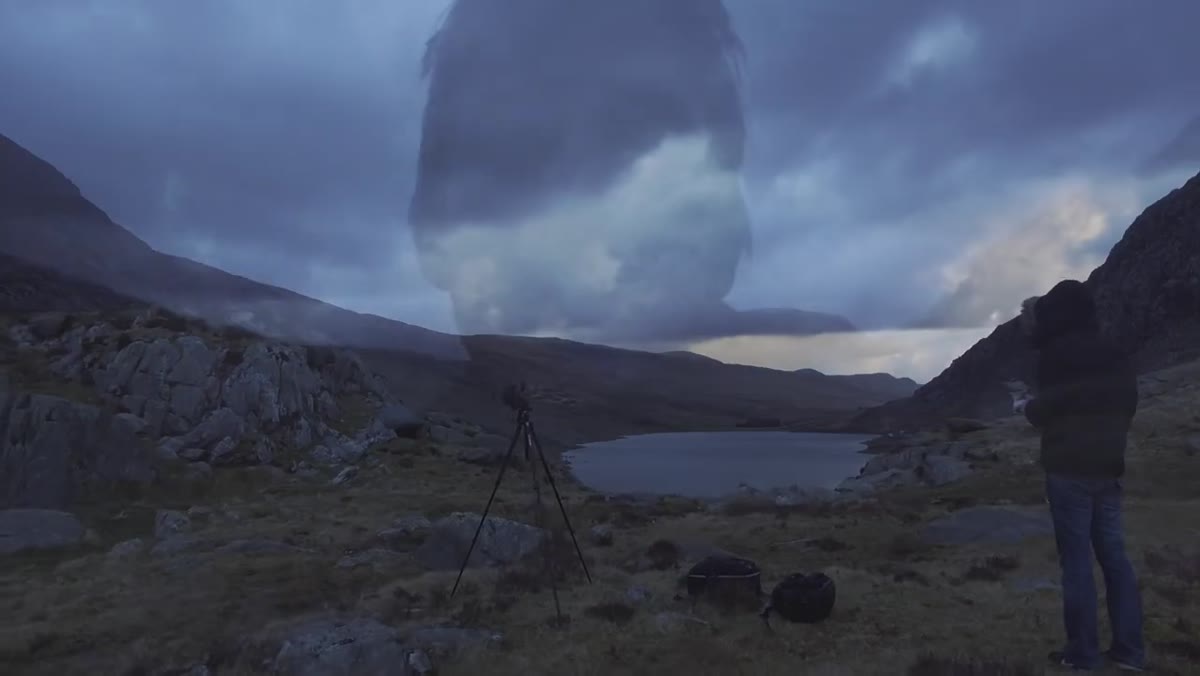 Tucker arriving at the dam location in low evening light
Tucker arrives at his main location, a reservoir with a dam, the evening before his pre-dawn shoot. He’s not shooting yet. He’s reading the land: where the light will enter, what’s in the foreground, where he’ll physically stand when it matters. This is standard practice for experienced landscape photographers, but it’s worth spelling out because beginners often skip it and then spend their golden hour fumbling.
Tucker arriving at the dam location in low evening light
Tucker arrives at his main location, a reservoir with a dam, the evening before his pre-dawn shoot. He’s not shooting yet. He’s reading the land: where the light will enter, what’s in the foreground, where he’ll physically stand when it matters. This is standard practice for experienced landscape photographers, but it’s worth spelling out because beginners often skip it and then spend their golden hour fumbling.
Use your evening scout to identify at least two or three possible compositions. Note where the sun will rise or set relative to your frame. Check the ground underfoot so you’re not stumbling in the dark at 5am. I usually spend thirty minutes minimum just walking a location before I touch my camera. The shot happens in your head first.
Step 3: Get There Before the Light Does
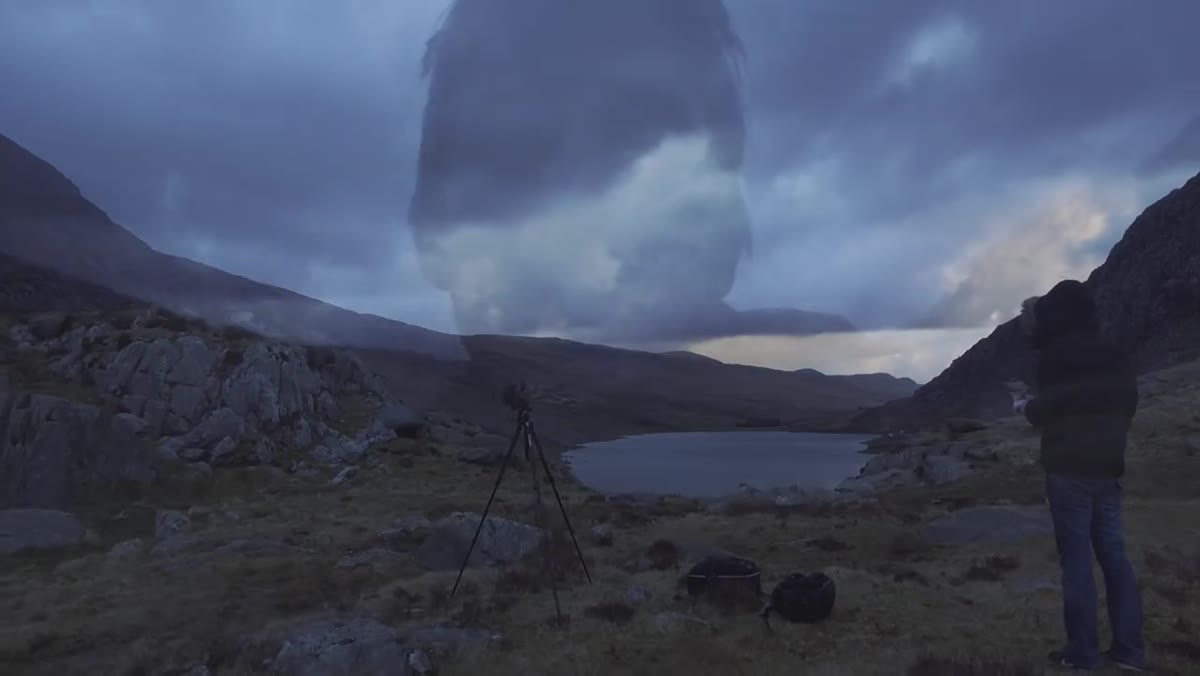 Tucker set up and waiting in darkness before sunrise
Tucker is on location and fully set up before first light, giving himself time to settle rather than scramble. For landscape work, this means waking up early enough to hike, park, set up your tripod, and take a few test frames before the sky does anything interesting. The golden window moves fast and it does not wait.
Tucker set up and waiting in darkness before sunrise
Tucker is on location and fully set up before first light, giving himself time to settle rather than scramble. For landscape work, this means waking up early enough to hike, park, set up your tripod, and take a few test frames before the sky does anything interesting. The golden window moves fast and it does not wait.
Practically: know your sunrise time from a reliable source, then subtract your setup time, your hike time, and a buffer for the unexpected. If sunrise is at 6:15am and it’s a twenty-minute hike, you need to leave your car no later than 5:40am. I’ve been waking up at four without an alarm for years, and the math is still the first thing I calculate the night before.
Step 4: Use a Sun Tracking App to Read the Light
 Tucker demonstrating the sun position app on his phone
Tucker pulls out a sun tracking application in the field to understand exactly where the light will come from and at what angle. He’s using it not to confirm what he already knows but to discover whether his chosen composition will actually catch the light the way he’s hoping. The app overlays sun position data onto your camera view or map, showing you the arc of the sun across your scene at any time of day.
Tucker demonstrating the sun position app on his phone
Tucker pulls out a sun tracking application in the field to understand exactly where the light will come from and at what angle. He’s using it not to confirm what he already knows but to discover whether his chosen composition will actually catch the light the way he’s hoping. The app overlays sun position data onto your camera view or map, showing you the arc of the sun across your scene at any time of day.
Tools like PhotoPills or The Photographer’s Ephemeris do this well. You can stand at your tripod position, hold your phone up, and see precisely where the sun will break the horizon relative to your frame. If the angle is wrong, you move before the light arrives, not after. This is one of those tools that feels like overkill until the first time it saves a shot you would have missed otherwise.
Step 5: Embrace the Weather You Get, Not the Weather You Wanted
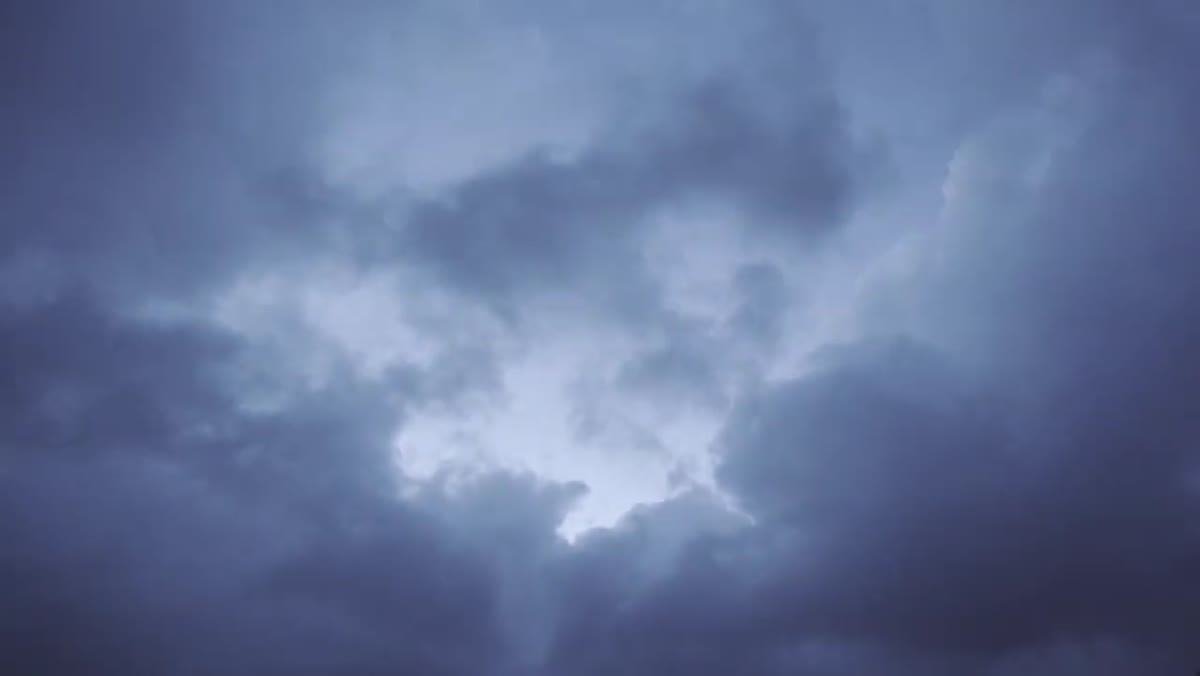 Overcast sky above the dam with breaks in cloud cover
Tucker arrives at his pre-dawn location to heavy cloud cover. Instead of packing up, he reads the sky for breaks, identifies where light might punch through, and waits. This mindset shift is worth more than any technical skill for landscape work. The weather you planned for is irrelevant. The weather you have is your material.
Overcast sky above the dam with breaks in cloud cover
Tucker arrives at his pre-dawn location to heavy cloud cover. Instead of packing up, he reads the sky for breaks, identifies where light might punch through, and waits. This mindset shift is worth more than any technical skill for landscape work. The weather you planned for is irrelevant. The weather you have is your material.
Overcast light is soft and directional in its own way. Clouds moving fast across a long exposure create drama. A single break in cloud cover with directional sun can produce something more compelling than a clear sunrise. I once drove six hours to the Oregon coast expecting sea fog to clear, sat in that fog for two full days, and came home with one usable frame. That frame became my best-selling print. The mountain doesn’t care about your forecast, and your best work often comes from conditions you wouldn’t have chosen.
Step 6: Put Your Ego Down Before You Pick Up the Camera
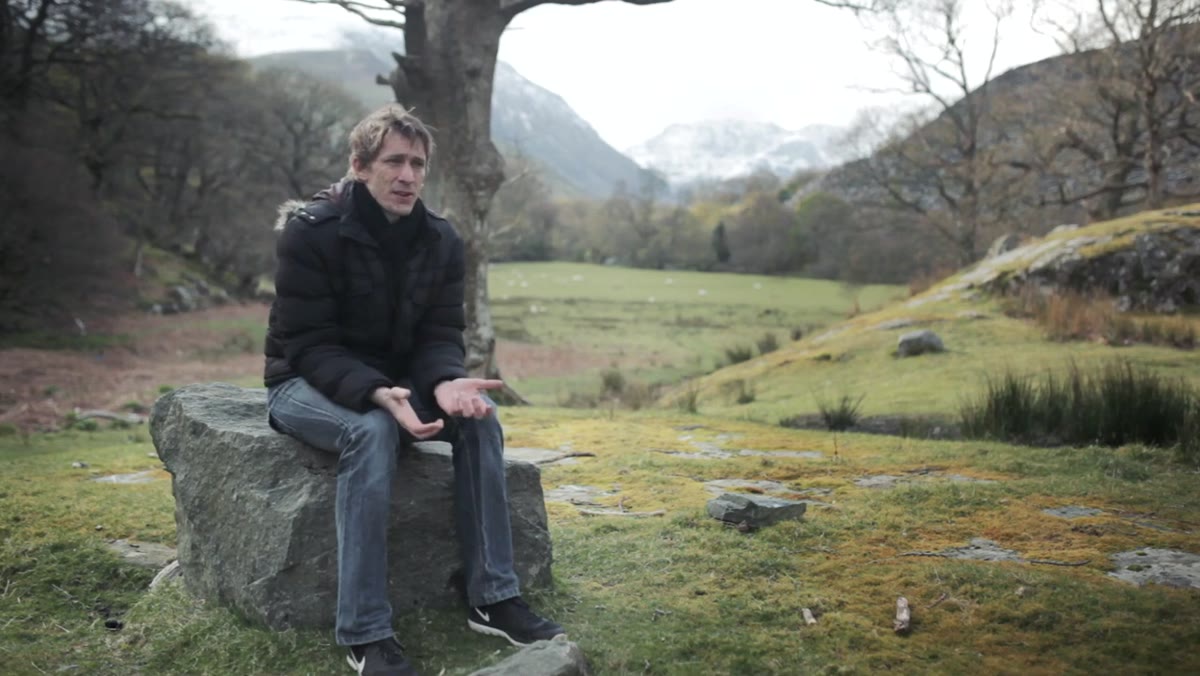 Tucker speaking candidly to camera about professional ego and risk
Tucker is transparent about something that most working photographers don’t admit publicly: the professional ego is a creative cage. When your reputation is tied to your output, you stop experimenting. You stop shooting things that might not work. You protect yourself instead of growing.
Tucker speaking candidly to camera about professional ego and risk
Tucker is transparent about something that most working photographers don’t admit publicly: the professional ego is a creative cage. When your reputation is tied to your output, you stop experimenting. You stop shooting things that might not work. You protect yourself instead of growing.
His solution is simple and difficult in equal measure. He decides the risk of looking like he doesn’t know what he’s doing is less damaging than the certainty of stagnating. For any photographer who has stopped shooting for themselves because they’re afraid of how it reflects on their professional work, this is the practical prescription. Set a day aside. Go somewhere unfamiliar. Shoot badly if you have to. The only way to stay sharp is to keep making decisions under pressure.
One Thing I’d Add from the Field
Tucker’s tutorial is fundamentally about re-engaging the beginner’s mind, and everything he does in Snowdonia serves that. The one thing I’d layer on top is the value of constraint. When I need to shake myself out of a comfortable pattern, I’ll shoot with a single prime lens and nothing else, or limit myself to ten frames for an entire morning. Similar to occasionally shooting a roll of film, where every frame costs you something real, artificial constraints force you to think before you press the shutter. Combine that with Tucker’s approach of choosing unfamiliar terrain and you’ve removed both the physical and technical safety nets at once.
That discomfort is not a problem to solve. It’s the point.
The clearest takeaway from this tutorial is that creative stagnation is a choice, even when it doesn’t feel like one. Tucker chooses to be uncomfortable, uncertain, and publicly vulnerable about the results. That’s not a personality trait. It’s a practice. If you find yourself moving through your shoots on autopilot, the fix isn’t technical. It’s geographical and attitudinal. Go somewhere you don’t know, shoot something you’re not sure you can pull off, and stay long enough to let the place teach you something.
Watch the full tutorial on YouTube to follow Tucker’s complete Snowdonia shoot, including how the light eventually develops and what he comes away with.
Comments
Leave a Comment