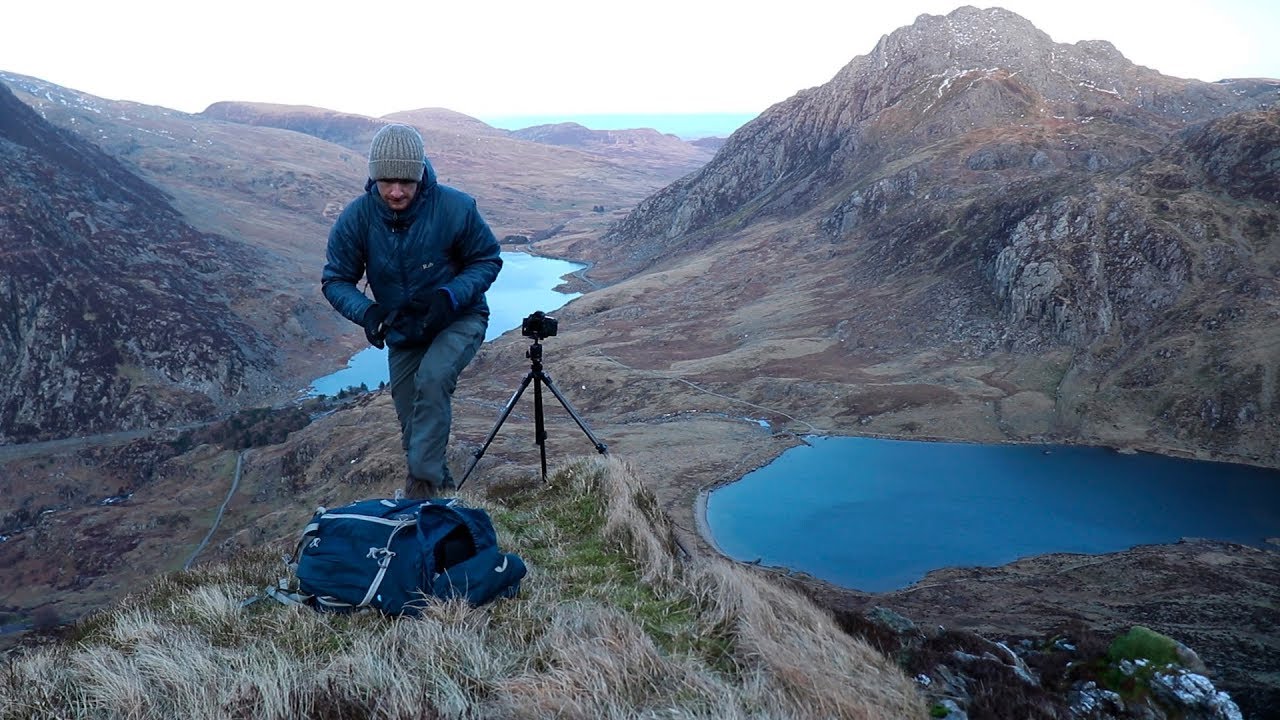
There’s a trap I fell into for years. I’d hike to some grand overlook, set up for the big shot, and come home with something that looked exactly like every other photograph of that place. The vista was there. The light was decent. But the image was flat because I’d stopped looking the moment I found the obvious composition. It took me a long time to understand that any location worth hiking to holds at least two photographs: the grand one you came for, and the intimate one you almost stepped over on the way there. Learning to find both in a single session is a skill, and it’s one that separates photographers who consistently bring home strong work from those who go home empty-handed half the time.
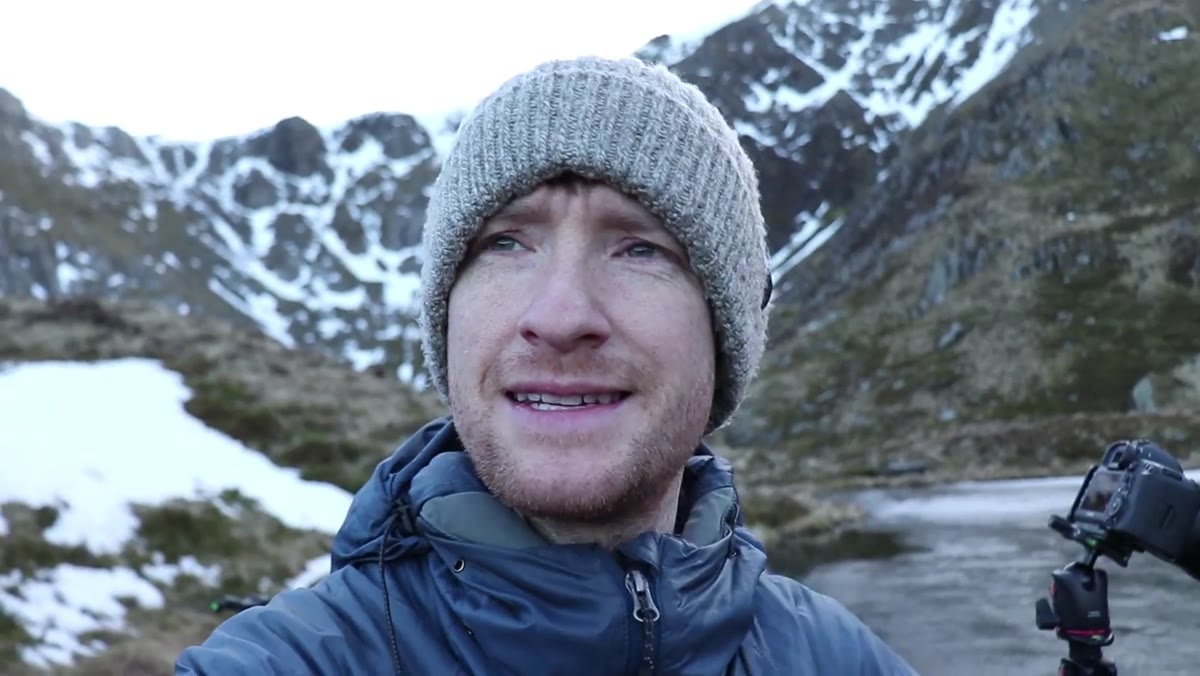
In this Thomas Heaton tutorial, filmed during a solo trip through the mountains of North Wales, Heaton does something simple but instructive. He sets out feeling unwell, without his guidebook, without full knowledge of the terrain, and still manages to work the location intelligently. Watch the full tutorial on YouTube - what he demonstrates isn’t a perfect shoot. It’s a real one, and that’s exactly why it’s useful. He makes decisions in the field, adjusts his goals based on available time and energy, and finds something worth photographing precisely because he kept his eyes open rather than tunnel-visioning on a single outcome.
What follows is a breakdown of the core techniques and decisions Heaton works through, translated into steps you can take out into your own landscape sessions.
Step 1: Lower Your Expectations, Raise Your Awareness
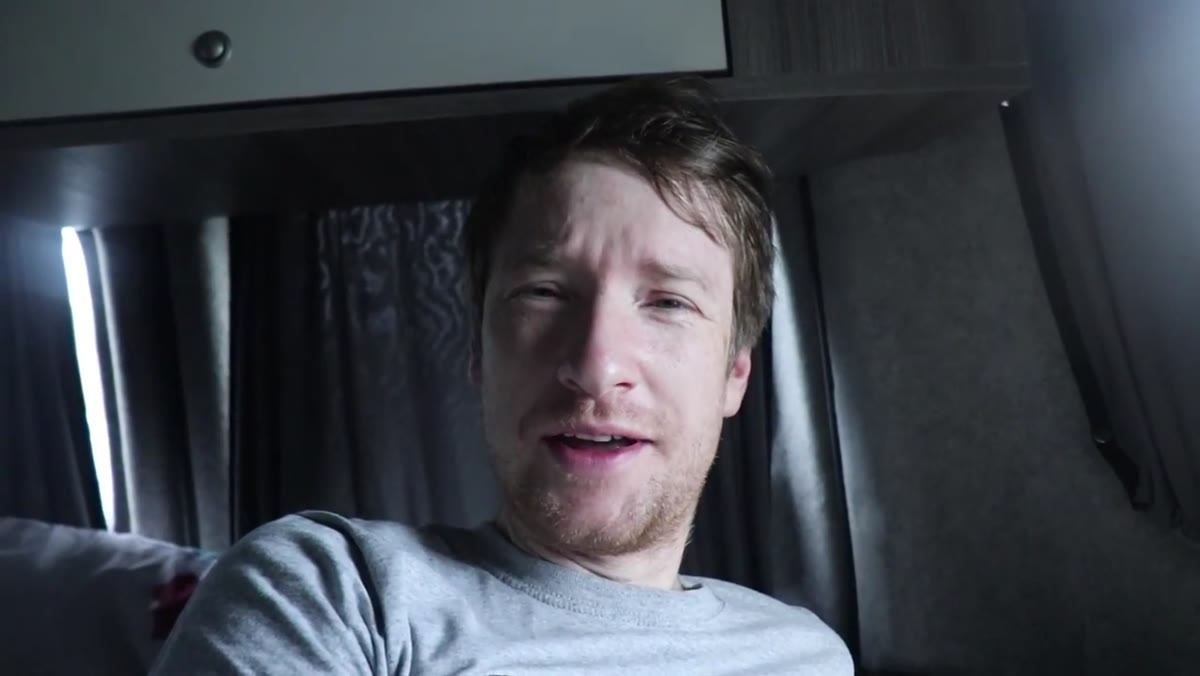 Thomas Heaton waking up in a busy car park
Before you even reach the trailhead, your mental state shapes what you’ll see. Heaton starts this session tired and ill, having napped in a crowded car park after uploading a video via phone tether. He makes a deliberate choice to head out anyway, but he adjusts the ambition of the shoot. Rather than pushing for the mountain summit he’d originally planned, he aims for a higher vantage point within reach. This matters because rigid plans produce rigid shooting. If your only goal is the hero shot at the top, you’ll walk past everything else without registering it.
Thomas Heaton waking up in a busy car park
Before you even reach the trailhead, your mental state shapes what you’ll see. Heaton starts this session tired and ill, having napped in a crowded car park after uploading a video via phone tether. He makes a deliberate choice to head out anyway, but he adjusts the ambition of the shoot. Rather than pushing for the mountain summit he’d originally planned, he aims for a higher vantage point within reach. This matters because rigid plans produce rigid shooting. If your only goal is the hero shot at the top, you’ll walk past everything else without registering it.
Before you start hiking, ask yourself what you actually have time and energy for. Set a realistic turnaround point. That constraint forces you to work the terrain you’re in rather than always reaching for the next ridge.
Step 2: Scout for Relationships Between Elements, Not Just Single Subjects
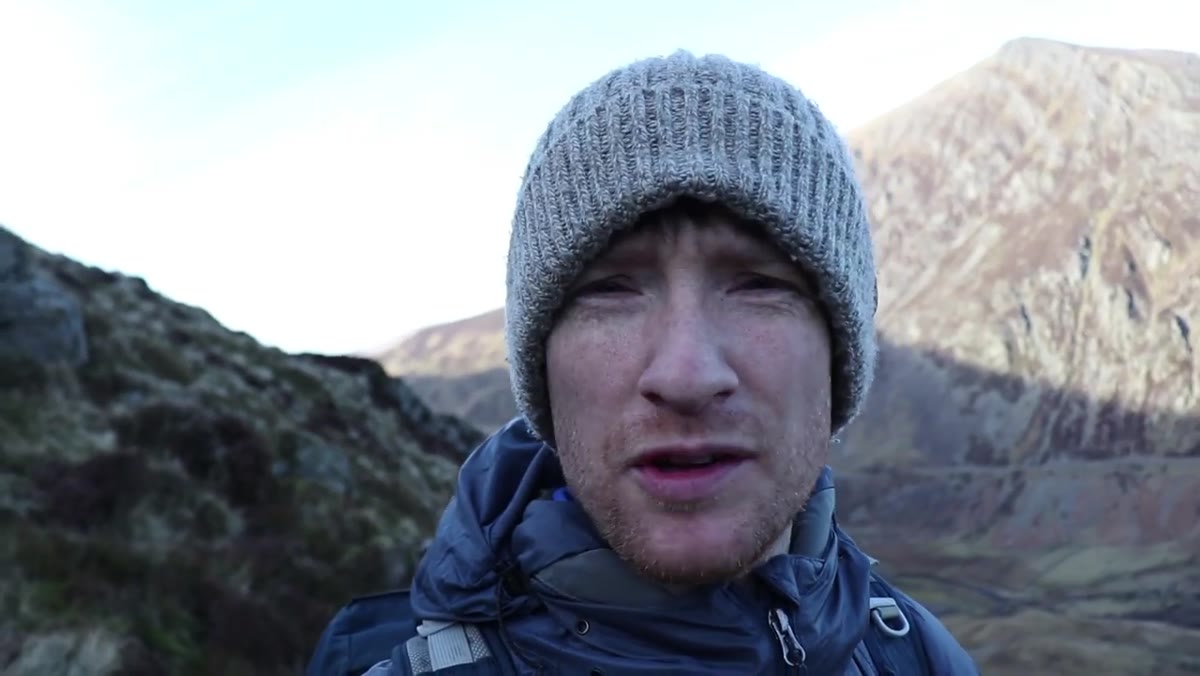 Heaton looking across two lakes from a mid-elevation vantage point
Once Heaton gains some elevation, he doesn’t just look at the view. He starts thinking geometrically. He can see two lakes in the valley, and he’s working out whether his position allows him to bring them into a single frame alongside the peaks behind them. He describes moving laterally along the trail, not just upward, to find the angle where those elements compress together.
Heaton looking across two lakes from a mid-elevation vantage point
Once Heaton gains some elevation, he doesn’t just look at the view. He starts thinking geometrically. He can see two lakes in the valley, and he’s working out whether his position allows him to bring them into a single frame alongside the peaks behind them. He describes moving laterally along the trail, not just upward, to find the angle where those elements compress together.
This is the core compositional skill in landscape photography: understanding how your position changes the relationship between subjects. From directly above, two lakes might look disconnected. Step fifty meters to one side and suddenly they anchor the same frame. Before you commit to a tripod position, walk the scene. Move left, move right, crouch down, step back. What you’re looking for is the moment when separate elements lock into a visual conversation with each other.
Step 3: Traverse Laterally to Control Compression
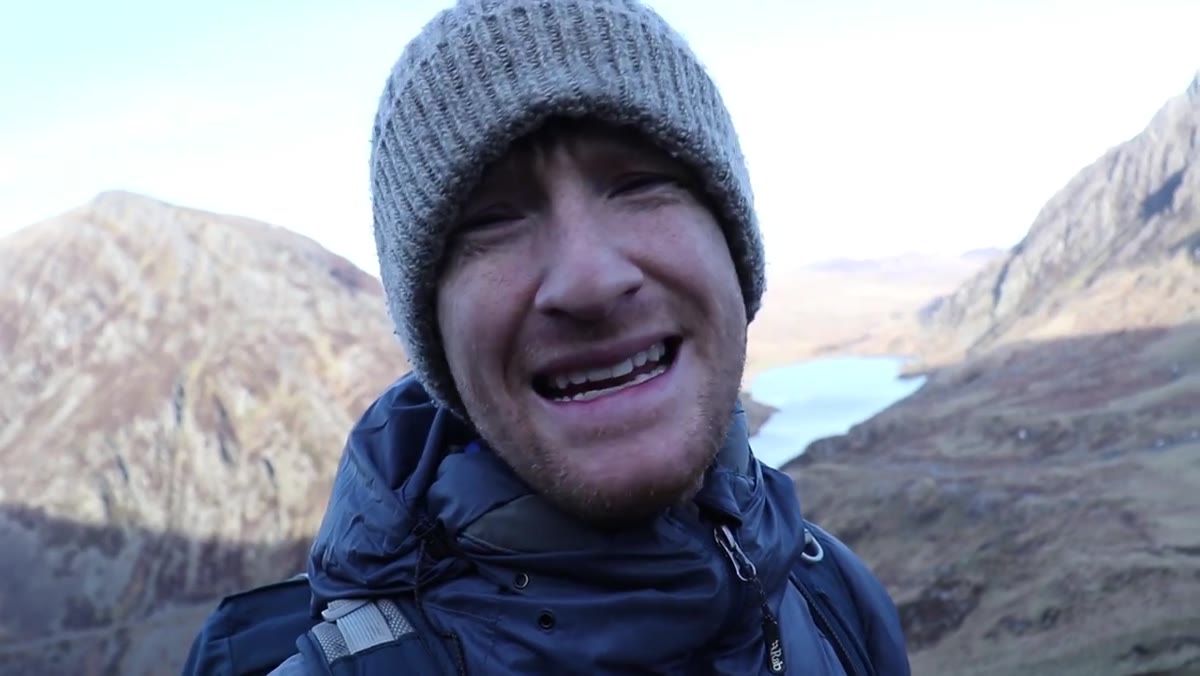 Heaton moving across the hillside to reposition relative to two lakes
Heaton explicitly decides to move sideways across the slope rather than continuing to climb. His reasoning: height alone won’t solve the composition problem. He needs a different horizontal angle to bring the two lakes closer together in the frame. This is a technique that doesn’t get discussed enough. Most photographers think in terms of getting higher or lower. The lateral move is just as powerful.
Heaton moving across the hillside to reposition relative to two lakes
Heaton explicitly decides to move sideways across the slope rather than continuing to climb. His reasoning: height alone won’t solve the composition problem. He needs a different horizontal angle to bring the two lakes closer together in the frame. This is a technique that doesn’t get discussed enough. Most photographers think in terms of getting higher or lower. The lateral move is just as powerful.
On your next shoot, after you find a rough composition you like, physically walk twenty to thirty meters in each direction along the same elevation. Take a phone shot from each position. You’ll often find that the strongest composition isn’t where you first stopped - it’s ten meters to the left, where a foreground rock aligns with a distant peak, or where two bodies of water stop competing and start complementing each other.
Step 4: Let Incidental Details Interrupt Your Plan
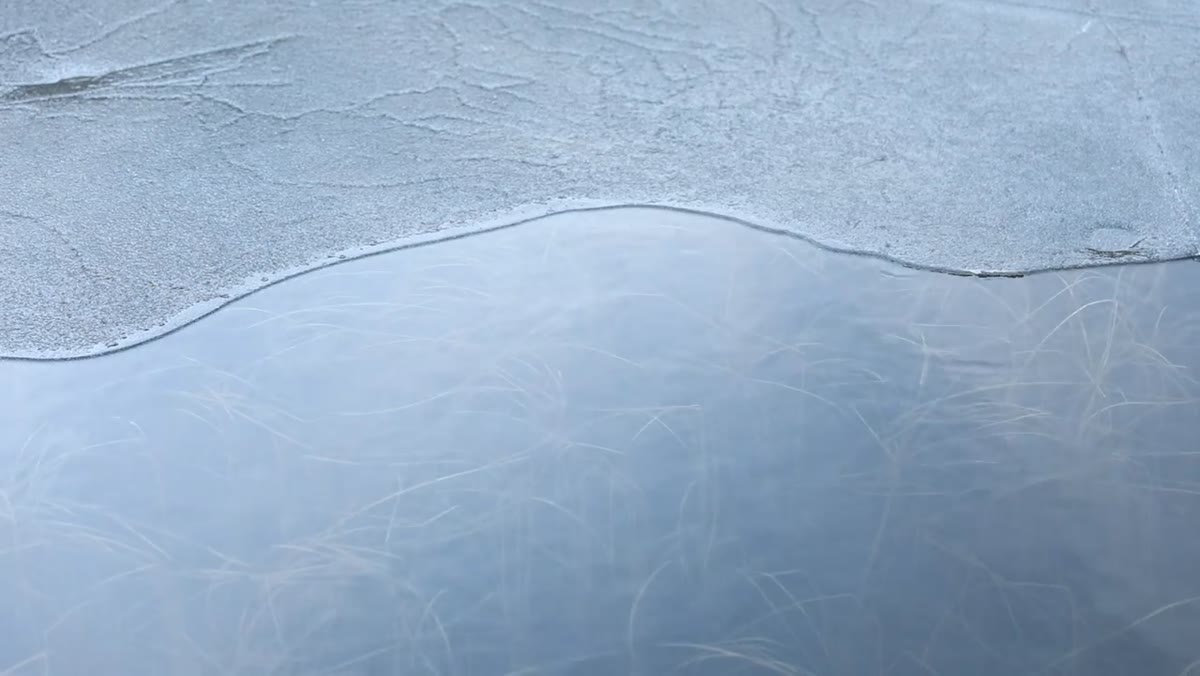
 Close view of grass and melting ice patterns beneath shallow water
This is the step most photographers skip, and it’s where Heaton’s session becomes genuinely instructive. He’s positioning for the grand vista, but something at his feet catches his eye. He notices the grass visible beneath the surface of a shallow pool, and the shapes that partially melted ice has left on top of the water. He stops. He crouches down. He switches entirely from the wide landscape composition he’d been building toward and photographs this small, overlooked detail.
Close view of grass and melting ice patterns beneath shallow water
This is the step most photographers skip, and it’s where Heaton’s session becomes genuinely instructive. He’s positioning for the grand vista, but something at his feet catches his eye. He notices the grass visible beneath the surface of a shallow pool, and the shapes that partially melted ice has left on top of the water. He stops. He crouches down. He switches entirely from the wide landscape composition he’d been building toward and photographs this small, overlooked detail.
The intimate scene found him because he was still looking. This is a discipline, not a personality trait. Train yourself to glance down every time you stop to check your map or your settings. The ground, the water’s edge, the frost on a single stem - these subjects exist at every location. They often make stronger images than the view you hiked two hours to reach, because almost nobody else photographed them.
Step 5: Use a Polarizing Filter for Water Clarity in Intimate Shots
 Polarizer on lens, removing glare to reveal underwater grass detail
For the close water shot, Heaton reaches for his polarizer. The reason is specific: without it, the glare on the water’s surface would obliterate the underwater grass that makes the image interesting. Rotating the polarizer until the surface reflections drop away reveals the subject underneath.
Polarizer on lens, removing glare to reveal underwater grass detail
For the close water shot, Heaton reaches for his polarizer. The reason is specific: without it, the glare on the water’s surface would obliterate the underwater grass that makes the image interesting. Rotating the polarizer until the surface reflections drop away reveals the subject underneath.
Polarizers earn their place in every water-based intimate scene. Rotate slowly, watch your live view, and stop when the reflection shifts from mirror-bright to semi-transparent. The effect is most pronounced when you’re shooting at roughly 90 degrees to the sun’s position. At direct front-light or backlight angles, the polarizer has less impact, so adjust your position accordingly before you decide the filter isn’t working.
What I’d Add From Twenty Years in the Field
The thing Heaton demonstrates almost accidentally is what I’d call “dual-mode seeing”: holding the grand composition in your mind while keeping peripheral attention alive to small details. I’ve spent mornings in the Oregon Cascades so locked onto a reflection shot that I walked right over frost patterns in the mud that would have been worth the whole trip. These days I make a habit of standing still for a full sixty seconds when I arrive at a new spot, not shooting, just rotating through 360 degrees slowly and looking at different scales: the distant ridgeline, the middle ground, the immediate foreground, and then straight down. That sixty seconds has saved more sessions than any piece of gear I own.
My mentor once told me that the mountain doesn’t care about your schedule, meaning the conditions and the details worth photographing exist whether you’re ready for them or not. Heaton’s session, shot while tired, under-prepared, and without his guidebook, still produces worthwhile work because he kept looking at multiple scales throughout.
The single takeaway here is this: every landscape location contains at least two different photographs. One is the wide, establishing view. The other is hiding at your feet. Give yourself permission to find and shoot both before you pack up, and your keeper rate will improve significantly.
Watch the full tutorial on YouTube to see Heaton work through the scouting and shooting decisions in real time, including the lateral repositioning on the ridge and the polarizer technique on the ice pool.
Comments (1)
Bookmarked. Coming back to this one for sure.
Leave a Comment