Panoramas have cost me more shots than almost any other technique. Not because the stitching is hard, or because the compositions don’t work, but because of the small, fixable mistakes that only show up later on a monitor back at the hotel. Mismatched exposures. Focus drift between frames. A white balance shift mid-sequence that makes the left side of the image a different color temperature than the right. I’ve been shooting landscapes for twenty years and I still have to remind myself of the fundamentals when conditions are moving fast and the light is doing something worth chasing.
That’s exactly the situation Thomas Heaton finds himself in during this Patagonia tutorial, Watch the full tutorial on YouTube, and it’s why I keep coming back to it. He’s not shooting from a perfectly planned position with ideal light. He’s working a scene in real time, with rain earlier in the day, shifting clouds, borrowed gear, and conditions that are changing by the minute. That’s actual landscape photography. The fact that he nearly ruins one panel sequence by forgetting to switch out of auto mode is the most honest and useful thing in the video, because it leads directly to the lesson.
What follows is my breakdown of what he does, in sequence, with the notes I’d give a student before sending them out to try this on their own.
Step 1: Read the Scene Before You Set Up
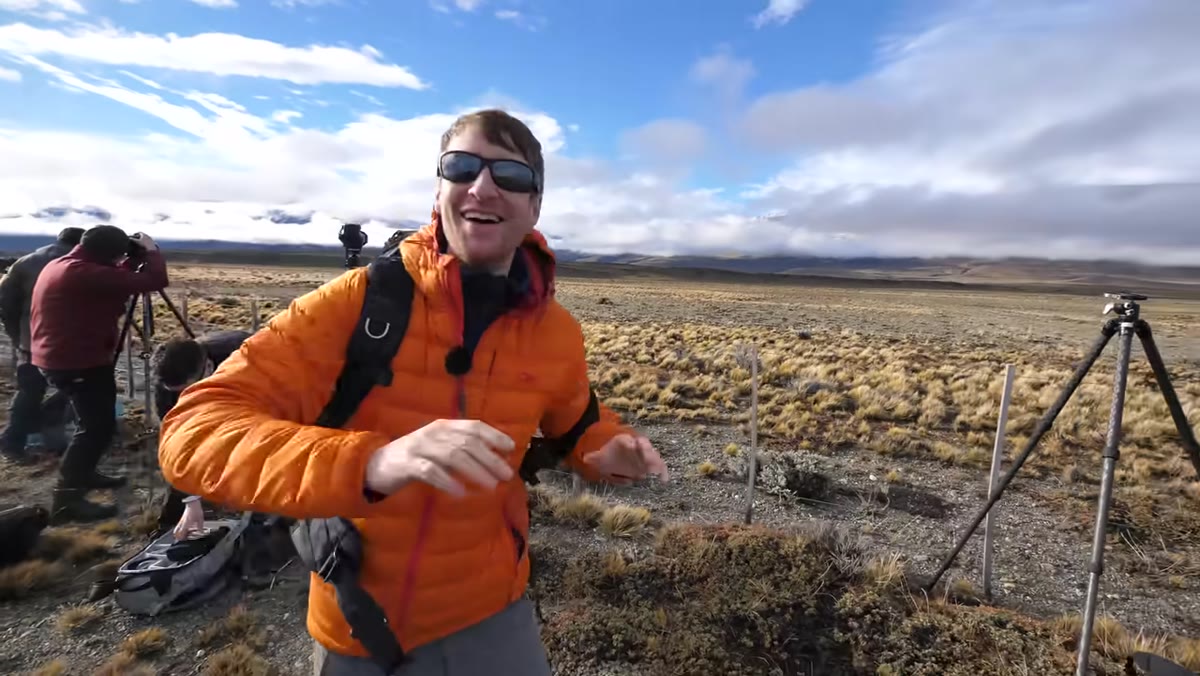 Heaton pointing toward layered cloud and mountain range
Before the tripod comes out, spend a few minutes looking. Heaton notices something specific about this mountain scene: there are three distinct cloud layers sitting at different elevations, and the mountains are visible between them. That layering is what makes the scene worth shooting as a panorama rather than a single frame. The wide horizontal sweep of the range, combined with the vertical drama of the clouds, gives the image a sense of scale that a standard crop cannot contain.
Heaton pointing toward layered cloud and mountain range
Before the tripod comes out, spend a few minutes looking. Heaton notices something specific about this mountain scene: there are three distinct cloud layers sitting at different elevations, and the mountains are visible between them. That layering is what makes the scene worth shooting as a panorama rather than a single frame. The wide horizontal sweep of the range, combined with the vertical drama of the clouds, gives the image a sense of scale that a standard crop cannot contain.
Get in the habit of asking whether a panorama actually serves the scene. A long horizontal stitch works best when the subject has breadth and you want to preserve that breadth without sacrificing detail. If you find yourself thinking “I wish I could show more of this,” that’s usually the sign.
Step 2: Level Your Tripod Properly
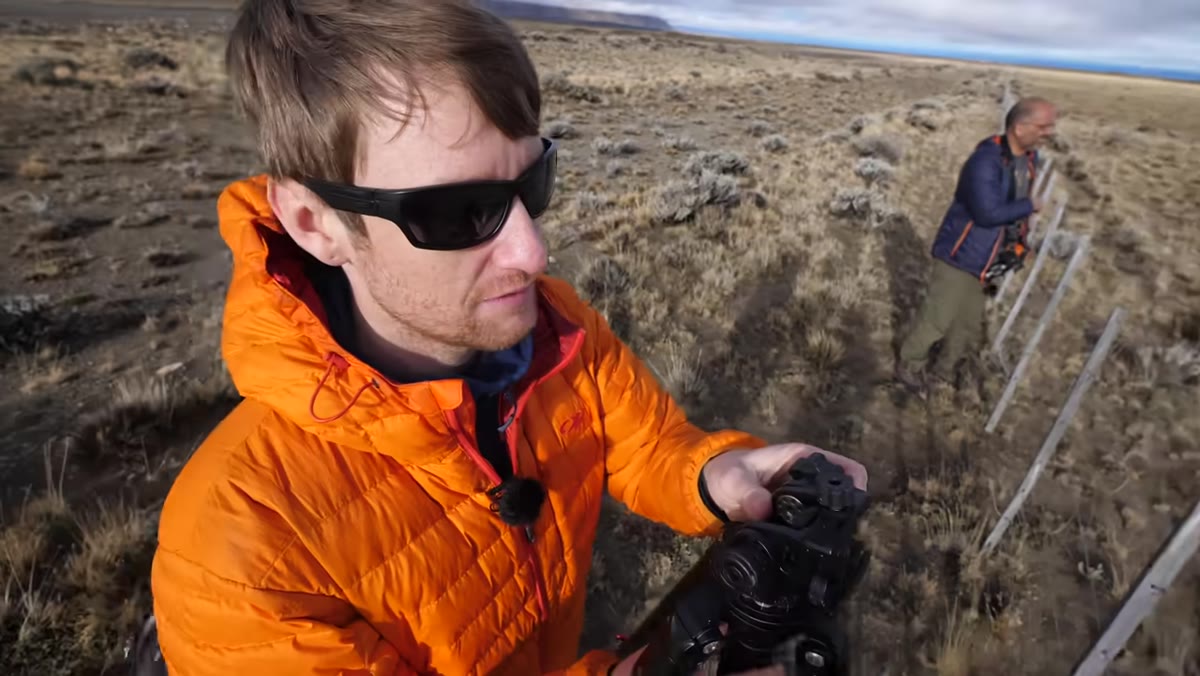 Leveling the bowl head on uneven ground in Patagonia
Heaton is evangelical about his leveling setup, and after years of fighting a conventional ball head on uneven, boggy ground, I understand why. He uses a bowl head system that lets him level the platform itself in about ten seconds, regardless of what the terrain underneath looks like. Once the bowl is level, he can pan the camera horizontally through the panorama sequence knowing that each frame will stay on the same plane.
Leveling the bowl head on uneven ground in Patagonia
Heaton is evangelical about his leveling setup, and after years of fighting a conventional ball head on uneven, boggy ground, I understand why. He uses a bowl head system that lets him level the platform itself in about ten seconds, regardless of what the terrain underneath looks like. Once the bowl is level, he can pan the camera horizontally through the panorama sequence knowing that each frame will stay on the same plane.
This matters because if your tripod isn’t level and you pan across a scene, you’ll get a curved horizon in the final stitch. Software can sometimes correct for this, but it crops into your image and reduces the final resolution. Get it right in camera. Take the ten seconds. A small circular bubble level on the head is worth checking before every sequence, not just when the ground looks uneven.
Step 3: Choose the Right Focal Length
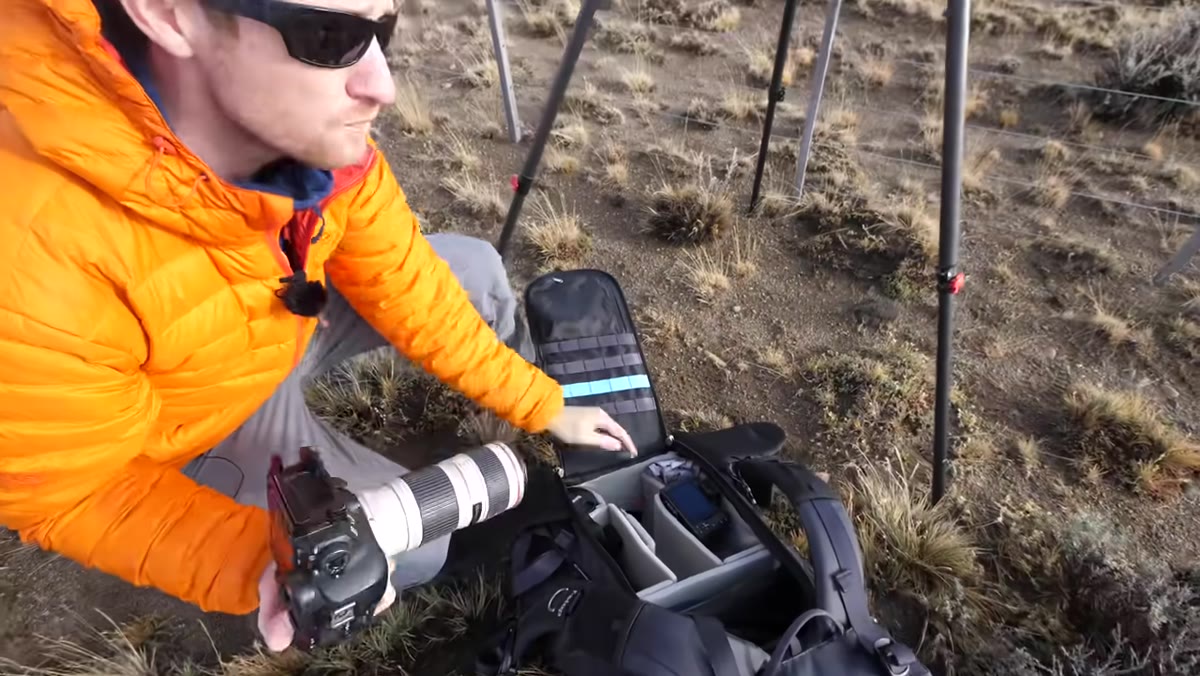 Switching to a longer telephoto lens for the panorama sequence
Heaton starts with a 70-200mm lens and quickly realizes it isn’t long enough for what he wants. He ends up borrowing a 100-400mm. This might seem counterintuitive if you’re used to thinking of panoramas as wide-angle territory, but telephoto panoramas often produce more compelling results. The compression flattens the depth between elements, the subject fills more of the frame, and the final stitched image can have an enormous pixel count.
Switching to a longer telephoto lens for the panorama sequence
Heaton starts with a 70-200mm lens and quickly realizes it isn’t long enough for what he wants. He ends up borrowing a 100-400mm. This might seem counterintuitive if you’re used to thinking of panoramas as wide-angle territory, but telephoto panoramas often produce more compelling results. The compression flattens the depth between elements, the subject fills more of the frame, and the final stitched image can have an enormous pixel count.
The tradeoff is that you’re working with more frames to stitch, and the slightest camera movement or exposure inconsistency becomes more obvious. Plan for overlap. A 30 to 50 percent overlap between frames gives your stitching software enough shared information to work cleanly. Rush it and you’ll end up with visible seams or failed stitches.
Step 4: Lock Down Every Camera Setting to Manual
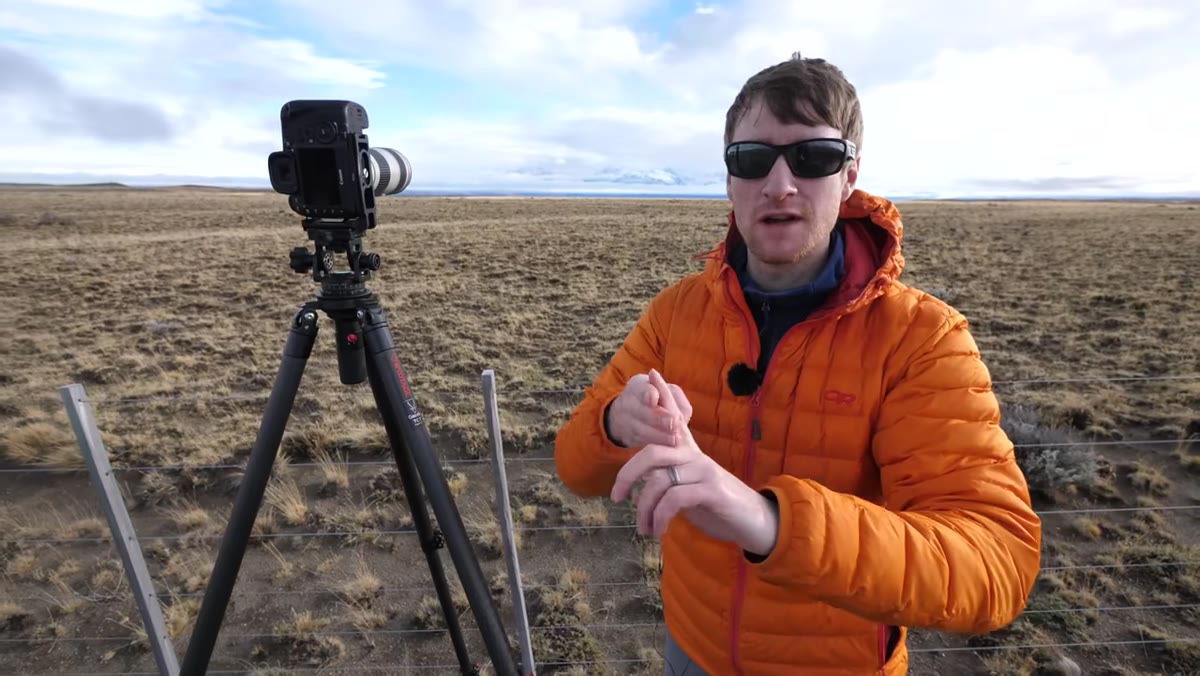 Heaton addressing the camera, emphasizing manual exposure settings
This is the lesson Heaton draws from his own mistake earlier in the day, and it’s the one I’d underline twice if this were a workbook. Before shooting a panorama sequence, set everything manually. Manual exposure, manual focus, and fixed white balance. Not auto white balance, not auto ISO, not autofocus.
Heaton addressing the camera, emphasizing manual exposure settings
This is the lesson Heaton draws from his own mistake earlier in the day, and it’s the one I’d underline twice if this were a workbook. Before shooting a panorama sequence, set everything manually. Manual exposure, manual focus, and fixed white balance. Not auto white balance, not auto ISO, not autofocus.
Here’s why each one matters. Exposure: even small shifts in shutter speed or aperture between frames will create brightness bands in the stitched image. Focus: autofocus can hunt between shots, especially if one frame is aimed at sky and the next at foreground. White balance: cameras set to auto will compensate differently depending on what’s in the frame, and the result is color shifts across the panel. Set a Kelvin value manually, or use a preset like Daylight, and leave it there. These are not suggestions. They are the three places where panoramas fail.
Step 5: Work Quickly When Conditions Are Moving
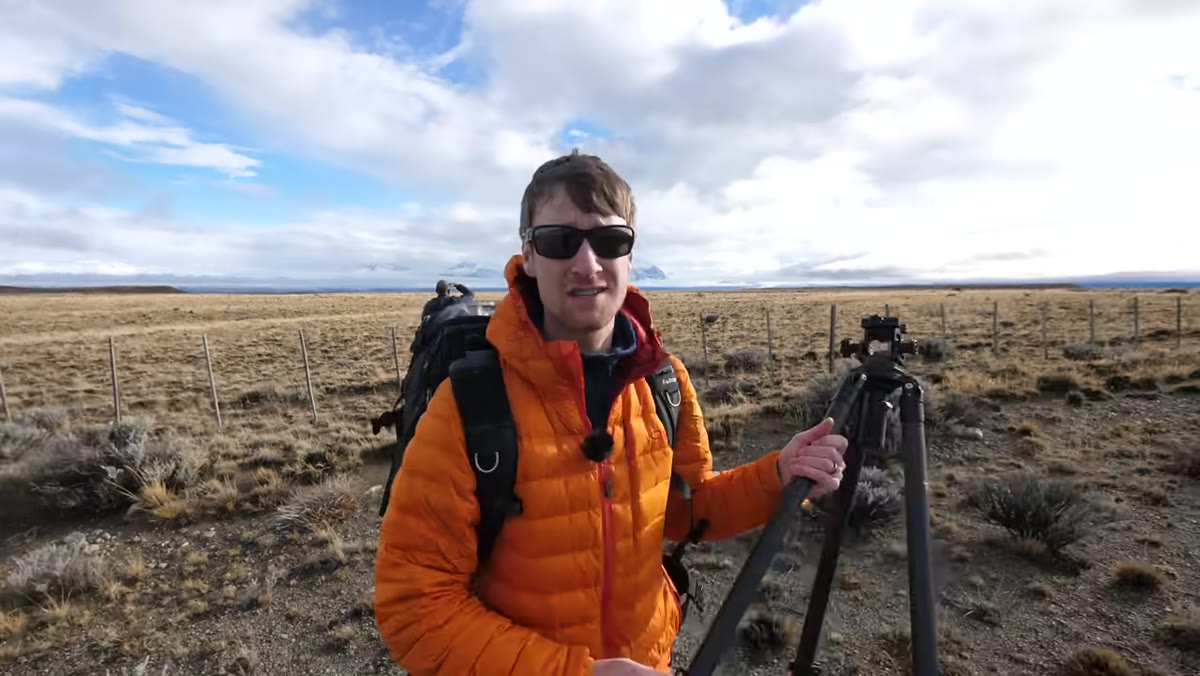 Heaton scanning the sky, noting rapid cloud movement over mountains
Heaton makes a point of acknowledging that the conditions are changing fast, and this shapes how he works. He doesn’t spend time second-guessing the composition once he’s set up. He shoots. A mentor of mine used to say the mountain doesn’t care about your schedule, and that’s true, but it also doesn’t wait. When cloud drama is happening over a range like that, you have minutes, not hours.
Heaton scanning the sky, noting rapid cloud movement over mountains
Heaton makes a point of acknowledging that the conditions are changing fast, and this shapes how he works. He doesn’t spend time second-guessing the composition once he’s set up. He shoots. A mentor of mine used to say the mountain doesn’t care about your schedule, and that’s true, but it also doesn’t wait. When cloud drama is happening over a range like that, you have minutes, not hours.
Practice your panorama sequence so the mechanics are automatic. Know how many frames you need, know your overlap, know which direction you’re panning. If you have to think through the process while the light is doing something extraordinary, you will miss it.
What I’d Add from My Own Experience
The one thing Heaton doesn’t cover in this particular shoot, because he’s working fast, is what I call the dry run. Before I start shooting a panorama sequence for real, I pan through the entire scene once without pressing the shutter. I’m checking that my chosen focal length covers the full sweep I want, that there are no obstructions I missed from my initial read, and that the exposure I’ve set works across the full tonal range of the scene from the bright sky to the shadowed foreground. Changing exposure partway through a sequence is the kind of mistake that only shows up on a big monitor, and by then you’re home. That dry run takes thirty seconds and has saved me more times than I can count.
If you’re serious about landscape panoramas, watch how Heaton reads a scene instinctively and how quickly he makes gear decisions under pressure. The technique is straightforward once you know it. The harder skill is learning to see a panorama opportunity in the first place and moving fast enough to capture it before the conditions collapse. That comes from being outside, repeatedly, with a camera.
Watch the full tutorial on YouTube and pay particular attention to the moment Heaton catches his own mistake. It’s a better teaching moment than most tutorials plan in advance.
Comments
Leave a Comment