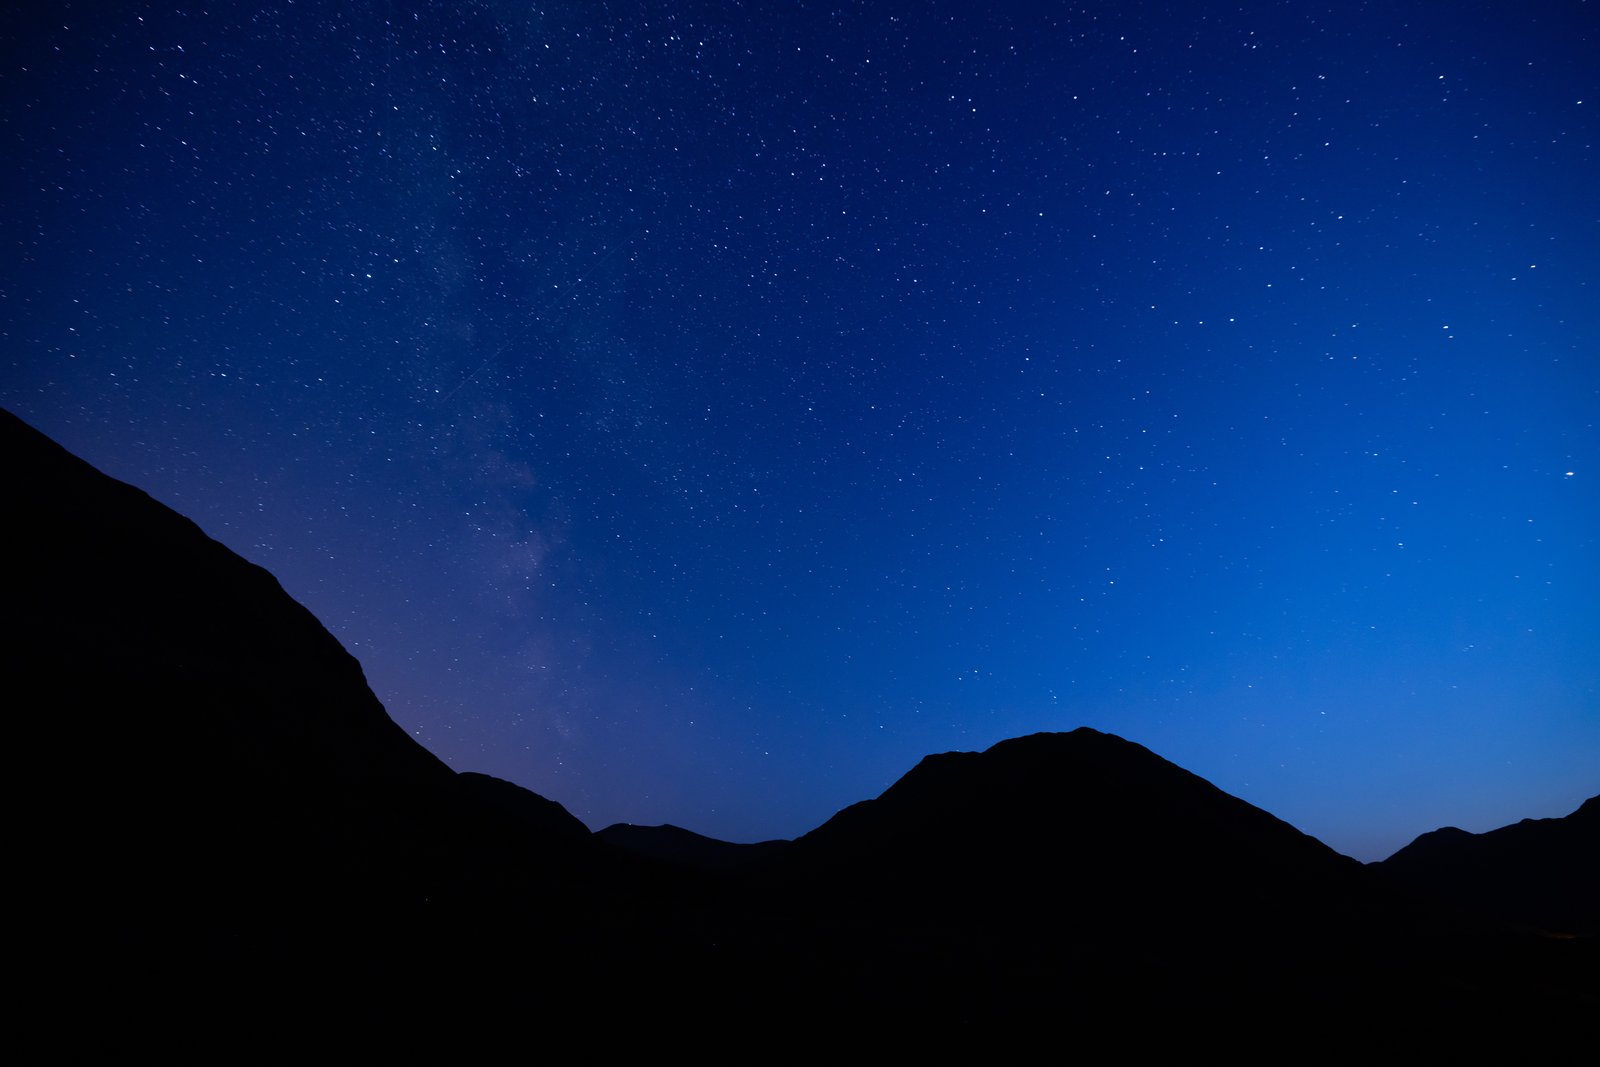
There’s a particular kind of frustration that comes from driving three hours into the Oregon high desert, setting up under a sky so thick with stars it almost feels heavy, and coming home with images that look like a gray smear over a dark blob. I’ve done it more times than I’d like to admit. The sky was perfect. My effort was genuine. But something between the light and the sensor kept getting lost, and for years I blamed the equipment.
It wasn’t the equipment.
What the Camera Is Actually Struggling With at Night
The core problem with night sky photography isn’t exposure. Most photographers figure out a workable exposure eventually. The real problem is dynamic range compression happening in a scene where the difference between the brightest star cluster and the shadowed foreground can span 12 to 14 stops of light. Your camera simply cannot hold all of that in a single frame the way your eyes can, which is why the sky looks washed or the ground goes completely black with no detail left to recover.
On top of that, digital sensors generate more noise as ISO climbs, and the longer your shutter stays open, the more thermal noise accumulates on the sensor itself. Every decision you make at night is a negotiation between these competing problems. Understanding that tension is what separates a planned night shoot from a lucky one.
The Settings I Actually Use, and Why
I shoot with a Sony A7R V and a Sigma 14mm f/1.8 Art lens for most Milky Way work. Wide, fast glass is non-negotiable. At f/1.8 I’m pulling in roughly twice the light compared to f/2.8, which lets me keep my shutter shorter and my ISO lower.
For shutter speed I use the NPF rule rather than the old 500 rule, which produces star trails far sooner than people expect on modern high-resolution sensors. On a 14mm lens with the A7R V’s 61 megapixel sensor, the NPF calculation gives me roughly 12 to 15 seconds before stars begin to streak noticeably. I set my shutter to 13 seconds as a starting point and don’t budge from it.
ISO lands between 3200 and 6400 depending on the moon phase. Under a new moon with no light pollution, 3200 at f/1.8 gives me a properly exposed Milky Way core with enough latitude to pull foreground detail in post. I shoot RAW exclusively, always manual, and I expose to the right of the histogram without clipping the brightest stars. That keeps shadow noise manageable when I lift the foreground in Lightroom.
White balance I set manually to somewhere between 3800K and 4200K. Auto white balance at night produces inconsistent results across a sequence, and if you’re planning to stack exposures, consistency matters more than a single “correct” reading.
Stacking Exposures to Beat Noise
Here’s where most people skip a step that changes everything. I shoot between 10 and 20 identical frames of the sky and use Sequator (free, Windows) or Starry Landscape Stacker ($40, Mac) to align and average them. Stacking reduces random noise by the square root of the number of frames, so 16 frames gets me a theoretical 4-stop noise reduction. In practice it’s cleaner than any single exposure at ISO 6400, often dramatically so.
The catch is that the foreground needs to be handled separately. I shoot 4 to 6 frames of the foreground at a lower ISO, usually around 800, with a longer exposure of 25 to 30 seconds, and composite it with the stacked sky in Photoshop using a luminosity mask along the horizon. It adds 20 minutes to processing time. It consistently produces better files than any single-frame approach.
Finding Dark Sky and Planning the Frame Before You Arrive
I don’t go anywhere without running the location through Light Pollution Map (lightpollutionmap.info) and Photopills first. Photopills shows me exactly where the Milky Way core will sit at any given time on any given night, and I use it to plan compositions weeks in advance. The galactic core is only well-positioned for a window of a few months each year depending on latitude, and it rises and sets like anything else. Showing up without knowing where it will be is how you end up photographing the core behind a ridge you could have avoided.
For locations here in central Oregon I’m typically looking at Bortle 2 or 3 zones, which means driving 45 minutes to an hour east of Bend and away from any highway corridor. Even a gas station two miles away can contaminate a low horizon.
I learned the hard way to scout in daylight. A composition that looks obvious on a map becomes confusing at 2 a.m. without a headlamp that you’re trying not to use.
One Night That Reminded Me Why Patience Is the Actual Skill
A mentor of mine once told me that the mountain doesn’t care about your schedule, and I’ve never found a cleaner description of what it takes to work outdoors at night. One summer I drove out to a dry lake bed southeast of Brothers, Oregon on a night that looked perfect on every forecast I checked. By 11 p.m. a band of high thin cloud was sitting right across the galactic core. I waited. I shot the foreground. I drank bad coffee from a thermos and sat in the dark for two hours until it cleared. The window I got was 40 minutes. The images from those 40 minutes are among the best night work I’ve made.
If I had left when the clouds came, I would have driven home with nothing. Patience isn’t a personality trait in this work, it’s a technical decision.
The single most important thing you can do to improve your night sky photography is to stop treating the conditions as something that happen to you, and start treating them as variables you plan around. Everything else is just settings.
Comments (1)
I keep coming back to this article. It's that useful.
Leave a Comment