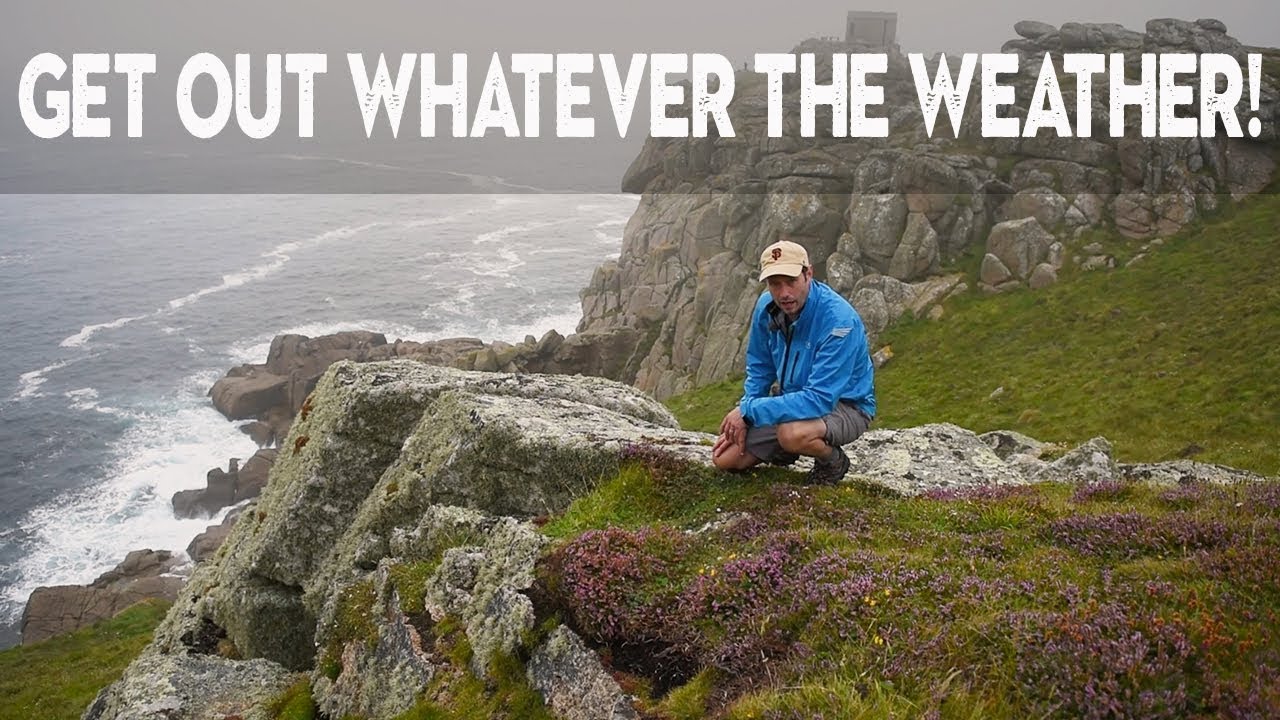
There’s a version of this job that looks glamorous from the outside. Golden hour, dramatic skies, the whole thing. Then there’s the version I’ve actually lived for twenty years, which involves a lot of drives that end in fog, blown forecasts, and a personal hat that has absorbed more disappointment than any piece of fabric should have to. The real skill, I’ve come to believe, isn’t knowing what to do when conditions cooperate. It’s knowing what to do when they don’t. That’s why I keep returning to a tutorial from Nigel Danson, filmed on a genuinely miserable foggy evening on the coast of Cornwall. Watch the full tutorial on YouTube before or after reading this, but either way, I want to walk through what Danson actually demonstrates here, because the lesson underneath the footage is one that took me years to internalize on my own.
What Danson captures in this video is the discipline of location work under pressure. He arrives expecting a sunset. He gets fog. Rather than retreating, he works the scene with a framework that strips everything back to composition, layers, and leading lines. What comes out the other side is, by his own admission, more interesting than a standard golden hour shot would have been. I’ve had that experience exactly once, driving through the night to a high desert location in eastern Oregon, sitting in pea-soup fog for two days, and coming home with a single frame that became my best-selling print. The fog wasn’t the problem. The fog was the photograph. Danson gets that, and this tutorial shows you exactly how to think when conditions push you there.
Step 1: Go Anyway
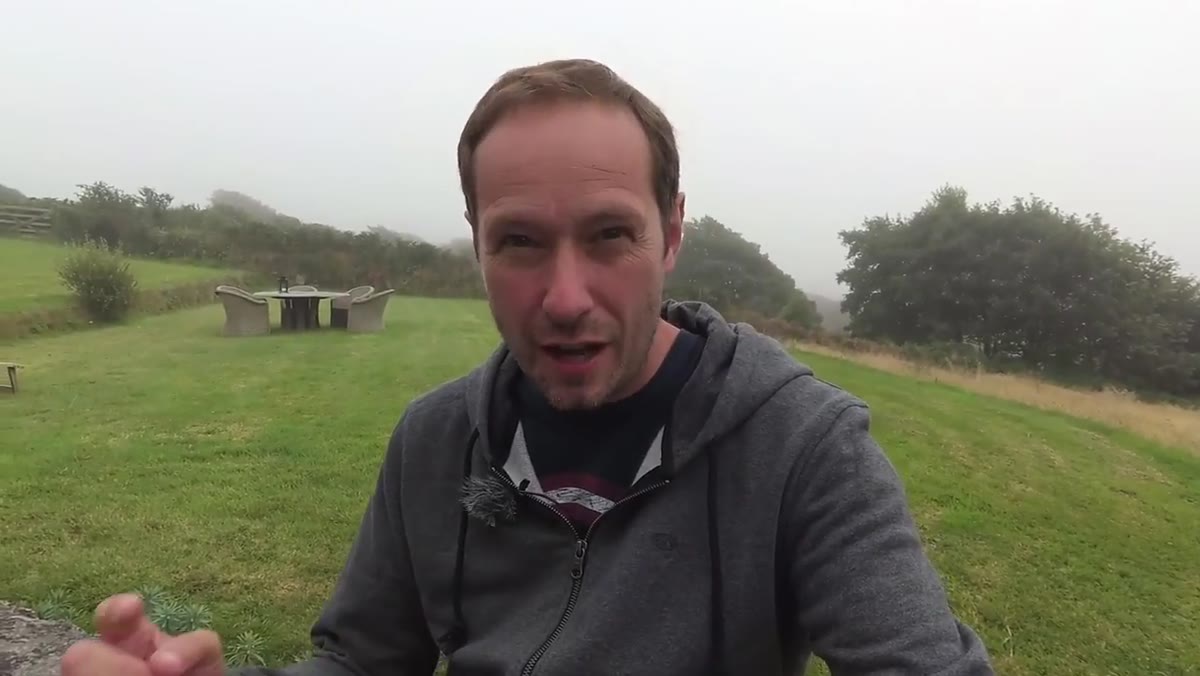 Danson deciding to head to the coast despite thick fog
The first and most practical decision Danson makes is the one most photographers skip. He debates whether to stay in and have a beer or go out and see what the fog gives him. He goes. This isn’t motivational fluff. It’s a workflow decision. You cannot scout a composition from a pub, and you cannot find a shot you didn’t show up for. Bad conditions teach you a location in ways good light never does. The fog forced Danson to look at the scene purely as shapes, layers, and spatial relationships, without the seduction of color or drama distracting him. That kind of seeing is worth practicing deliberately.
Danson deciding to head to the coast despite thick fog
The first and most practical decision Danson makes is the one most photographers skip. He debates whether to stay in and have a beer or go out and see what the fog gives him. He goes. This isn’t motivational fluff. It’s a workflow decision. You cannot scout a composition from a pub, and you cannot find a shot you didn’t show up for. Bad conditions teach you a location in ways good light never does. The fog forced Danson to look at the scene purely as shapes, layers, and spatial relationships, without the seduction of color or drama distracting him. That kind of seeing is worth practicing deliberately.
Step 2: Scout for Layers Before You Set Up
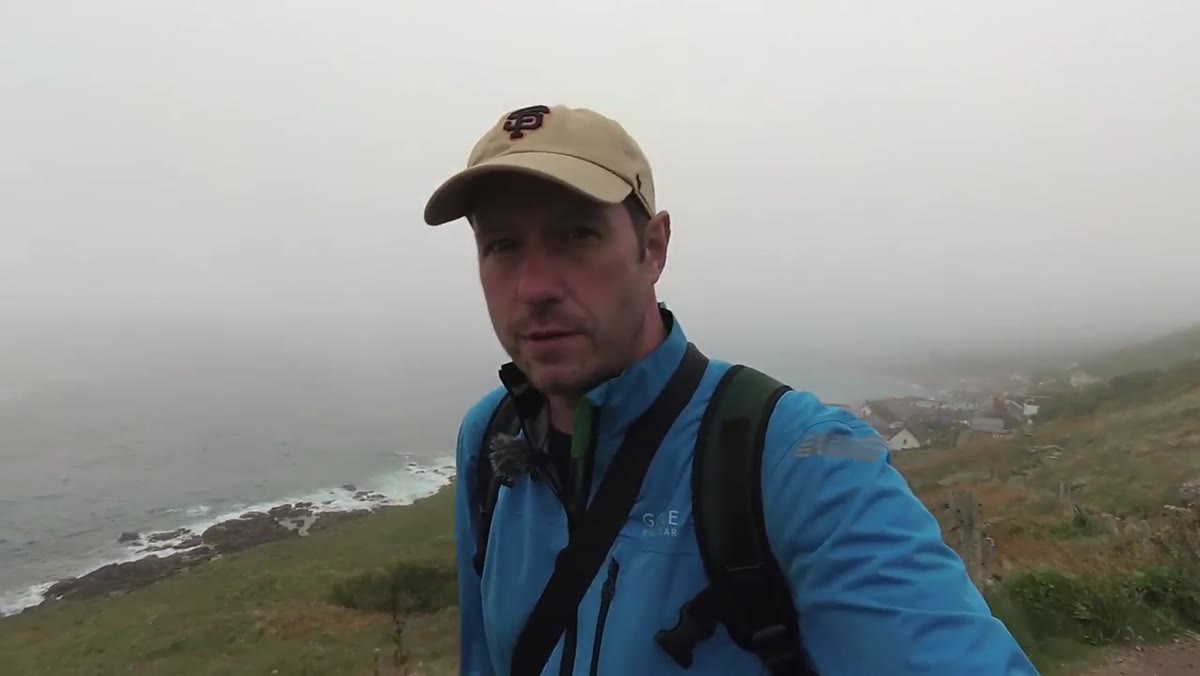 Danson walking the headland looking for foreground elements
Before the tripod comes out, Danson walks the coastal headland looking specifically for a scene with distinct depth layers. He identifies three: heather close in the foreground, a mid-ground of rocks and rough terrain, and the misty headlands of Land’s End dissolving into the distance. This three-layer structure is the backbone of almost every strong landscape composition. Foreground anchors the image and gives the viewer a place to enter. Mid-ground provides context and transition. Background gives scale and atmosphere. When light is absent, these spatial relationships carry the entire image, so you need all three working before you press anything.
Danson walking the headland looking for foreground elements
Before the tripod comes out, Danson walks the coastal headland looking specifically for a scene with distinct depth layers. He identifies three: heather close in the foreground, a mid-ground of rocks and rough terrain, and the misty headlands of Land’s End dissolving into the distance. This three-layer structure is the backbone of almost every strong landscape composition. Foreground anchors the image and gives the viewer a place to enter. Mid-ground provides context and transition. Background gives scale and atmosphere. When light is absent, these spatial relationships carry the entire image, so you need all three working before you press anything.
Step 3: Get Low to Maximize the Foreground
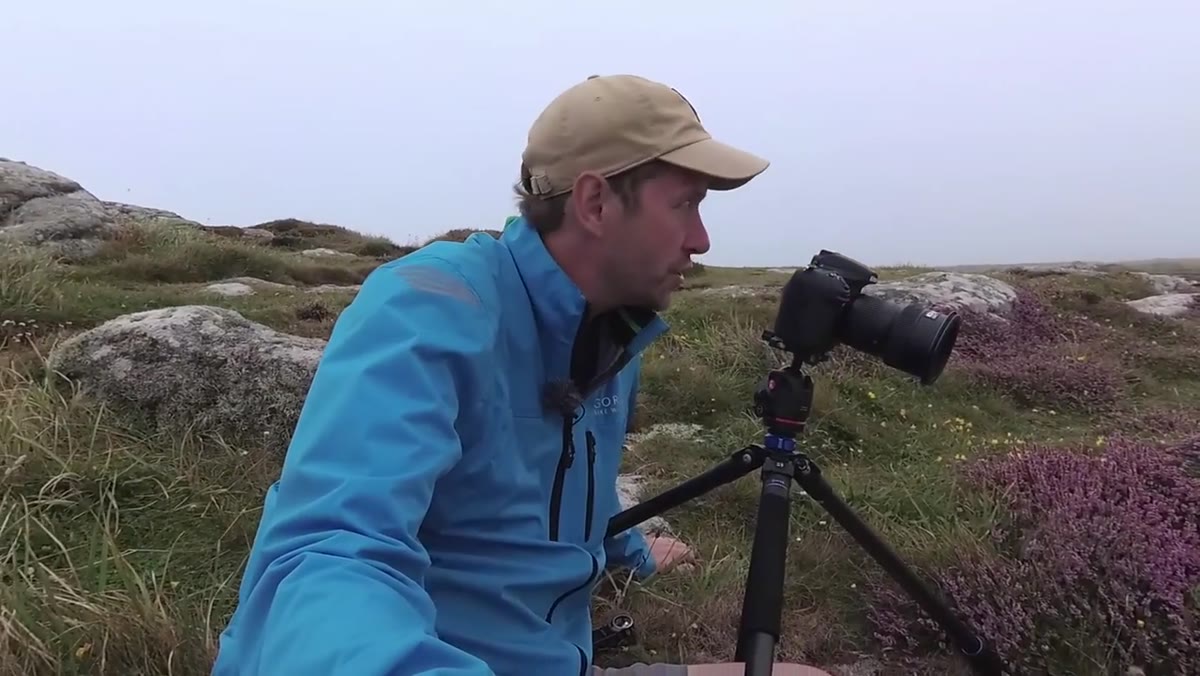 Danson crouching low with wide-angle lens over the heather
Once Danson commits to a composition, he drops down low with a wide-angle lens, shooting at 20mm. Getting close to the ground with a wide lens does two things simultaneously. It exaggerates the foreground elements, making the heather feel immediate and tactile, and it stretches the apparent distance between foreground and background, deepening the layered effect he identified in the scout. I shoot a lot of the high desert scrubland around Bend the same way. Sagebrush at knee height looks like grass. Sagebrush at two inches from the lens looks like a forest. The geometry of wide-angle optics rewards commitment to low positions.
Danson crouching low with wide-angle lens over the heather
Once Danson commits to a composition, he drops down low with a wide-angle lens, shooting at 20mm. Getting close to the ground with a wide lens does two things simultaneously. It exaggerates the foreground elements, making the heather feel immediate and tactile, and it stretches the apparent distance between foreground and background, deepening the layered effect he identified in the scout. I shoot a lot of the high desert scrubland around Bend the same way. Sagebrush at knee height looks like grass. Sagebrush at two inches from the lens looks like a forest. The geometry of wide-angle optics rewards commitment to low positions.
Step 4: Let Composition Carry the Exposure
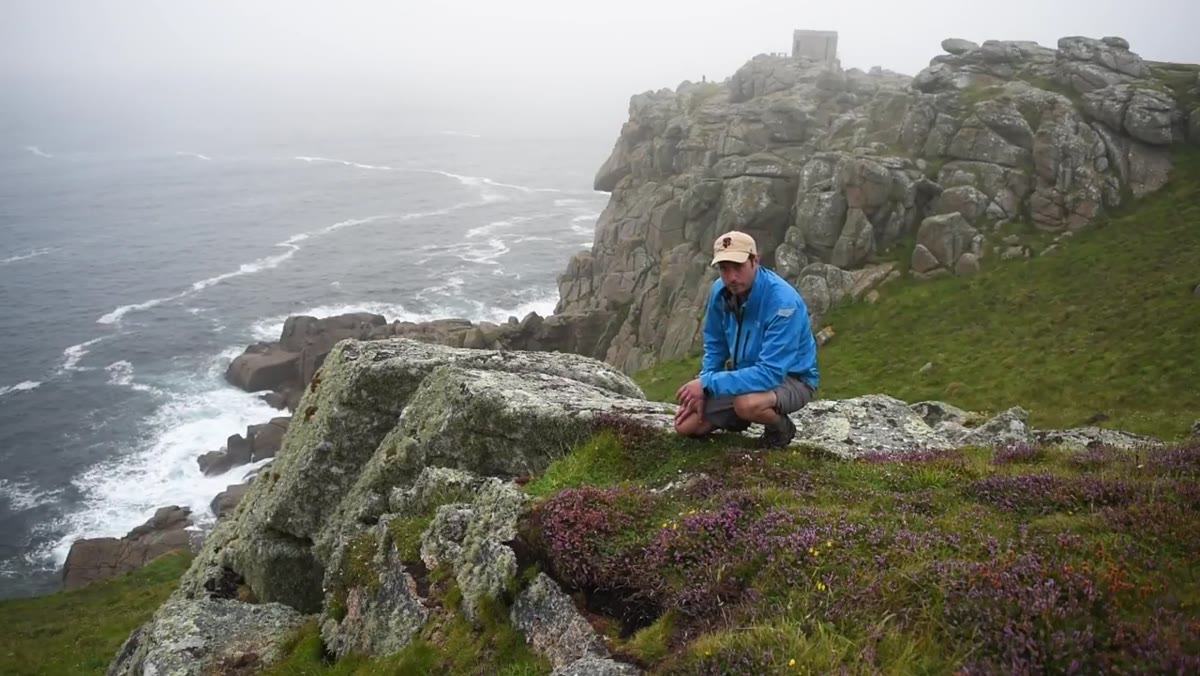 Danson discussing simple exposure on rocks without neutral density filters
Danson makes a deliberate point about exposure here that I think gets overlooked. In flat, foggy light, the scene is already low in contrast, which means you don’t need neutral density filters to balance sky and land. He meters off the rocks in his mid-ground, which are the natural exposure anchor in a scene without a bright sky. His settings land at ISO as low as the camera will go, with a 1.3-second exposure using a two-second self-timer to eliminate camera shake. The absence of complicated filtration work means he can move quickly and focus on refining the composition rather than managing equipment.
Danson discussing simple exposure on rocks without neutral density filters
Danson makes a deliberate point about exposure here that I think gets overlooked. In flat, foggy light, the scene is already low in contrast, which means you don’t need neutral density filters to balance sky and land. He meters off the rocks in his mid-ground, which are the natural exposure anchor in a scene without a bright sky. His settings land at ISO as low as the camera will go, with a 1.3-second exposure using a two-second self-timer to eliminate camera shake. The absence of complicated filtration work means he can move quickly and focus on refining the composition rather than managing equipment.
Step 5: Use Natural Lines to Lead the Eye
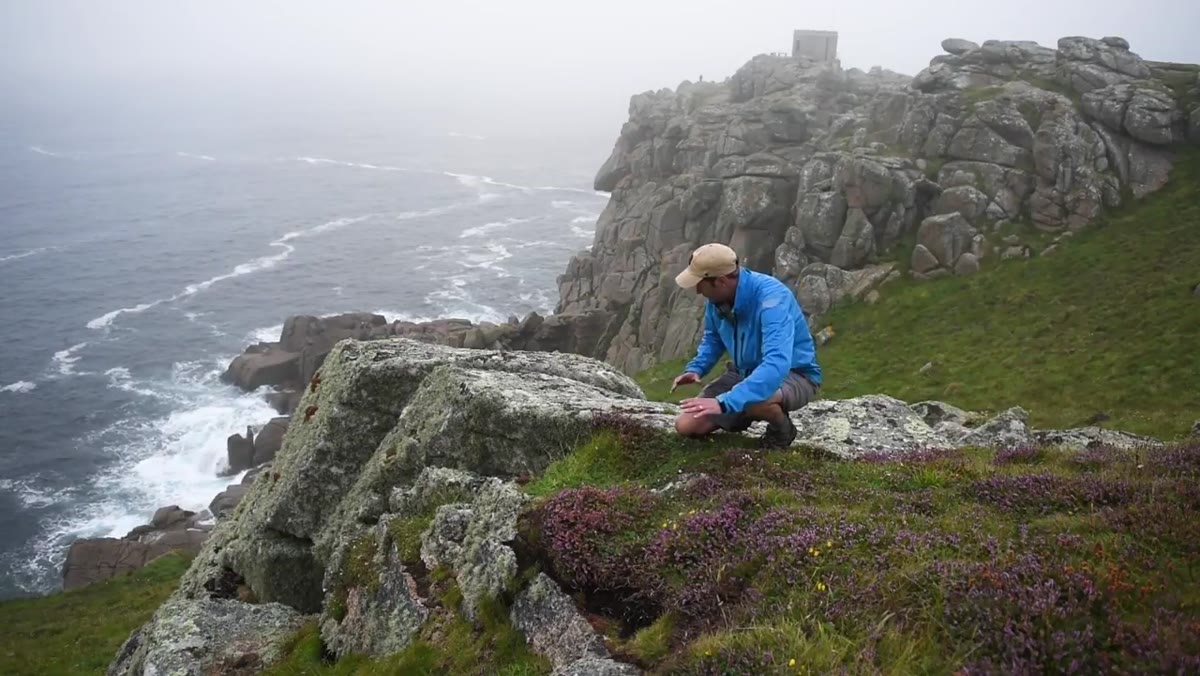 Danson pointing out how rocks and heather create visual pathways
The composition Danson lands on works because of how the eye travels through it. The heather comes in from the left edge of the frame, the rocks carry movement across the mid-ground, and the gaze lifts and drifts into the soft, formless headlands. This is a leading line structure, but it’s worth being precise about what that means in practice. Lines don’t have to be straight roads or rivers. In this frame they’re organic, defined by tonal contrast and the natural arrangement of rock and vegetation. Train yourself to read scenes this way before you lift the camera. Ask where the eye enters, where it travels, and where it rests.
Danson pointing out how rocks and heather create visual pathways
The composition Danson lands on works because of how the eye travels through it. The heather comes in from the left edge of the frame, the rocks carry movement across the mid-ground, and the gaze lifts and drifts into the soft, formless headlands. This is a leading line structure, but it’s worth being precise about what that means in practice. Lines don’t have to be straight roads or rivers. In this frame they’re organic, defined by tonal contrast and the natural arrangement of rock and vegetation. Train yourself to read scenes this way before you lift the camera. Ask where the eye enters, where it travels, and where it rests.
Step 6: Treat Bad-Light Sessions as Future Reference
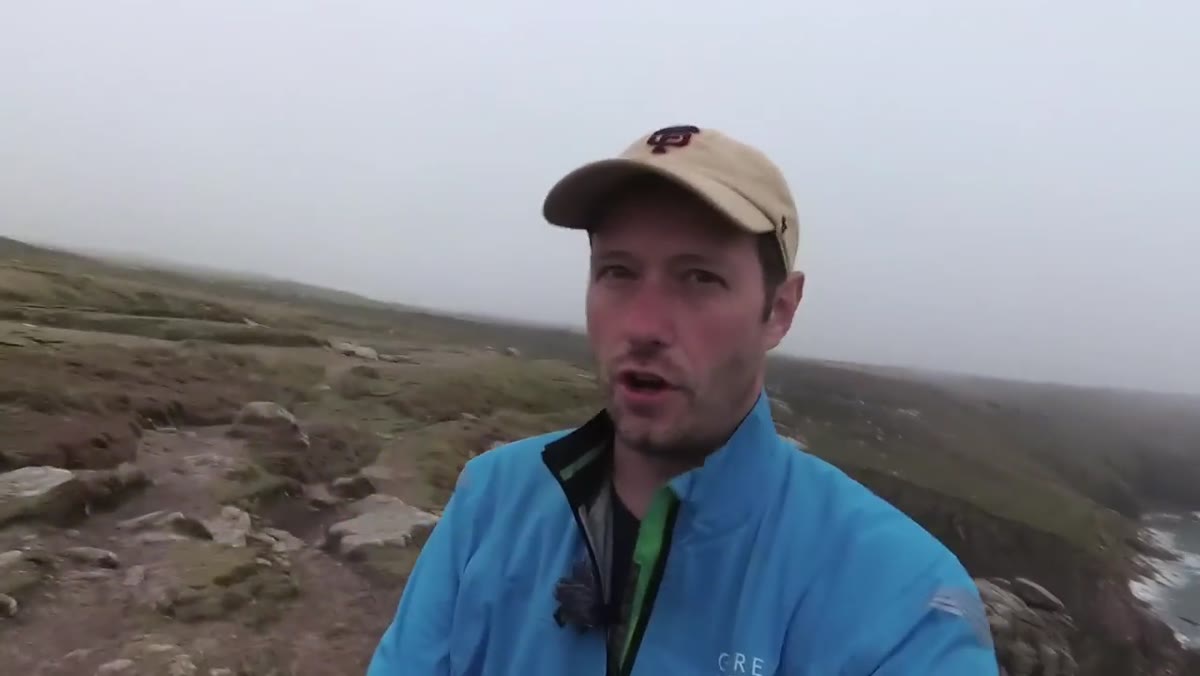 Danson raising tripod height for final composition in heavy mist
Toward the end of the session, as the mist thickens and Danson improvises a lens cloth as a makeshift lens cap, he names something important. He says out loud that he intends to return to these same compositions when the light is better. This is scouting with intent. The fog shoot isn’t a failed sunset shoot. It’s a reference library. He now knows exactly where to stand, what lens to use, and how the spatial relationships in the scene work. On the evening he returns with good light, he won’t be figuring any of that out. He’ll be executing. That’s an enormous advantage.
Danson raising tripod height for final composition in heavy mist
Toward the end of the session, as the mist thickens and Danson improvises a lens cloth as a makeshift lens cap, he names something important. He says out loud that he intends to return to these same compositions when the light is better. This is scouting with intent. The fog shoot isn’t a failed sunset shoot. It’s a reference library. He now knows exactly where to stand, what lens to use, and how the spatial relationships in the scene work. On the evening he returns with good light, he won’t be figuring any of that out. He’ll be executing. That’s an enormous advantage.
What I’d Add from Twenty Years of Bad Weather Shoots
Danson’s framework is sound, and I’d apply it exactly as he describes it. The one thing I’d layer on top is the habit of making written notes at the location before you leave. I keep a small field notebook in my camera bag and sketch the composition roughly, noting the lens length, approximate camera height, and which foreground element was the anchor. Fog, rain, and fatigue conspire to make field memories unreliable. I’ve returned to locations thinking I remembered the shot perfectly and wasted twenty minutes rediscovering it from scratch. Five minutes of notes at the scene saves an hour later.
The single most important thing this tutorial demonstrates is that conditions are not your creative ceiling. Composition is. When Danson stops chasing the sunset he expected and starts working with the fog he has, the images become stronger, not weaker. That shift in thinking, from hoping for good light to building with whatever light exists, is what separates a working photographer from someone waiting for the perfect day.
Watch the full tutorial on YouTube to see Danson work through this in real time. Watching him move around the scene and refine each composition frame by frame makes the spatial reasoning visible in a way that’s worth an hour of anyone’s time.
Comments
Leave a Comment