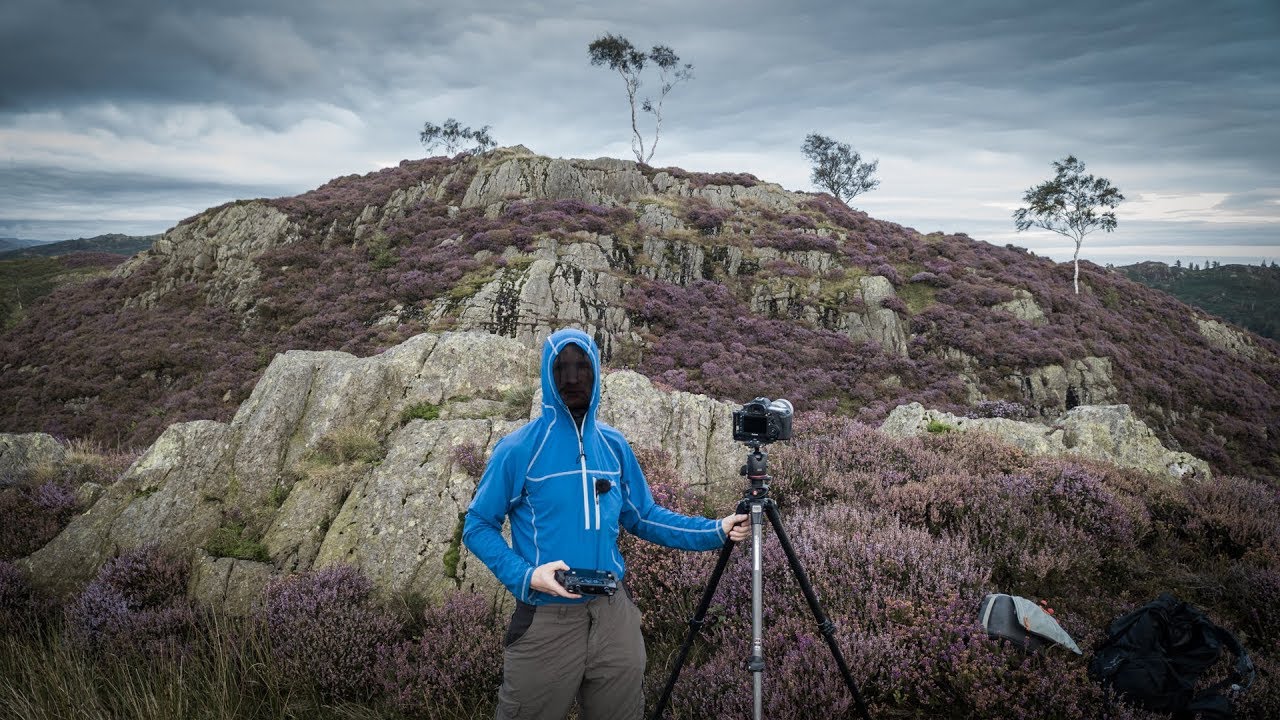
There’s a version of this job that looks glamorous from the outside. Golden hour, dramatic skies, the shot comes easy. But after twenty years shooting landscapes full-time, I’ll tell you the sessions I learn the most from are the ones where the light refuses to cooperate. Overcast skies, drizzle, that flat gray ceiling that makes beginners pack up and go home. Those are the conditions that separate photographers who understand light from photographers who just wait for it.
That’s exactly why I kept returning to this Thomas Heaton tutorial, where he heads out into the English fells under heavy overcast skies, sets up a wild camp with fellow photographer Brendan, and manages to find genuinely compelling images in conditions most people would write off. Watch the full tutorial on YouTube. What Heaton demonstrates isn’t magic. It’s a disciplined, methodical way of reading a landscape when the dramatic light never shows up. I’ve used this exact approach shooting the high desert around Bend, and it works.
The through-line of the whole video is this: when the grand, sweeping light isn’t available, you shift to intimate landscapes. You stop competing with conditions you can’t control, and you start working with what’s actually there. Here’s how he does it, step by step.
Step 1: Shoot to the Conditions, Not to Your Plan
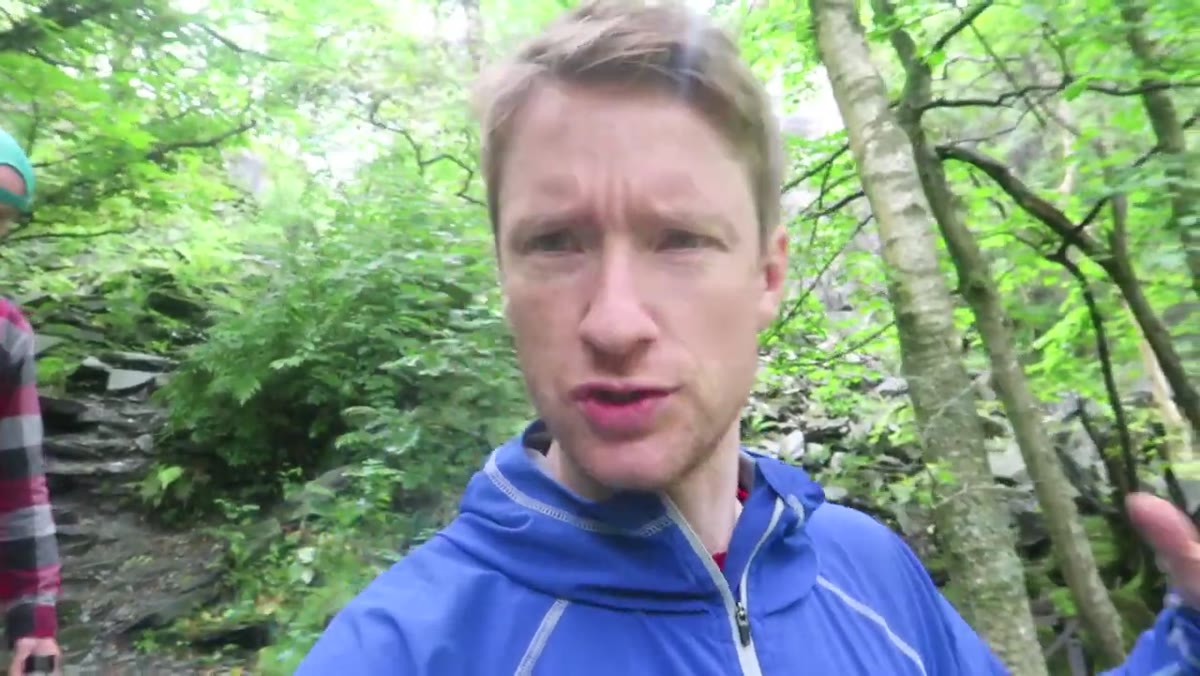 Thomas walking through overcast woodland, camera not yet out
The first decision Heaton makes isn’t a camera decision. It’s a location decision. He explicitly says the overcast, drizzly weather led him to choose a location suited to intimate landscape photography rather than the wide-open vista work he’d done the week before. This is something I preach in every workshop I run: your shot list should be written in pencil, not pen. When you arrive and the light is flat, the worst thing you can do is force the images you’d planned. The best thing you can do is ask what this specific light is actually good for.
Thomas walking through overcast woodland, camera not yet out
The first decision Heaton makes isn’t a camera decision. It’s a location decision. He explicitly says the overcast, drizzly weather led him to choose a location suited to intimate landscape photography rather than the wide-open vista work he’d done the week before. This is something I preach in every workshop I run: your shot list should be written in pencil, not pen. When you arrive and the light is flat, the worst thing you can do is force the images you’d planned. The best thing you can do is ask what this specific light is actually good for.
Flat, diffused light works beautifully in woodland and close-in detail work. It kills contrast in a way that makes colors richer and textures more even. If you’d planned a wide mountain panorama and the cloud has rolled in, pivot to the forest edge, the stream, the single gnarled tree on the hillside. The location serves the conditions, not the other way around.
Step 2: Scout Without the Camera First
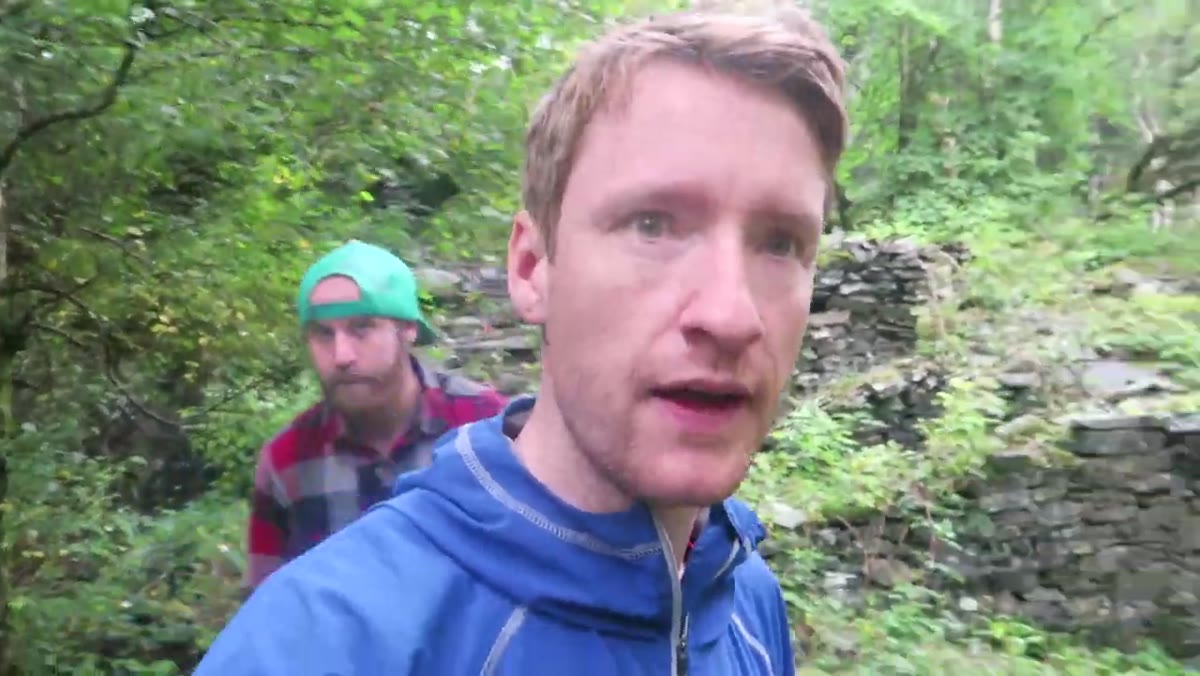 Thomas and Brendan walking without gear, scouting the location
Heaton and Brendan spend meaningful time exploring the location before they ever pull a camera out. This is a habit I picked up early in my career from a mentor who used to say “the mountain doesn’t care about your schedule.” Scouting without gear forces you to see instead of shoot. You’re not distracted by settings or composition through a viewfinder. You’re just looking.
Thomas and Brendan walking without gear, scouting the location
Heaton and Brendan spend meaningful time exploring the location before they ever pull a camera out. This is a habit I picked up early in my career from a mentor who used to say “the mountain doesn’t care about your schedule.” Scouting without gear forces you to see instead of shoot. You’re not distracted by settings or composition through a viewfinder. You’re just looking.
On a practical level, walk the full area before committing to a spot. Note where the light is coming from, even if it’s soft ambient light rather than direct sun. Look for natural layers in the landscape: foreground interest, a mid-ground subject, and a background that either complements or contrasts. That mental map you build during a gear-free scout is worth more than an hour of camera time in an unfamiliar location.
Step 3: Anchor Your Composition with a Strong Foreground
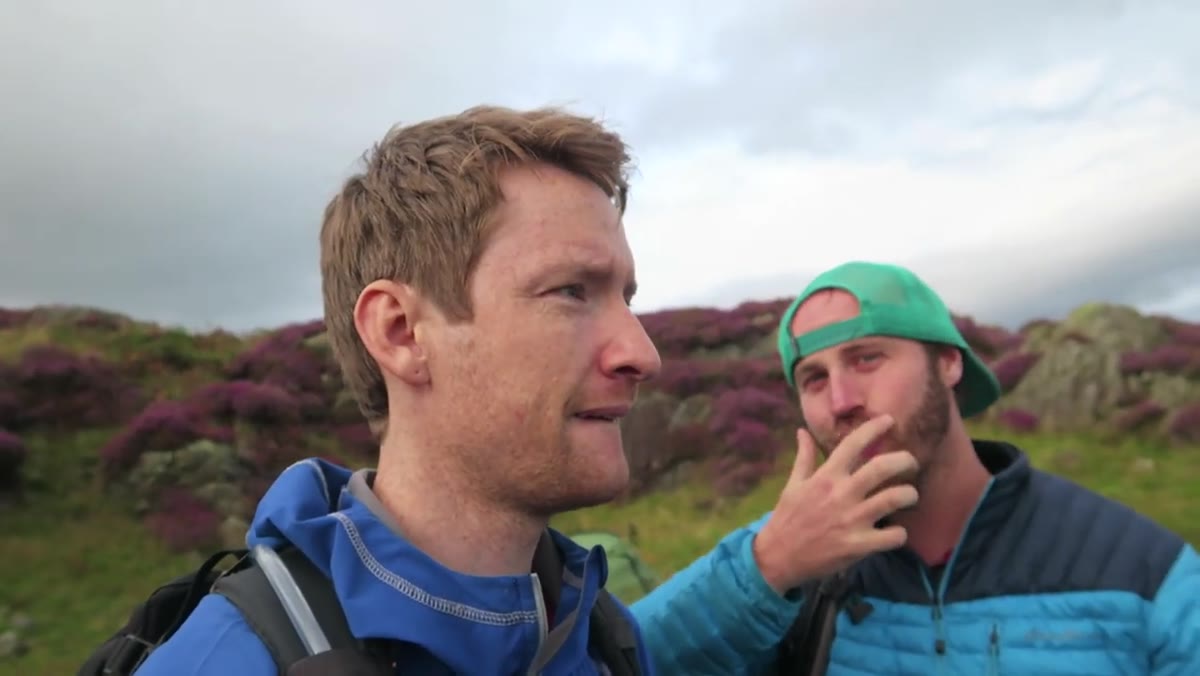 Brendan explaining foreground-first approach on the heather fell
When Heaton asks Brendan about their plan, Brendan’s answer is immediate: find the foreground first. The heather blanketing the fell gives them exactly that. A strong, textured, visually interesting foreground element anchors the image and gives the viewer a place to enter the frame before the eye travels to the subject.
Brendan explaining foreground-first approach on the heather fell
When Heaton asks Brendan about their plan, Brendan’s answer is immediate: find the foreground first. The heather blanketing the fell gives them exactly that. A strong, textured, visually interesting foreground element anchors the image and gives the viewer a place to enter the frame before the eye travels to the subject.
In practice, get low. The heather reads as a carpet of purple because Heaton is close to it and working at a low angle. If he stood at full height, the foreground compresses and loses its impact. Whatever your foreground element is, whether it’s heather, rocks, wildflowers, or wet sand on a beach, position yourself so it fills the lower third of the frame with enough presence to matter. Then look for what sits behind it that earns its place as a subject.
Step 4: Find Contrast Within Flat Light
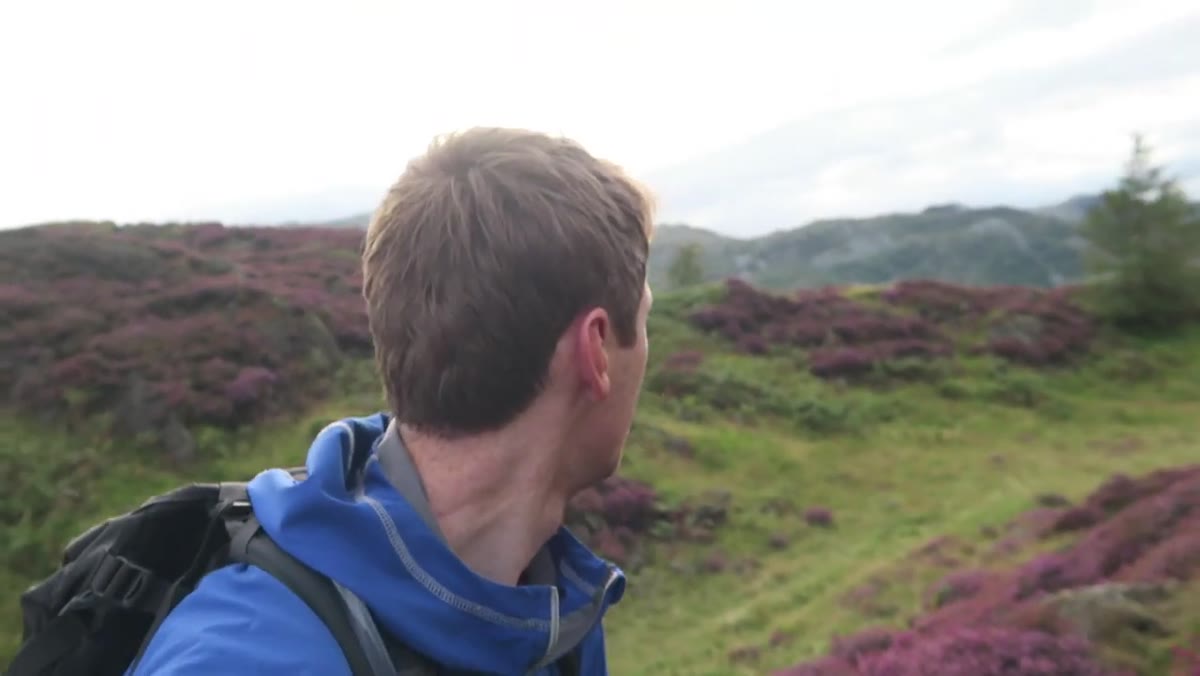 Thomas describing ambient light from the east hitting the silver birch tree
Here’s the nuance that most tutorials skip. Flat light doesn’t mean no light. It means diffused, directionless light. But even under heavy overcast, ambient brightness has a direction. Heaton notices that softer light is coming from behind him to the east, and it’s catching the silver birch tree on the hill. That tree is lit. The sky behind it is dark and moody. That contrast, a bright subject against a dramatic background, is the image.
Thomas describing ambient light from the east hitting the silver birch tree
Here’s the nuance that most tutorials skip. Flat light doesn’t mean no light. It means diffused, directionless light. But even under heavy overcast, ambient brightness has a direction. Heaton notices that softer light is coming from behind him to the east, and it’s catching the silver birch tree on the hill. That tree is lit. The sky behind it is dark and moody. That contrast, a bright subject against a dramatic background, is the image.
Train yourself to look for this. Walk slowly and turn around. Light that’s behind you is hitting the scene in front of you. Even a bright patch of sky filtering through cloud can throw enough soft directional light to make a subject pop against a darker background. This is free drama, and most photographers miss it because they’re looking for the sun.
Step 5: Use a Long Focal Length to Compress and Isolate
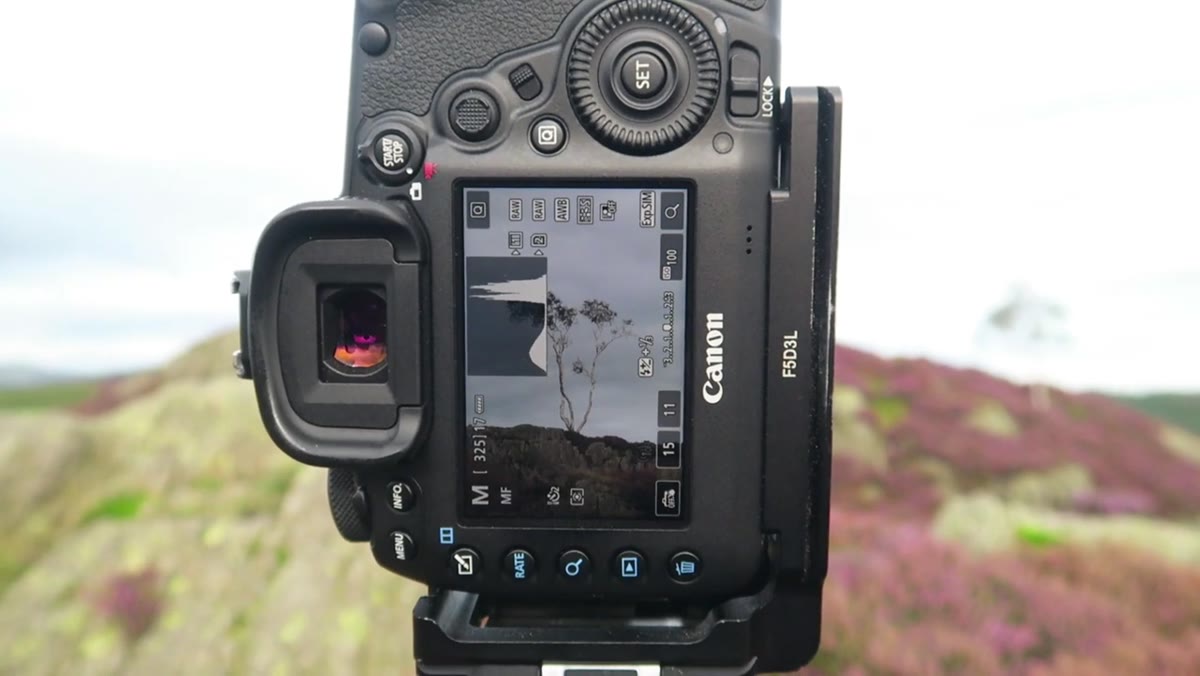 Camera set up on tripod with long lens pointed at isolated birch tree
Heaton’s composition choice here is deliberate and instructive. He reaches for the long lens not because the subject is far away, but because compression serves the image. A longer focal length stacks the layers of the scene closer together visually, and it lets him exclude the blue sky above while keeping only the dark, textured cloud directly behind the tree.
Camera set up on tripod with long lens pointed at isolated birch tree
Heaton’s composition choice here is deliberate and instructive. He reaches for the long lens not because the subject is far away, but because compression serves the image. A longer focal length stacks the layers of the scene closer together visually, and it lets him exclude the blue sky above while keeping only the dark, textured cloud directly behind the tree.
If you’re used to reaching for a wide angle in landscape work, try the opposite next time you’re in this kind of environment. Focal lengths in the 100-300mm range let you carve out a specific slice of the scene, remove distracting context, and make a single subject feel significant. That isolated birch tree becomes a statement instead of a detail.
Step 6: Expose to Protect Highlight Detail
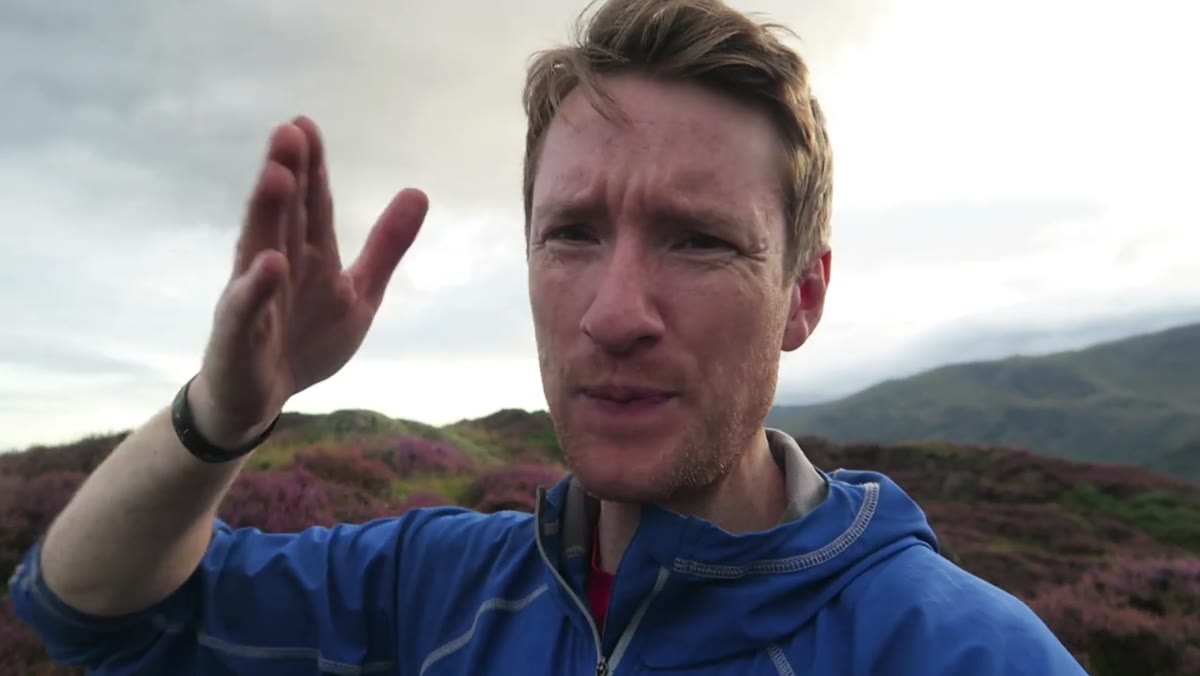 Thomas checking histogram, exposing slightly to the right
Heaton’s technical choice in this light is to expose slightly to the right on the histogram, meaning he’s brightening the exposure a touch to ensure he captures detail in the mid-tones and shadows without blowing the lighter areas. In flat, overcast light you have less dynamic range challenge than in high-contrast golden hour shooting, so you can afford to push exposure a little and pull it back in post if needed.
Thomas checking histogram, exposing slightly to the right
Heaton’s technical choice in this light is to expose slightly to the right on the histogram, meaning he’s brightening the exposure a touch to ensure he captures detail in the mid-tones and shadows without blowing the lighter areas. In flat, overcast light you have less dynamic range challenge than in high-contrast golden hour shooting, so you can afford to push exposure a little and pull it back in post if needed.
Shoot in RAW. Set your aperture around f/11 for landscape sharpness across the scene. Focus on your primary subject rather than splitting focus, and let the depth of field at that aperture handle the rest. Keep ISO as low as your shutter speed allows. In this light, you’re not fighting noise. You’re managing the gentle tonal balance of a scene that rewards subtlety.
What I’d Add from My Own Experience
Mist specifically, not just flat cloud cover, changes everything about an intimate landscape. I’ve driven out into the Cascades in early September when ground fog was sitting in the valleys, and the images from those mornings are consistently stronger than anything I’ve captured under clear golden light in the same locations. Mist compresses depth, creates atmosphere, and forces simplicity. It removes the background clutter you’d spend ten minutes trying to clone out in post.
If you’re shooting in conditions where mist is possible, that means cool nights following warm humid days, get out earlier than you think you need to. The window when ground mist is at its most photogenic is often thirty minutes or less. I was once camped in the Three Sisters Wilderness and missed a perfect mist layer by twelve minutes because I waited for coffee. That won’t happen twice.
The single most transferable idea from this Heaton tutorial is the mindset shift: stop waiting for perfect conditions and start asking what these conditions are perfect for. Every kind of weather is the right weather for something.
Watch the full tutorial on YouTube to see Heaton work through these decisions in real time across a full day of shooting in the fells.
Comments (3)
Solid advice. Especially the part about taking your time with it.
Love this. I referenced a similar technique in one of my recent posts. Always good to see other perspectives.
Clear and practical. No fluff. Appreciate that.
Leave a Comment