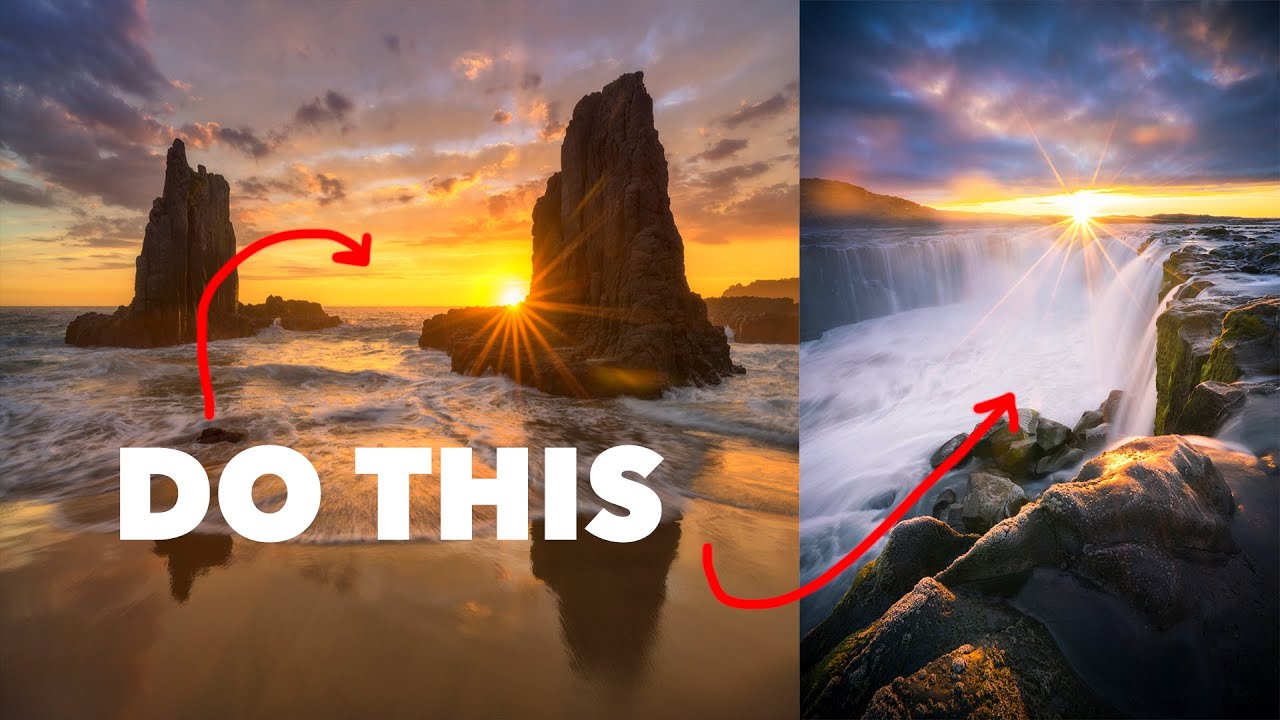
There is a particular kind of shot that stops people mid-scroll. The sun sits just behind a rock, a tree, or the edge of a cliff, and light rays spray outward in perfect symmetry like a starburst drawn by hand. I spent an embarrassing amount of time in my early years chasing that look without fully understanding what was creating it. I knew aperture was involved, but I kept blowing out the highlights or getting a smear of lens flare instead of crisp rays. The technique clicked for me slowly, through trial and error in the field over many mornings.
When I came across this tutorial from William Patino, I appreciated how cleanly he breaks down the two core requirements. No fluff. Watch the full tutorial on YouTube and then come back here, because I want to walk through each step in detail and add a few things I have learned from two decades of chasing light before most people set an alarm.
The technique comes down to physics and timing. Get both right and the shot almost makes itself. Get either one wrong and you are fighting the image the entire time you are standing there.
Step 1: Shoot During Golden Hour
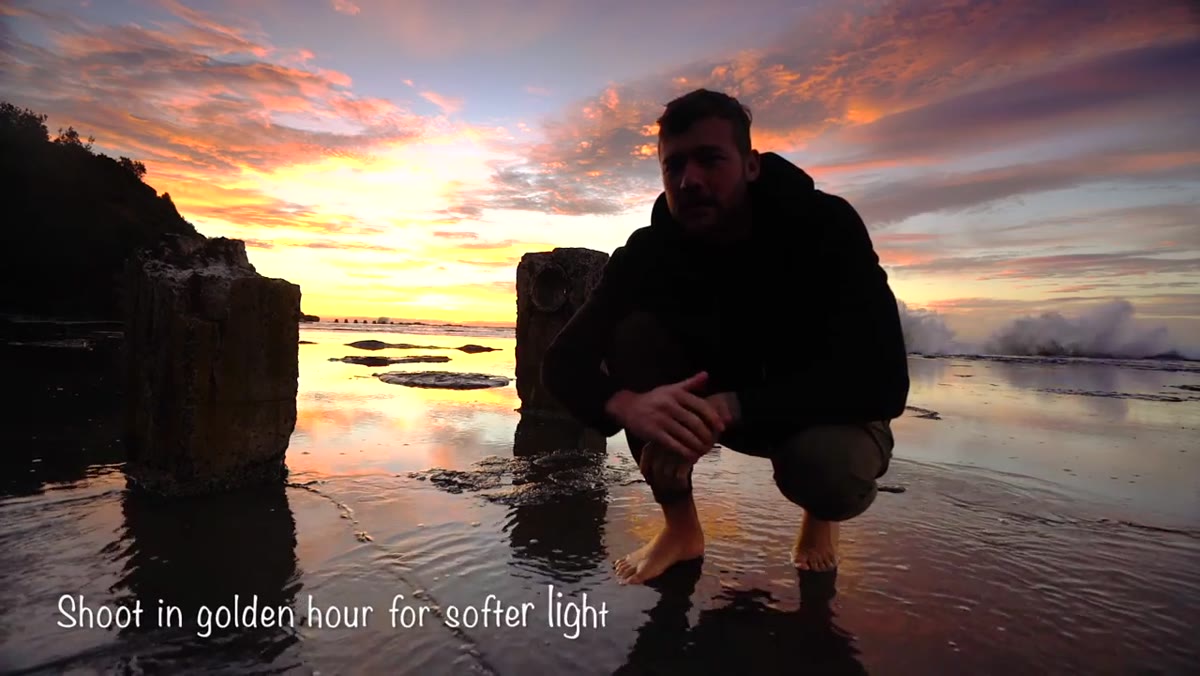 Sun not yet risen over horizon at golden hour location
The single biggest mistake I see photographers make with sunstars is attempting them at the wrong time of day. William is explicit about this, and I cannot agree more from my own experience. You want the sun low on the horizon, which means shooting at sunrise or in the last 30 to 45 minutes before sunset.
Sun not yet risen over horizon at golden hour location
The single biggest mistake I see photographers make with sunstars is attempting them at the wrong time of day. William is explicit about this, and I cannot agree more from my own experience. You want the sun low on the horizon, which means shooting at sunrise or in the last 30 to 45 minutes before sunset.
The reason is not just aesthetic. A high, midday sun is simply too intense for your sensor to handle gracefully, even with a narrow aperture. You will blow out the surrounding sky and lose all the tonal range that makes the image interesting. At golden hour, the sun’s light passes through more atmosphere, which softens it enough to give you workable dynamic range. I am usually already set up and waiting before the sun clears the horizon. That pre-dawn window, when the sky is brightening but the disc itself hasn’t appeared yet, is when I do my composition work.
Step 2: Find an Object to Partially Block the Sun
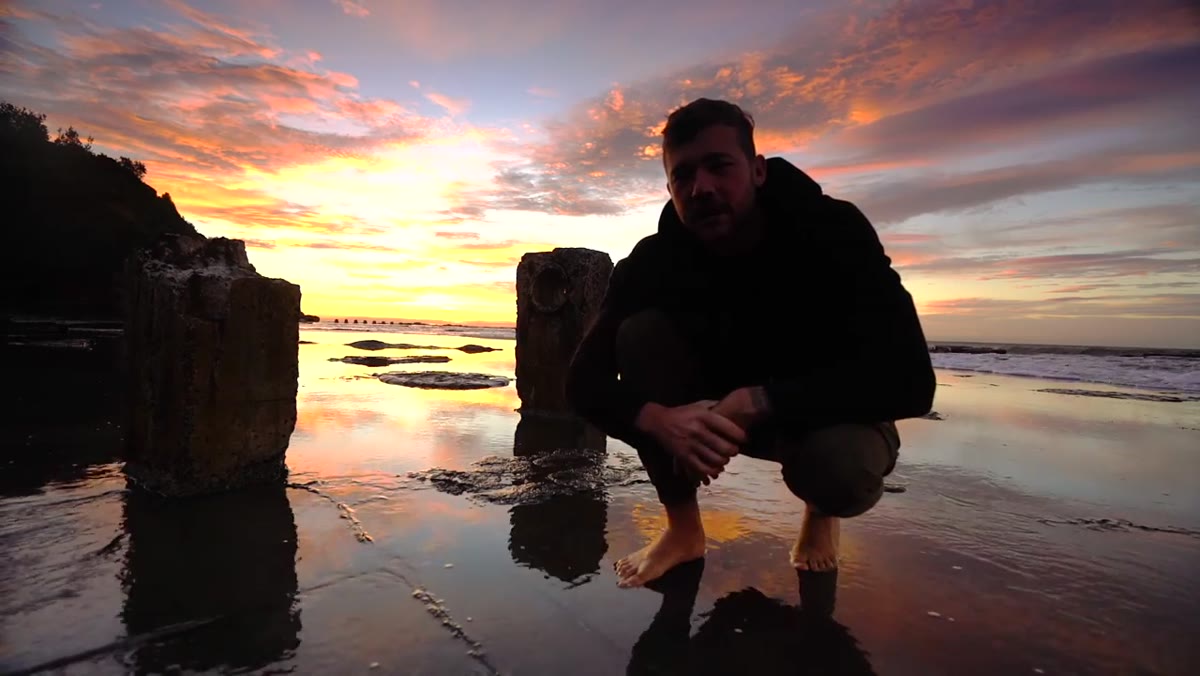 Architectural pillars used to partially occlude the sun
This is the part that surprises photographers who haven’t done this before. You do not want the full sun exposed and open in your frame. You want it peeking around the edge of something, partially hidden, so that only a sliver of the solar disc is visible.
Architectural pillars used to partially occlude the sun
This is the part that surprises photographers who haven’t done this before. You do not want the full sun exposed and open in your frame. You want it peeking around the edge of something, partially hidden, so that only a sliver of the solar disc is visible.
William uses architectural pillars in his demonstration, which is a great example because the straight edge gives you a clean anchor point. In landscape work I am usually using a rock face, a tree trunk, a ridgeline, or occasionally a person. The object serves two purposes. First, it controls the exposure by blocking the bulk of the sun’s intensity. Second, and this is the physics part, light bending around that hard edge is what actually creates the starburst pattern. The diffraction that produces the rays happens at the boundary between blocked and unblocked light. No edge, no star. I have demonstrated this to workshop students by holding my hand in front of the sun and watching the rays appear the moment I create a partial occlusion, which is exactly what William does in the tutorial.
Step 3: Set a Narrow Aperture Between f/11 and f/22
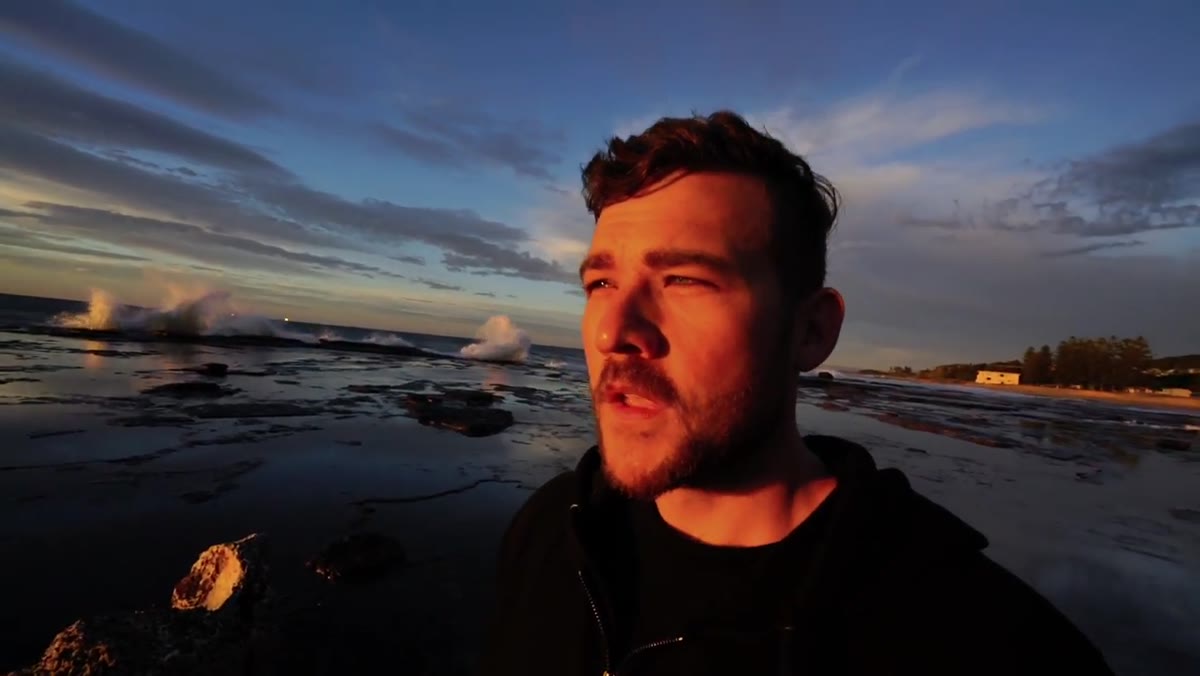 Camera settings being discussed, aperture highlighted
Aperture is the mechanical engine behind the sunstar effect. A narrow aperture, meaning a higher f-number, forces light to diffract as it passes through the small opening in the lens. That diffraction is what creates the individual rays extending outward from the sun.
Camera settings being discussed, aperture highlighted
Aperture is the mechanical engine behind the sunstar effect. A narrow aperture, meaning a higher f-number, forces light to diffract as it passes through the small opening in the lens. That diffraction is what creates the individual rays extending outward from the sun.
William recommends staying in the f/11 to f/22 range, and that tracks with what I use. The narrower you go, the more pronounced the rays become. f/16 gives you a clean, defined star. f/22 gives you something more dramatic and elongated. The catch is that at f/22 you are also hitting the diffraction limit of most lenses, which introduces a slight softening across the whole frame. I usually land on f/16 as my starting point and adjust from there based on what the light is doing. The number of rays in your starburst is determined by your lens’s aperture blade count. A lens with 9 blades will produce 18 rays. A lens with 7 blades will produce 14. It is worth knowing your glass.
Step 4: Position Yourself Along the Edge of the Object
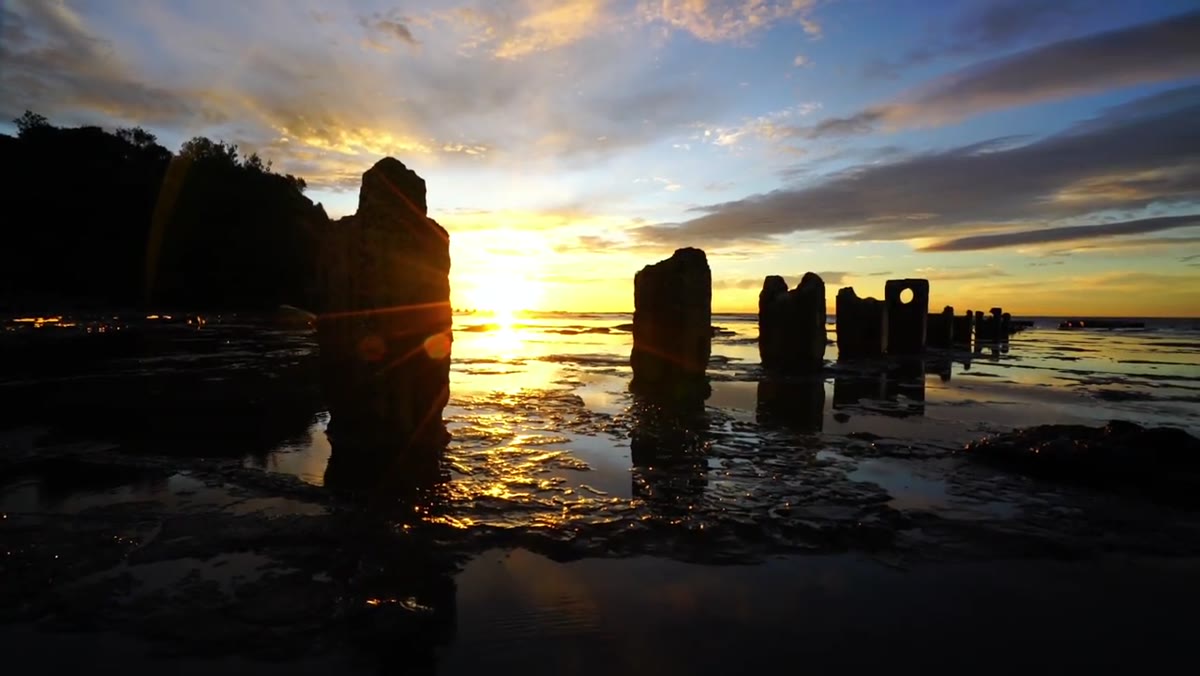 Photographer moving along pillar edge, sunstar appearing in frame
Once you have your aperture set and your object chosen, the actual technique is physical. You are moving your camera laterally, sliding along the edge of whatever is blocking the sun until you find the precise position where the sun just barely peeks around the corner.
Photographer moving along pillar edge, sunstar appearing in frame
Once you have your aperture set and your object chosen, the actual technique is physical. You are moving your camera laterally, sliding along the edge of whatever is blocking the sun until you find the precise position where the sun just barely peeks around the corner.
This takes more patience than it sounds. A centimeter of movement changes the whole character of the shot. Too much sun revealed and you lose the effect and blow the highlights. Too little and the rays have nothing to work with. I have spent ten or fifteen minutes at a single rock face inching my tripod position until I found the sweet spot. William shows this clearly when he demonstrates with the pillars, moving along their edge until the burst appears in the viewfinder. That moment of seeing the rays form is one of the more satisfying things in field photography.
Step 5: Manage Lens Flare Through Composition Adjustments
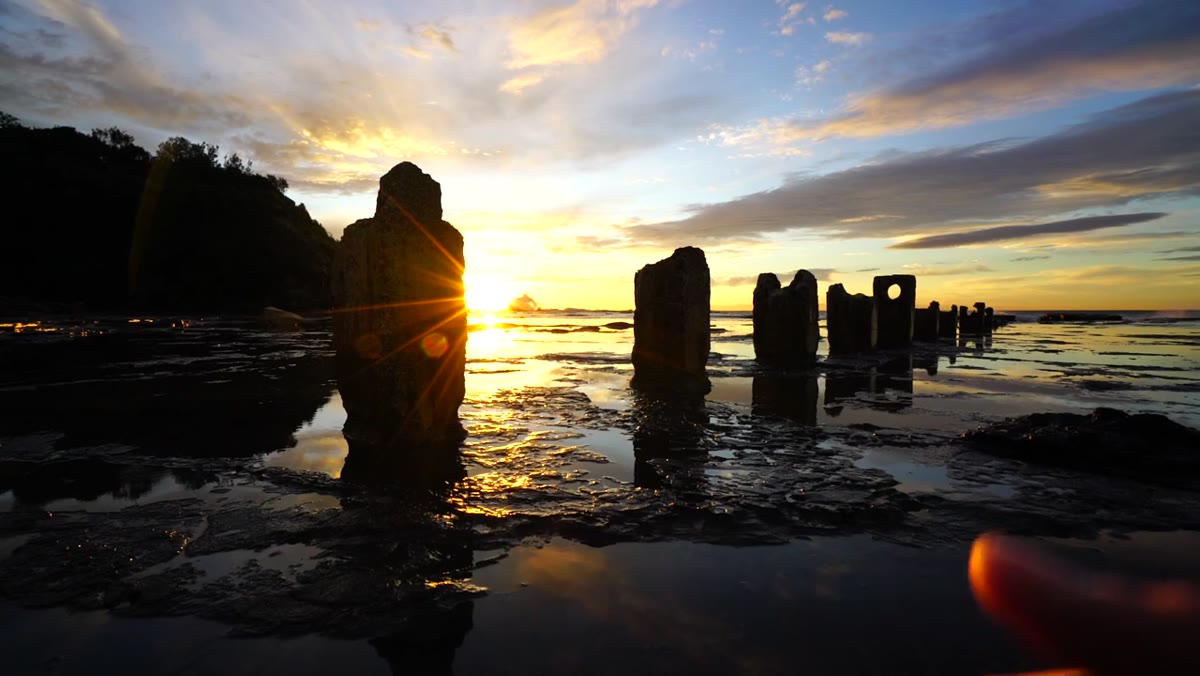 Lens flare artifact visible in corner of frame
Flare is the antagonist of sunstar photography and it will show up. William is honest about this, and I appreciate that he doesn’t gloss over it. When shooting directly into or near the sun, scattered light inside your lens barrel creates artifacts ranging from soft haze to hard geometric shapes in the corners of your frame.
Lens flare artifact visible in corner of frame
Flare is the antagonist of sunstar photography and it will show up. William is honest about this, and I appreciate that he doesn’t gloss over it. When shooting directly into or near the sun, scattered light inside your lens barrel creates artifacts ranging from soft haze to hard geometric shapes in the corners of your frame.
The primary tool for controlling flare is movement. Shift your angle. Change your height. Sometimes tilting the camera a few degrees eliminates a corner flare entirely. A quality lens hood helps by blocking off-axis light. I also check carefully for any fingerprints or dust on my front element before a golden hour shoot, because anything on the glass amplifies flare significantly. Some flare is acceptable and even adds atmosphere, but the hard colored polygons that appear in corners tend to read as mistakes rather than choices.
What I Would Add From the Field
William’s tutorial nails the technique. What I would layer on top is the value of scouting your location before the shoot. I arrive the evening before a sunrise session whenever I can, finding my objects, estimating where the sun will clear the horizon, and identifying two or three composition options so I am not making those decisions in the dark under pressure.
I also shoot a bracket of frames as the sun rises and changes intensity. The sweet spot for a sunstar is often a window of just a few minutes as the sun clears the horizon. Work fast, vary your position, and review as you go. The shot you imagined when you scouted the location is not always the one the light offers you on the morning.
The most important thing you can take from this technique is simple: the starburst effect is not added in post. It is built in camera, through physics, timing, and positioning. Get the sun partially hidden behind a hard edge, narrow your aperture to f/16 or beyond, and shoot during golden hour when the light is manageable. Everything else is refinement.
Watch the full tutorial on YouTube to see William demonstrate the technique in real time at a live location. Watching the rays appear as he moves along that pillar edge is worth the four minutes on its own.
Comments (2)
I keep coming back to this article. It's that useful.
This is fantastic. I've been recommending this approach to my readers too.
Leave a Comment