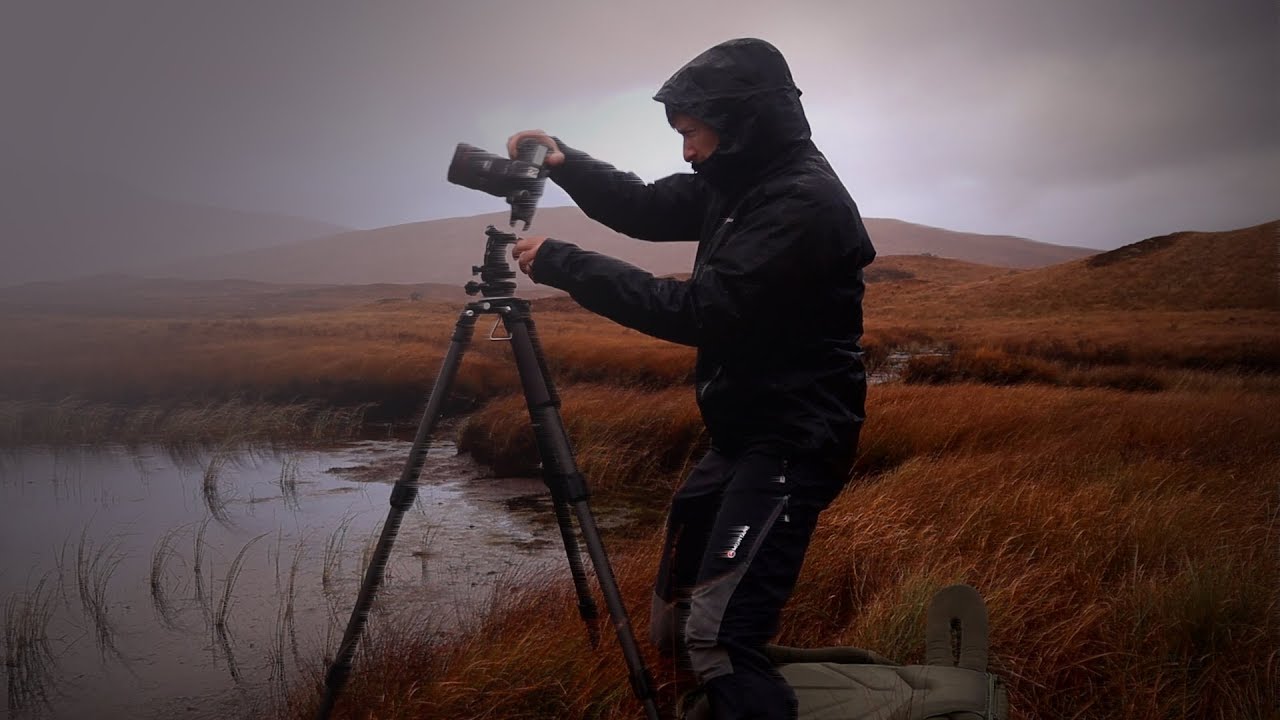
There’s a particular kind of misery that comes with arriving at a location after a long drive only to find flat gray light, horizontal rain, and a scene that refuses to cooperate. I’ve lived that morning more times than I can count. Twenty years into this work, I still don’t have a clean answer for what to do when the weather beats you. What I do have is a set of habits that keep me shooting when most people would retreat to the car. That’s why I keep coming back to Thomas Heaton’s approach whenever I need a reset. Watch the full tutorial on YouTube
In this Thomas Heaton tutorial, he’s working through exactly that scenario in Glencoe, Scotland during a stretch of autumn storms. He’s not chasing a magic window of golden light. He’s adapting, scouting on foot, and making deliberate decisions about what a difficult scene can and cannot offer. That gap between what you hoped for and what you’ve got is where most photographers quit. Watching how he thinks through it is genuinely useful.
What strikes me most is how honest he is about the emotional side of shooting in bad weather. He admits flat gray days feel depressing to him, that the moody drama some photographers celebrate just doesn’t move him the way warmer, more dynamic light does. That honesty matters because it points to something practical: when a scene isn’t giving you what you love, you have to get specific about what it is giving you and build from there.
Step 1: Make the Logistics Decision Before the Creative One
 Heaton speaking to camera outside the Glencoe Ski Centre
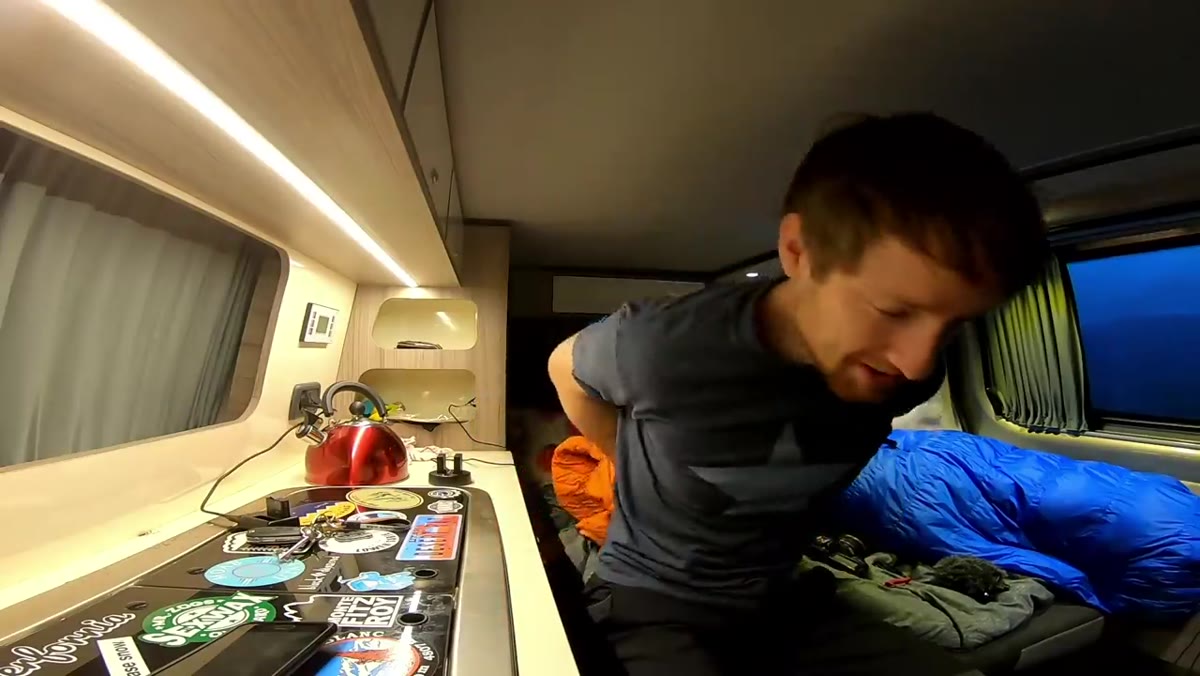
Before you can make good images in a storm, you need to be warm, dry, and powered up. Heaton makes this point without much ceremony but it shapes everything that follows. He bases himself at the Glencoe Ski Centre, uses their facilities to dry gear, recharge batteries, and get a hot meal. The decision to stop, reset, and plan overnight rather than push into worsening conditions is itself a field skill.
Heaton speaking to camera outside the Glencoe Ski Centre
Before you can make good images in a storm, you need to be warm, dry, and powered up. Heaton makes this point without much ceremony but it shapes everything that follows. He bases himself at the Glencoe Ski Centre, uses their facilities to dry gear, recharge batteries, and get a hot meal. The decision to stop, reset, and plan overnight rather than push into worsening conditions is itself a field skill.
When I’m on a multi-day trip and weather turns bad, my rule is this: don’t make creative decisions when you’re wet, cold, and running on no sleep. Sort the practical problem first. A dry body and a full camera battery are prerequisites for good work. Know where your nearest reliable shelter is before you need it, and don’t be too proud to use it.
Step 2: Walk the Scene Without the Camera Up
 Rain approaching over the valley as Heaton scouts on foot
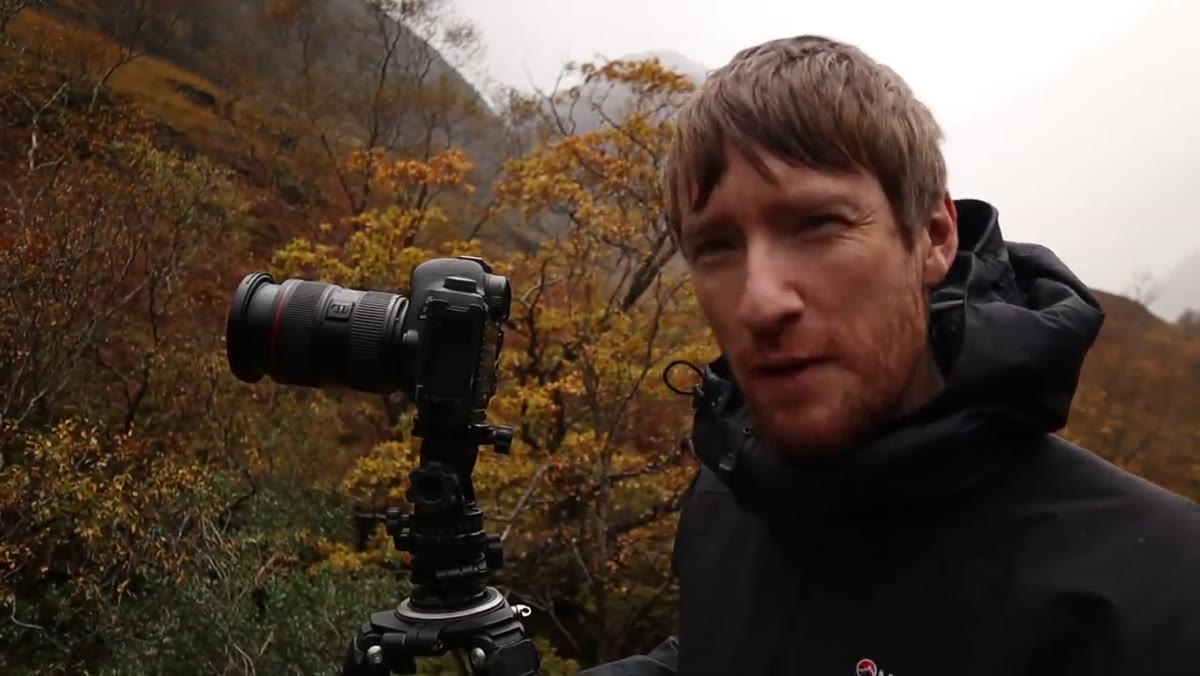
Heaton goes for a walk along the river in Glencoe valley before he commits to any composition. He’s looking at colors, shapes, and how the light is falling on the water and trees. He scouts with his eyes first, not his viewfinder. This sounds obvious but it’s one of those habits that separates photographers who find images from photographers who wander around hoping one appears.
Rain approaching over the valley as Heaton scouts on foot
Heaton goes for a walk along the river in Glencoe valley before he commits to any composition. He’s looking at colors, shapes, and how the light is falling on the water and trees. He scouts with his eyes first, not his viewfinder. This sounds obvious but it’s one of those habits that separates photographers who find images from photographers who wander around hoping one appears.
In foul weather especially, the temptation is to set up quickly and minimize time in the rain. Resist that. A five-minute walk before you plant the tripod will show you angles and relationships between elements that you’d miss if you just shot what’s directly in front of you. The rain isn’t going anywhere. Take the walk.
Step 3: Turn Around. Literally.
 Heaton redirects from initial river view to the tree directly behind him
Heaton’s best composition in this video isn’t the shot he originally planned. He’s looking at a river view downstream and then glances back over his shoulder. What he finds behind him, a gnarled tree with fiery orange autumn leaves, becomes the subject. The initial scene he scouted is abandoned in favor of something better that was almost invisible because he wasn’t looking for it.
Heaton redirects from initial river view to the tree directly behind him
Heaton’s best composition in this video isn’t the shot he originally planned. He’s looking at a river view downstream and then glances back over his shoulder. What he finds behind him, a gnarled tree with fiery orange autumn leaves, becomes the subject. The initial scene he scouted is abandoned in favor of something better that was almost invisible because he wasn’t looking for it.
This is a discipline worth building into every shoot. Before you lock in on a subject, physically turn around and look at what’s behind you. Look up. Look at your feet. Storm light comes from unexpected angles and autumn color concentrates in unexpected pockets. The shot you drove for is sometimes two meters to the left of where you set up.
Step 4: Simplify Ruthlessly When the Light Is Flat
 Heaton framing tight on tree branches and orange leaves, excluding sky and foreground
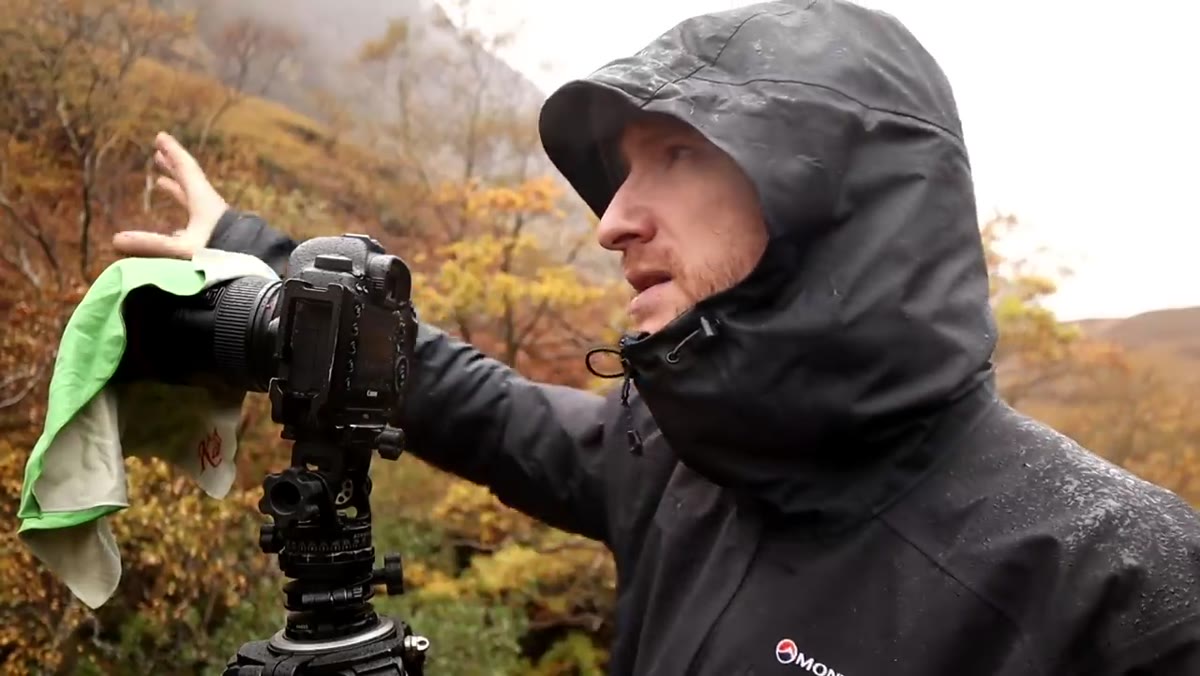
With flat gray sky and no directional light to work with, Heaton narrows his frame dramatically. He fills it with the twisted branches and orange leaves and cuts out everything else: no sky, no river, no grassy foreground. The logic is clean. When you can’t use the sky as an asset, don’t show it. When the foreground adds nothing, drop it.
Heaton framing tight on tree branches and orange leaves, excluding sky and foreground
With flat gray sky and no directional light to work with, Heaton narrows his frame dramatically. He fills it with the twisted branches and orange leaves and cuts out everything else: no sky, no river, no grassy foreground. The logic is clean. When you can’t use the sky as an asset, don’t show it. When the foreground adds nothing, drop it.
He’s shooting at f/9 here to get enough depth of field across the branches without going so far into diffraction that he loses sharpness. The tight frame also eliminates the problem of managing multiple competing elements in a scene that isn’t cooperating. The more you simplify, the more the color and the shape carry the image.
Step 5: Use the Square Crop for Abstract Subjects
 Camera display showing square crop format applied to tree composition
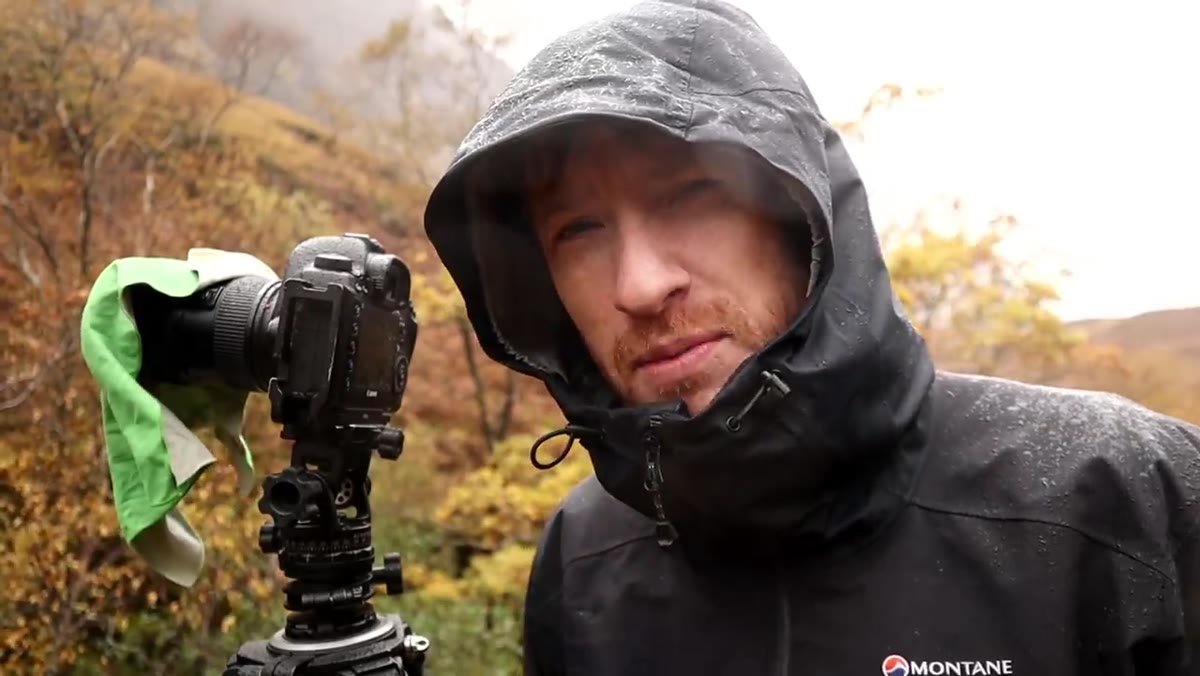
Heaton reaches for the square crop when he’s working in this compressed, abstract mode. He finds that stripping the frame down to a square removes the implied narrative of a wide horizontal landscape and forces the viewer to sit with the texture, color, and form of what’s actually there.
Camera display showing square crop format applied to tree composition
Heaton reaches for the square crop when he’s working in this compressed, abstract mode. He finds that stripping the frame down to a square removes the implied narrative of a wide horizontal landscape and forces the viewer to sit with the texture, color, and form of what’s actually there.
On my own shoots, I use the square format most often when I’m working in woodland or close to a single dominant subject. It removes the obligation to include context and asks the image to succeed entirely on its own visual terms. If you’re not experimenting with aspect ratios in camera, try it. Most mirrorless bodies and even DSLRs let you set a square crop as an overlay so you can compose in it live.
Step 6: Let Rain Work for You
 Rain beginning to fall on the scene as Heaton continues shooting
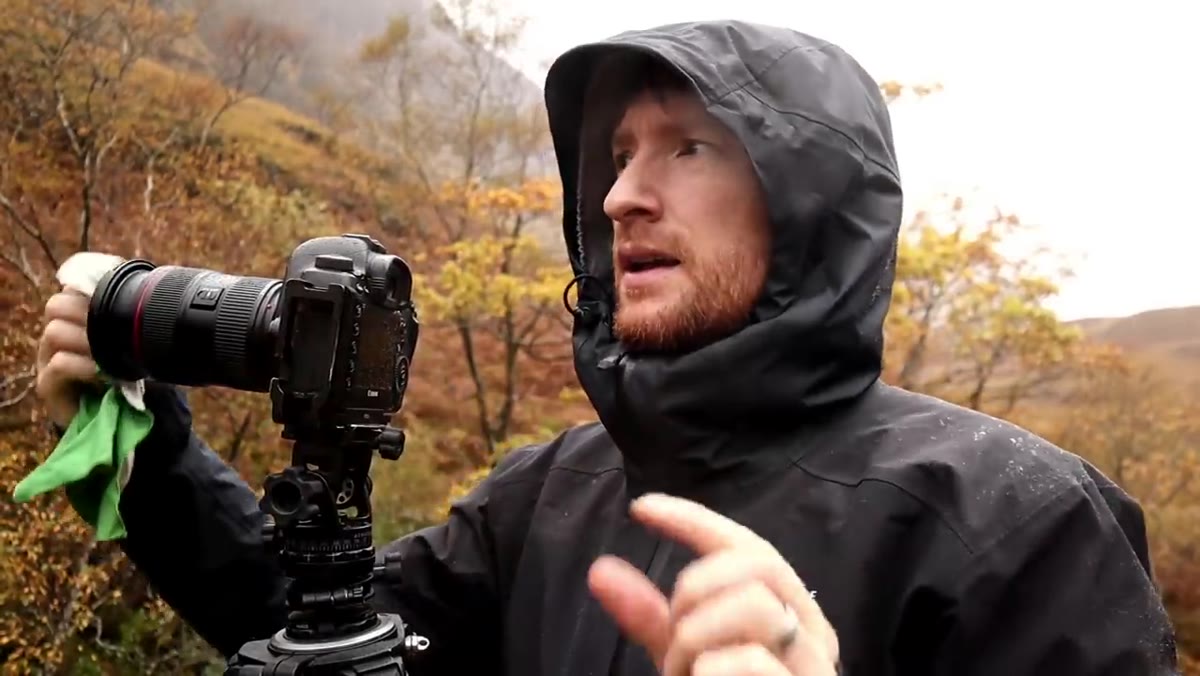
Heaton notes that the rain arriving mid-shoot might actually help his composition by adding atmosphere, glossing up the tree bark, and giving the trunks more visible texture and sheen. This is a shift from treating rain as a problem to treating it as a variable that changes what the scene looks like.
Rain beginning to fall on the scene as Heaton continues shooting
Heaton notes that the rain arriving mid-shoot might actually help his composition by adding atmosphere, glossing up the tree bark, and giving the trunks more visible texture and sheen. This is a shift from treating rain as a problem to treating it as a variable that changes what the scene looks like.
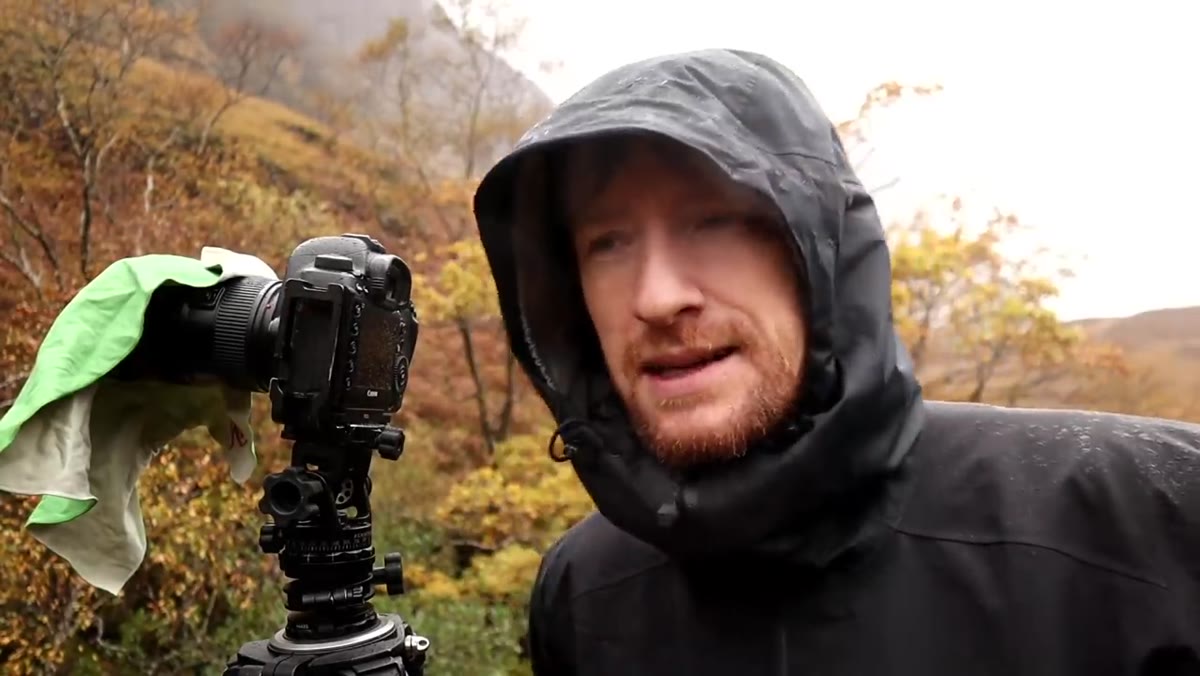
Wet bark in autumn light is genuinely beautiful. Wet stone on a riverbank has depth that dry stone doesn’t. The challenge is protecting your gear long enough to capture it. A rain sleeve or even a clean shower cap over the camera body buys you significant shooting time in light to moderate rain. I keep a microfiber cloth clipped to my bag to wipe the front element between shots.
What I’d Add From My Own Experience
Heaton’s instinct to stay flexible rather than force a predetermined shot is one I’ve learned the hard way. I once drove six hours to a location in the Cascades with a very specific image in mind. Sat in fog for two days. Came home with one shot, taken in a ten-minute window on the morning I was packing to leave. It’s my best-selling print.
The lesson I’d add to everything Heaton demonstrates here is this: go into storm shoots with a direction rather than a destination. Have a sense of what you’re drawn to, color, shape, motion, intimacy, but stay loose on the specific frame. The storm will make decisions for you that you couldn’t have planned. Your job is to be ready when it does.
The single most important thing this tutorial reinforces is that bad weather is not a reason to stop shooting. It’s a reason to change how you’re looking. When the grand view disappears into cloud, get closer, get simpler, and let the season and the rain do the work. Watch the full tutorial on YouTube and see how Heaton works through it in real time.
Comments (1)
The before and after really sells it. Incredible difference.
Leave a Comment