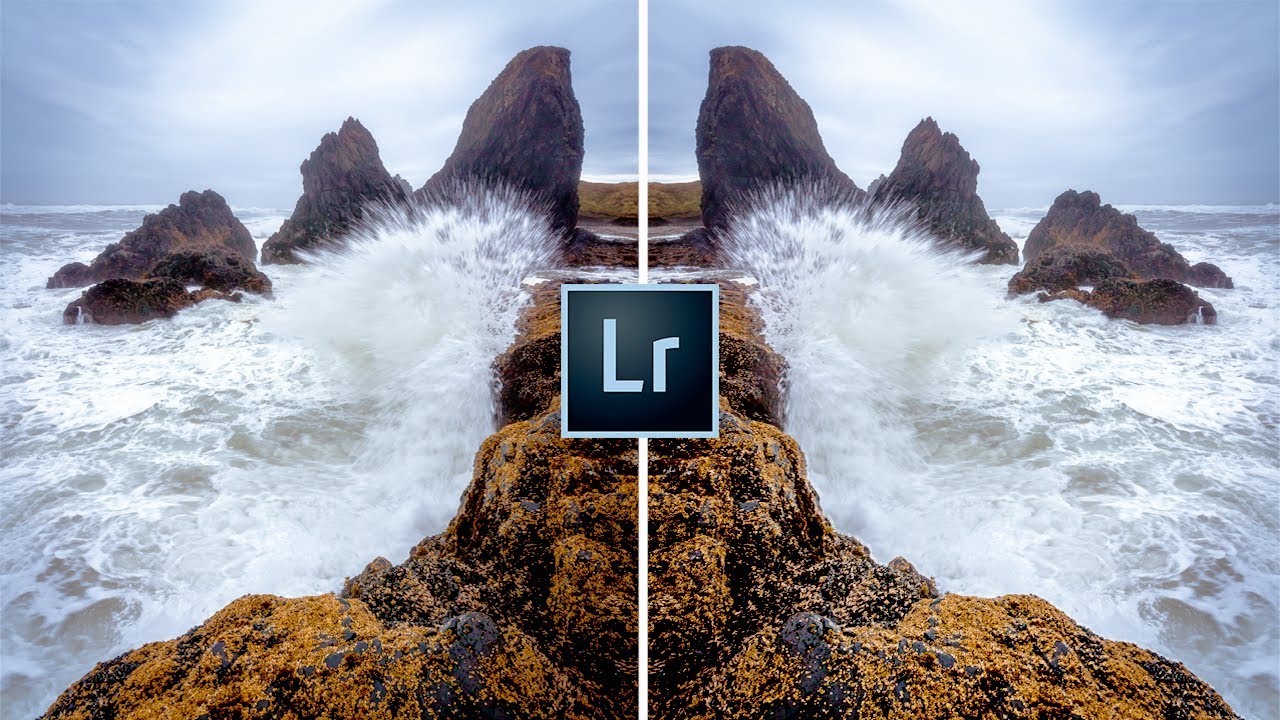
Every time I come home from a shoot, the same quiet dread settles in. The boots are still muddy, the thermos is still cold, and sitting on my desk is an SD card with somewhere between 600 and 1,200 images on it. I’ve been doing this for twenty years and I still feel it. The problem was never the editing itself. I actually love sitting down with a strong cup of coffee and working through a file I believe in. The problem was always the gap between returning from the field and knowing which file deserved that attention.
That’s why a recent tutorial from Mark Denney stopped me mid-scroll. He addresses something most photography education skips entirely: not how to shoot, not how to edit, but what happens in between. The process of moving from a card full of nearly identical exposures to a handful of images worth your time. Watch the full tutorial on YouTube and follow along with the breakdown below.
What Denney describes isn’t a trick or a shortcut. It’s a discipline, and one I’ve been quietly developing my own version of for years without ever giving it a name. Watching him articulate it so cleanly forced me to examine my own habits and tighten a few loose screws.
Step 1: Start at the Top and Work Location by Location
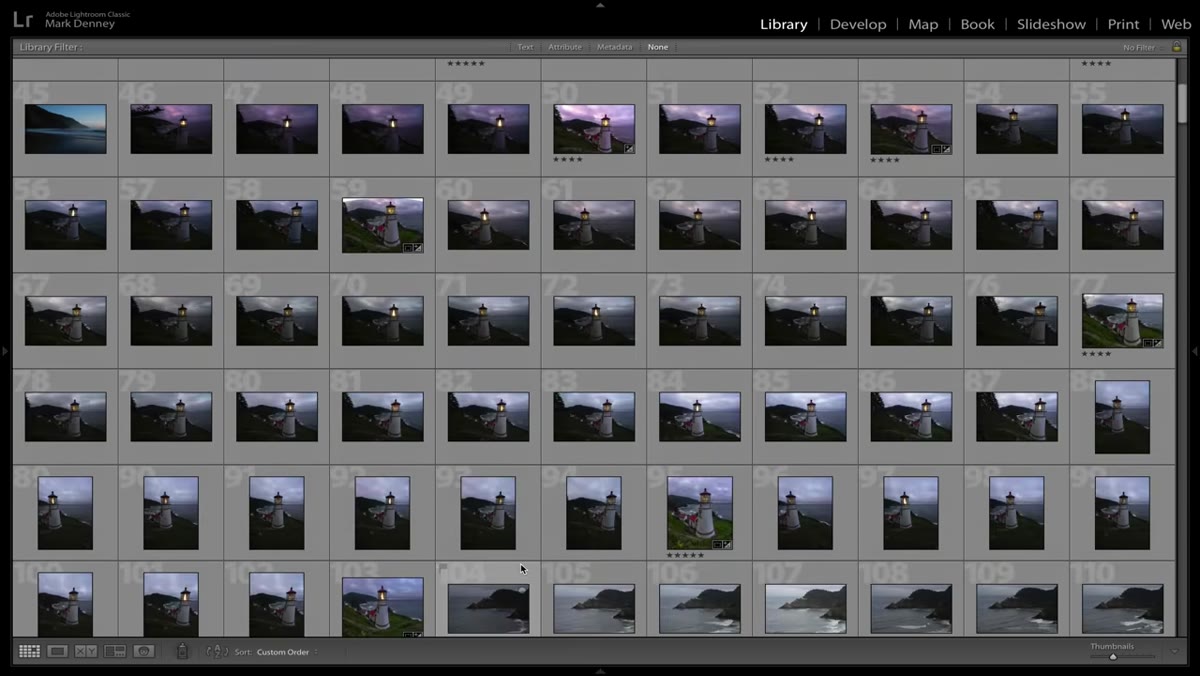 Scrolling through grouped photos organized by shooting location
Before you touch a single rating or flag, orient yourself to the card as a whole. Denney begins at the top of his import and moves through images in the order they were taken, which naturally groups them by location. This isn’t just an organizational preference. It gives you immediate context. You can see where you were, roughly what the light was doing, and how many frames you burned at each spot.
Scrolling through grouped photos organized by shooting location
Before you touch a single rating or flag, orient yourself to the card as a whole. Denney begins at the top of his import and moves through images in the order they were taken, which naturally groups them by location. This isn’t just an organizational preference. It gives you immediate context. You can see where you were, roughly what the light was doing, and how many frames you burned at each spot.
Resist the urge to jump around. Working sequentially keeps your decision-making consistent and prevents you from second-guessing earlier choices once you’ve seen something that feels better later.
Step 2: Identify the Changing Variable Before You Judge Anything
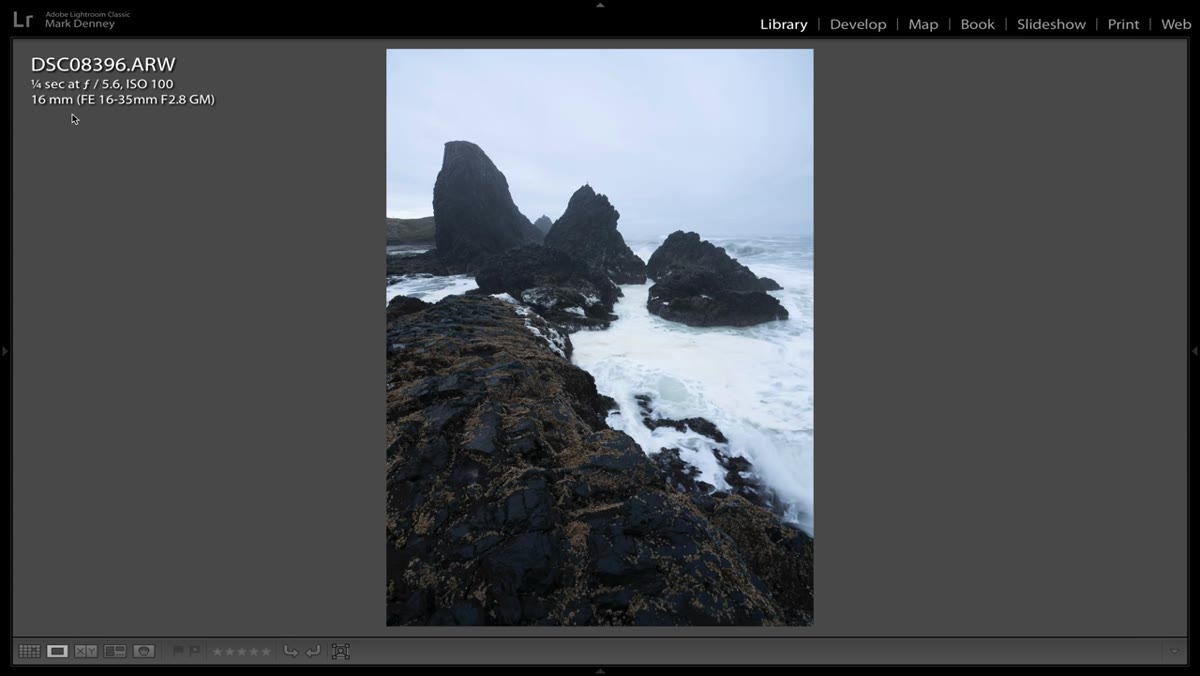 Side-by-side similar compositions showing water movement variation
This is the step that genuinely shifted something in my own process. Before evaluating individual frames from a given location, ask yourself: what was actually changing between these shots? For most landscape work, the composition is locked in. You found your angle, set your tripod, and then you waited. What changed was the water, the clouds, the color temperature at the horizon, the way a wave retreated across wet sand.
Side-by-side similar compositions showing water movement variation
This is the step that genuinely shifted something in my own process. Before evaluating individual frames from a given location, ask yourself: what was actually changing between these shots? For most landscape work, the composition is locked in. You found your angle, set your tripod, and then you waited. What changed was the water, the clouds, the color temperature at the horizon, the way a wave retreated across wet sand.
Once you’ve named that variable, you can stop evaluating everything and start evaluating only the thing that mattered. Suddenly 40 frames of the same scene become a short film of one specific element doing different things, and the best frame becomes obvious quickly. This single mental shift can cut your culling time in half.
Step 3: Use Only Four and Five Stars – Nothing Else
 Rating panel showing only 4 and 5 star images being selected
Denney keeps his rating system deliberately simple: four stars or five stars. That’s it. No one-star junk pile, no elaborate three-tier system that requires you to remember what two stars meant three days ago. If an image doesn’t earn a four, it gets nothing and disappears from your working set.
Rating panel showing only 4 and 5 star images being selected
Denney keeps his rating system deliberately simple: four stars or five stars. That’s it. No one-star junk pile, no elaborate three-tier system that requires you to remember what two stars meant three days ago. If an image doesn’t earn a four, it gets nothing and disappears from your working set.
The logic here is sound and I’ve adopted something close to it myself. The images you’re keeping should be genuinely good or genuinely great. Anything else is a distraction. A four means it has merit and belongs in the conversation. A five means your gut fired immediately when you saw it. Trust that instinct. You’ve been out there in the cold making these images. Your eye knows things your brain will talk you out of if you give it enough time.
Step 4: Move Fast – Spend No More Than a Few Seconds Per Frame
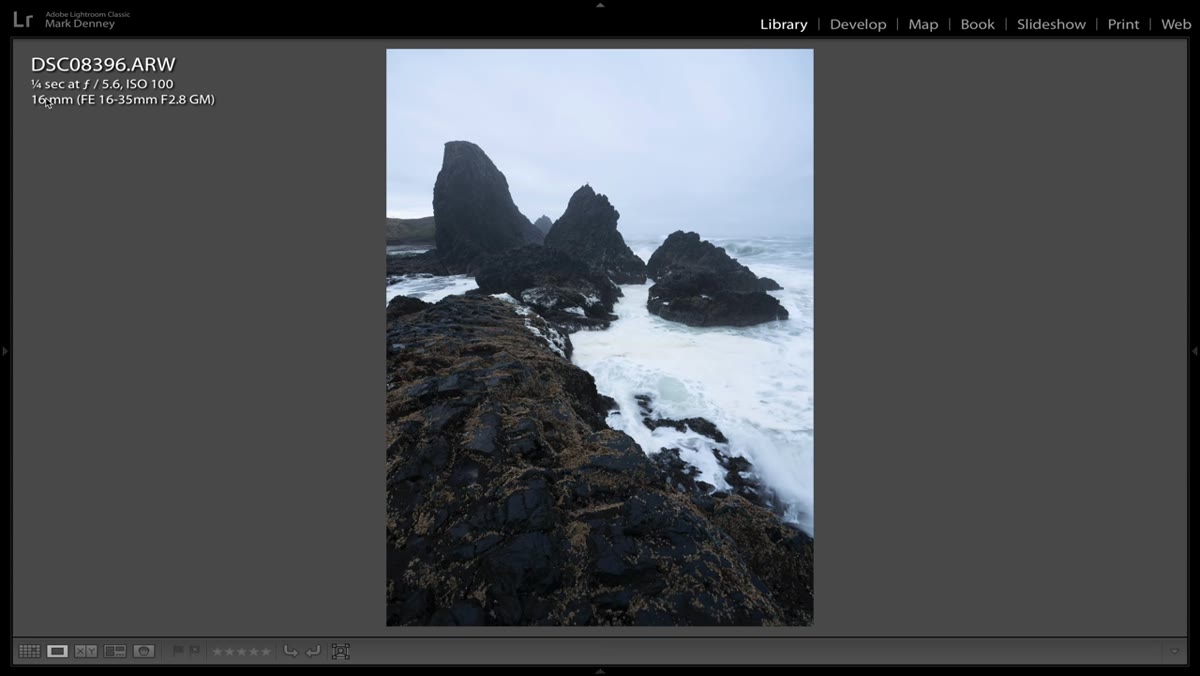 Rapidly clicking through images with quick star ratings applied
Speed is not the enemy of quality here. It is actually a form of quality control. Denney moves quickly through his selects, spending only seconds on each image during the first pass. This is intentional. Overanalyzing a frame during the cull means you’re editing in your head before you’ve seen the whole card, which leads to inconsistent decisions and a lot of time wasted on the wrong photographs.
Rapidly clicking through images with quick star ratings applied
Speed is not the enemy of quality here. It is actually a form of quality control. Denney moves quickly through his selects, spending only seconds on each image during the first pass. This is intentional. Overanalyzing a frame during the cull means you’re editing in your head before you’ve seen the whole card, which leads to inconsistent decisions and a lot of time wasted on the wrong photographs.
Keep the images large on screen so you can actually read the light and the detail, but keep moving. The goal of the first pass is not to find your hero shots. It’s to eliminate the obvious no’s and flag the maybes and yeses for a second look.
Step 5: Filter Down and Make Final Selections from Your Starred Set
 Lightroom filter view showing only 4 and 5 star rated images
Once you’ve moved through the full card, filter your library to show only four and five star images. You’ve just reduced 900 or 1,000 frames down to something manageable. Now you can slow down. This is where you zoom in, check focus on the elements that matter, and compare the strongest frames from each location against each other.
Lightroom filter view showing only 4 and 5 star rated images
Once you’ve moved through the full card, filter your library to show only four and five star images. You’ve just reduced 900 or 1,000 frames down to something manageable. Now you can slow down. This is where you zoom in, check focus on the elements that matter, and compare the strongest frames from each location against each other.
At this stage, Denney is looking for the image that best captured the changing variable he identified in Step 2. Best water movement. Best sky. Best light on the ground. The answer is usually clear once you can see the finalists side by side without the noise of 900 other frames competing for your attention.
A Note From the Field
I want to add one thing Denney doesn’t address directly, because it’s something I had to learn the uncomfortable way. Your judgment on day one after a trip is not your best judgment. When I got home from a shoot in the Cascades a few winters ago, I was so attached to a particular image from a spot I’d hiked three hours to reach that I kept it in my selects for weeks before admitting it was soft. The effort I’d put in had infected my objectivity.
If time allows, do your first-pass cull the night you return, then walk away. Come back to your four and five star set twenty-four hours later with fresh eyes before you commit to anything. The images that still grab you after sleeping on them are the ones worth editing. The mountain doesn’t care how hard you worked to get there, and neither does your final portfolio.
The single most important idea in this entire workflow is Denney’s concept of the changing variable. It reframes culling from a vague aesthetic judgment into a specific, answerable question. What was I trying to capture? Which frame captured it best? Everything else follows from that.
Watch the full tutorial on YouTube to see Denney walk through his actual Oregon shoot files and apply this system in real time. It’s worth an hour of your afternoon.
Comments
Leave a Comment