
I’ve stood on enough beaches, ridgelines, and river banks at 4am to know that the light you planned for rarely shows up on time. Sometimes it doesn’t show up at all. After two decades of this, I’ve stopped treating a failed sunrise as a failed shoot. The question I ask now is: what does the scene still have? And more often than not, if I look at my feet instead of the sky, the answer is a strong lead-in line. That shift in thinking has saved more mornings than I can count.
Watch the full tutorial on YouTube
In this Thomas Heaton tutorial, he returns to a coastal location he’d shot at sunset weeks earlier, hoping for a dramatic sunrise. Low cloud shuts that down completely. Rather than pack up and leave, he walks the beach, spots a river curving its way to the sea in a perfect S-shape, and builds the entire shoot around it. What follows is a quiet, practical lesson in reading a scene on its own terms. It’s the kind of thinking that separates photographers who come home with one good image from those who come home empty.
Step 1: Revisit a Location Under Different Conditions
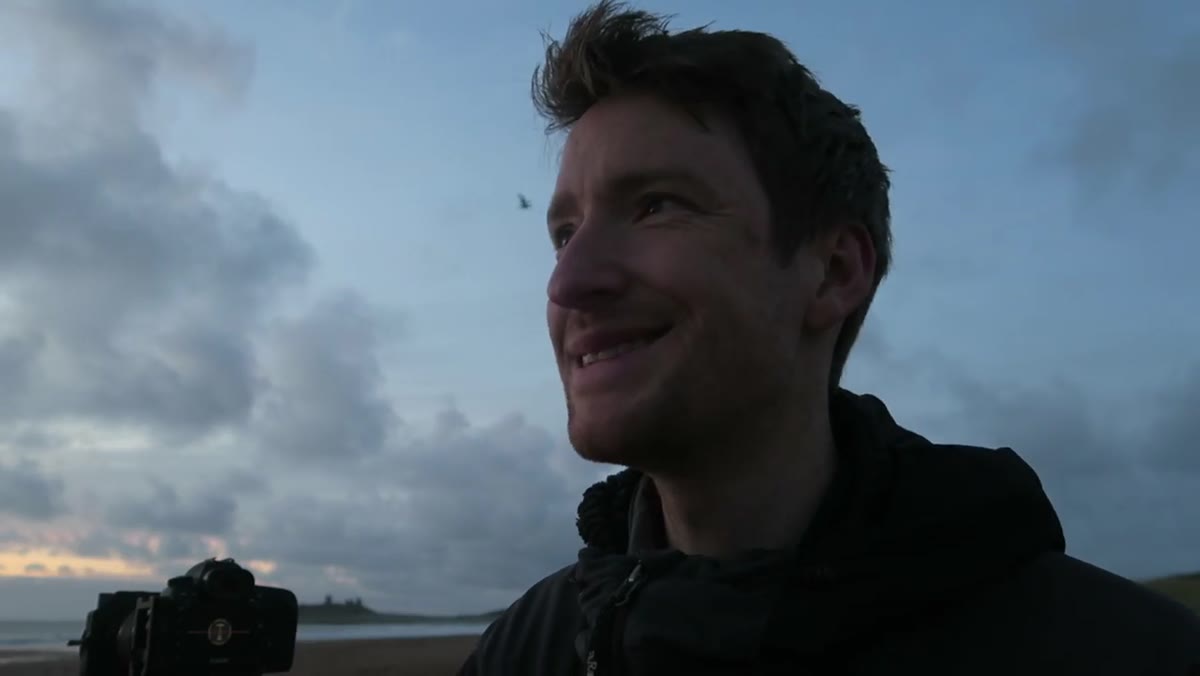
 Thomas walking a coastal beach in low morning light
Heaton makes a point of returning to the same location he visited at sunset, specifically to see what it offers at a different time of day. This is something I’ve preached in every workshop I’ve run: a location isn’t a single image, it’s a catalog. The light changes, the tide changes, the mood changes. If you shot a spot once and crossed it off your list, you’re leaving frames on the table.
Thomas walking a coastal beach in low morning light
Heaton makes a point of returning to the same location he visited at sunset, specifically to see what it offers at a different time of day. This is something I’ve preached in every workshop I’ve run: a location isn’t a single image, it’s a catalog. The light changes, the tide changes, the mood changes. If you shot a spot once and crossed it off your list, you’re leaving frames on the table.
When the forecast is uncertain, go anyway. Heaton checked the cloud report the night before, knew there was risk, and showed up regardless. That willingness to accept an imperfect morning is what put him in front of the S-curve in the first place.
Step 2: Shift Your Priority From Light to Composition
 Wide view of S-shaped river winding toward the sea
When the sky isn’t going to give you color, your composition has to carry more weight. Heaton says it plainly: light is one of the most important elements in landscape photography, but you always have composition. A compelling lead-in line, especially an S-curve, draws the eye through the frame in a way that feels natural and almost instinctive to a viewer.
Wide view of S-shaped river winding toward the sea
When the sky isn’t going to give you color, your composition has to carry more weight. Heaton says it plainly: light is one of the most important elements in landscape photography, but you always have composition. A compelling lead-in line, especially an S-curve, draws the eye through the frame in a way that feels natural and almost instinctive to a viewer.
The S-curve works because it mimics the way we actually move through a landscape. Your eye enters at the bottom of the frame, follows the curve, and travels through to the background. It creates depth without needing a dramatic sky to do the heavy lifting. When you walk a location without great light, train yourself to look for these shapes at ground level.
Step 3: Decide Whether to Use a Polarizing Filter
 Camera pointed toward the S-shaped river and open sea
Here’s a decision point that trips up a lot of photographers: the polarizer. The instinct is to put it on whenever you’re near water to cut glare and boost color. Heaton deliberately leaves it off here, and his reasoning is worth internalizing. The glare on the surface of the river is actually the contrast. The water is reflecting a bright sky, and that reflection is what makes the S-curve visible and visually striking against the sand and surrounding shore.
Camera pointed toward the S-shaped river and open sea
Here’s a decision point that trips up a lot of photographers: the polarizer. The instinct is to put it on whenever you’re near water to cut glare and boost color. Heaton deliberately leaves it off here, and his reasoning is worth internalizing. The glare on the surface of the river is actually the contrast. The water is reflecting a bright sky, and that reflection is what makes the S-curve visible and visually striking against the sand and surrounding shore.
Put a polarizer on and you reduce that reflection. You lose the contrast. The curve flattens visually and you lose the exact quality that made it interesting in the first place. The rule isn’t “polarizer on near water.” The rule is “know what the polarizer does and decide accordingly.”
Step 4: Embrace Low Cloud as a Compositional Tool
 Low cloud with subtle warm color moving across the sky
Heaton points out that the low cloud, the same cloud that killed the sunrise, is now adding texture to the sky. Low flat cloud can soften everything into gray mush, but when it has movement and sits at a low altitude with even a hint of warm light behind it, it becomes a component rather than an obstacle.
Low cloud with subtle warm color moving across the sky
Heaton points out that the low cloud, the same cloud that killed the sunrise, is now adding texture to the sky. Low flat cloud can soften everything into gray mush, but when it has movement and sits at a low altitude with even a hint of warm light behind it, it becomes a component rather than an obstacle.
Look at the sky as a layer, not a backdrop. Even without a sunrise, moving cloud at first light has direction and form. Paired with a strong foreground element like this river, it gives the image a top and a bottom that feel balanced rather than blank.
Step 5: Set Up Your Exposure for Smooth Water
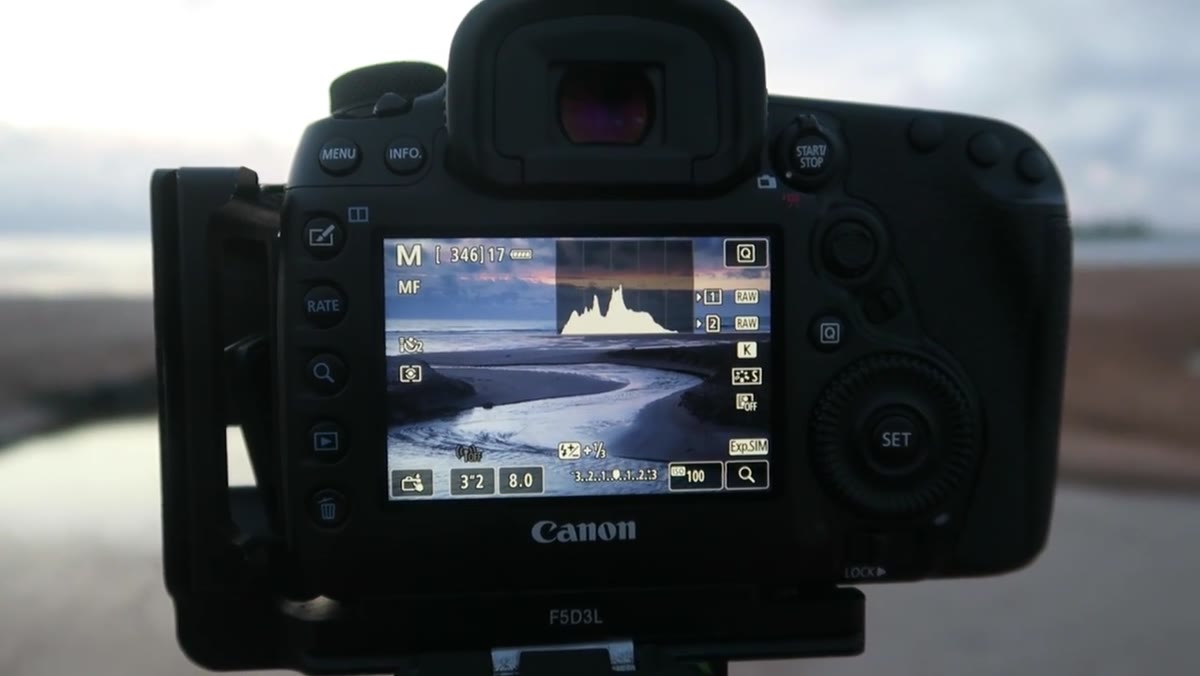 Camera settings displayed: f/8, 3.2 second exposure, 4-stop ND filter
Heaton shoots at f/8 with a 3.2-second exposure. To get there in early morning light with a bright sky, he stacks two filters: a 4-stop ND to slow things down and smooth out the ripples on the river, and a 2-stop hard-edged graduated ND to bring the sky back into balance with the foreground.
Camera settings displayed: f/8, 3.2 second exposure, 4-stop ND filter
Heaton shoots at f/8 with a 3.2-second exposure. To get there in early morning light with a bright sky, he stacks two filters: a 4-stop ND to slow things down and smooth out the ripples on the river, and a 2-stop hard-edged graduated ND to bring the sky back into balance with the foreground.
The 2-second self-timer is a small but important detail. At 3.2 seconds, any vibration from pressing the shutter physically travels through the tripod and into the image. The self-timer, or a remote shutter release, eliminates that. He’s also shooting at 60mm, which compresses the scene slightly and keeps the curve prominent without distorting the proportions of the beach.
Step 6: Work the Location, Don’t Finish It
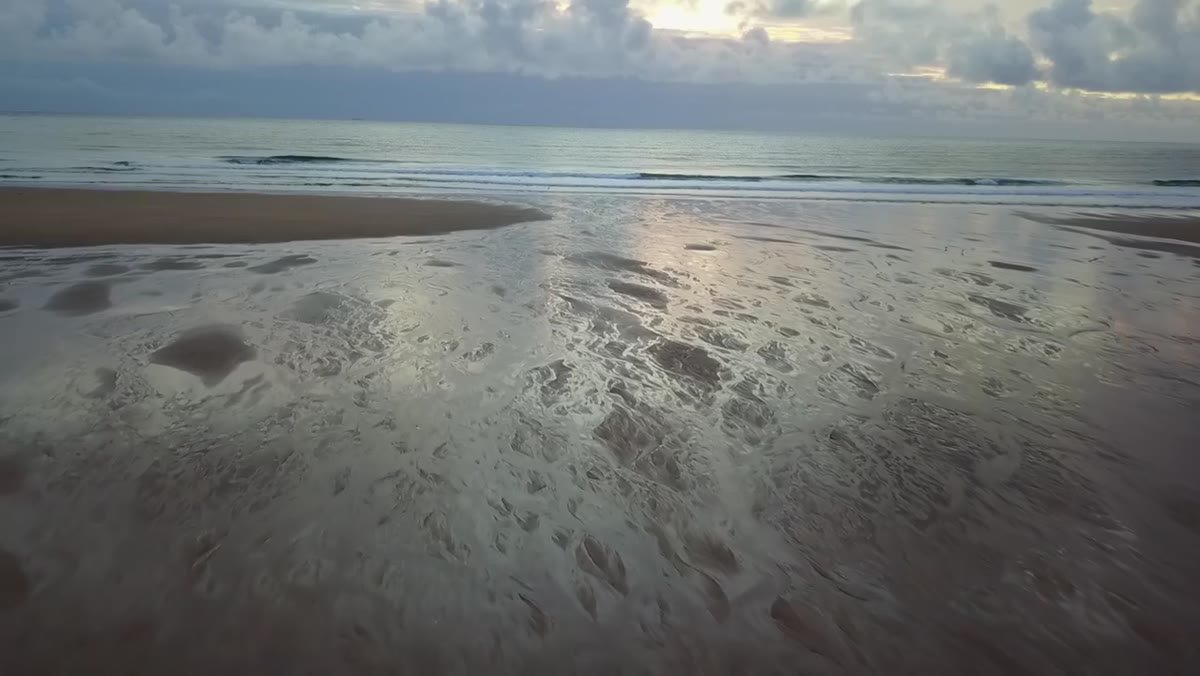 Thomas moving toward the water’s edge to find a new angle
After getting the main composition, Heaton moves down to the water’s edge to find a second shot, using the movement in both the water and the sky for a longer exposure. This is the part of his process I find most valuable to pass along: a single composition is a starting point, not a conclusion.
Thomas moving toward the water’s edge to find a new angle
After getting the main composition, Heaton moves down to the water’s edge to find a second shot, using the movement in both the water and the sky for a longer exposure. This is the part of his process I find most valuable to pass along: a single composition is a starting point, not a conclusion.
He says it directly in the video: you’re never done with a location. Return to it. Walk around it. Shoot it in different conditions. The photographers I know who’ve built real bodies of work all operate this way. They have locations they’ve visited a dozen times over several years. Each visit adds a frame to the catalog.
What I’d Add From My Own Experience
The S-curve is one of those techniques that sounds simple until you’re actually standing in front of one deciding where to place your tripod. The position of the curve’s entry point in the frame matters enormously. If it enters at the very center of the bottom edge, the image feels static. Move your position so it enters from one of the lower corners and you give it momentum. It becomes a line that’s going somewhere.
I’ve also found that S-curves work harder in flat light than in dramatic light, which is counterintuitive at first. When the sky is on fire, the eye goes there first. The lead-in line is secondary. In soft, even light like Heaton had that morning, the curve becomes the whole story. The quiet conditions he was initially disappointed about are exactly what let the composition breathe.
The single most transferable thing in this tutorial is the mental reset Heaton demonstrates without ever naming it. The conditions changed. He changed with them. That adaptability isn’t a personality trait, it’s a skill, and it’s one you can build deliberately by asking one question every time a shoot goes sideways: what does this scene still have?
Watch the full tutorial on YouTube to see the composition come together and hear Heaton’s own thinking in real time on location.
Comments (3)
I tried this on a client project yesterday and the results were way better than expected.
This is the kind of content that keeps me coming back.
Great breakdown. The step-by-step approach really helps.
Leave a Comment