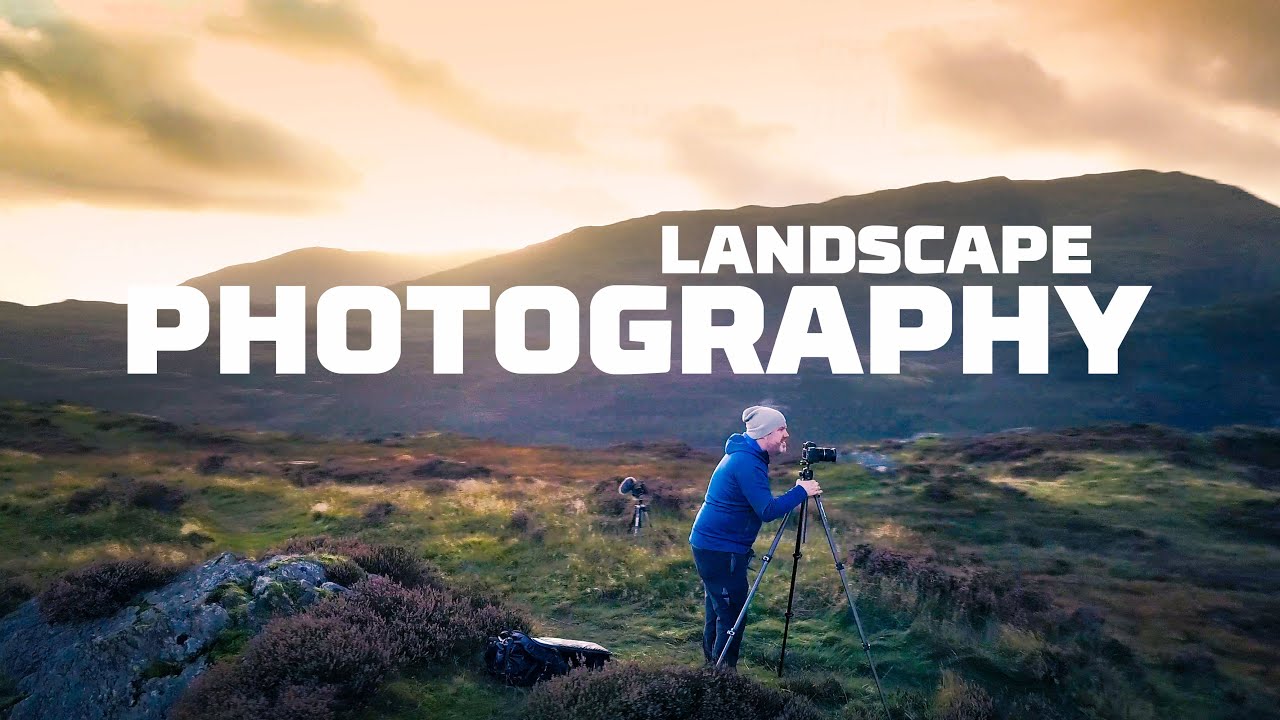
There’s a particular kind of paralysis that sets in when you believe every frame you take needs to be groundbreaking. I’ve watched it happen to photographers at my workshops. They’ll stand at the edge of a stunning scene, golden light raking across the water, and hesitate. “Someone’s already shot this,” they say. “It’s been done.” And then they don’t shoot it. They go home with nothing. I’ve done it myself, earlier in my career, standing somewhere genuinely beautiful and talking myself out of pressing the shutter because I couldn’t figure out how to make it original enough.
In this First Man Photography tutorial, Adam heads out to the Lake District with a deliberately low bar: make rubbish photos. If one of them turns out to not be rubbish, that’s a win. It sounds like a throwaway mindset, but it’s actually one of the most productive frameworks I’ve heard articulated in a long time. The goal isn’t a masterpiece. The goal is to be out there, moving, seeing, and shooting.
What follows is a breakdown of how Adam works through a specific scene, from reading the light to solving a technical panorama problem on the fly. This is practical field craft, and every step of it translates directly to your own shooting.
Step 1: Get Out the Door with Lowered Expectations
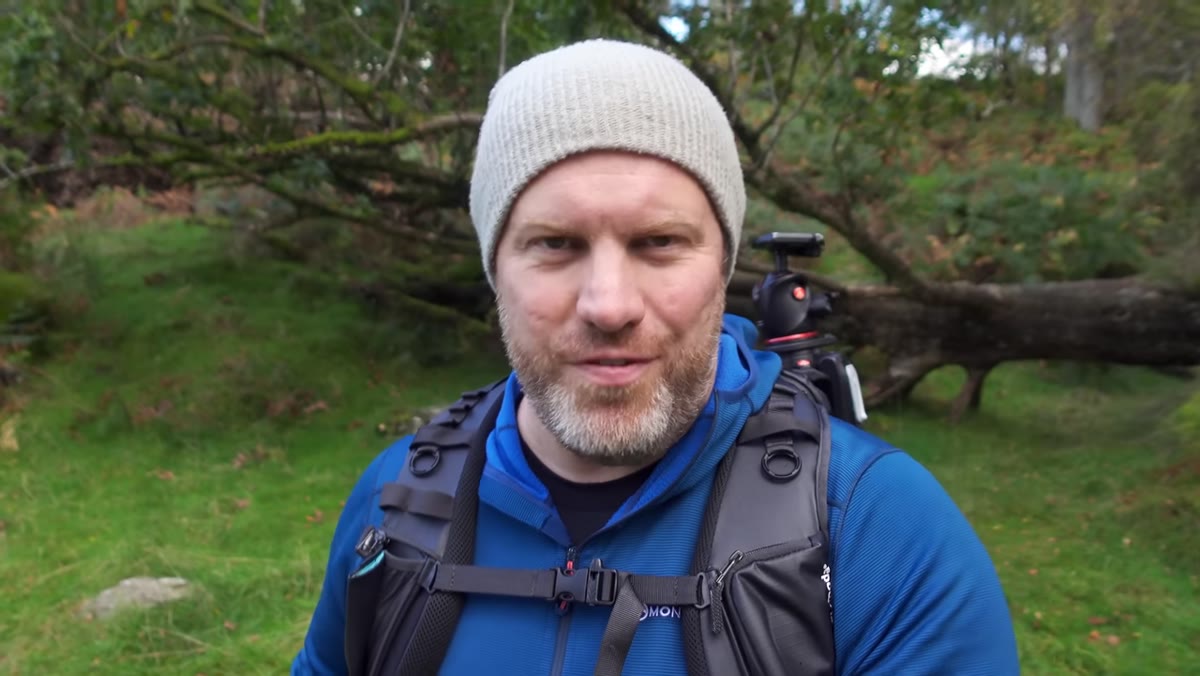 Adam hiking up a fell in the Lake District
Before any gear decisions or compositional choices, Adam establishes a mental framework for the day. He’s going to shoot. He’s going to move his body. He’s going to make photos, and some of them will be mediocre, and that is fine. This is not motivational filler. It is the actual precondition for getting usable images consistently.
Adam hiking up a fell in the Lake District
Before any gear decisions or compositional choices, Adam establishes a mental framework for the day. He’s going to shoot. He’s going to move his body. He’s going to make photos, and some of them will be mediocre, and that is fine. This is not motivational filler. It is the actual precondition for getting usable images consistently.
The photographers I know who produce work steadily, year after year, are not the ones chasing perfect conditions. They’re the ones who go out on ordinary Tuesdays and come back with something. Lower the bar enough to get yourself into the field, and the field will occasionally reward you far beyond what you expected.
Step 2: Let the Light Tell You What to Photograph
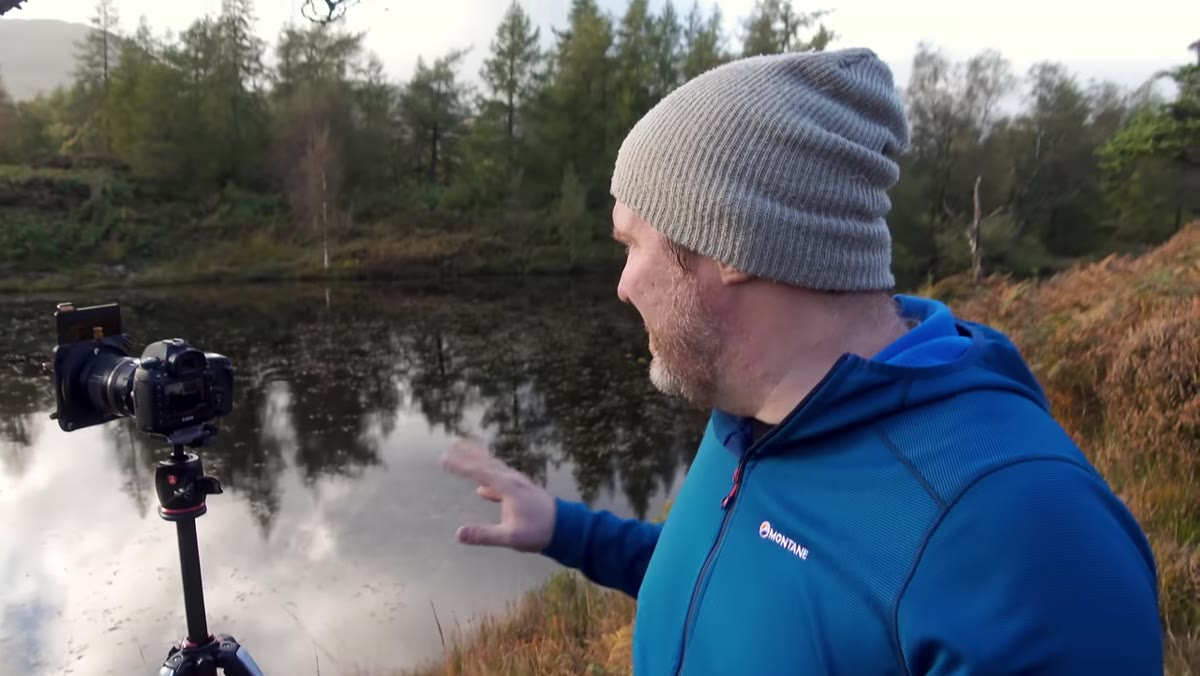 Adam standing beside a small pond looking toward sunlit trees
Adam comes across a small tarn on the fell and immediately identifies what’s actually interesting about the scene. It’s not the pond itself. It’s not the wide view. It is the sunlight catching the trees on the far ridge, backed by a dramatic sky. That specific quality of light is what he wants to capture.
Adam standing beside a small pond looking toward sunlit trees
Adam comes across a small tarn on the fell and immediately identifies what’s actually interesting about the scene. It’s not the pond itself. It’s not the wide view. It is the sunlight catching the trees on the far ridge, backed by a dramatic sky. That specific quality of light is what he wants to capture.
This is a discipline worth practicing every time you arrive somewhere new. Ask yourself: what is the one thing in this scene that would disappear if the light changed? That thing is usually your subject. A wide angle shot of everything often means a photograph of nothing in particular. Narrow your attention to what the light is doing, and build your composition from there.
Step 3: Reach for a Longer Focal Length to Extract Detail
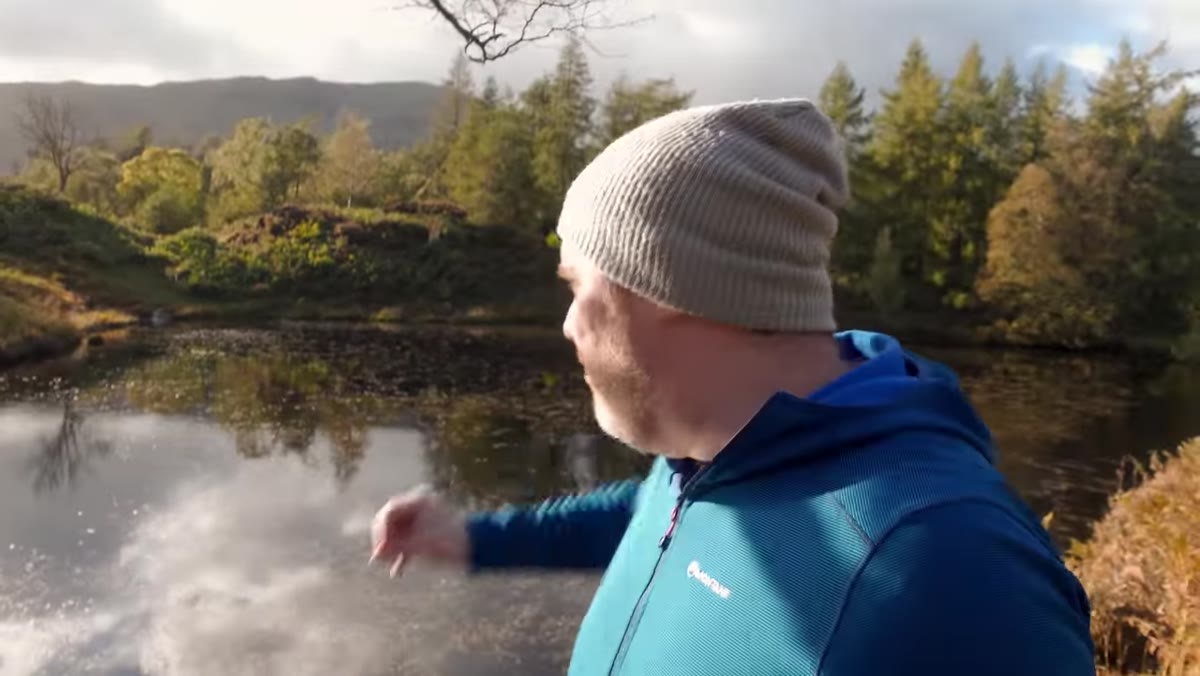 Adam evaluating focal length options at the scene
Rather than defaulting to a wide angle to capture the whole landscape, Adam decides to isolate that band of lit trees and mountains. He wants to pull the detail out of the wider scene, compressing the layers of hillside and sky into something more intentional. His instinct is to reach for his 70-200mm.
Adam evaluating focal length options at the scene
Rather than defaulting to a wide angle to capture the whole landscape, Adam decides to isolate that band of lit trees and mountains. He wants to pull the detail out of the wider scene, compressing the layers of hillside and sky into something more intentional. His instinct is to reach for his 70-200mm.
This runs counter to how most people think about landscape photography, where wide equals epic. But a longer focal length can do something a wide angle cannot: it removes all the visual noise and forces the viewer to look at exactly what you found interesting. When you’re standing in a big scene and something specific is drawing your eye, trust that instinct. Zoom in on it.
Step 4: Adapt Your Panorama Technique to Moving Light
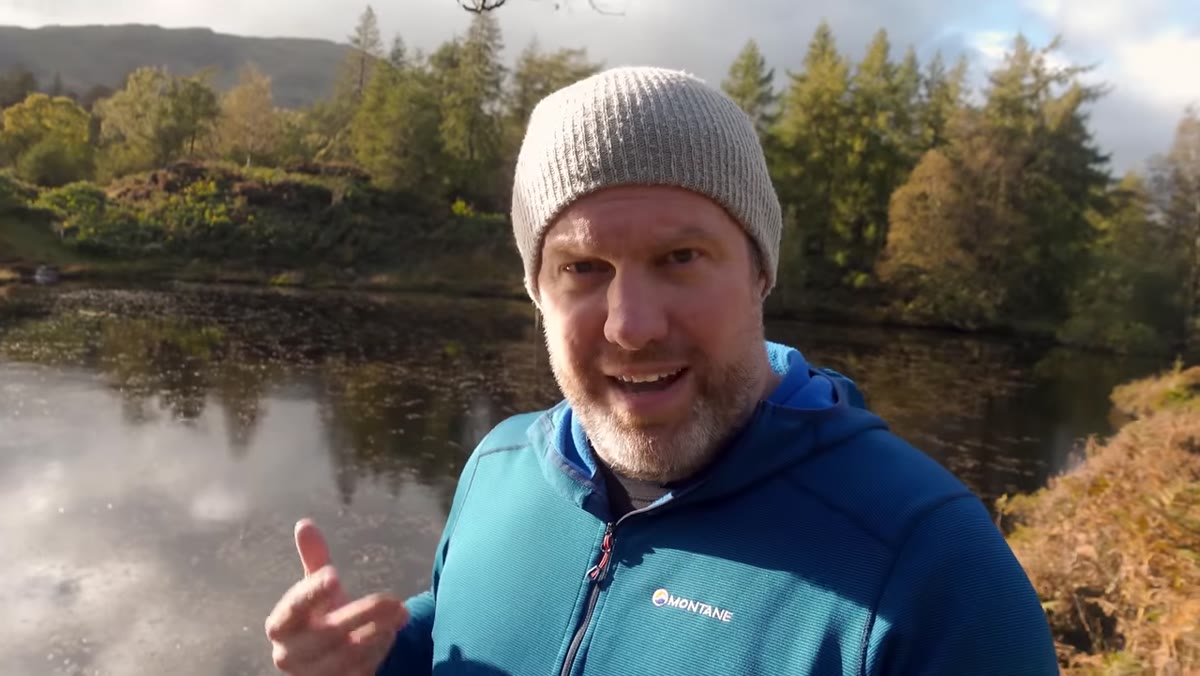 Adam adjusting his lens choice due to changing light speed
Here’s where it gets genuinely useful. Adam wants a panoramic crop of that ridge and sky, but the light is moving fast, clouds rolling through and dropping the sunlight off the trees every few seconds. His usual approach, shooting verticals with the 70-200 and stitching multiple frames, would take too long. By the time he finished the sequence, the first frames would have completely different light from the last.
Adam adjusting his lens choice due to changing light speed
Here’s where it gets genuinely useful. Adam wants a panoramic crop of that ridge and sky, but the light is moving fast, clouds rolling through and dropping the sunlight off the trees every few seconds. His usual approach, shooting verticals with the 70-200 and stitching multiple frames, would take too long. By the time he finished the sequence, the first frames would have completely different light from the last.
His solution is to shoot horizontal frames with the 24-70mm at a moderate focal length. Fewer shots to stitch means the whole sequence is captured in a narrower window of time. You sacrifice some resolution, but you keep the light consistent across the panorama. This is the kind of real-time problem solving that separates field experience from studio theory. If your standard method isn’t going to work in the current conditions, change the method, not the shot.
Step 5: Bracket and Use a Polarizer for High Dynamic Range Scenes
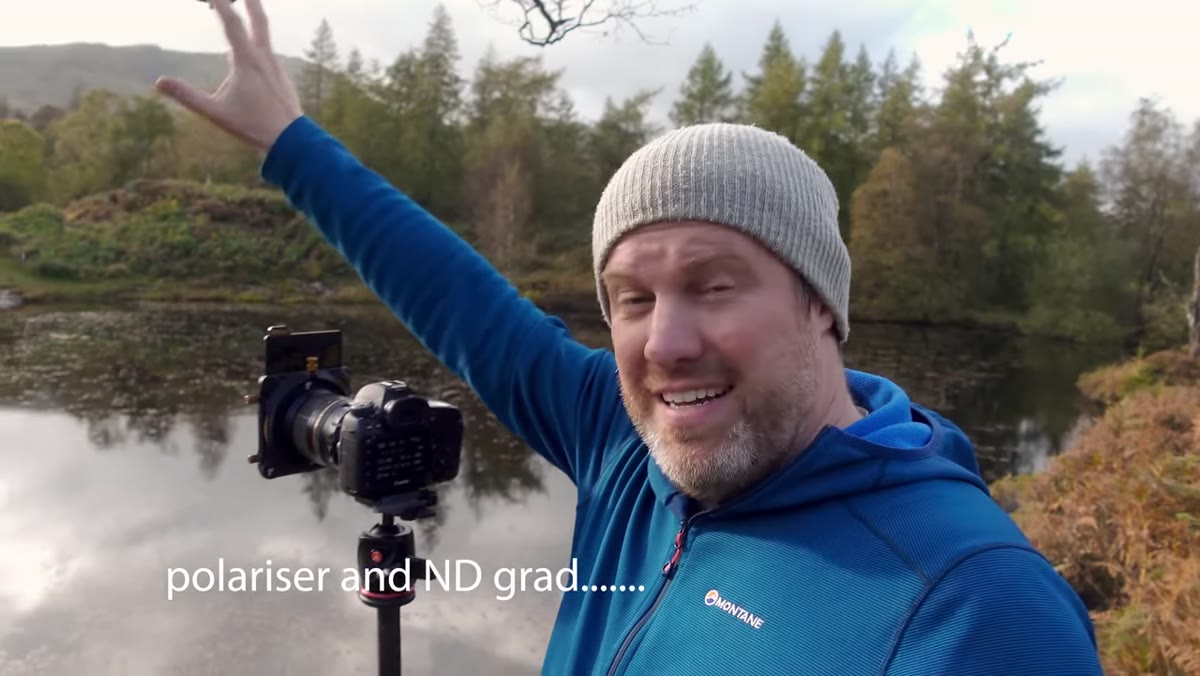 Adam shooting bracketed frames with polarizer attached
The scene has a wide dynamic range, particularly toward the sun side of the frame where the sky is close to blowing out. Adam shoots bracketed exposures and has a polarizing filter attached. Both of these are managing the same problem: protecting detail in the brightest parts of the image while keeping the shadows readable.
Adam shooting bracketed frames with polarizer attached
The scene has a wide dynamic range, particularly toward the sun side of the frame where the sky is close to blowing out. Adam shoots bracketed exposures and has a polarizing filter attached. Both of these are managing the same problem: protecting detail in the brightest parts of the image while keeping the shadows readable.
In high contrast conditions, exposure bracketing gives you material to blend in post, whether you do that manually or through HDR processing. The polarizer reduces glare and helps saturate the sky without blowing the highlights further. If you’re shooting landscapes in variable light and you’re not yet bracketing routinely, start. The cost is a few extra frames. The benefit is having options when you sit down to edit.
Step 6: Capture a Reference Shot on Your Phone
 Adam showing a phone capture of the lit scene
When the light is fleeting, Adam grabs a quick phone shot to document what the scene looked like at its best. This is a small habit with real practical value. When you’re editing three days later and you can’t remember what drew you to the scene, a phone reference shot jogs the memory and helps you push the edit toward the actual feeling of being there.
Adam showing a phone capture of the lit scene
When the light is fleeting, Adam grabs a quick phone shot to document what the scene looked like at its best. This is a small habit with real practical value. When you’re editing three days later and you can’t remember what drew you to the scene, a phone reference shot jogs the memory and helps you push the edit toward the actual feeling of being there.
It’s also useful for scouting notes. If you shoot a location and want to return when the light is similar, a phone image with a timestamp tells you exactly what conditions you’re looking for.
What I Do Differently in the Field
After twenty years of this, the lesson I keep returning to is that constraints produce better images than total freedom. When I shoot film alongside my digital work, the cost-per-frame mentality forces a patience that I don’t always bring to digital shooting. I stand longer. I watch the light move. I think twice. The panorama problem Adam solves in this video, fewer frames to beat the clouds, is the same logic. Working within a constraint, here it’s time, forces a more decisive approach.
When you’re out on location and something isn’t working the way you planned, don’t abandon the shot. Change one variable and try again. Usually the constraint itself points you toward the better image.
The single most transferable idea in this tutorial is the permission to go out and shoot imperfectly. Consistent output over time beats the occasional search for the perfect, original, never-been-done image. Adam’s day in the Lake District is proof of it: a small pond he almost walked past, a band of light on a hillside, and a panorama technique adjusted on the fly. That’s landscape photography, and it was, as the title suggests, really special.
Watch the full tutorial on YouTube to see the shots come together in real time and follow Adam’s editing decisions from the field.
Comments
Leave a Comment