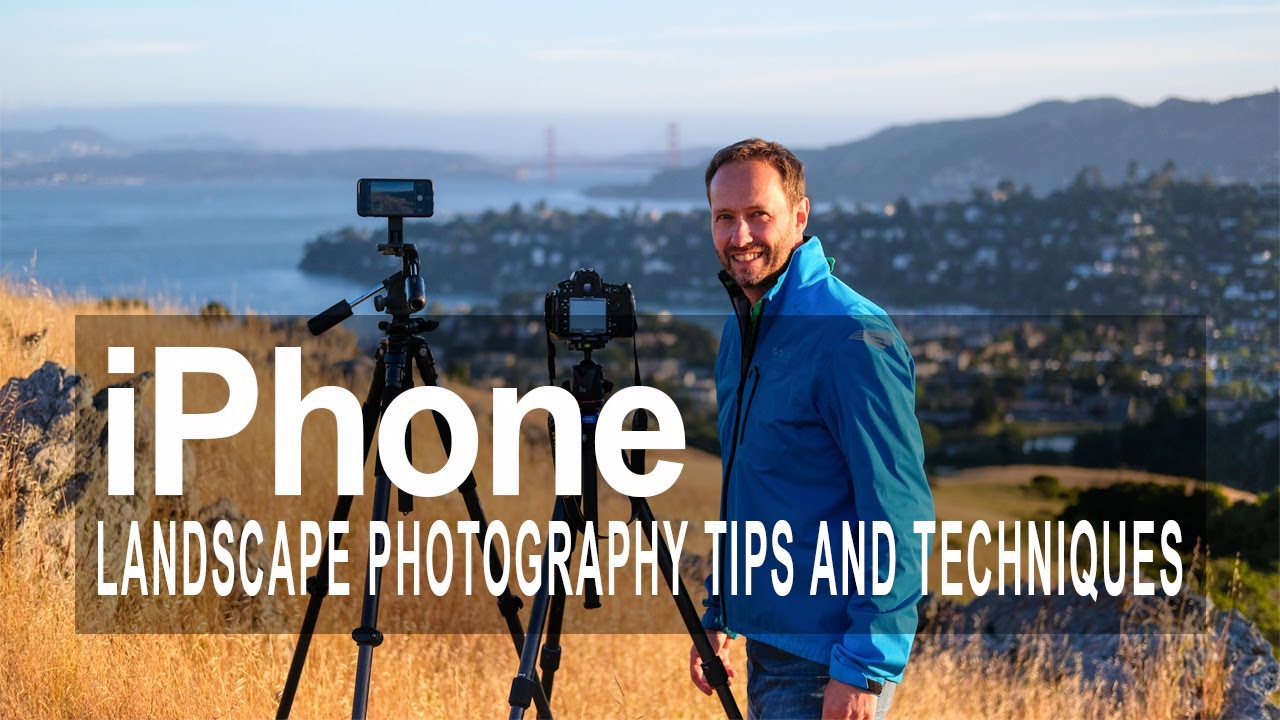
I’ll be honest with you. For a long time, I left my iPhone in my bag when I was out shooting. Twenty years of hauling full-frame gear up ridgelines before dawn will do that to you. The phone felt like a compromise, and I don’t compromise easily. Then one morning in the eastern Cascades, I’d left my Nikon in the truck and the light broke open in a way that made my chest hurt. I had my phone. I used it. The shot wasn’t what I’d have gotten with my D850, but it was something, and something is always better than nothing.
That tension between “real camera” and “phone camera” is exactly what Nigel Danson addresses in this tutorial, and he does it without hedging. His argument, which I’ve come around to completely, is that the principles that make a great landscape photograph don’t change based on the tool in your hand. Light, composition, subject, timing. Get those four things right and the camera almost doesn’t matter. Watch the full tutorial on YouTube and you’ll see him demonstrate this with images shot on an iPhone 6s that would hold their own in any gallery print run.
Here’s what he covers, broken down step by step so you can take it straight into the field.
Step 1: Chase the Light First, Everything Else Second
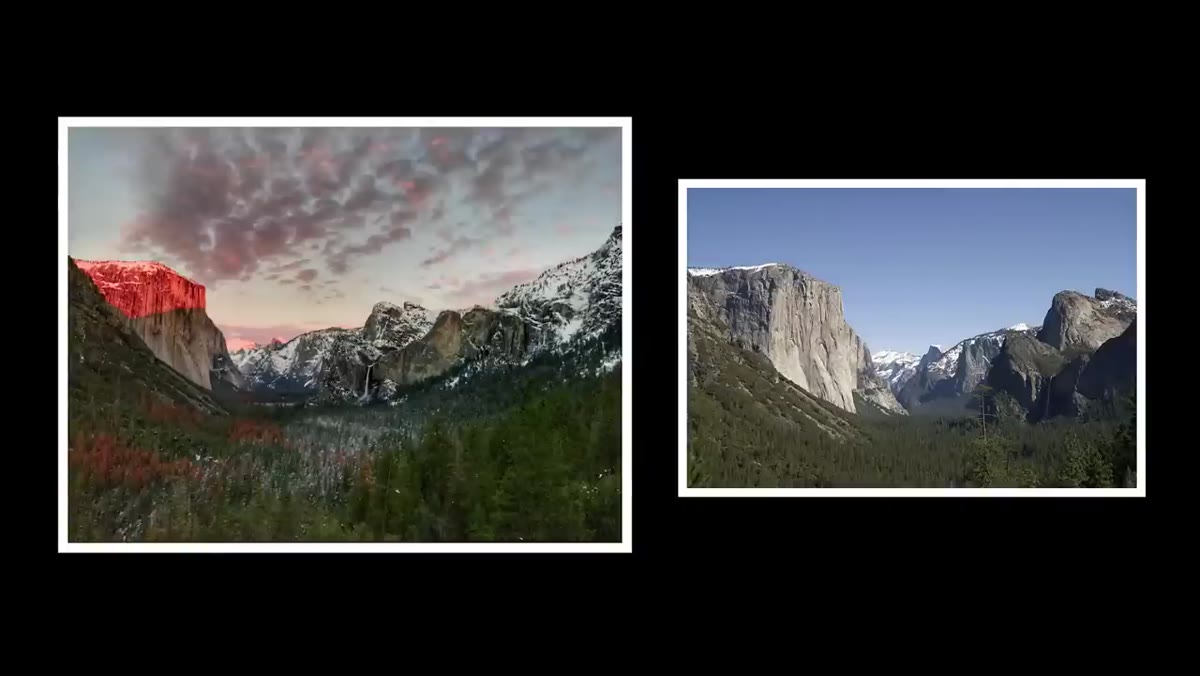
 Side-by-side comparison of midday flat light vs golden hour landscape
Two images appear side by side in the tutorial and the difference is almost uncomfortable. One is flat, gray, forgettable. The other has depth, warmth, and a quality of light that makes you want to step into it. Same kind of landscape. Different time of day. Nigel shoots both scenarios deliberately to make the point land hard, and it does.
Side-by-side comparison of midday flat light vs golden hour landscape
Two images appear side by side in the tutorial and the difference is almost uncomfortable. One is flat, gray, forgettable. The other has depth, warmth, and a quality of light that makes you want to step into it. Same kind of landscape. Different time of day. Nigel shoots both scenarios deliberately to make the point land hard, and it does.
For iPhone landscape work, golden hour isn’t optional. The sensor in your phone is small, and small sensors struggle with dynamic range and flat light more than larger sensors do. When the sun is low and the light is directional, it does a lot of the heavy lifting for you. It adds contrast, depth, and color that the phone’s computational photography can enhance rather than manufacture. Worth noting: the best light isn’t always at the exact moment of sunrise or sunset. The minutes just before and just after can be extraordinary, especially when there’s weather moving through. I’ve found that fog and mist in particular can produce stunning light at almost any hour, something Nigel reinforces with a roadside shot he grabbed in Austria that’s genuinely beautiful.
Step 2: Replace the Default Camera App
 ProCamera app open on iPhone showing manual controls
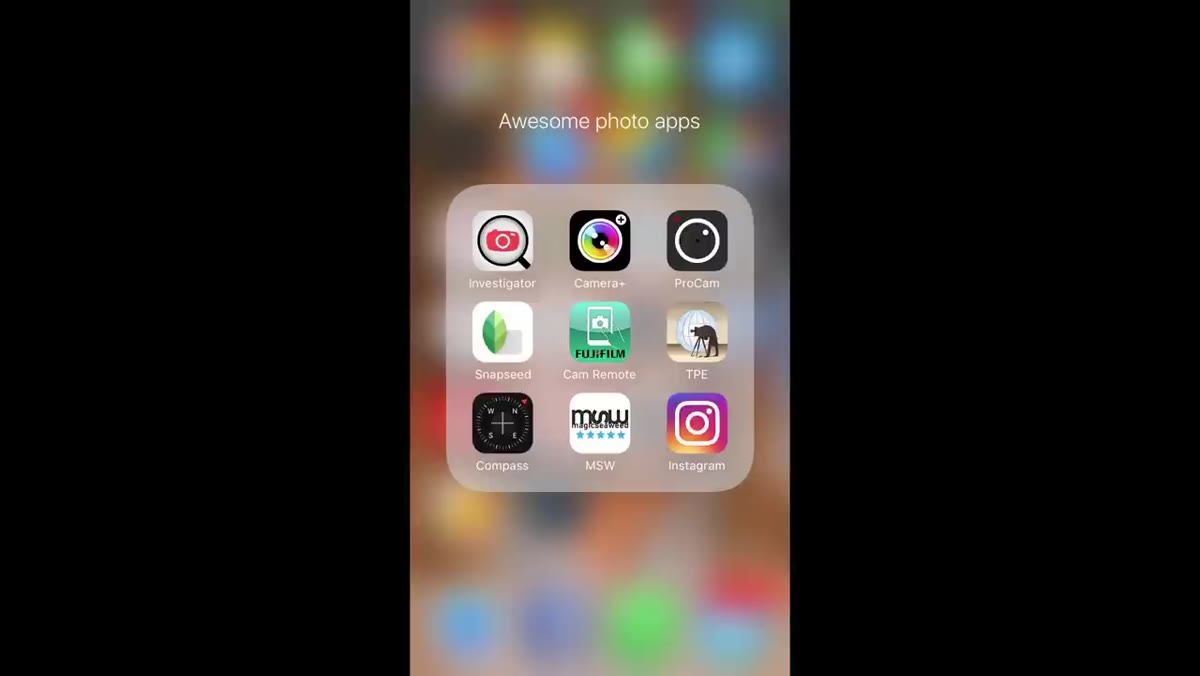
The native camera app on your iPhone is built for convenience, not control. Nigel shoots landscape work with third-party apps, specifically ProCamera and Camera+, and after working through both myself I understand why. These apps give you manual control over shutter speed, ISO, and focus independently, which is the difference between reacting to a scene and actually photographing it.
ProCamera app open on iPhone showing manual controls
The native camera app on your iPhone is built for convenience, not control. Nigel shoots landscape work with third-party apps, specifically ProCamera and Camera+, and after working through both myself I understand why. These apps give you manual control over shutter speed, ISO, and focus independently, which is the difference between reacting to a scene and actually photographing it.
In ProCamera, you can lock focus and exposure separately by tapping on different areas of the screen. For landscapes, this matters enormously. You might want to expose for a bright sky while keeping focus on a foreground rock, and the default camera app bundles those two decisions together. Unlock them and you start thinking like a photographer again. Nigel recommends spending time in the app before you go out so the controls feel instinctive in the field. That’s advice I give in my own workshops constantly: learn the tool at home, use it outside.
Step 3: Use a Sun Tracking App to Plan Your Position
 Phone screen showing golden hour timing and sun position app
Knowing that golden hour exists is not the same as knowing where the light will fall, at what angle, on which part of the landscape you’re standing in front of. This is where planning apps become part of the craft rather than a crutch. Nigel uses apps that show you exactly where the sun rises and sets and when golden hour begins and ends for your specific location and date.
Phone screen showing golden hour timing and sun position app
Knowing that golden hour exists is not the same as knowing where the light will fall, at what angle, on which part of the landscape you’re standing in front of. This is where planning apps become part of the craft rather than a crutch. Nigel uses apps that show you exactly where the sun rises and sets and when golden hour begins and ends for your specific location and date.
For landscape photography, this changes everything about how you scout. Instead of arriving at a location and hoping, you arrive knowing that the light will rake across that ridgeline at 6:47 and that you need to be positioned thirty meters to the left to catch it. I use PhotoPills for this and have for years, though there are several good options. The point isn’t which app, the point is doing the work before you’re standing there in the cold, trying to figure it out in real time.
Step 4: Control Exposure Manually by Tapping and Sliding
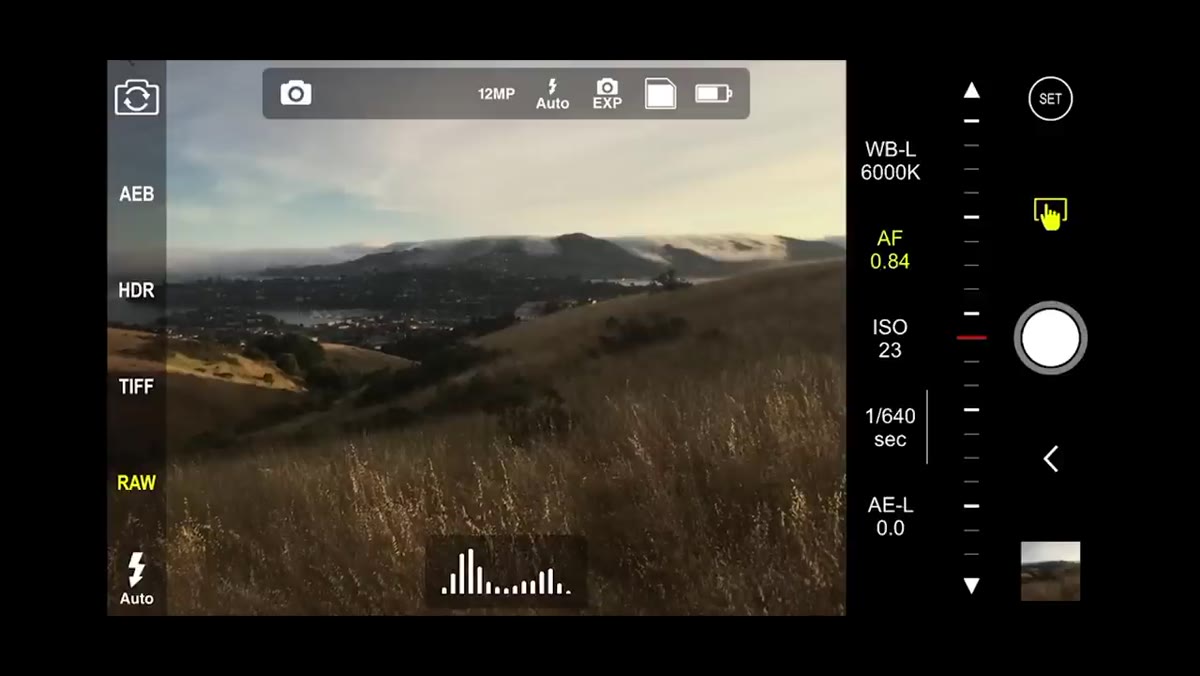 Finger adjusting exposure slider in ProCamera app on landscape scene
One of the most useful things Nigel demonstrates is how to manually adjust exposure inside a third-party camera app after you’ve set your focus point. In ProCamera, once you tap to set focus, a separate exposure control becomes available and you can dial it up or down based on what the scene actually needs rather than what the phone’s metering algorithm thinks it needs.
Finger adjusting exposure slider in ProCamera app on landscape scene
One of the most useful things Nigel demonstrates is how to manually adjust exposure inside a third-party camera app after you’ve set your focus point. In ProCamera, once you tap to set focus, a separate exposure control becomes available and you can dial it up or down based on what the scene actually needs rather than what the phone’s metering algorithm thinks it needs.
For bright skies over darker foregrounds, this is essential. Pull the exposure down to protect the highlights in the sky and you’ll get a more balanced image that responds better to editing afterward. The phone’s default metering will often blow out clouds or wash out a sunrise trying to balance everything at once. Manual exposure control, even rough and approximate, gives you a raw ingredient that’s worth working with. Shoot slightly underexposed when in doubt. You can recover shadows in editing far more easily than you can recover clipped highlights.
Step 5: Edit With Purpose, Not With Presets
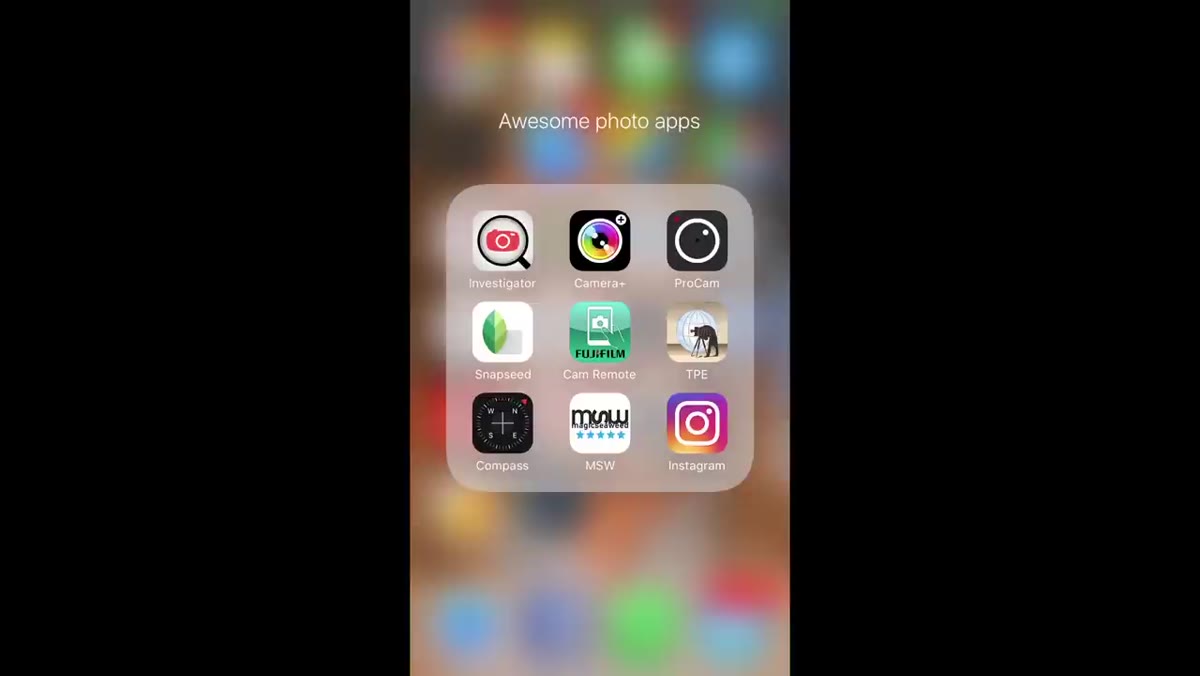 Photo editing app open with sliders being adjusted on landscape image
Nigel walks through his editing approach with a few key adjustments rather than a dramatic filter-and-done workflow. The goal is to bring out what was already in the light when you captured it, not to manufacture a mood that wasn’t there. On iPhone, Snapseed gives you precise control over highlights, shadows, structure, and selective adjustments, and it’s free.
Photo editing app open with sliders being adjusted on landscape image
Nigel walks through his editing approach with a few key adjustments rather than a dramatic filter-and-done workflow. The goal is to bring out what was already in the light when you captured it, not to manufacture a mood that wasn’t there. On iPhone, Snapseed gives you precise control over highlights, shadows, structure, and selective adjustments, and it’s free.
His core moves: pull highlights down, lift shadows slightly, add a touch of clarity or structure to bring out texture in clouds and land, and be careful with saturation. Oversaturated iPhone landscape shots are easy to spot and they undermine an otherwise strong image. If you want to add warmth, do it with a subtle white balance shift toward the warm end rather than cranking the orange slider. Edit until it looks like what you actually saw, then stop.
What Twenty Years in the Field Adds to This
Nigel’s tips are solid and practical, and I’d follow every one of them. The thing I’d add, which comes from standing in a lot of cold places waiting for light that may or may not arrive, is this: the phone’s greatest advantage is also its greatest risk. Because you always have it, you might start treating landscape photography as something casual. It isn’t. The light and timing principles Nigel outlines require the same discipline and patience with a phone as with any other camera. A mentor of mine told me once that the mountain doesn’t care about your schedule. That’s as true when you’re shooting on an iPhone as when you’ve driven six hours and set up a tripod in the dark.
Use the phone as a serious tool and it will reward you seriously. Use it as a backup for when you “didn’t bother bringing the real camera” and you’ll get backup-quality results.
The single most important thing you can take from this tutorial is that the phone doesn’t determine the quality of your landscape photographs. Your understanding of light does. Everything else, the apps, the manual controls, the editing, is in service of capturing light that you were disciplined enough to show up for.
Watch the full tutorial on YouTube to see Nigel demonstrate all five tips with real examples, including the specific app settings and editing moves that are easier to follow when you can see them in motion.
Comments (3)
I tried this on a client project yesterday and the results were way better than expected.
Clear and practical. No fluff. Appreciate that.
This is fantastic. I've been recommending this approach to my readers too.
Leave a Comment