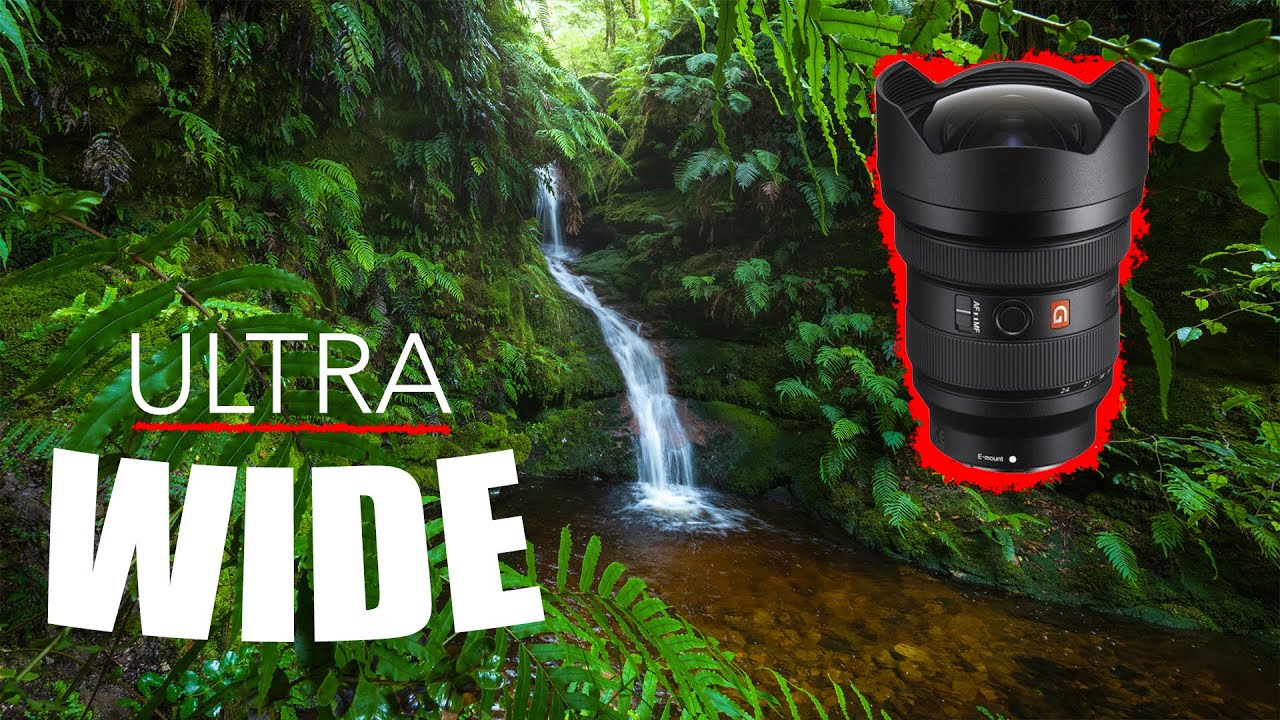
There’s a specific kind of creative paralysis that hits when you finally reach a stunning location and realize you have no idea where to put the camera. I’ve felt it standing in the Columbia River Gorge at first light, boots soaking, with a scene so layered and busy that the wide angle lens on my camera felt less like a tool and more like an accusation. Wide angle lenses are capable of extraordinary landscape images, but they punish lazy framing harder than any other focal length. Get it wrong and you have a cluttered, distorted mess with a tiny waterfall floating in a sea of chaotic green.
In this William Patino tutorial filmed during a wilderness exploration in New Zealand, Patino hikes, wades, and bush-bashes his way into a narrow gorge to find a hidden twin waterfall, and then works through exactly the compositional thinking you need when a wide angle lens is in your hands and the scene in front of you is complex. Watch the full tutorial on YouTube. What I want to do here is pull out the practical field logic so you can apply it the next time you’re standing somewhere beautiful with no idea where to start.
The video is as much about the mindset of exploration as it is about technique, and honestly, that’s where most photographers need the most work. The camera is the easy part.
Step 1: Prepare for the Worst Before You Leave the Boat
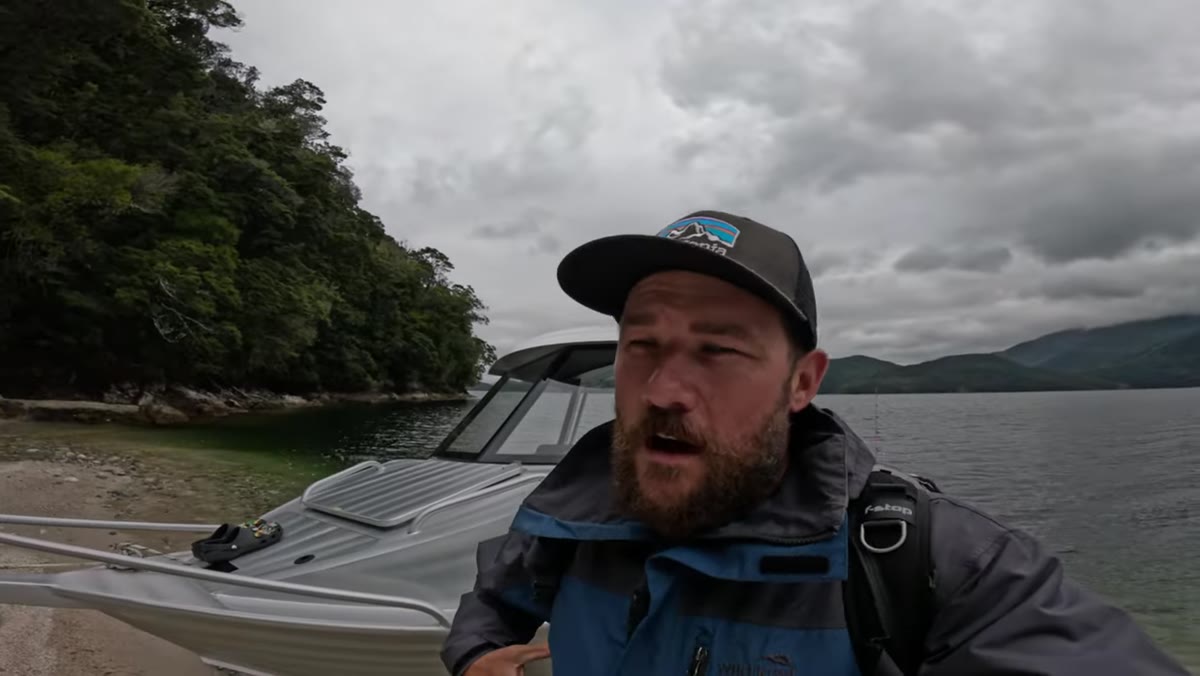 Photographer suited up in waders and wet weather gear at water’s edge
Patino makes a point early that stuck with me: he gears up in full waders and wet weather layers even when the sky is clear. His reasoning is simple. If you’re underprepared and the conditions shift, you turn back. If you turn back, you miss the photograph. Twenty years of doing this has taught me the same thing. The shot that doesn’t happen because you were cold, wet, or unprepared is still a missed shot. Pack for the version of the day that goes sideways, not the version you’re hoping for.
Photographer suited up in waders and wet weather gear at water’s edge
Patino makes a point early that stuck with me: he gears up in full waders and wet weather layers even when the sky is clear. His reasoning is simple. If you’re underprepared and the conditions shift, you turn back. If you turn back, you miss the photograph. Twenty years of doing this has taught me the same thing. The shot that doesn’t happen because you were cold, wet, or unprepared is still a missed shot. Pack for the version of the day that goes sideways, not the version you’re hoping for.
This applies beyond waterproofing. Charge every battery. Bring the extra memory card. Wear the grippy boots, not the comfortable ones. The location doesn’t care how your morning went.
Step 2: Treat Obstacles as Part of the Scout
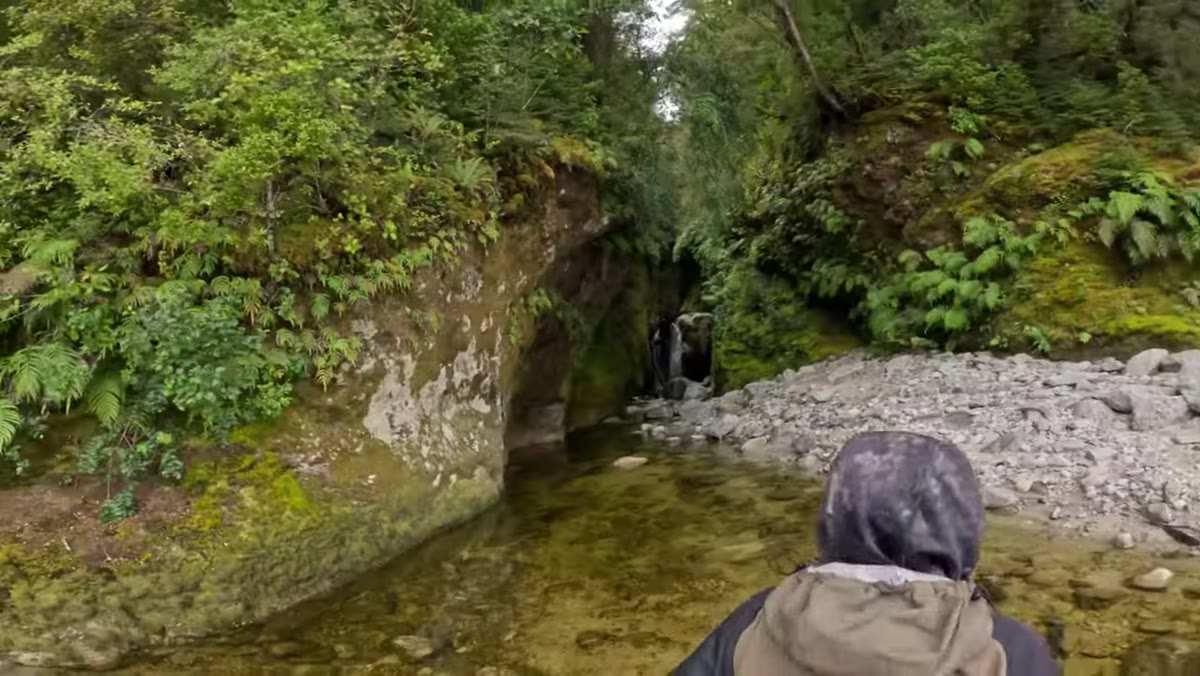 Narrow gorge with a 4-metre vertical waterfall blocking the path forward
When Patino hits a dead end, a 4-metre waterfall blocking further progress through the gorge, he doesn’t head back to the boat. He looks up. He decides to climb above the falls through the bush, follow the ridge, and see if he can drop back into the stream further upstream. That decision is what leads him to the hidden location.
Narrow gorge with a 4-metre vertical waterfall blocking the path forward
When Patino hits a dead end, a 4-metre waterfall blocking further progress through the gorge, he doesn’t head back to the boat. He looks up. He decides to climb above the falls through the bush, follow the ridge, and see if he can drop back into the stream further upstream. That decision is what leads him to the hidden location.
Most photographers treat the first obstacle as a verdict. It isn’t. It’s a redirect. Some of my best images have come from locations I reached only after the obvious route failed. The practice here is straightforward: when you hit a wall, ask what’s around it rather than whether to quit. Keep at least one contingency route in your head before you set out.
Step 3: Read the Environment Before You Raise the Camera
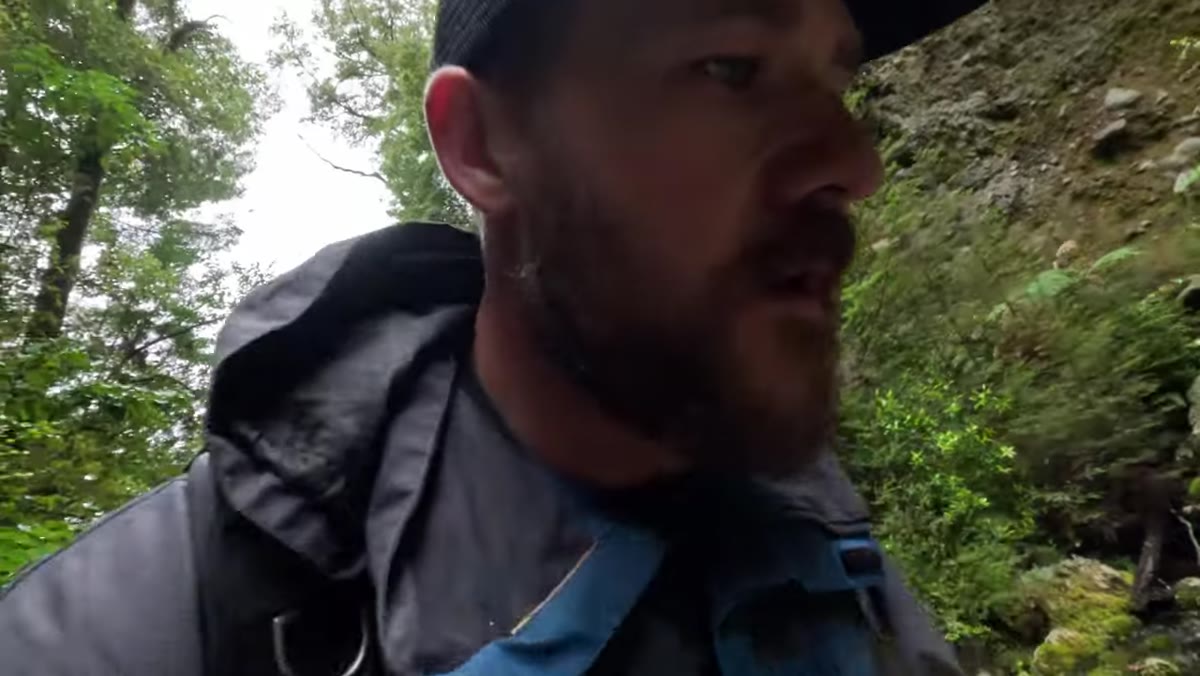 Photographer pausing in the stream to assess cascades and surrounding foliage
While still moving through the gorge, Patino articulates exactly what he’s looking for from a photography standpoint: small cascades, a sense of flow and direction in the water to lead the eye, and lush surrounding greens that aren’t cluttered with distracting branches. He’s building a mental checklist before he’s even found the final subject.
Photographer pausing in the stream to assess cascades and surrounding foliage
While still moving through the gorge, Patino articulates exactly what he’s looking for from a photography standpoint: small cascades, a sense of flow and direction in the water to lead the eye, and lush surrounding greens that aren’t cluttered with distracting branches. He’s building a mental checklist before he’s even found the final subject.
This is a habit worth developing deliberately. When I arrive at a location, I spend the first several minutes with my hands in my pockets. No camera. I’m asking what the scene is actually offering, not what I wish it would offer. Waterfalls are obvious subjects, but the framing elements surrounding them, the ferns, the mossy walls, the way water breaks over rocks, are what separate a strong image from a snapshot.
Step 4: Narrow Spaces Reward Patience
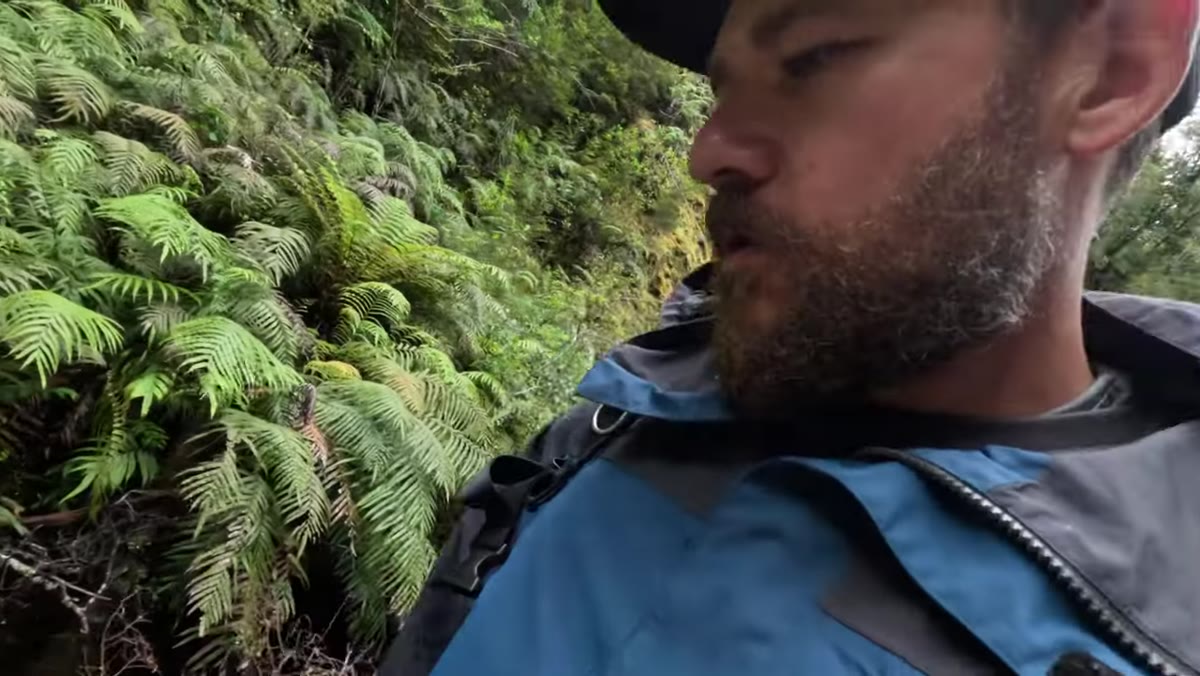 Rocky gorge walls closing in with increasing fern coverage on either side
Patino notes that as the gorge narrows, two things happen: the water volume concentrates and the scene becomes easier to frame. Narrow walls cut out the visual noise of the wider landscape. Ferns and mosses appear closer. The environment becomes more intimate, which is exactly what a wide angle lens on a close subject rewards.
Rocky gorge walls closing in with increasing fern coverage on either side
Patino notes that as the gorge narrows, two things happen: the water volume concentrates and the scene becomes easier to frame. Narrow walls cut out the visual noise of the wider landscape. Ferns and mosses appear closer. The environment becomes more intimate, which is exactly what a wide angle lens on a close subject rewards.
When you’re in a canyon or gorge environment, moving deeper and tighter is almost always worth the effort. The claustrophobic feeling you have as a person often translates into compositional richness on a wide angle frame. Commit to it.
Step 5: Arrive, Stop, and Observe Before Touching the Bag
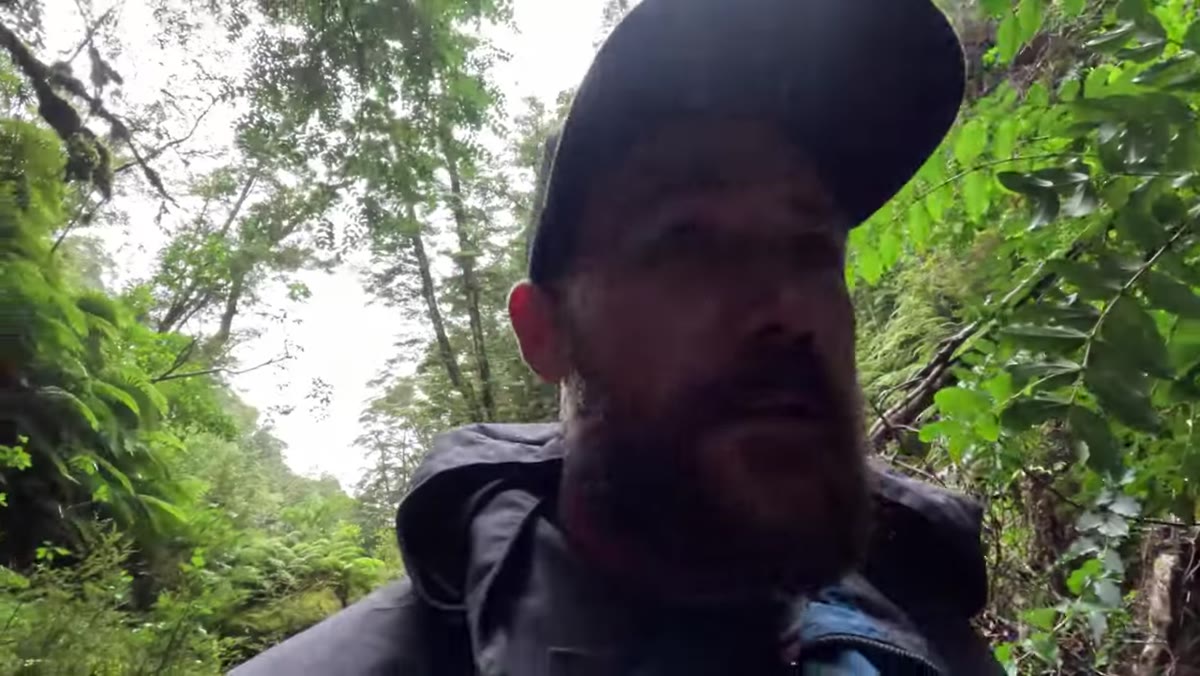 Photographer standing still at the hidden twin waterfall, taking in the scene
When Patino finally reaches the twin waterfall, his first instinct is not to grab the camera. He looks. He takes it in. Only then does he reach for the 12-24mm lens. He calls this observation the beginning of everything, and he’s right.
Photographer standing still at the hidden twin waterfall, taking in the scene
When Patino finally reaches the twin waterfall, his first instinct is not to grab the camera. He looks. He takes it in. Only then does he reach for the 12-24mm lens. He calls this observation the beginning of everything, and he’s right.
The questions he asks himself out loud are worth writing down: Do I want ferns filling the lower frame? Do I want a fern arching overhead? Should foreground cascades anchor the composition? These aren’t abstract artistic questions. They’re structural decisions about what the wide angle lens will do to the scene in front of you. A wide angle exaggerates foreground elements and compresses background ones. Every object you place in the lower third of the frame will dominate. Choose deliberately.
Step 6: Work the Composition Through Trial, Not Theory
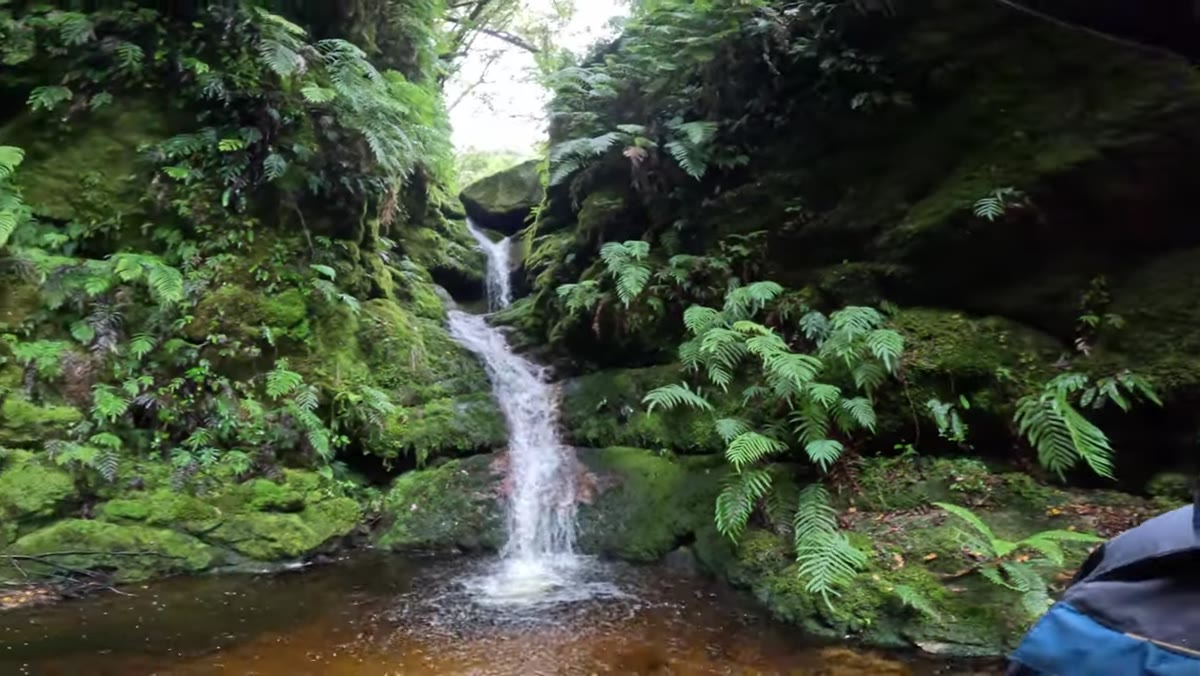 Photographer testing framing positions around twin falls with the wide angle lens
Patino moves around the falls, testing positions, centralizing, shifting to the side, evaluating what each angle gives him. He notes that dead center offers very little because the surrounding environment becomes cluttered. Moving to one side introduces a green leaf element that improves the frame. He’s not using a formula. He’s using his eyes and his feet.
Photographer testing framing positions around twin falls with the wide angle lens
Patino moves around the falls, testing positions, centralizing, shifting to the side, evaluating what each angle gives him. He notes that dead center offers very little because the surrounding environment becomes cluttered. Moving to one side introduces a green leaf element that improves the frame. He’s not using a formula. He’s using his eyes and his feet.
With a wide angle lens, small movements matter enormously. A step to the left changes the relationship between foreground and background dramatically. Get low and a pebble becomes a boulder. Rise up and you flatten the whole scene. Shoot in this exploratory mode. Take ten frames from ten positions before you decide on your final composition.
What Twenty Years in the Field Added to This
Patino’s workflow here is almost identical to what I’d teach in one of my workshops, but there’s one thing I’d add: once you find a composition that works, stay longer than you think you need to. Light in tight gorges shifts in subtle ways. The difference between water that glows and water that’s just wet is often a matter of waiting fifteen minutes for the angle of light to change slightly. My mentor told me once that the mountain doesn’t care about your schedule, and a canyon certainly doesn’t either. Build extra time into every location visit. The frame you almost left before getting is frequently the strongest one.
The single most transferable lesson from this tutorial is Patino’s insistence on observation before composition. The wide angle lens will show you everything, which means you have to decide what matters before you press the shutter. Raise the camera too early and you’re just reacting. Wait, look, and ask the right questions, and the frame builds itself.
Watch the full tutorial on YouTube to follow Patino through the full expedition, including the boat prep, the bush bash, and the final compositions at the hidden falls.
Comments (5)
Would love to see a follow-up going deeper into this topic.
This is going in my reference folder. Incredibly useful.
Great article! I actually covered something related on my site — the workflows angle is really complementary to this.
I tried this on a client project yesterday and the results were way better than expected.
Just subscribed. If the rest of your content is this good, I'm in.
Leave a Comment