
There’s a particular kind of frustration that comes from doing everything right on location, hauling gear to a pre-dawn ridgeline, nailing your composition, getting home, and watching Photoshop turn your carefully captured focus stack into a blurry, misaligned mess. I’ve been shooting landscapes full-time for two decades now, and focus stacking is one of those techniques that looks deceptively simple until it quietly betrays you at the worst possible moment. It took me longer than I’d like to admit to figure out that the problem wasn’t the blending software. It was a handful of small, repeatable field mistakes I kept making without realizing it.
Watch the full tutorial on YouTube
That’s why Mark Denney’s tutorial on focus stacking mistakes stopped me mid-scroll. He’s not rehashing the basics of what focus stacking is. He’s going after the specific errors that creep in once you think you already know what you’re doing. That’s a harder video to make, and a far more useful one to watch. What follows is my walkthrough of the core mistakes he covers, with some notes from my own field experience layered in.
Step 1: Lock Your Exposure with Manual Mode
 Camera mode dial shown, highlighting manual mode setting
Every image in a focus stack series has to be an exact exposure match. If you’re shooting in any automatic mode, including aperture priority or shutter priority, your camera is making small adjustments between frames as the light shifts. A cloud passes, a tree branch moves in the wind, the angle of light changes by a few degrees. The camera compensates. Now your frames don’t match, and the blending software has to work much harder to reconcile the differences, usually with visible artifacts.
Camera mode dial shown, highlighting manual mode setting
Every image in a focus stack series has to be an exact exposure match. If you’re shooting in any automatic mode, including aperture priority or shutter priority, your camera is making small adjustments between frames as the light shifts. A cloud passes, a tree branch moves in the wind, the angle of light changes by a few degrees. The camera compensates. Now your frames don’t match, and the blending software has to work much harder to reconcile the differences, usually with visible artifacts.
The fix is simple: shoot in full manual mode, dial in your settings for the scene, and don’t touch them until your series is complete. Every frame in the stack should share identical ISO, aperture, and shutter speed. This is non-negotiable for me now. I refuse to use auto mode on anything in the field, partly because of lessons learned the hard way, and partly because manual control forces you to actually understand what the light is doing rather than outsourcing that judgment to the camera.
Step 2: Resist the Urge to Stack Everything
 Single landscape frame shown, foreground and background both in acceptable focus
Once focus stacking clicks for you as a technique, there’s a real temptation to apply it to every single shot. It becomes a crutch. You start shooting stacks of scenes that honestly don’t need them, foregrounds with moderate depth, compositions where a slightly closed aperture would have solved the problem in a single frame. Mark calls this “stack it all” syndrome, and it’s a genuine time sink both in the field and in post.
Single landscape frame shown, foreground and background both in acceptable focus
Once focus stacking clicks for you as a technique, there’s a real temptation to apply it to every single shot. It becomes a crutch. You start shooting stacks of scenes that honestly don’t need them, foregrounds with moderate depth, compositions where a slightly closed aperture would have solved the problem in a single frame. Mark calls this “stack it all” syndrome, and it’s a genuine time sink both in the field and in post.
Before you set up a stack, ask whether the scene actually requires it. If your foreground element is a rock two feet from your lens and the background stretches to a mountain range, yes, you need a stack. If your foreground is fifteen feet out and you’re at f/11, check your depth of field first. Unnecessary stacks mean more frames to process, more chances for alignment errors, and more time at the computer instead of out shooting.
Step 3: Use a Tripod and Don’t Touch the Camera Between Shots
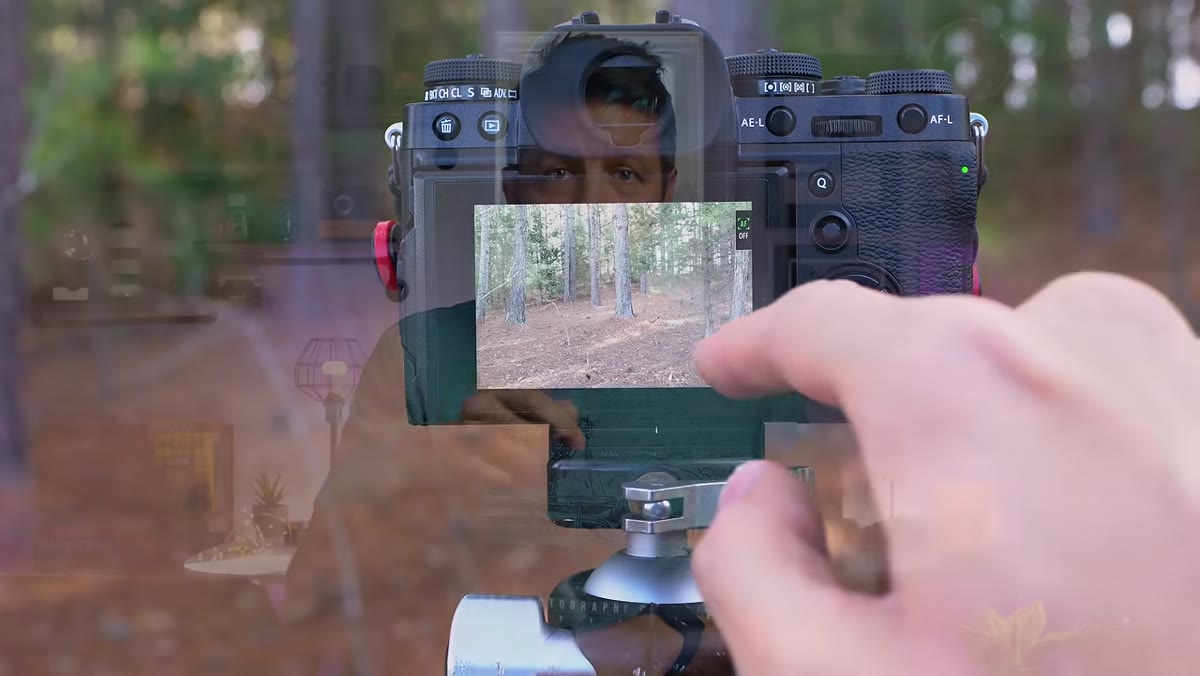
 Tripod-mounted camera in field, hands-off between exposures
This one sounds obvious until you watch photographers in the field. A focus stack requires that your framing stays absolutely identical across every frame. Any camera movement between shots, even the subtle vibration of pressing the shutter button, introduces misalignment that makes clean blending difficult or impossible.
Tripod-mounted camera in field, hands-off between exposures
This one sounds obvious until you watch photographers in the field. A focus stack requires that your framing stays absolutely identical across every frame. Any camera movement between shots, even the subtle vibration of pressing the shutter button, introduces misalignment that makes clean blending difficult or impossible.
Use a remote shutter release or your camera’s built-in timer to fire each frame without contact. Mirror lock-up is worth enabling on older DSLRs. Between shots, step back, don’t bump the tripod, and be aware of soft ground that can shift slightly under weight. I shoot a lot of scenes near moving water, and even the vibration from a nearby stream can register if my tripod legs aren’t planted solidly.
Step 4: Move Focus Deliberately with Enough Overlap
 Close-up of focus ring being adjusted incrementally between shots
The actual focus shift between frames needs to be consistent and overlapping. Move too far between focus points and you’ll have zones of the scene that are sharp in no single frame, leaving gaps that the blending algorithm can’t fill. The software can only blend what’s actually there.
Close-up of focus ring being adjusted incrementally between shots
The actual focus shift between frames needs to be consistent and overlapping. Move too far between focus points and you’ll have zones of the scene that are sharp in no single frame, leaving gaps that the blending algorithm can’t fill. The software can only blend what’s actually there.
A practical approach is to start with your nearest foreground element in sharp focus, then shift focus gradually toward the background, making sure each frame’s depth of field overlaps with the previous one. The number of frames you need depends on your aperture and the distance range of your scene. Three frames often handles a typical foreground-to-background scenario. More complex scenes with elements at multiple distinct distances may need five or more. The goal is continuous sharpness across the full depth, with no zone left unaddressed.
Step 5: Watch for Movement in the Frame During Capture
 Wind-blown grass visible in foreground of landscape composition
Moving elements like blowing grass, leaves, or water are the enemy of a clean focus stack. Each frame captures that element in a different position, and the blending software will produce ghosting or smearing in those areas. This is one of the more frustrating problems because you can do everything else right and still come home with unusable frames.
Wind-blown grass visible in foreground of landscape composition
Moving elements like blowing grass, leaves, or water are the enemy of a clean focus stack. Each frame captures that element in a different position, and the blending software will produce ghosting or smearing in those areas. This is one of the more frustrating problems because you can do everything else right and still come home with unusable frames.
The best mitigation is timing. Watch the scene, wait for a lull in the wind, and shoot your series during that window as quickly as you reasonably can. If the scene has persistent movement, consider whether focus stacking is actually the right approach. Sometimes a single well-chosen aperture, combined with careful composition that moves the problematic element away from the critical focus zone, produces a cleaner result than a stack ever would.
Step 6: Let Photoshop Auto-Align Before Blending
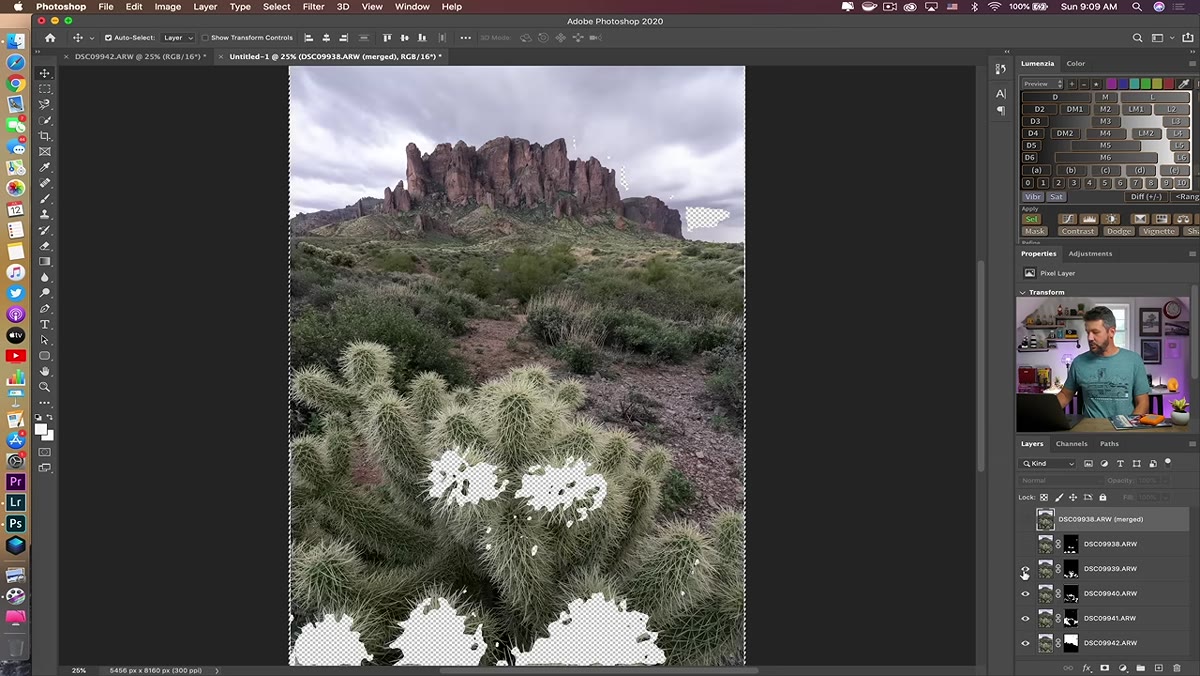 Photoshop layers panel showing stack loaded, auto-align option selected
Even with a solid tripod, minor frame-to-frame shifts happen. The post-processing workflow needs to account for this. When you load your stack into Photoshop and use Auto-Blend Layers, always run Auto-Align Layers first. This step corrects small positional differences before the blend happens and dramatically improves your edge quality across the final composite.
Photoshop layers panel showing stack loaded, auto-align option selected
Even with a solid tripod, minor frame-to-frame shifts happen. The post-processing workflow needs to account for this. When you load your stack into Photoshop and use Auto-Blend Layers, always run Auto-Align Layers first. This step corrects small positional differences before the blend happens and dramatically improves your edge quality across the final composite.
Load all frames as layers, select them all, run Edit > Auto-Align Layers with the Auto projection option, then run Edit > Auto-Blend Layers with Stack Images selected. This two-step sequence is the standard workflow, and skipping the alignment step is one of the most common processing mistakes that shows up as soft or doubled edges in the final image.
What I’d Add from the Field
Mark covers the technique cleanly, but there’s one habit I’ve built that he doesn’t address directly: I always shoot one extra frame at the end of each stack from the same focus point as the first frame. Call it a sanity frame. If I suspect the light shifted during capture or I’m not sure I covered a particular zone, that extra reference point helps me verify consistency when I’m back at the screen. It costs thirty seconds in the field and has saved me from processing bad stacks more than once.
The single most important takeaway from this tutorial is that focus stacking mistakes are almost always made in the field, not in post. The software can only work with what you give it. Lock your exposure in manual mode, be selective about when stacking is genuinely needed, and keep your camera still between frames. Get those three things right and the post-processing step becomes straightforward.
Watch the full tutorial on YouTube to see Mark walk through all five mistakes with real examples from his own shoots. It’s worth the full watch.
Comments (1)
I've been looking for exactly this kind of tutorial. Perfect timing.
Leave a Comment