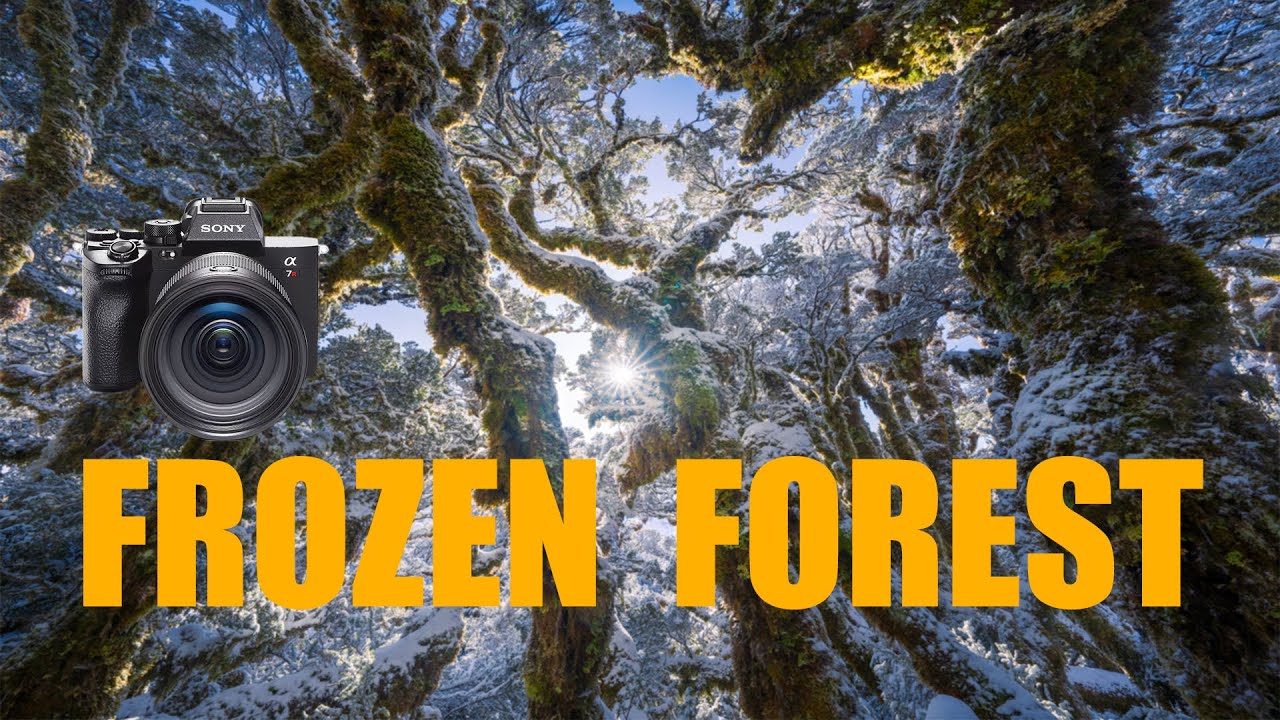
Snow changes everything. The light bounces differently, the exposure math shifts, and the window between “perfect” and “blown out” narrows to something that can feel almost cruel. I’ve shot winter conditions in the Cascades and the Oregon high desert for two decades, and I’ll tell you honestly: snow still humbles me on a regular basis. So when I came across a tutorial from New Zealand-based photographer William Patino documenting a pre-dawn sprint into a snow-loaded South Island forest, I watched it twice and took notes. Watch the full tutorial on YouTube before or after reading this, but know that what follows is my attempt to unpack the practical technique buried in that footage, translate it into concrete steps, and add a few things I’ve learned from standing in similar conditions at similar hours.
The core problem Patino is solving is one every serious landscape photographer knows: weather doesn’t hold. A snowstorm moves through and leaves a scene that looks extraordinary for maybe four hours before the wind strips the trees, the light goes flat, or rain turns everything to slush. Success in those conditions isn’t luck. It’s a prepared response to a predicted event. What I find valuable about this particular tutorial is that it follows a real shoot in real time, showing not just the pretty frames but the cold fingers, the lens-cleaning struggles, and the decisions made on the fly.
Step 1: Build a Weather-Driven Game Plan the Night Before
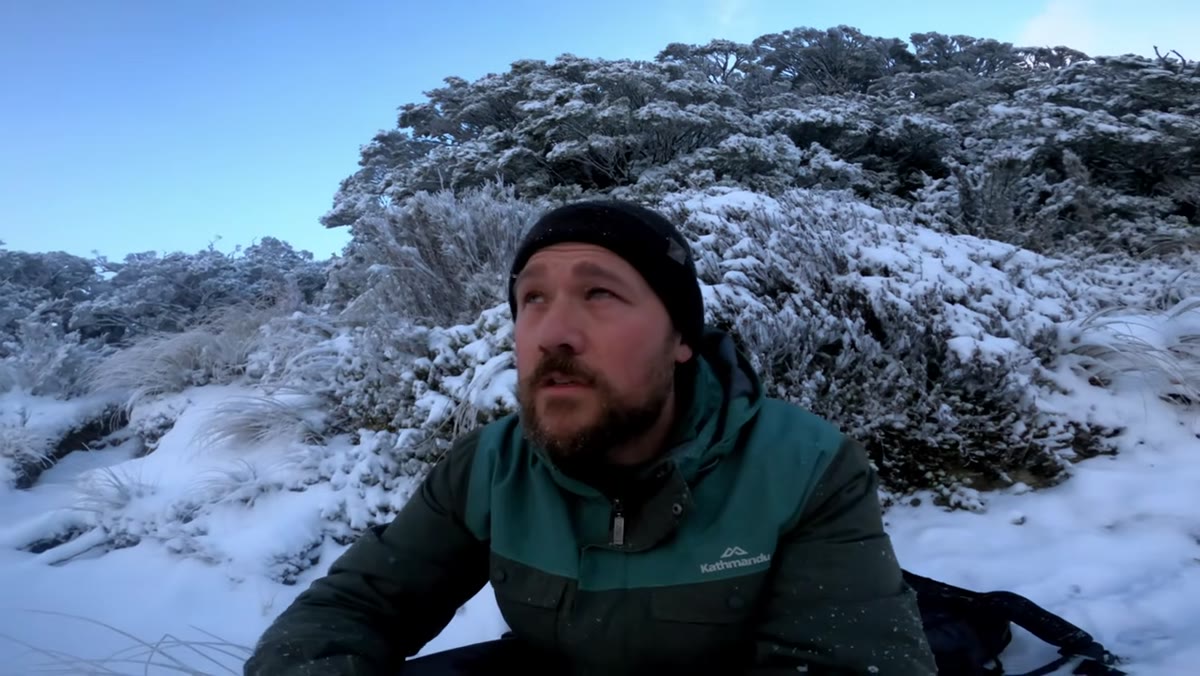
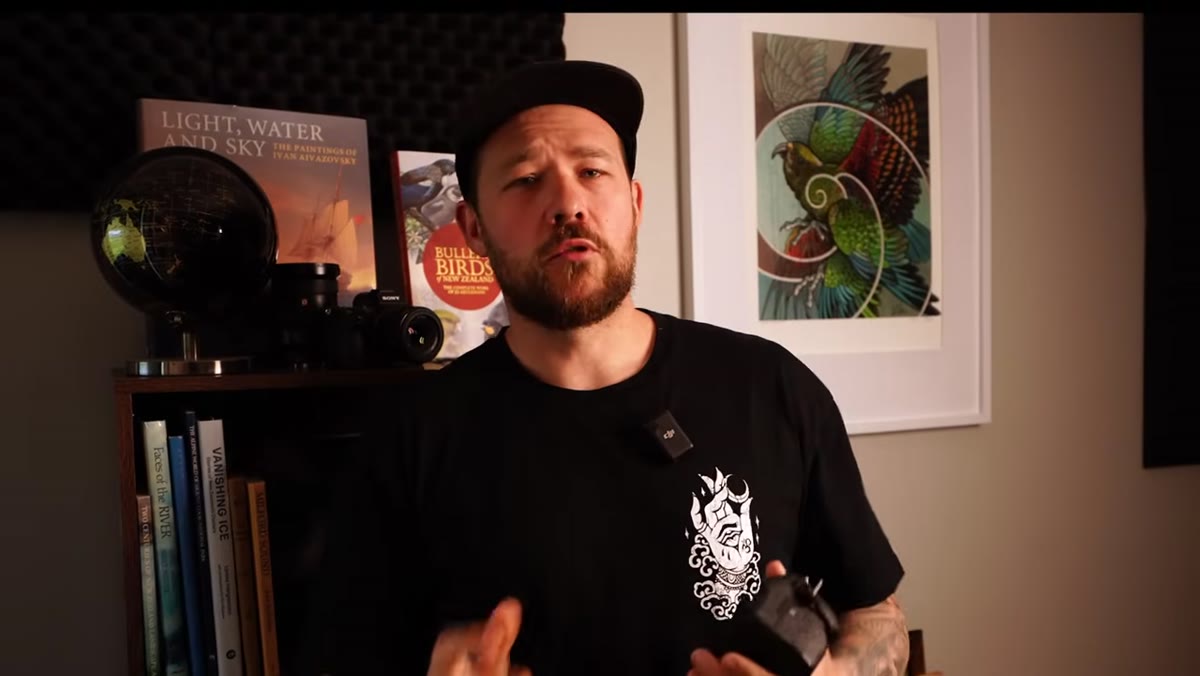 William Patino checking weather conditions before pre-dawn departure
Patino’s shoot begins the night before it begins. He identifies a storm moving up the South Island, and immediately starts thinking about access points, elevation, and timing. He’s not just noting that it will snow. He’s asking where the snow will be most dramatic, how high he needs to climb to be inside the scene rather than looking at it from a distance, and what time he needs to leave to arrive before light.
William Patino checking weather conditions before pre-dawn departure
Patino’s shoot begins the night before it begins. He identifies a storm moving up the South Island, and immediately starts thinking about access points, elevation, and timing. He’s not just noting that it will snow. He’s asking where the snow will be most dramatic, how high he needs to climb to be inside the scene rather than looking at it from a distance, and what time he needs to leave to arrive before light.
For winter snow shoots, this planning step is where most images are won or lost before you touch a camera. Study the forecast for wind direction, not just precipitation. Heavy snowfall on tree branches requires calm conditions. If wind is predicted to pick up by 8 a.m., your window is narrow. Set your alarm aggressively, lay out your gear the night before, and know the location well enough to navigate it in the dark. Patino’s 4 a.m. departure isn’t dramatic, it’s tactical.
Step 2: Move Through the Scene Before You Shoot It
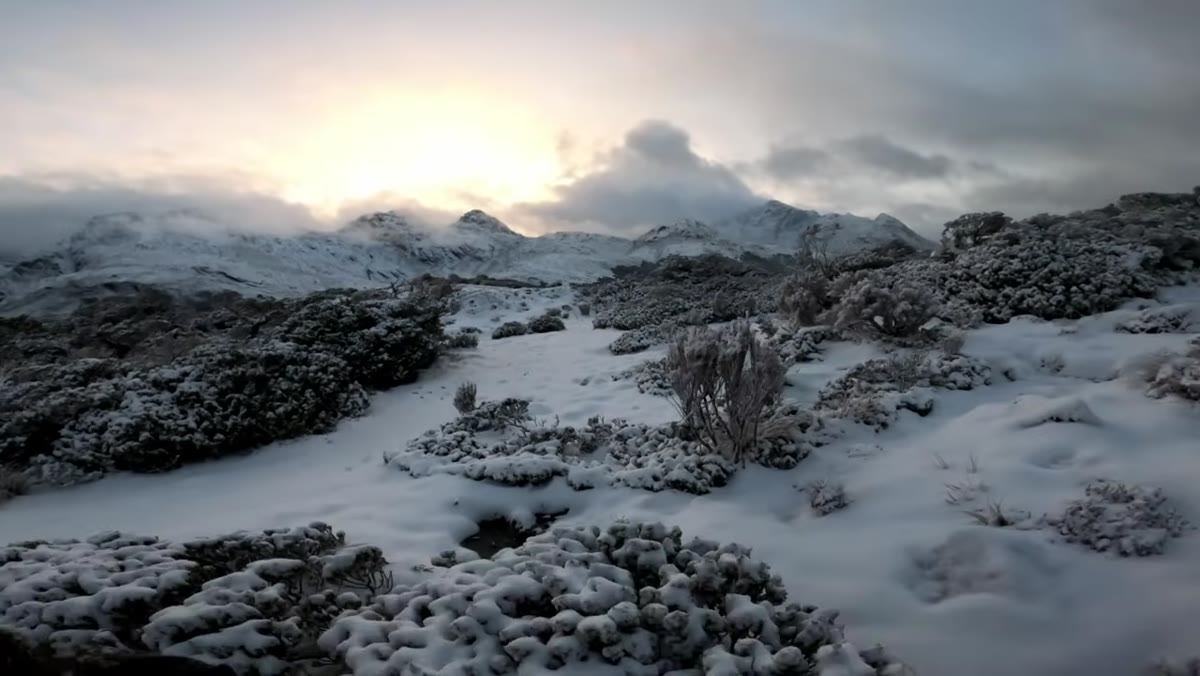 Hiking through snow toward the target forest location at dawn
When Patino and his companions arrive on location, the temptation to stop and shoot is immediate. The light is catching the peaks. There’s snow on everything. He acknowledges it, but keeps moving toward the primary objective: a forested area he’d scouted previously and knew would respond well to snow and atmosphere.
Hiking through snow toward the target forest location at dawn
When Patino and his companions arrive on location, the temptation to stop and shoot is immediate. The light is catching the peaks. There’s snow on everything. He acknowledges it, but keeps moving toward the primary objective: a forested area he’d scouted previously and knew would respond well to snow and atmosphere.
This is a discipline worth building. Walk the scene first. Let your eyes adjust to what’s actually there rather than what you expected. Your first impulse in a dramatic landscape is almost never your best composition. Patino’s scouted forest location had been mentally flagged as a snow target during a previous visit in different conditions. That’s how good winter images happen, not by accident, but by returning to known locations when conditions finally align.
Step 3: Slow Down and Commit to a Single Subject
 Patino pausing to compose a single tree heavy with snow
Here is the most important advice in the entire video, and it’s easy to miss because it sounds obvious. Patino stops, looks at a single tree heavily plastered with snow, and says something that has stuck with me: there’s no point taking dozens of average photos. Slow down. Find the one thing that speaks to you.
Patino pausing to compose a single tree heavy with snow
Here is the most important advice in the entire video, and it’s easy to miss because it sounds obvious. Patino stops, looks at a single tree heavily plastered with snow, and says something that has stuck with me: there’s no point taking dozens of average photos. Slow down. Find the one thing that speaks to you.
In a landscape covered in fresh snow, everything looks photogenic. That’s the trap. Your attention scatters, your compositions become generic, and you come home with a hard drive full of “nice” images and nothing that stops someone mid-scroll. Pick one subject. Work it from multiple distances and angles before moving on. The snow isn’t going anywhere fast, especially at higher latitudes where the sun moves slowly enough to give you time to think.
Step 4: Expose for the Highlights, Not the Scene Average
 Camera settings displayed, f/11, ISO 100, 1/30th second
Patino’s settings at this point in the shoot: f/11, ISO 100, 1/30th of a second, exposing for the highlights. Snow is one of the most challenging subjects for metering because your camera wants to underexpose it to gray. If you let the meter run the show, you’ll lose the luminosity that makes snow beautiful.
Camera settings displayed, f/11, ISO 100, 1/30th second
Patino’s settings at this point in the shoot: f/11, ISO 100, 1/30th of a second, exposing for the highlights. Snow is one of the most challenging subjects for metering because your camera wants to underexpose it to gray. If you let the meter run the show, you’ll lose the luminosity that makes snow beautiful.
Use your histogram actively, not the LCD preview. Pull the exposure back until your highlights sit just inside the right edge without clipping. In scenes where the snow is your primary subject and it’s catching direct or near-direct light, you’ll often be surprised how much you need to pull back from what the meter suggests. Shoot raw so you have recovery room in post, but get it right in camera first. That 30th of a second shutter also tells you he’s on a tripod. In snowy conditions, always is.
Step 5: Protect Your Gear During Active Snowfall
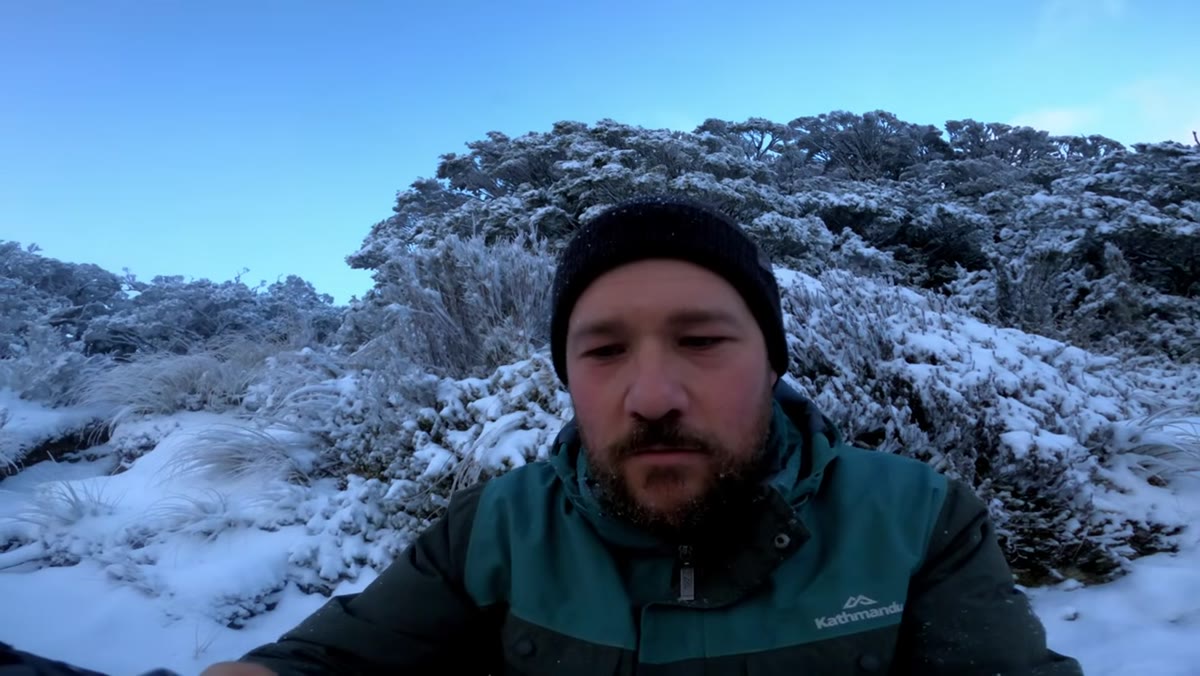
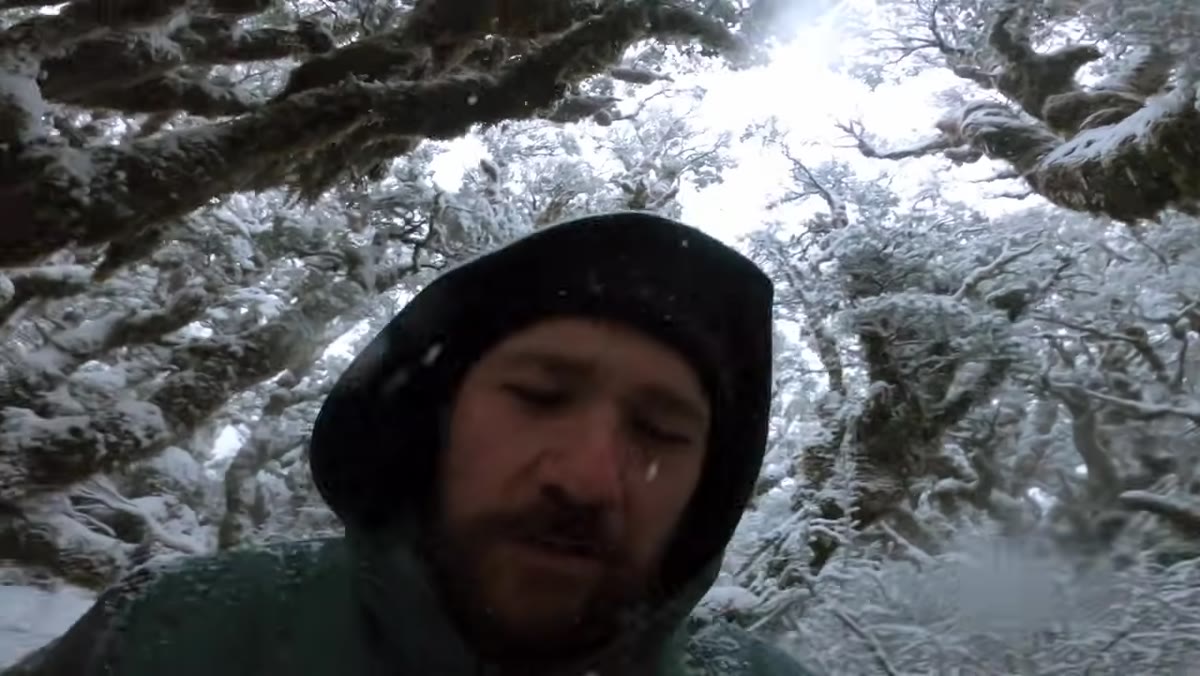 Patino turning away from wind to shield lens during snowfall
When snow starts falling during the shoot, Patino shifts his body between the wind and his lens to keep the front element clean. He mentions the challenge explicitly and notes that his ultra-wide zoom becomes temporarily unusable because the protruding front element catches flakes. He switches away from it until conditions settle.
Patino turning away from wind to shield lens during snowfall
When snow starts falling during the shoot, Patino shifts his body between the wind and his lens to keep the front element clean. He mentions the challenge explicitly and notes that his ultra-wide zoom becomes temporarily unusable because the protruding front element catches flakes. He switches away from it until conditions settle.
Keep a dedicated lens cloth in your outer jacket pocket, not your bag. You need to reach it with one cold hand without setting the camera down in snow. A rain cover for your body is worth carrying even on clear mornings when storms are predicted later. Change lenses only with your back to the wind and your bag acting as a physical shield. Wet contacts and a wet sensor are a bad way to end an otherwise great morning.
Step 6: Capitalize on Changing Light as the Sun Arrives
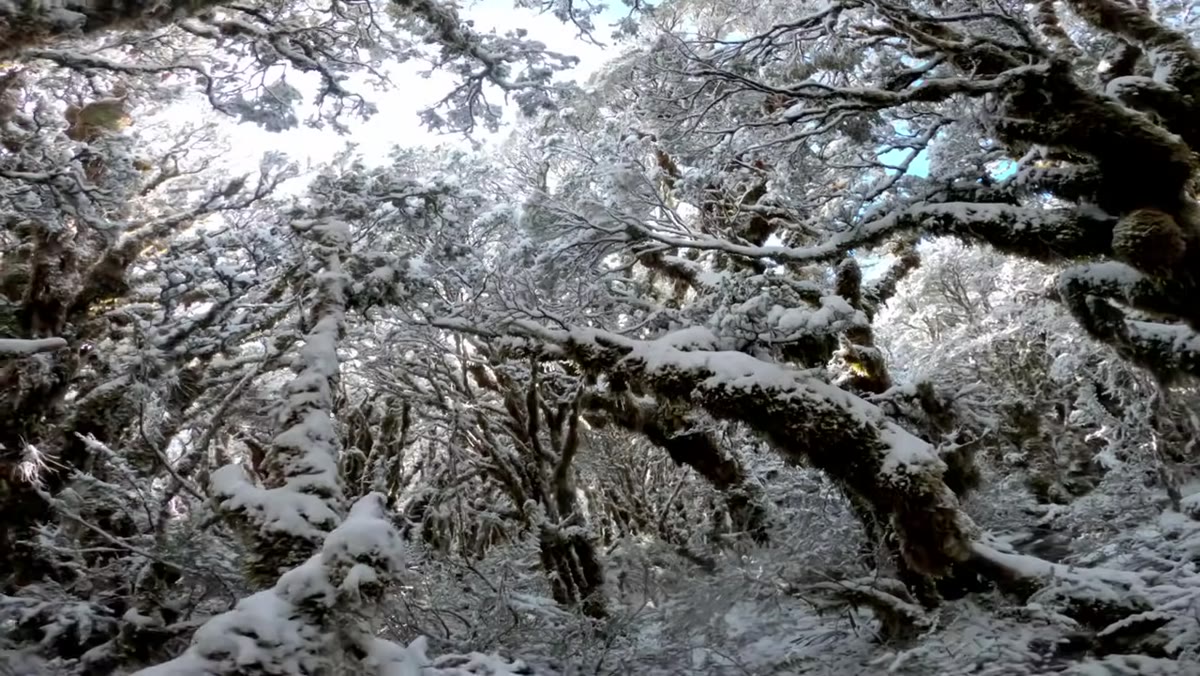 Warm sidelight breaking through cloud, illuminating snow-covered trees
When the sun breaks through, Patino notes that everything changes, and that it presents both challenges and new opportunities. He starts looking for sidelight catching the moss and tree detail rather than the broad mountain compositions he was working earlier.
Warm sidelight breaking through cloud, illuminating snow-covered trees
When the sun breaks through, Patino notes that everything changes, and that it presents both challenges and new opportunities. He starts looking for sidelight catching the moss and tree detail rather than the broad mountain compositions he was working earlier.
This is adaptive shooting. The grand vista that worked under soft pre-sunrise light may now be too contrasty and harsh. But that same sun, hitting a north-facing tree trunk at a low angle, might produce something intimate and extraordinary. When conditions shift, don’t try to recreate what you were shooting ten minutes ago. Ask what this light is good for now.
A Note from My Own Winters
I’ve shot enough snowstorms to know that the images I thought I was getting in the field are often not the images I actually got. Cold hands mean sloppy settings. The excitement of being in a beautiful scene can override careful thinking. My own fix for this has been to still occasionally shoot a roll of film on significant winter outings. Not for the film images necessarily, but because having 36 frames creates a discipline that digital shooting doesn’t. You pause before you press. You commit to a composition. It translates back to how I shoot digitally the rest of the day.
Patino’s tutorial captures something real about what it feels like to be inside one of these once-in-a-season conditions. The single most transferable lesson is this: preparation earns you access to the scene, but slowing down once you’re there is what earns you the photograph. Don’t let the spectacle rush you.
Watch the full tutorial on YouTube to see the actual frames and conditions Patino was working with. There’s no substitute for watching a skilled photographer make real-time decisions in a scene that’s changing by the minute.
Comments (1)
The before and after really sells it. Incredible difference.
Leave a Comment