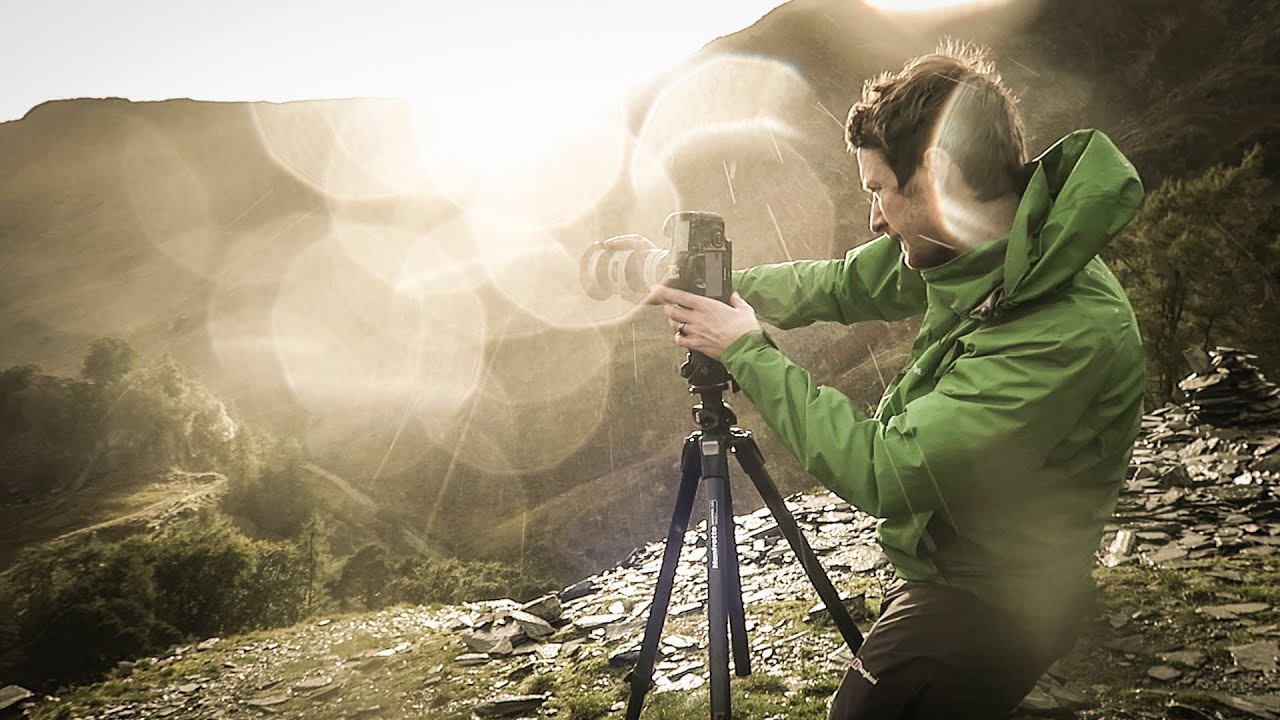
There’s a version of landscape photography that lives in your head before you leave the house. Golden light, still air, perfect conditions. Then there’s the version that actually happens. After twenty years of predawn alarms and six-hour drives to locations that greeted me with nothing but fog, I’ve made peace with the fact that the second version is where the real work happens. The trouble is, most photographers either head home when the weather turns or they freeze up trying to manage the chaos. Neither gets you the shot.
Watch the full tutorial on YouTube
In this Thomas Heaton tutorial, filmed in the Lake District above Borrowdale valley on a day that threw hail, rain, wind, and brief bursts of sunlight at him in rapid succession, Heaton gives us something more valuable than a clean, scripted walkthrough. He shows us what it actually looks like to problem-solve in the field when conditions stop cooperating. The video is chaotic by his own admission. That’s the point. Here’s how to extract the practical framework underneath all that beautiful disorder.
Step 1: Scout Before You Commit to a Setup
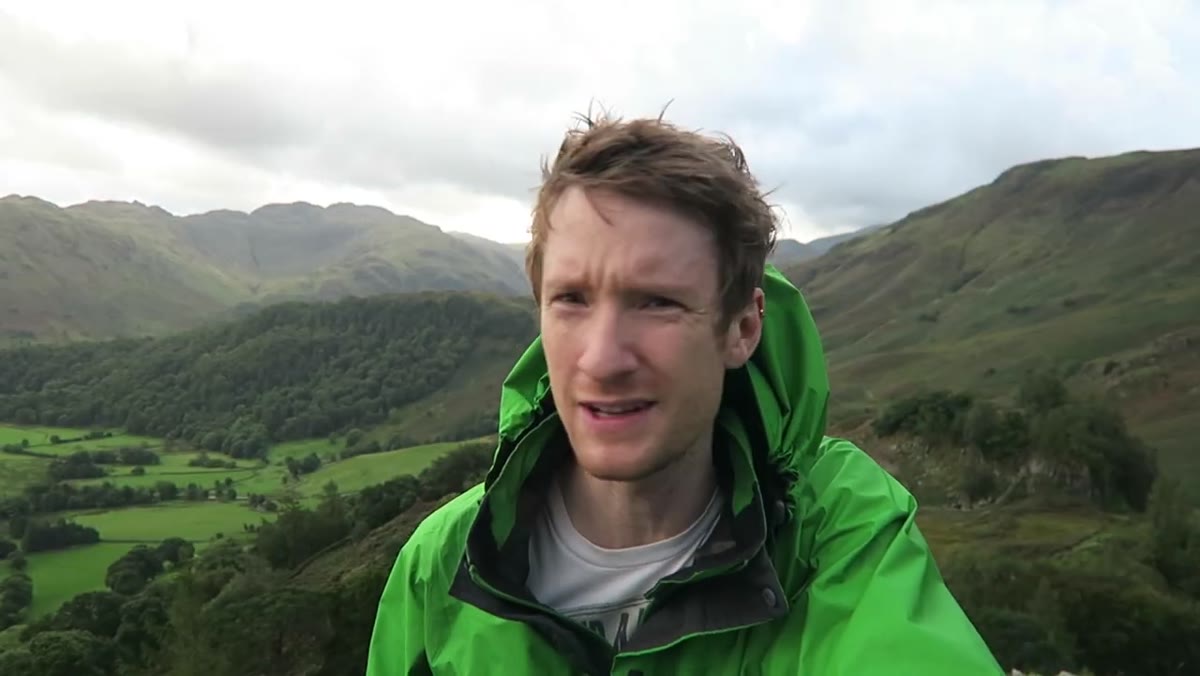 Thomas and Simon arriving at Castle Crag summit in rain
Heaton arrives at Castle Crag with his friend Simon, and his first instinct is not to immediately plant the tripod. He takes in the full range of what the location offers: panoramic fell views, the Borrowdale valley below, woodland, and a nearby quarry. One location, multiple potential compositions. Before you spend an hour dialing in one frame, do a fast sweep of what’s actually available to you. In shifting weather, you may need to pivot quickly, and knowing your options before the light changes is the difference between adapting and scrambling.
Thomas and Simon arriving at Castle Crag summit in rain
Heaton arrives at Castle Crag with his friend Simon, and his first instinct is not to immediately plant the tripod. He takes in the full range of what the location offers: panoramic fell views, the Borrowdale valley below, woodland, and a nearby quarry. One location, multiple potential compositions. Before you spend an hour dialing in one frame, do a fast sweep of what’s actually available to you. In shifting weather, you may need to pivot quickly, and knowing your options before the light changes is the difference between adapting and scrambling.
This is especially true in wild weather. Strong wind and rain will push you around, so mentally map out which compositions offer some shelter, which face the incoming light, and which might benefit from the drama in the sky. On exposed ridges and summits, your window can close in minutes.
Step 2: Identify Your Lead-In Line Early
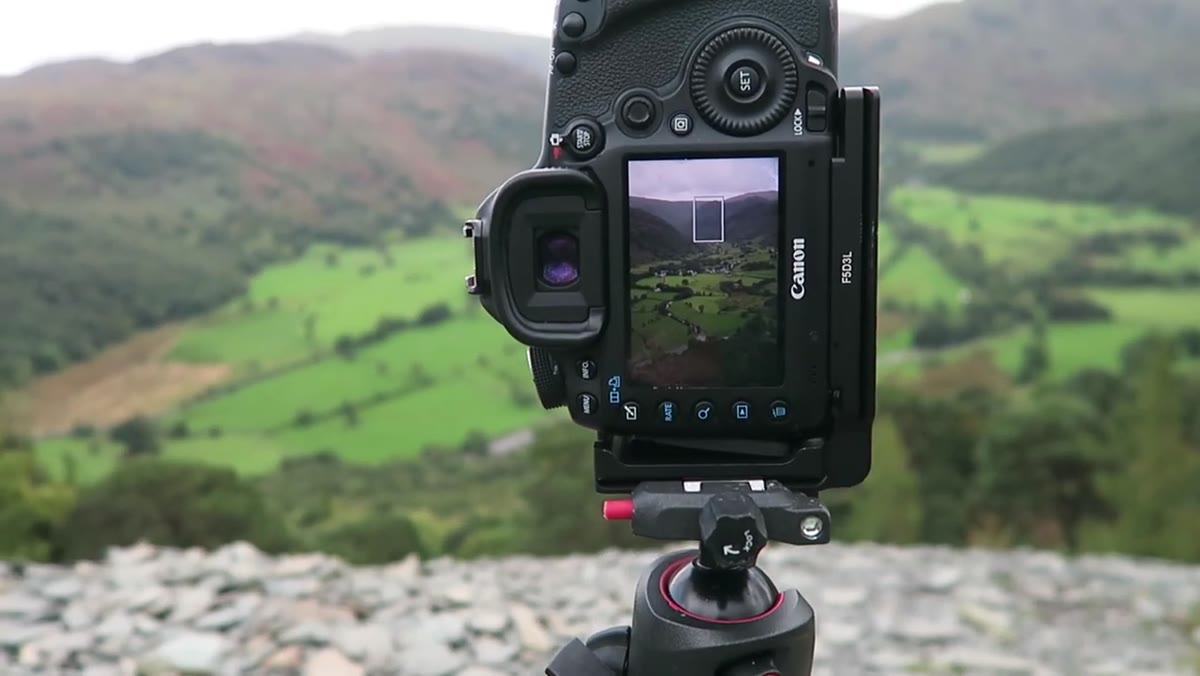 View down into Borrowdale valley with Derwent River visible
Once Heaton settles on his primary composition, he describes it clearly: he’s shooting down into the valley using the Derwent River as a lead-in line, pulling the eye from the foreground pastures up through the frame toward the hills beyond. This is a deliberate structural choice, not an accident of framing. In chaotic weather, it’s easy to get reactive and just point your camera at whatever looks dramatic in the moment. Lock in your compositional logic first.
View down into Borrowdale valley with Derwent River visible
Once Heaton settles on his primary composition, he describes it clearly: he’s shooting down into the valley using the Derwent River as a lead-in line, pulling the eye from the foreground pastures up through the frame toward the hills beyond. This is a deliberate structural choice, not an accident of framing. In chaotic weather, it’s easy to get reactive and just point your camera at whatever looks dramatic in the moment. Lock in your compositional logic first.
A strong lead-in line does more than create depth. In stormy conditions, it anchors a frame that might otherwise feel overwhelming. The eye needs somewhere to travel when the sky is doing a lot of work.
Step 3: Wait for the Rain-and-Sun Combination
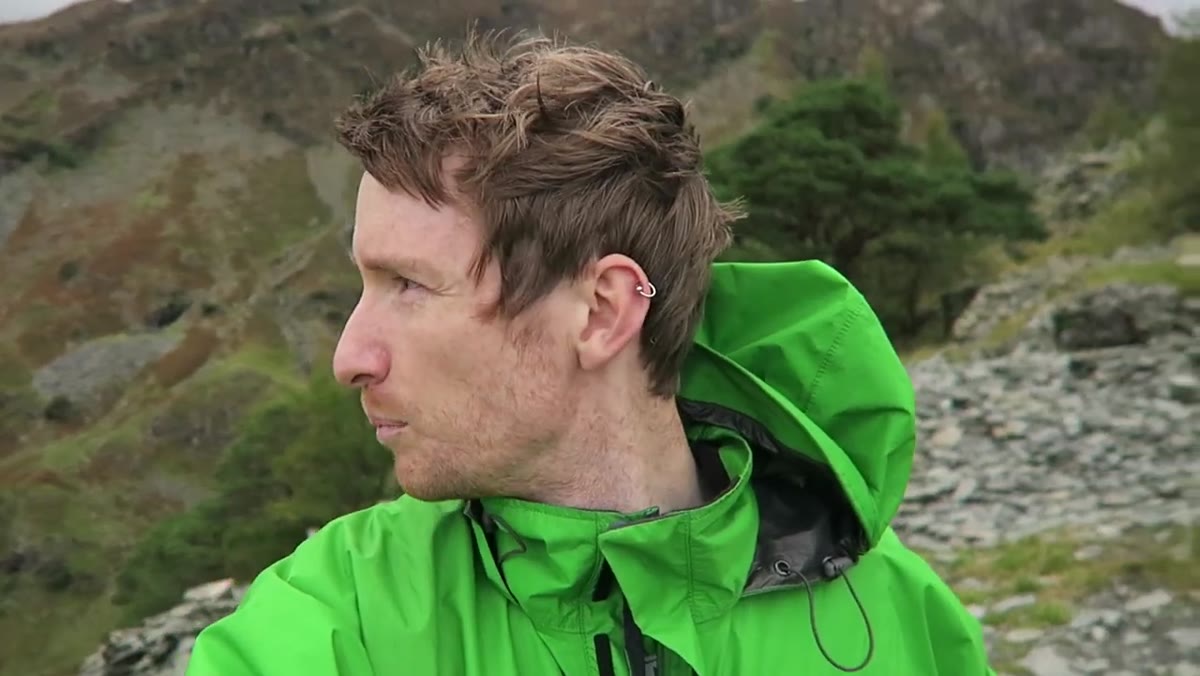 Heaton describing the autumnal sunshine and shower cycle
What Heaton is actually waiting for is a specific meteorological moment: a rain shower clearing while sunlight breaks through from another direction. This combination produces the kind of saturated, moody light that no filter can fake. The wet ground reflects the sky, contrast drops in the shadows, and atmosphere builds visibly across the valley. He describes this as magical, and he’s right, but it requires patience and positioning.
Heaton describing the autumnal sunshine and shower cycle
What Heaton is actually waiting for is a specific meteorological moment: a rain shower clearing while sunlight breaks through from another direction. This combination produces the kind of saturated, moody light that no filter can fake. The wet ground reflects the sky, contrast drops in the shadows, and atmosphere builds visibly across the valley. He describes this as magical, and he’s right, but it requires patience and positioning.
Check the direction your light is coming from relative to where the rain cells are moving. If you’re shooting toward an opening in the clouds while rain is still falling between you and the background, you’re set up for something extraordinary. This is not luck. It’s reading the sky like a map.
Step 4: Protect Your Camera, But Don’t Let Fear Stop the Shot
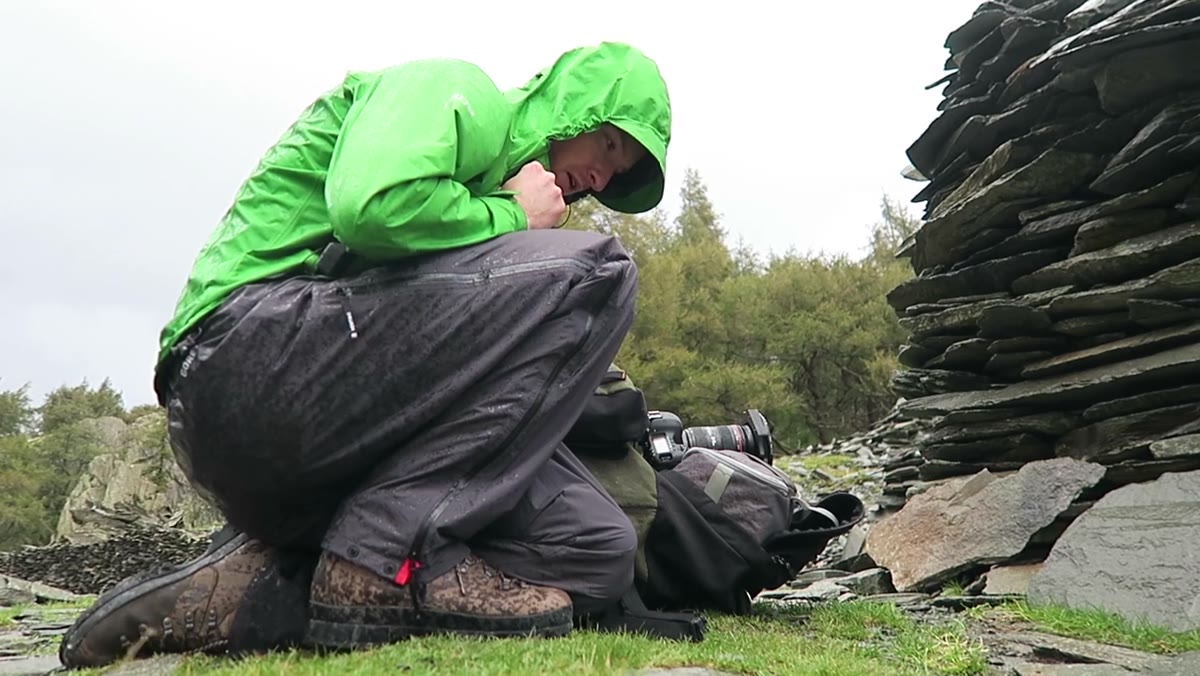 Heaton crouching to shelter camera during heavy rain shower
When a serious squall rolls through, Heaton crouches over his camera and waits it out rather than packing up. His gear isn’t weather-sealed to the level his own waterproofs are, and he’s honest about that tension. There’s a real decision to make here: protect the camera and miss the moment, or accept some risk and stay in the game. His approach is to minimize exposure during the worst of it, then recompose and shoot when the intensity drops.
Heaton crouching to shelter camera during heavy rain shower
When a serious squall rolls through, Heaton crouches over his camera and waits it out rather than packing up. His gear isn’t weather-sealed to the level his own waterproofs are, and he’s honest about that tension. There’s a real decision to make here: protect the camera and miss the moment, or accept some risk and stay in the game. His approach is to minimize exposure during the worst of it, then recompose and shoot when the intensity drops.
Practically speaking, a rain cover or even a plastic bag with a hole for the lens buys you a lot of latitude. Keep a microfiber cloth inside your jacket, not in your bag, so you can wipe the front element without fumbling with zippers while the light is happening. If your lens gets wet and you’re shooting anyway, check your images for droplet flare. Sometimes it ruins the frame. Occasionally it adds something you wouldn’t have planned.
Step 5: Abandon Filters When Conditions Make Them Impractical
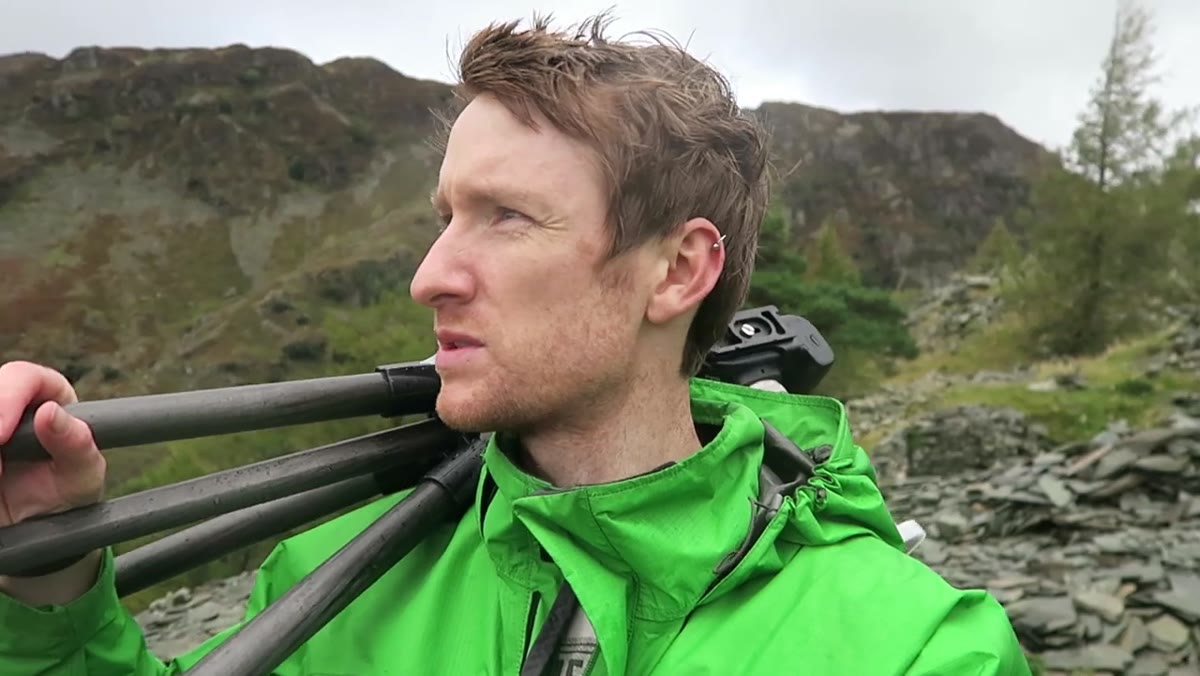 Heaton removing filters due to weather conditions
At one point Heaton pulls his filters entirely. Heavy wind and rain make using ND or graduated filters genuinely counterproductive. A filter stacked on the front of the lens in driving rain is just another surface to get soaked and create problems. In stable conditions, filters are valuable tools. In extreme weather, they can become obstacles.
Heaton removing filters due to weather conditions
At one point Heaton pulls his filters entirely. Heavy wind and rain make using ND or graduated filters genuinely counterproductive. A filter stacked on the front of the lens in driving rain is just another surface to get soaked and create problems. In stable conditions, filters are valuable tools. In extreme weather, they can become obstacles.
Go back to basics: expose for the highlights in the sky, shoot in RAW, and recover shadow detail in post. Modern sensors handle this recovery well. A clean frame with a little dynamic range challenge beats a filter-assisted frame covered in water smears.
Step 6: Spin and React When Light Breaks Unexpectedly
 Heaton turning camera toward dramatic light and sky behind him
The moment Heaton notices dramatic light breaking behind him, he doesn’t deliberate. He turns the camera, reframes on the fly, and shoots. This is the shooting instinct that only comes from having your settings already dialed in before the action starts. In volatile weather you should always have a working exposure locked in. Don’t be in your menu when the rainbow appears, and on this shoot, a rainbow appears.
Heaton turning camera toward dramatic light and sky behind him
The moment Heaton notices dramatic light breaking behind him, he doesn’t deliberate. He turns the camera, reframes on the fly, and shoots. This is the shooting instinct that only comes from having your settings already dialed in before the action starts. In volatile weather you should always have a working exposure locked in. Don’t be in your menu when the rainbow appears, and on this shoot, a rainbow appears.
Keep ISO, aperture, and shutter speed set to a baseline that handles your current conditions. On a bright overcast day with intermittent sun, something like ISO 100, f/8, and a shutter speed that prevents motion blur in the grass is a reasonable starting point. Adjust from there, but have a starting point ready.
Step 7: Recognize the Rainbow and Move Fast
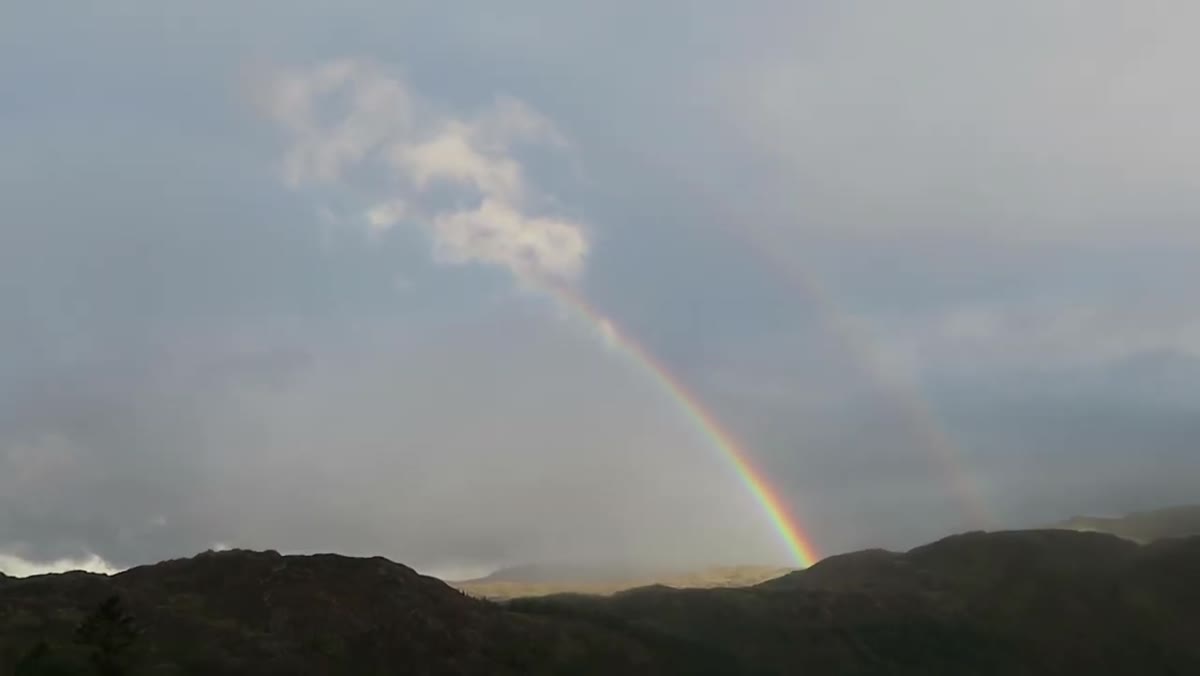 Rainbow appearing over the valley as sky begins to break
A rainbow is a gift you can’t manufacture, and it has a lifespan measured in minutes. When Heaton spots it, the energy of the whole video shifts. Every piece of preparation up to that point, the composition he’d been refining, the settings he already had dialed, the location knowledge from his early scout, suddenly converges into a single moment. This is the part that looks like luck from the outside.
Rainbow appearing over the valley as sky begins to break
A rainbow is a gift you can’t manufacture, and it has a lifespan measured in minutes. When Heaton spots it, the energy of the whole video shifts. Every piece of preparation up to that point, the composition he’d been refining, the settings he already had dialed, the location knowledge from his early scout, suddenly converges into a single moment. This is the part that looks like luck from the outside.
The takeaway here is not “hope for a rainbow.” It’s that the conditions that produce dramatic, unexpected light in bad weather are the same conditions that produce rainbows, god rays, shaft light, and atmospheric murk. You don’t need the rainbow specifically. You need to stay out long enough for any one of those things to arrive.
What I’d Add From My Own Experience
I’ve shot in conditions like this enough times to know there’s a mental wall you hit around the forty-five minute mark of standing in the rain with nothing to show for it. My old mentor used to say the mountain doesn’t care about your schedule, and he was right, and it annoyed me every time he said it. The discipline is to not pack up right before the break. Set a hard time limit for yourself before you go out. Tell yourself you’ll stay until a specific hour, then stay until that hour, regardless of conditions. The number of times I’ve driven home an hour early and seen the photos my clients sent me from the same location later that day is something I’ve stopped counting.
The single most important thing Heaton demonstrates in this tutorial is that bad weather is not the obstacle. Leaving is the obstacle. Conditions that feel punishing to shoot in are producing exactly the atmosphere that separates your images from everyone else’s clear-sky compositions. Stay out. Stay flexible. Stay dry enough to keep working.
Watch the full tutorial on YouTube to see every chaotic, rain-soaked, redemptive minute of it.
Comments (3)
Just used this on a wedding shoot edit. Client was thrilled.
Been doing this wrong for years apparently. Thanks for the wake-up call.
Well explained. I think my audience would really benefit from this — mind if I link to it?
Leave a Comment