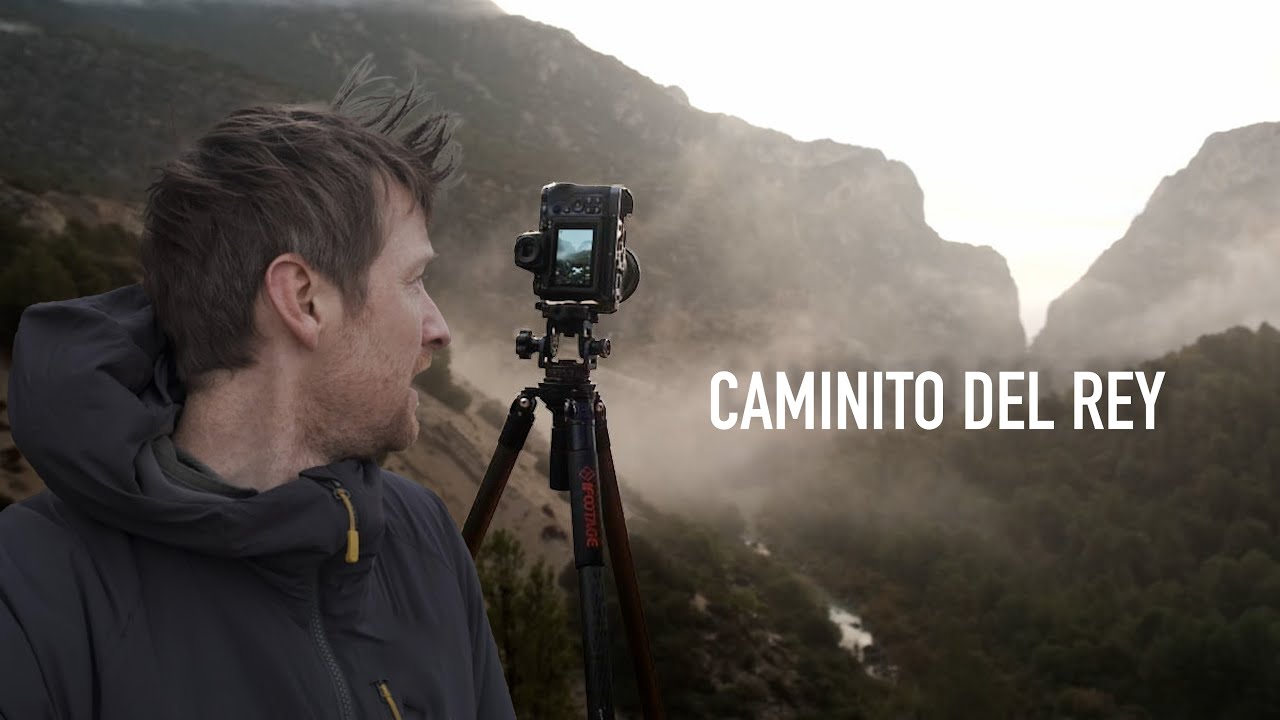
There are mornings when the land just gives you everything. The mist sits in the valleys like it was placed there. The light comes up soft and diffuse. You round a corner and your stomach drops in the best possible way. Most photographers spend years chasing that kind of morning. I’ve had a handful of them in twenty years of doing this professionally, and every single time, what separated a good take-home from a great one was preparation made in the dark before the light arrived.
That’s why this Watch the full tutorial on YouTube session from Thomas Heaton at Spain’s Caminito del Rey and Torcal de Antequera stopped me cold. Heaton is out the door before first light, on location while it’s still pitch black, and already reading the sky for what the next hour might give him. He’s not reacting to the scene. He’s already positioned inside it before the scene begins. That discipline, repeated across this entire outing, is the real tutorial here.
What I want to break down is the sequence of decisions Heaton makes, because they’re invisible if you’re just watching for the pretty pictures. The gorge is stunning, yes. But the craft is in how he handles an extreme contrast situation, switches glass mid-scene without losing the moment, and resists the urge to force a shot when the conditions are working against him. These are problems I face on every serious shoot, and I suspect you do too.
Step 1: Arrive Before Light and Read the Atmosphere
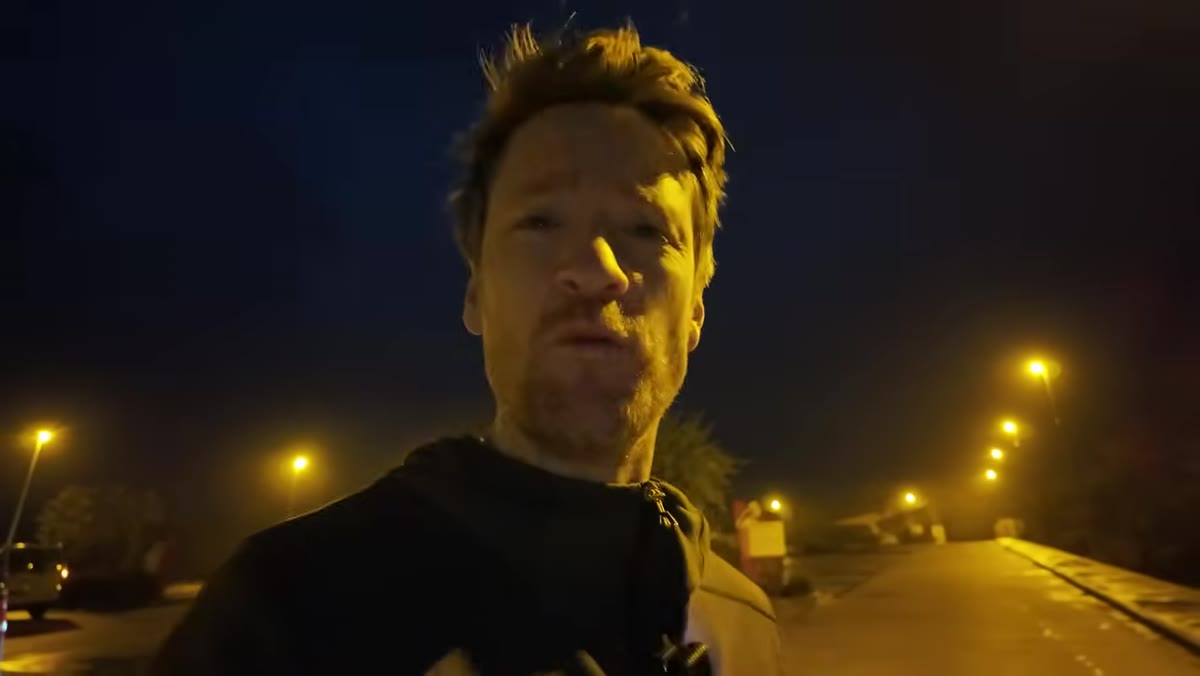 Heaton walking in darkness toward the visitor center entrance
Heaton is at the visitor center at pitch black, and that’s not incidental. Arriving early at a location like Caminito del Rey, a narrow gorge boardwalk with controlled access, means you get the walk to yourself. It also means you see what the atmosphere is doing before it burns off. He notes that the sky is semi-clear with the moon visible, but there’s mist and fog sitting low. That observation becomes his entire shooting strategy for the next hour.
Heaton walking in darkness toward the visitor center entrance
Heaton is at the visitor center at pitch black, and that’s not incidental. Arriving early at a location like Caminito del Rey, a narrow gorge boardwalk with controlled access, means you get the walk to yourself. It also means you see what the atmosphere is doing before it burns off. He notes that the sky is semi-clear with the moon visible, but there’s mist and fog sitting low. That observation becomes his entire shooting strategy for the next hour.
When I arrive at a location in the dark, I’m not just killing time until sunrise. I’m cataloguing. Where is the fog sitting? Is it moving or static? Where will the sun break the ridgeline? You’re building a mental map of what the next thirty minutes might look like so you’re not scrambling when it arrives. A headlamp, a warm layer, and genuine patience are the kit list for this phase.
Step 2: Shoot the First Composition Before You Overthink It
 First shot looking straight down the mist-filled gorge from the boardwalk
As soon as Heaton rounds the first corner and sees mist filling the gorge below, he stops and makes the shot. He’s on a 24-70mm at this point, working quickly because the walkway is narrow and other visitors will arrive soon. The composition is straightforward: the gorge running away from camera, mist layering the depth, soft pre-sunrise light holding the tones together. He doesn’t agonize. He shoots.
First shot looking straight down the mist-filled gorge from the boardwalk
As soon as Heaton rounds the first corner and sees mist filling the gorge below, he stops and makes the shot. He’s on a 24-70mm at this point, working quickly because the walkway is narrow and other visitors will arrive soon. The composition is straightforward: the gorge running away from camera, mist layering the depth, soft pre-sunrise light holding the tones together. He doesn’t agonize. He shoots.
The lesson here is about trusting your first read of a scene. Experienced photographers develop compositional instincts that are genuinely fast. Standing there deliberating while the mist shifts is how you miss it. Make the shot, then refine. You can always delete a frame. You can’t recreate a moment.
Step 3: Switch Lenses to Compress the Scene
 Heaton switching from 24-70mm to a 100-400mm telephoto lens
After the wide establishing frame, Heaton reaches for his 100-400mm. The reason is compression. The next valley is filled with mist and fog, and a telephoto collapses that distance, making the atmospheric layers stack against each other and creating a sense of depth that a wide lens would simply flatten out. He’s moving quickly because access is time-limited, but the lens swap is deliberate and purposeful.
Heaton switching from 24-70mm to a 100-400mm telephoto lens
After the wide establishing frame, Heaton reaches for his 100-400mm. The reason is compression. The next valley is filled with mist and fog, and a telephoto collapses that distance, making the atmospheric layers stack against each other and creating a sense of depth that a wide lens would simply flatten out. He’s moving quickly because access is time-limited, but the lens swap is deliberate and purposeful.
If you’re shooting a misty valley or any scene with distinct atmospheric layers, compression is one of your most powerful tools. Set your telephoto somewhere between 200mm and 400mm and look for a frame where ridgelines, fog banks, and sky separate into clean horizontal bands. The longer the focal length, the more the layers appear to press together. That visual density is what makes mist shots feel immersive rather than just hazy.
Step 4: Bracket Aggressively When Dynamic Range Is Extreme
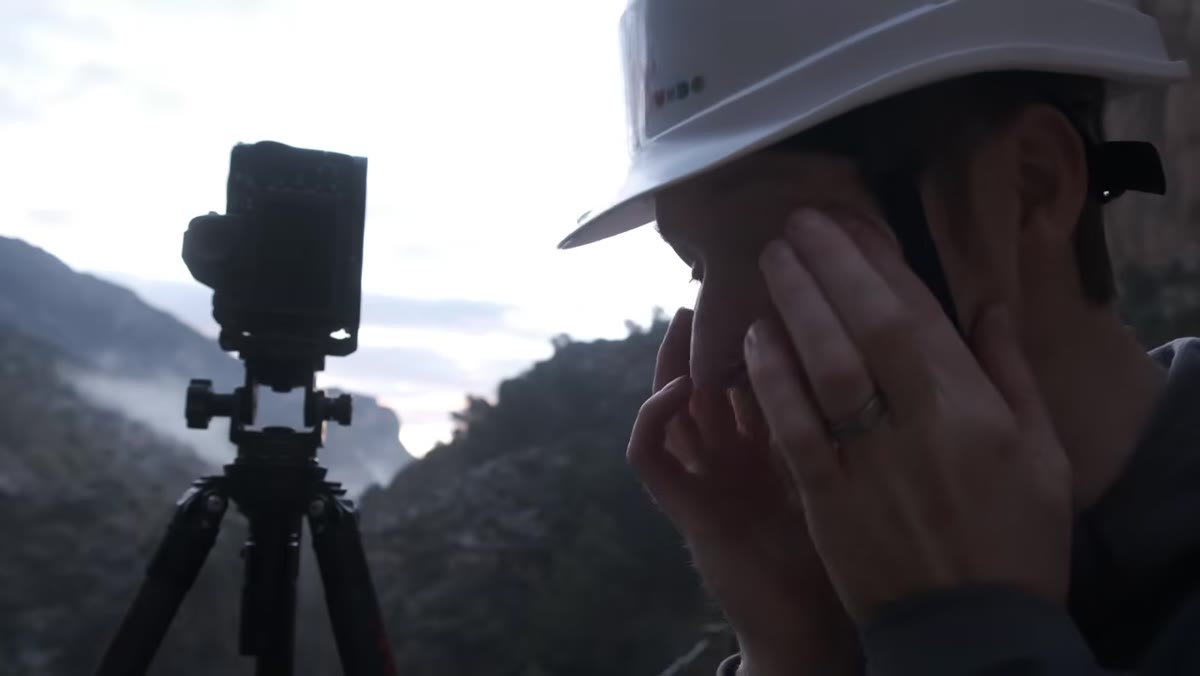
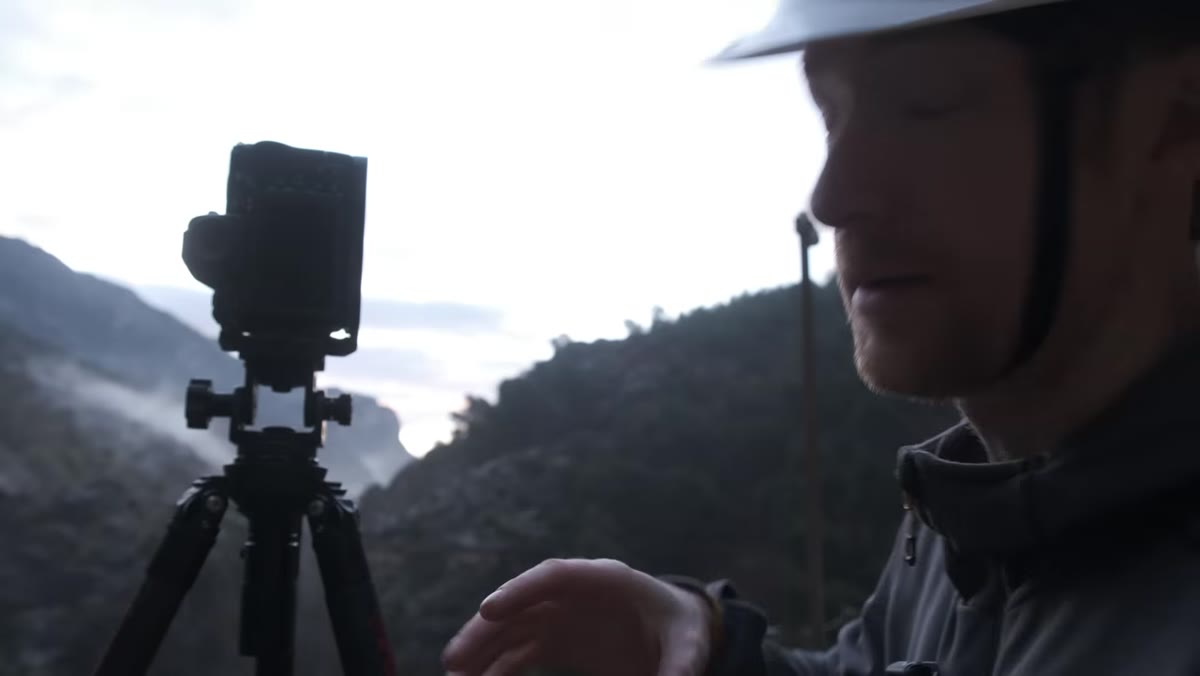
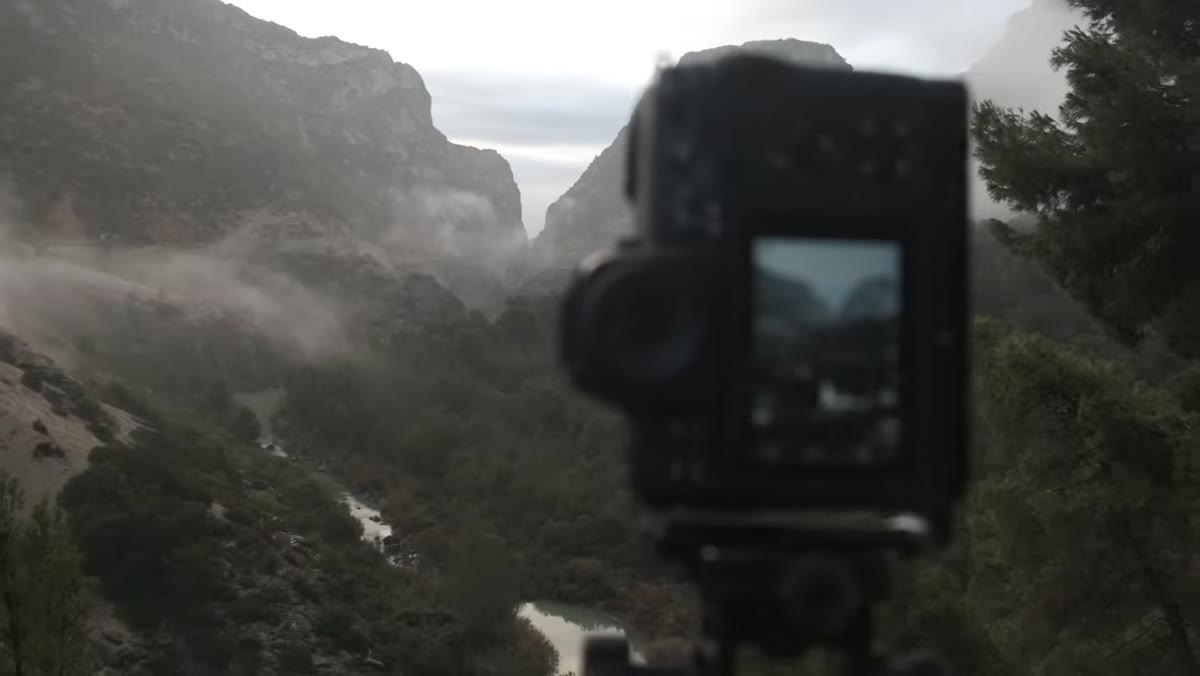 Heaton explaining the contrast problem with a bright sky and dark shadowed valley
The second major composition presents a serious technical problem. The sun is rising behind the far ridge, creating a brutally bright sky above a deep, shadowed valley floor. The dynamic range between the brightest and darkest parts of the scene is far beyond what a single exposure can hold cleanly. Heaton makes the call immediately: bracket it.
Heaton explaining the contrast problem with a bright sky and dark shadowed valley
The second major composition presents a serious technical problem. The sun is rising behind the far ridge, creating a brutally bright sky above a deep, shadowed valley floor. The dynamic range between the brightest and darkest parts of the scene is far beyond what a single exposure can hold cleanly. Heaton makes the call immediately: bracket it.
Bracketing here means shooting a sequence of exposures, typically three to five frames at different shutter speeds, so you retain highlight detail in the sky and shadow detail in the valley. In practice, I bracket in one-stop increments: expose for the sky, expose for the midtones, expose for the shadows. In post, you blend them, either through HDR processing or manual luminosity masking. The mist and fog actually help here because they act as a natural diffuser, softening the transition between zones and giving you a bit more latitude in blending. If you have atmosphere in the frame, use it.
Step 5: Recognize When a Tripod Isn’t Necessary
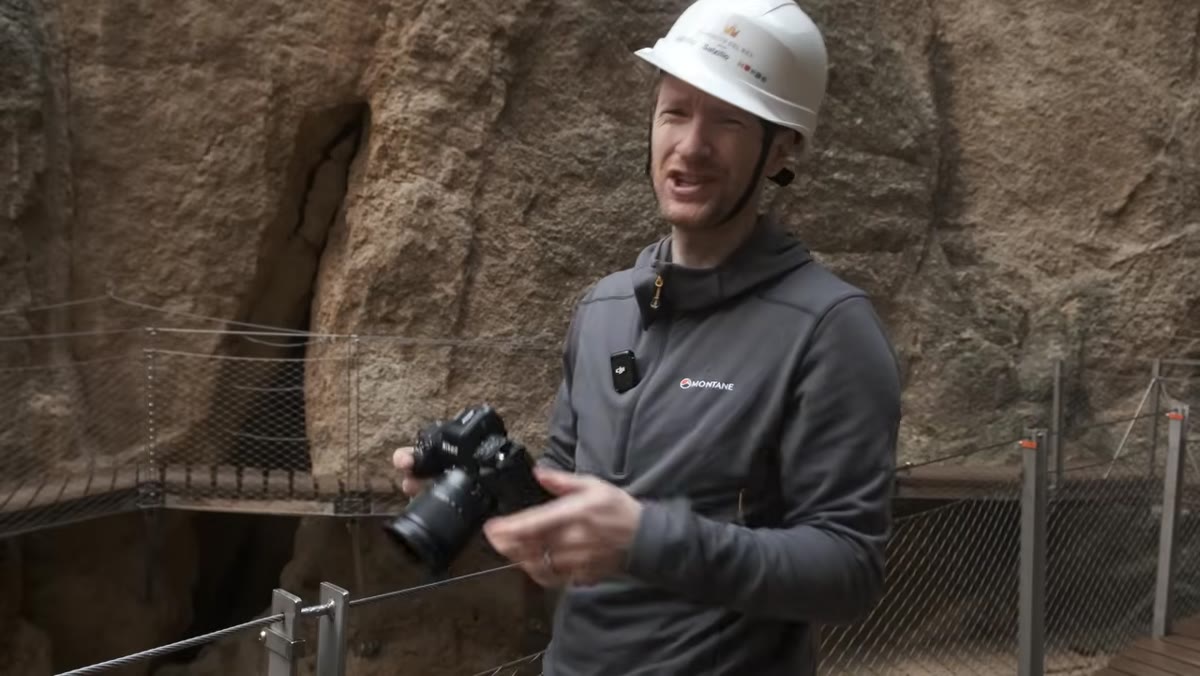 Heaton shooting handheld with good available light on the gorge walkway
As the light builds, Heaton notes he no longer needs a tripod. There’s enough ambient light that he can shoot handheld at a shutter speed fast enough to eliminate camera shake. On a narrow boardwalk with people starting to move through, a tripod becomes an obstacle more than an asset.
Heaton shooting handheld with good available light on the gorge walkway
As the light builds, Heaton notes he no longer needs a tripod. There’s enough ambient light that he can shoot handheld at a shutter speed fast enough to eliminate camera shake. On a narrow boardwalk with people starting to move through, a tripod becomes an obstacle more than an asset.
Knowing when to put the tripod down is as important as knowing when to use it. If your shutter speed is at or above 1/focal length and your ISO is manageable for the sensor you’re shooting, handhold it. Staying mobile lets you adjust framing rapidly as people move, light shifts, or you spot a tighter composition. On a location like this, agility is an underrated skill.
A Word on Returning to Places You Already Know
I’ve been to locations multiple times and found the second or third visit yields the best work. Familiarity removes the cognitive load of figuring out where to stand and lets you focus entirely on reading light and atmosphere. Heaton’s history with this gorge, having climbed through it years before the current boardwalk existed, clearly informs how he moves through it now. He knows the bend where the second valley opens up. He anticipates it.
My mentor once told me the mountain doesn’t care about your schedule. It took me years to understand that what he meant was: stop trying to force the shot and start learning the place well enough that you recognize the shot when it comes. Multiple visits, even to locations that didn’t deliver, build that fluency. The patience pays compound interest.
The single biggest takeaway from watching Heaton work this location is that great conditions reward prepared photographers, not lucky ones. He was there before the mist arrived, he understood his exposure problem before he pressed the shutter, and he knew when to switch focal lengths without breaking the flow of the shoot. None of that is accidental.
Watch the full tutorial on YouTube and pay attention to the pace of his decisions. That’s where the real education lives.
Comments
Leave a Comment