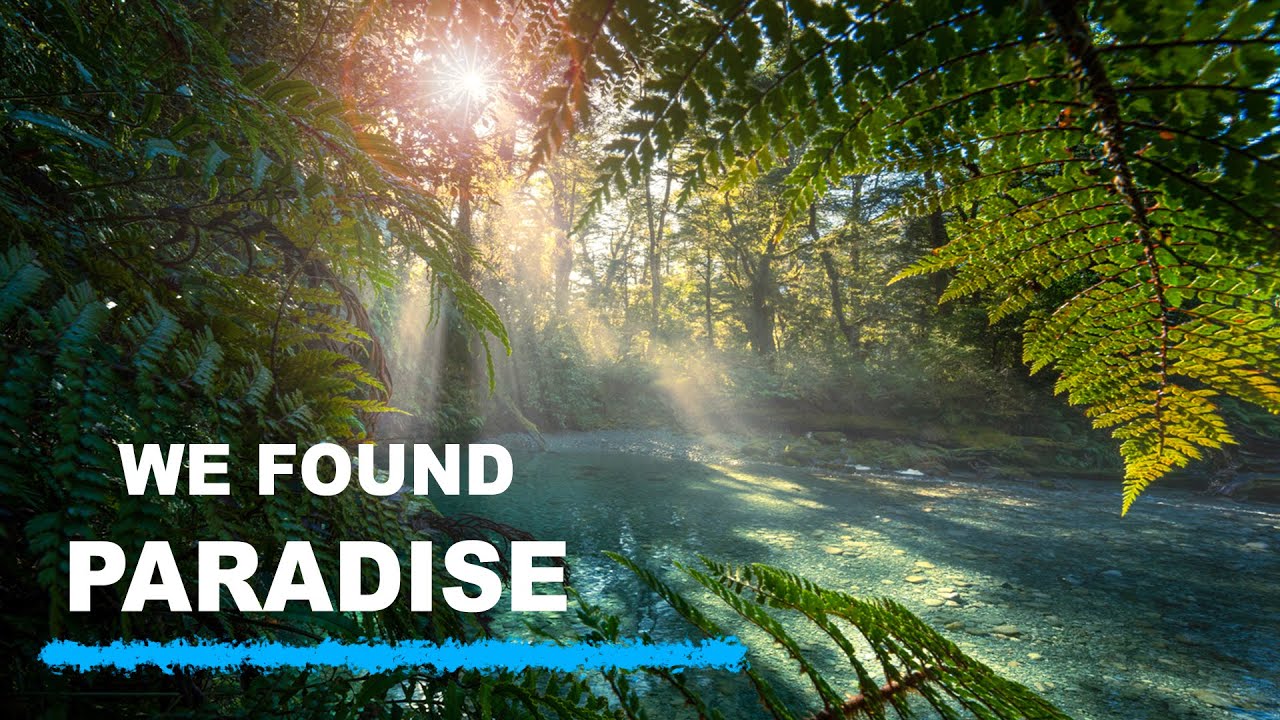
There’s a particular kind of shoot I keep coming back to across twenty years of this work, and it never gets easier to plan because it’s designed specifically to resist planning. You find a topographic line on a map, a tight contour cluster suggesting a drop, maybe a blue thread of creek feeding into it. You’ve never seen a photo of the place. You don’t know if the light will cooperate, whether the water is even running, or whether the terrain will let you get anywhere near it. You just go. That uncertainty is uncomfortable in the best possible way, and it’s exactly the energy running through this William Patino tutorial, where he kayaks across a New Zealand lake and hikes into untouched forest to photograph a waterfall he’s never laid eyes on. Watch the full tutorial on YouTube
What makes this video worth studying isn’t a secret camera setting or a post-processing trick. It’s the decision-making framework Patino uses in real time, in the field, with imperfect light and no trail to follow. I’ve watched a lot of tutorial content over the years, and most of it teaches you how to execute a shot you’ve already visualized. This one teaches you what to do when you genuinely don’t know what you’re walking into. That’s the harder skill, and it’s the one that separates photographers who come home with something from photographers who come home with excuses.
Step 1: Let the Map Be Your Only Brief
 Topographic map reference, waterfall location identified
Before Patino even touches his gear, he frames the entire expedition around a single piece of information: the topographic map showed a waterfall, and that’s enough reason to go. He hasn’t crowd-sourced the location, hasn’t looked for reference images, hasn’t set an expectation for what kind of shot he wants to come away with. This is deliberate. When you arrive somewhere with a fully formed image in your mind, you spend your time hunting for that image rather than seeing what’s actually in front of you. Use topo maps, satellite imagery, and watershed data to identify candidate locations, then stop researching. Let the place surprise you.
Topographic map reference, waterfall location identified
Before Patino even touches his gear, he frames the entire expedition around a single piece of information: the topographic map showed a waterfall, and that’s enough reason to go. He hasn’t crowd-sourced the location, hasn’t looked for reference images, hasn’t set an expectation for what kind of shot he wants to come away with. This is deliberate. When you arrive somewhere with a fully formed image in your mind, you spend your time hunting for that image rather than seeing what’s actually in front of you. Use topo maps, satellite imagery, and watershed data to identify candidate locations, then stop researching. Let the place surprise you.
Step 2: Pack for Access, Not for Comfort
 Dry bag packing with minimal camera gear visible
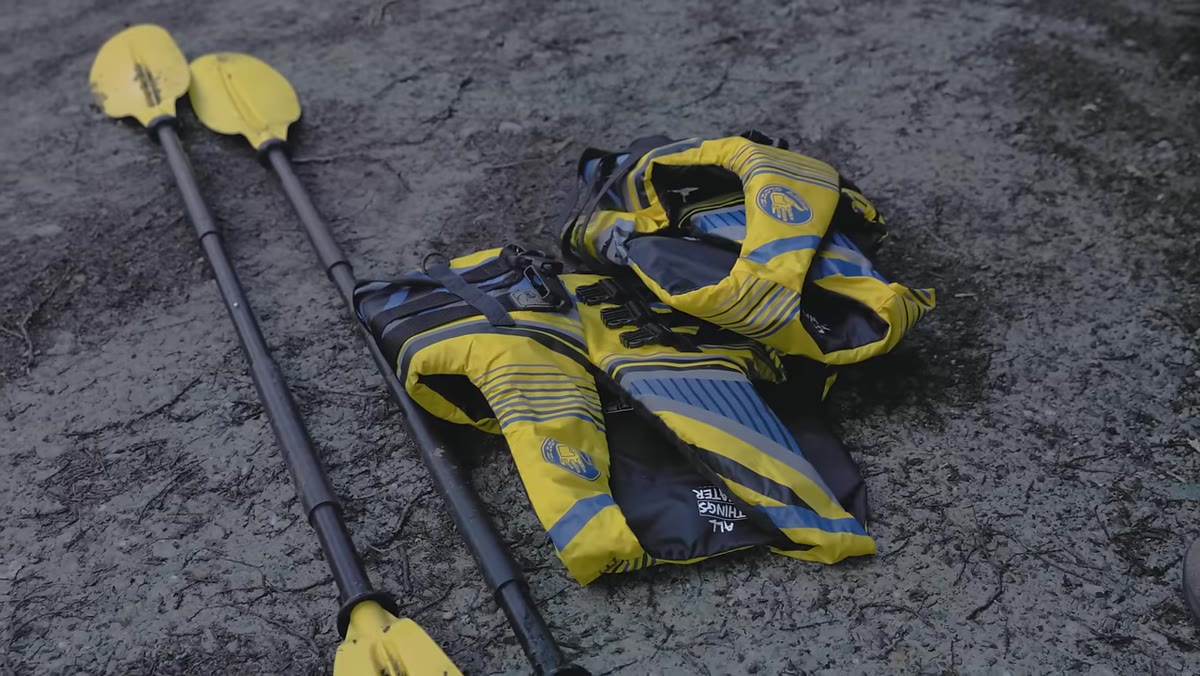
Patino makes a specific call here that I respect deeply: he leaves the camera bag behind and packs only essentials into a dry bag. Gloves, a safety vest, snacks, the bare minimum of camera gear. When your route involves a kayak crossing and a bushwhack through dense New Zealand forest, every extra kilogram is a reason to turn back early or move more carefully than you need to. Think about what you actually need to capture the shot, not what you might need. One body, one or two lenses, a filter, a tripod if the terrain allows it. The gear you leave in the car is gear you don’t have to protect from a swim.
Dry bag packing with minimal camera gear visible
Patino makes a specific call here that I respect deeply: he leaves the camera bag behind and packs only essentials into a dry bag. Gloves, a safety vest, snacks, the bare minimum of camera gear. When your route involves a kayak crossing and a bushwhack through dense New Zealand forest, every extra kilogram is a reason to turn back early or move more carefully than you need to. Think about what you actually need to capture the shot, not what you might need. One body, one or two lenses, a filter, a tripod if the terrain allows it. The gear you leave in the car is gear you don’t have to protect from a swim.
Step 3: Build Your Shot Clock Around Natural Light
 Fog hanging over tree line, sunlight beginning to crest
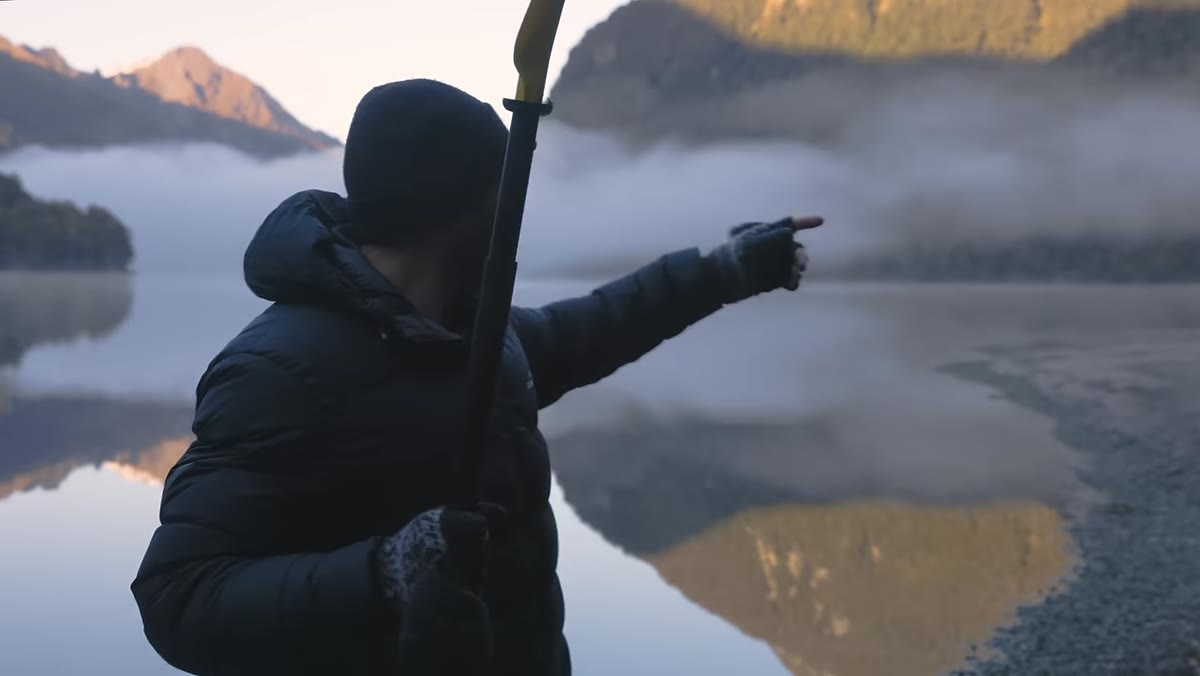
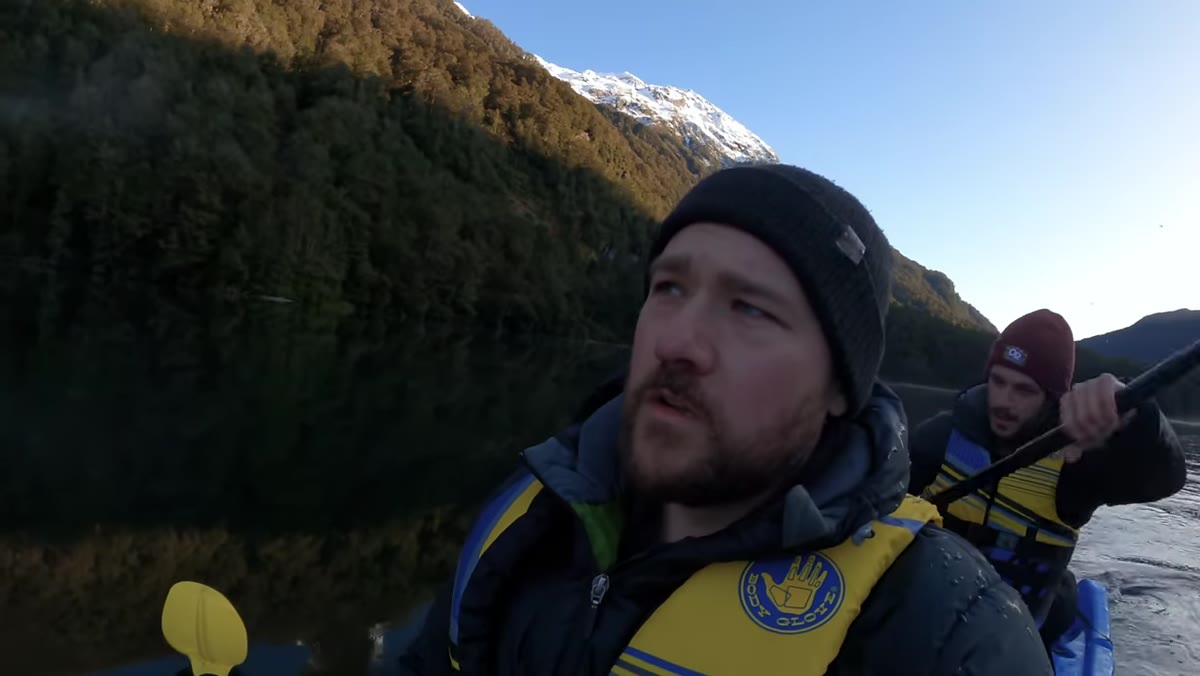
As Patino paddles across the lake, he notices fog sitting in the forest canopy and sunlight starting to break over the ridge. His pace immediately changes. He’s now racing to be inside the forest before the sun burns the fog off, because that window, where soft diffused light filters through mist into dark bush, is brief and unrepeatable that morning. This is active light reading. Don’t just look at where the light is. Calculate where it’s going to be in fifteen minutes, and position yourself accordingly. Fog in a forested gorge at dawn can last twenty minutes or two hours. You won’t know which until you’re in it, so you move.
Fog hanging over tree line, sunlight beginning to crest
As Patino paddles across the lake, he notices fog sitting in the forest canopy and sunlight starting to break over the ridge. His pace immediately changes. He’s now racing to be inside the forest before the sun burns the fog off, because that window, where soft diffused light filters through mist into dark bush, is brief and unrepeatable that morning. This is active light reading. Don’t just look at where the light is. Calculate where it’s going to be in fifteen minutes, and position yourself accordingly. Fog in a forested gorge at dawn can last twenty minutes or two hours. You won’t know which until you’re in it, so you move.
Step 4: Follow the Sound When the Trail Disappears
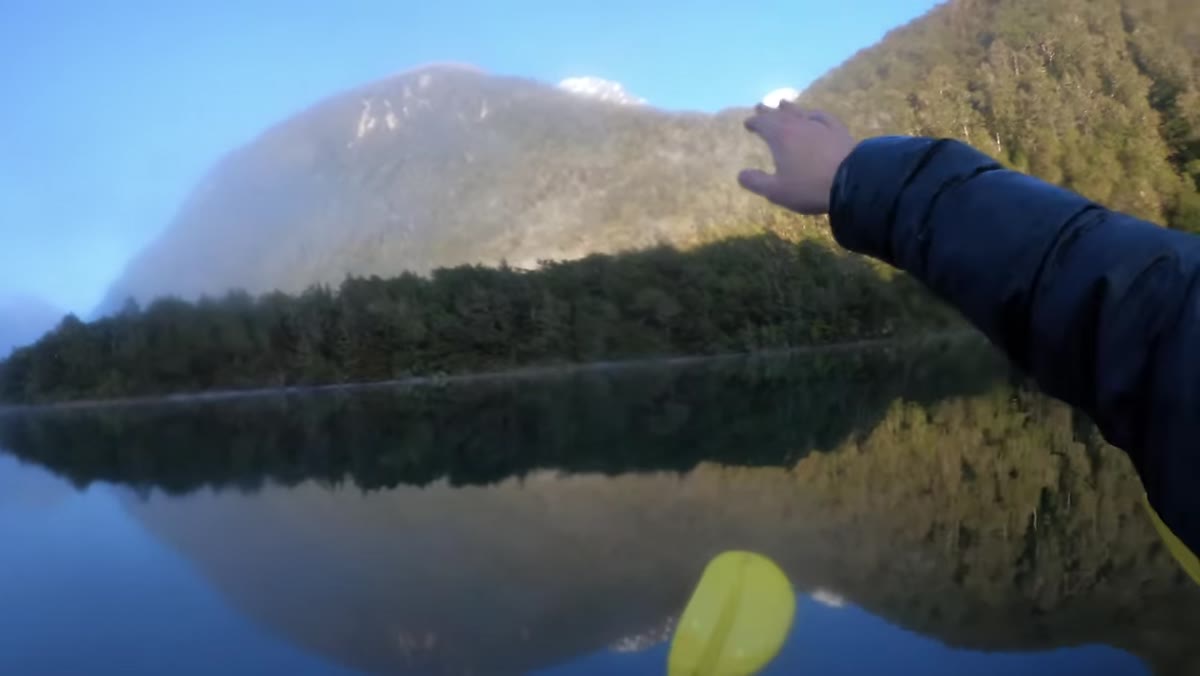 Creek outlet visible, gorge entrance ahead
Once Patino pulls the kayak ashore and starts moving inland, the forest gets thick fast. There’s no track to follow. His navigation tool at this point isn’t a GPS or a trail marker, it’s the sound of the water. He keeps the creek noise in his ears as an orientation anchor, adjusting his line through the undergrowth to stay parallel without always being creek-side. This works in the field better than most people expect. Moving water is directional sound. Your ears can tell you if you’re drifting away from it, and they don’t need charging. Use this when the terrain pushes you away from the water and you need to find your way back.
Creek outlet visible, gorge entrance ahead
Once Patino pulls the kayak ashore and starts moving inland, the forest gets thick fast. There’s no track to follow. His navigation tool at this point isn’t a GPS or a trail marker, it’s the sound of the water. He keeps the creek noise in his ears as an orientation anchor, adjusting his line through the undergrowth to stay parallel without always being creek-side. This works in the field better than most people expect. Moving water is directional sound. Your ears can tell you if you’re drifting away from it, and they don’t need charging. Use this when the terrain pushes you away from the water and you need to find your way back.
Step 5: Stop Looking for the Shot and Start Observing
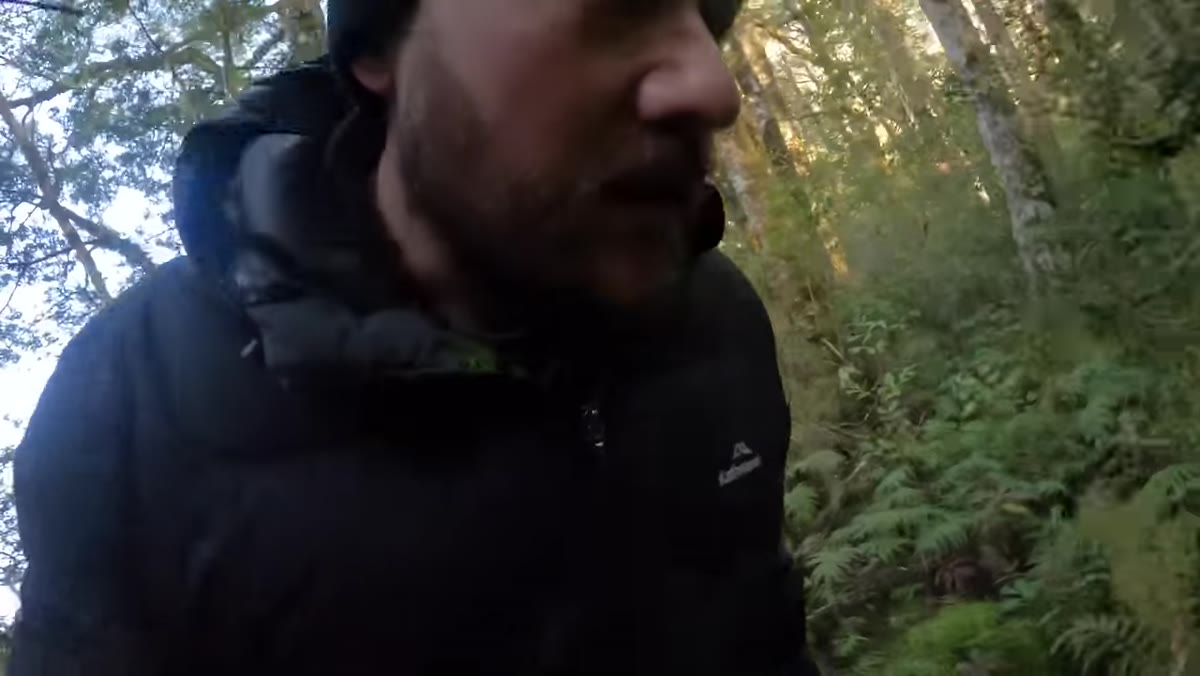 Dense forest interior, Patino moving slowly and looking upward
There’s a moment in the forest where Patino shifts gears. He stops trying to navigate toward a destination and starts just watching what the forest is doing around him. He notices how prehistoric the vegetation looks. He clocks the light coming through gaps in the canopy. He’s not composing yet, he’s gathering. I learned this the slow way, mostly by ruining it, arriving somewhere spectacular and immediately putting my eye to the viewfinder before I’d actually seen the place. Give yourself five minutes of hands-off observation when you enter a new location. Your compositions will be better for it.
Dense forest interior, Patino moving slowly and looking upward
There’s a moment in the forest where Patino shifts gears. He stops trying to navigate toward a destination and starts just watching what the forest is doing around him. He notices how prehistoric the vegetation looks. He clocks the light coming through gaps in the canopy. He’s not composing yet, he’s gathering. I learned this the slow way, mostly by ruining it, arriving somewhere spectacular and immediately putting my eye to the viewfinder before I’d actually seen the place. Give yourself five minutes of hands-off observation when you enter a new location. Your compositions will be better for it.
Step 6: Adapt Your Route When the Terrain Pushes Back
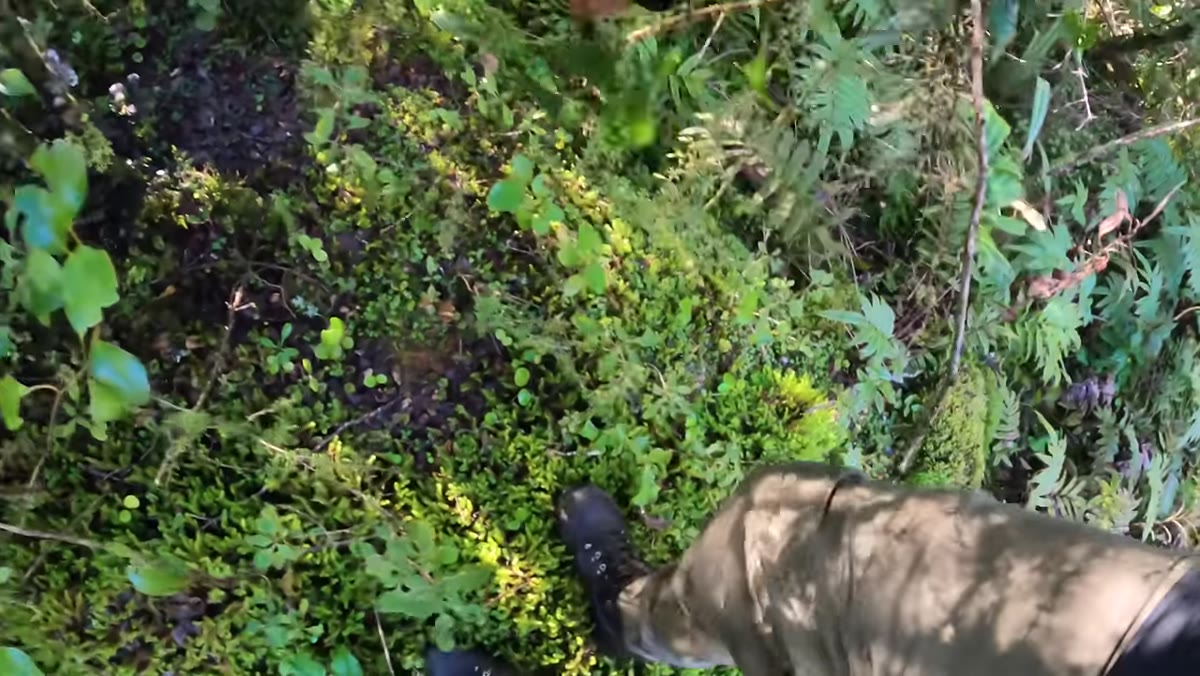 Fallen logs blocking creek path, decision to move around
The creek bed fills up with logs and the direct line becomes impassable. Patino doesn’t force it. He and Caleb cut around through the bush looking for deer tracks, any thinning in the vegetation that suggests something has moved through before. This kind of lateral thinking is a fundamental field skill. The most direct route to a waterfall is rarely the right route. Watch for where animals travel, look for subtle breaks in vegetation, and keep the sound of water as your compass. Getting there is part of the work.
Fallen logs blocking creek path, decision to move around
The creek bed fills up with logs and the direct line becomes impassable. Patino doesn’t force it. He and Caleb cut around through the bush looking for deer tracks, any thinning in the vegetation that suggests something has moved through before. This kind of lateral thinking is a fundamental field skill. The most direct route to a waterfall is rarely the right route. Watch for where animals travel, look for subtle breaks in vegetation, and keep the sound of water as your compass. Getting there is part of the work.
What I’d Add: The Empty Frame Is Still a Frame
I’ve made the mistake of treating exploratory shoots as failures if the hero shot doesn’t materialize. On one winter trip to the Oregon Cascades, I hiked four hours into a drainage and found the waterfall I was after frozen solid, not photogenic, just a column of grey ice in flat light. What I almost missed was the frost pattern on every fern along the creek for a full kilometer. It was one of the strongest detail series I’ve ever shot, and I nearly walked past all of it because my head was still fixed on the waterfall. When the location doesn’t give you what you came for, look at what it’s offering instead. The map brought you there. The place decides what you take home.
The single most transferable thing in this whole video is Patino’s stated reason for going in the first place: curiosity, not certainty. He says it directly, that exploration and being surprised by nature is the most enjoyable part of photography. After twenty years of this, I’d put it more bluntly. Certainty is the enemy of interesting work. Go somewhere you don’t know. Bring less than you think you need. Follow the sound of the water.
Watch the full tutorial on YouTube
Comments (3)
This is going in my reference folder. Incredibly useful.
Really solid breakdown. This pairs perfectly with the color grading work I've been writing about.
Just used this on a wedding shoot edit. Client was thrilled.
Leave a Comment