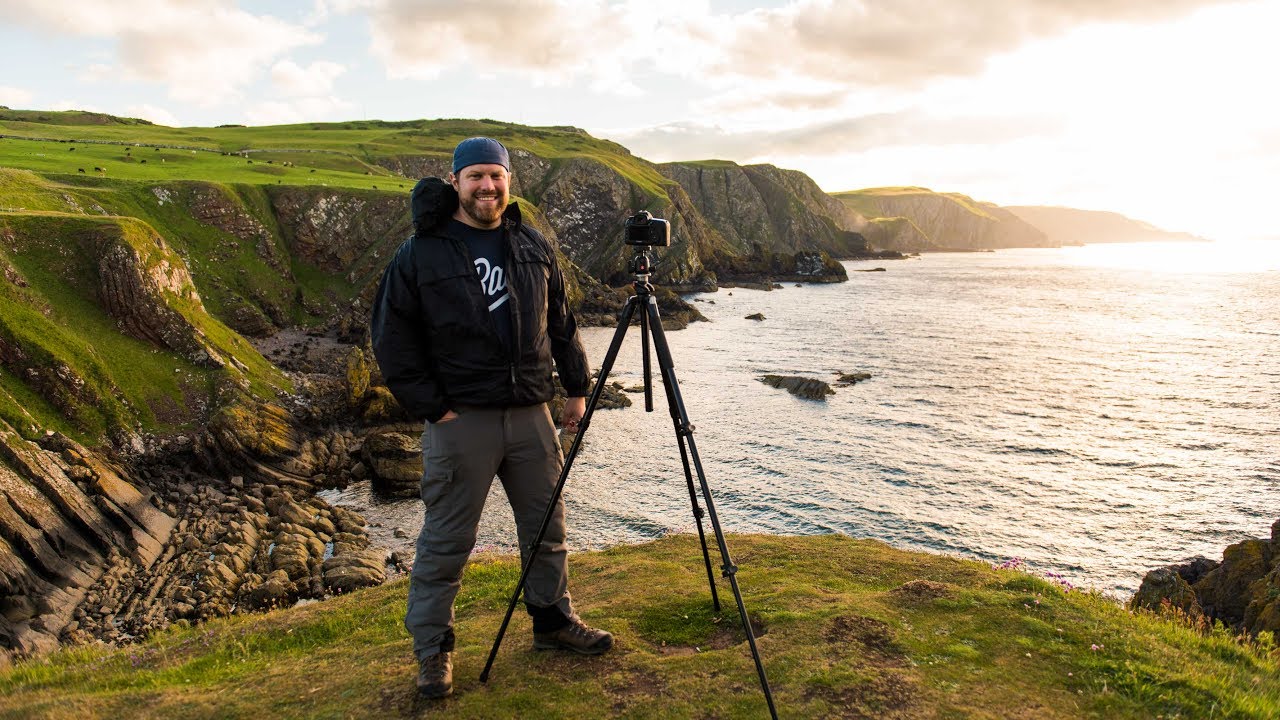
There’s a particular kind of day I’ve had dozens of times over twenty years behind a lens: you’ve traveled somewhere with a clear shot list in your head, the weather turns hostile the moment you arrive, and you have to decide whether to pack it in or dig deeper. I recognize that day in this First Man Photography tutorial on shooting landscapes and wildlife across Northumberland and the Scottish Borders. Watch the full tutorial on YouTube before or after reading this — it’s worth your time either way.
What makes this video useful isn’t the destination. Most of us aren’t going to the Farne Islands next weekend. What’s useful is watching a photographer arrive in grim, rainy conditions with a specific set of images already mapped out in his mind, and then methodically work through that shot list. That discipline — knowing what you want before you pick up the camera — is something I try to teach in every workshop I run. It’s also something a lot of photographers skip entirely, especially when the light is bad and the temptation is to just wander and hope.
The tutorial covers two distinct skill sets: wildlife photography (specifically puffins, covering birds in flight and close portrait work) and landscape shooting later in the day. I’m going to walk you through the wildlife portion step by step, because those are the techniques with the most transferable value regardless of where you shoot.
Step 1: Know Your Shot List Before You Arrive
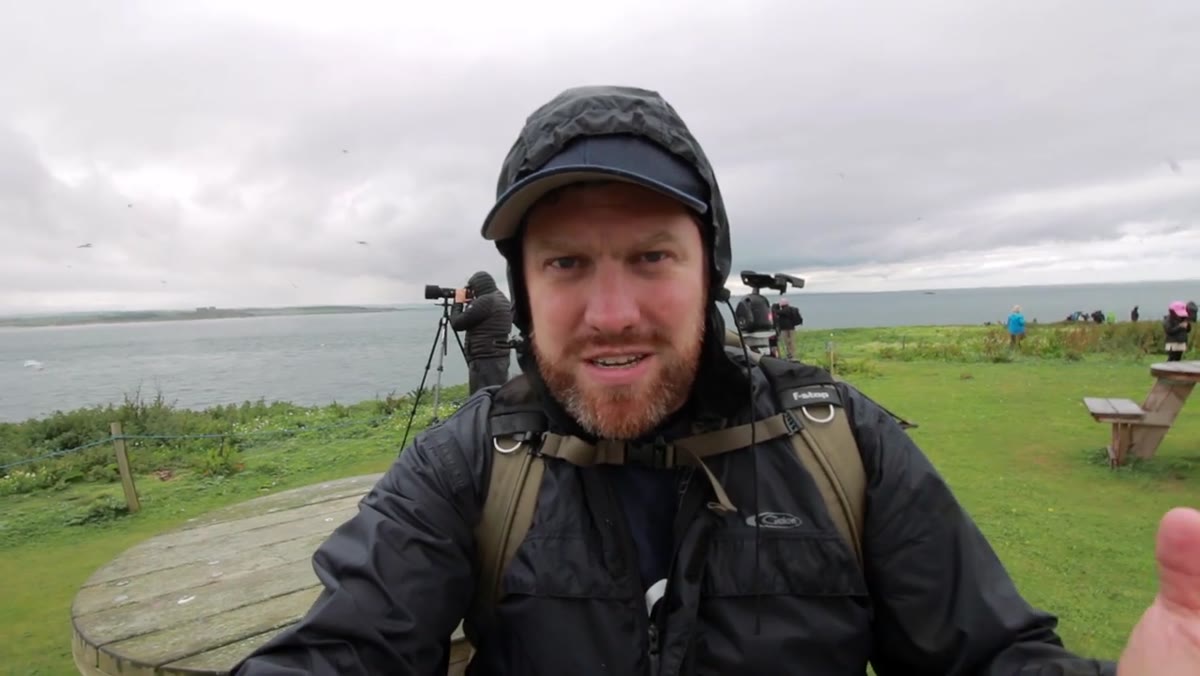 Photographer on island outlining his three target shots
Before a single frame is captured, the tutorial’s narrator outlines exactly three images he’s after: a clean puffin portrait, a portrait with fish in the bill, and a bird in flight. That’s it. Three shots, two of them portraits, one of them an action challenge.
I’ve adopted the same habit, and it’s changed how I shoot entirely. A shot list isn’t a creative straitjacket. It’s a focusing device. When you’re standing in cold rain with limited time on a boat-access island, the worst thing you can do is wander. Decide in advance what success looks like. Write it down if you need to.
Step 2: Dial In Your Settings for Birds in Flight
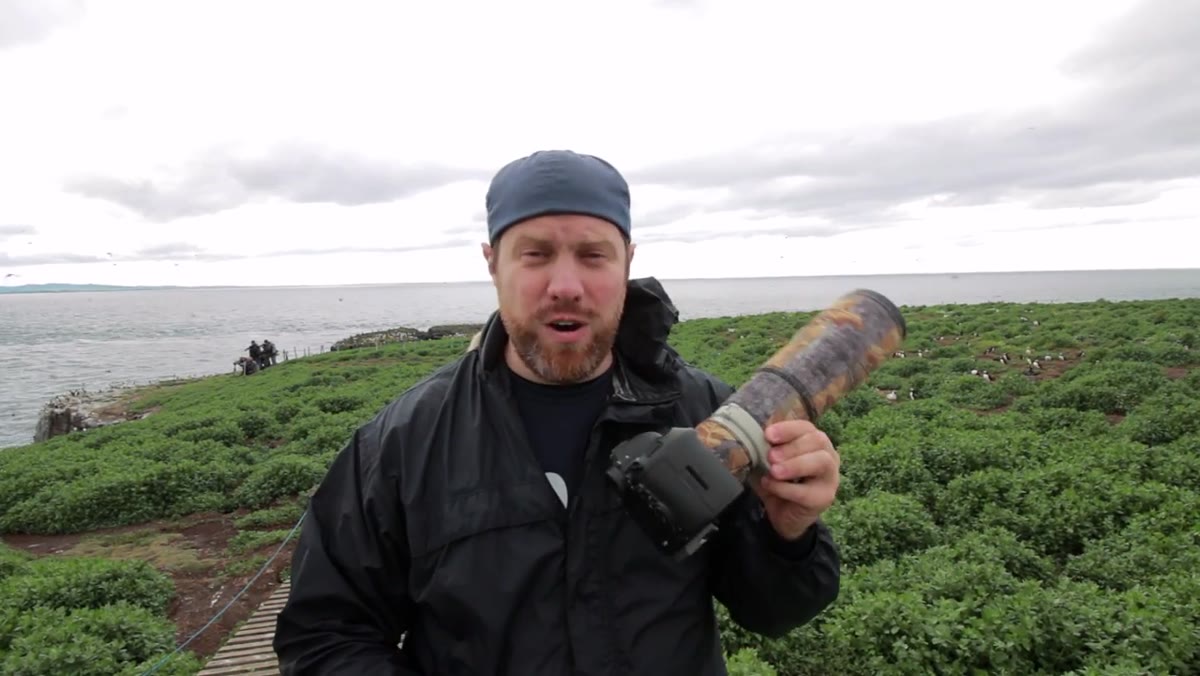 Photographer adjusting settings on Canon body with 400mm lens mounted
For the flight shots, the camera is running a Canon 400mm f/5.6 L lens at 1/1600s shutter speed, f/8, and ISO 1250. Each of those numbers is doing a specific job. The fast shutter is non-negotiable with puffins, which are surprisingly quick and erratic in flight. The aperture is closed down slightly from the lens maximum to f/8 — not for background blur here, but to build in a margin of sharpness. With a moving subject and a moving camera, focus precision is a moving target, and a touch more depth of field buys you more keepers.
ISO 1250 is the balancing act. The goal is always to hold a fast shutter while keeping the exposure clean. On an overcast day like this one, you’re leaning on ISO more than you’d prefer, and that’s fine. I’d rather have a slightly noisy shot with a sharp eye than a clean shot with a motion-blurred wing.
Step 3: Use AF-Servo and Anticipate the Bird’s Path
 Camera tracking birds in flight near rocky outcrop
AF-Servo mode (or AI Servo on Canon bodies, Continuous AF on other systems) is essential for any moving subject. The autofocus doesn’t lock and hold — it tracks. The tutorial makes a point of flagging this after already starting to shoot, which is an honest moment most tutorials skip. Even experienced photographers occasionally have to remind themselves to check their AF mode.
Beyond the mode setting, the compositional thinking here is worth noting. Rather than shooting against blank sky, the photographer uses a stone tower on the left edge of the frame to anchor the image and give the bird something to fly through. That’s real compositional problem-solving in the field: look for what’s in the environment that makes the background more than nothing.
Step 4: Get Low for the Puffin Portrait
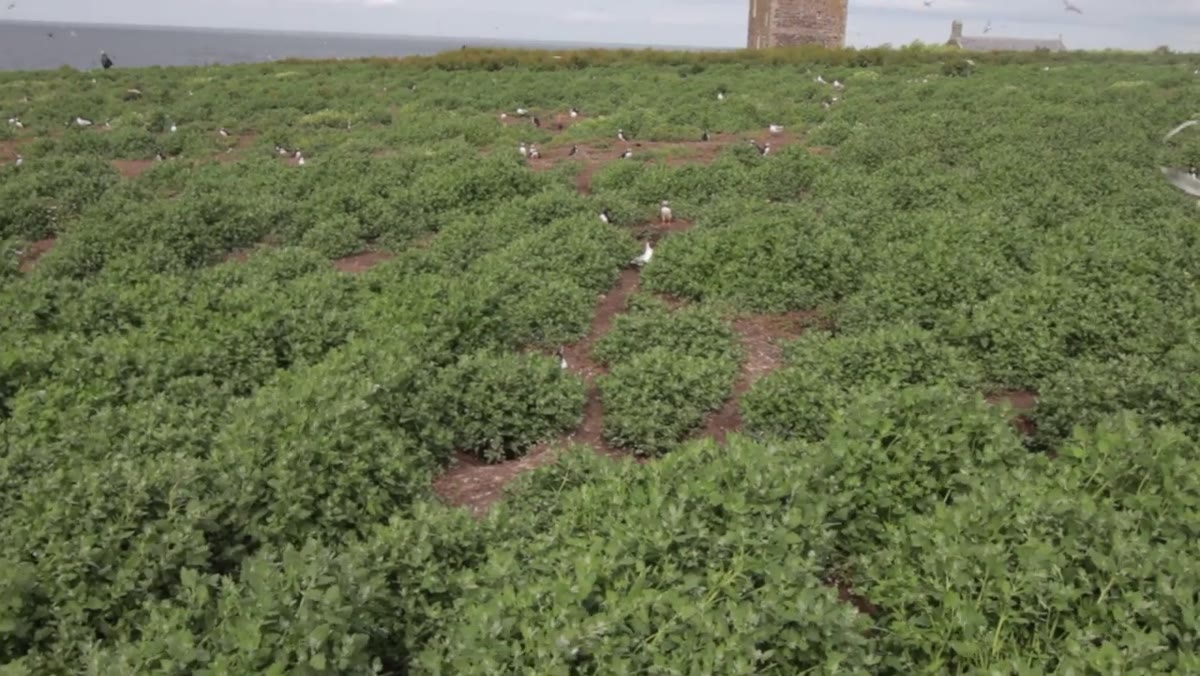 Photographer low on the ground among green vegetation near puffin nests
Puffins nest underground, emerging through openings in the low coastal vegetation. Getting the portrait shot means physically getting down on the ground, not crouching, but prone. The low angle does two things: it puts the camera at the subject’s eye level, and it turns the foreground vegetation into a soft blurred frame that layers the image. Both matter.
The settings shift significantly for the portrait: 1/500s shutter speed (the bird is stationary so you don’t need 1/1600s), aperture opens up to f/5.6 to maximize background separation, and ISO drops to 500 because there’s no motion penalty for raising it and the overcast light requires the boost. Switching to a vertical frame orientation also helps here — it matches the upright posture of the bird and fills the frame more naturally than a horizontal crop would.
Step 5: Work a Patient Subject Like a Portrait Session
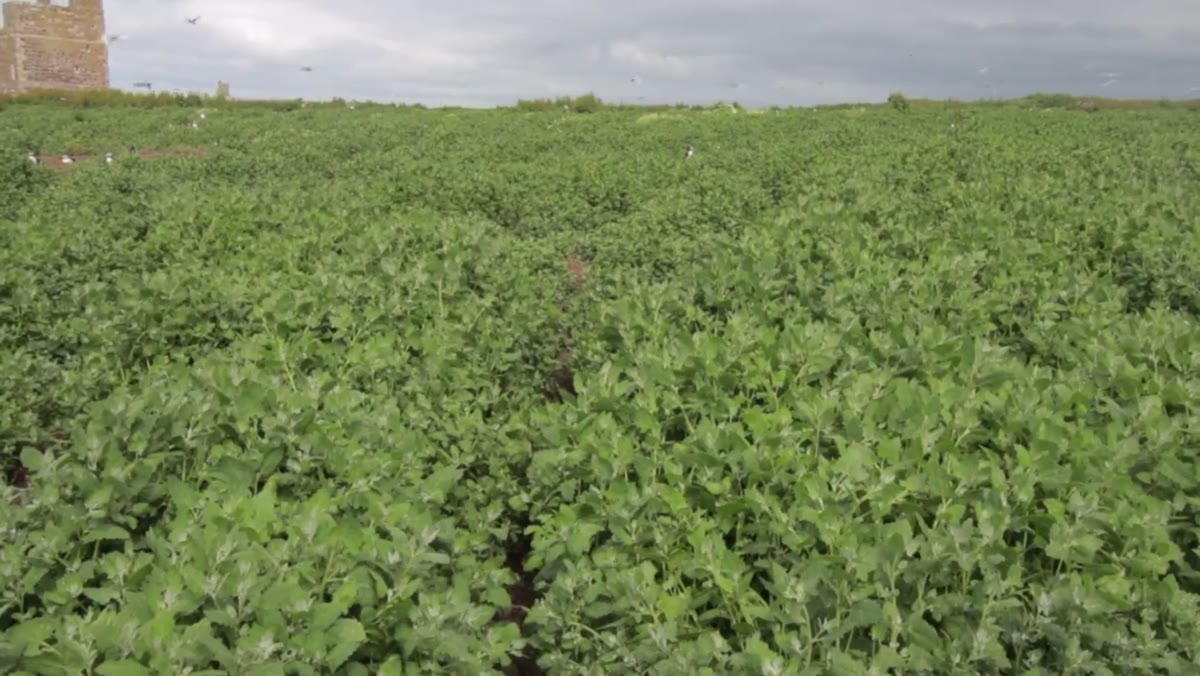 Puffin standing still at nest entrance in overcast light
Puffins have a habit of pausing at the entrance to their burrows before flying off to fish. That pause is your window. The tutorial describes finding one already standing and “posing” and then composing through a natural line in the foliage toward the bird. This is the same thinking I use with landscape foregrounds: find a natural lead-in and let the environment do part of the compositional work.
The key patience play here is not moving when you’ve found a good position. Puffins are habituated to people on the Farne Islands, but sudden movement still spooks them. Lock in your composition, pre-focus on the eye, and wait. Let the shot come to you rather than chasing it.
A Note From My Own Field Experience
I live and shoot in the high desert around Bend, Oregon. I don’t have puffins. But I’ve used every one of these techniques on ravens, ospreys, and the occasional great horned owl that decides to sit on a fence post at golden hour. The settings logic is universal: fast shutter for flight, open aperture for perched portraits, Servo AF the moment anything starts to move.
The one thing I’d add is to shoot more frames than feels comfortable when you’re doing birds in flight. I still occasionally under-shoot action sequences out of some film-era instinct to conserve. It’s a bad habit. Storage is cheap. Decisive moments are not. The narrator in this tutorial is clearly comfortable firing through a sequence, and his keepers reflect it.
The single most important thing this tutorial demonstrates is that preparation and adaptability work together, not against each other. You arrive with a plan, the weather fights you, and you execute the plan anyway because you already know what you’re after. That discipline is what separates a productive day in difficult conditions from a wasted one.
Watch the full tutorial on YouTube to see the landscape portion of the day as well — the light eventually cleared, as it usually does for those willing to wait.
Comments (2)
Love how you break down complex stuff into manageable steps.
Great breakdown. The step-by-step approach really helps.
Leave a Comment