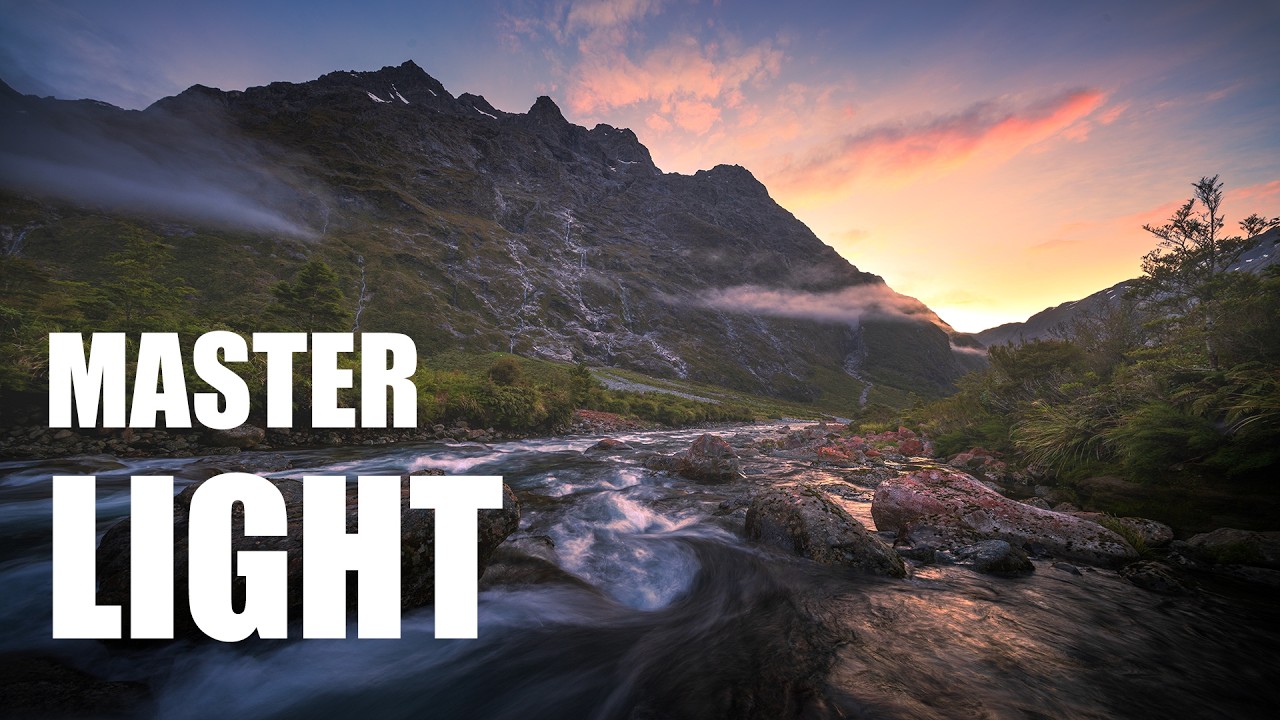
There’s a particular kind of creative paralysis that hits when you’re standing in a place almost too beautiful to photograph. Too many subjects. Light moving fast. You spin around trying to decide where to point the camera and end up shooting nothing well. I’ve been making landscape images for twenty years, and that feeling still shows up on big mornings. What cuts through it isn’t inspiration. It’s a working method.
That’s why I keep returning to field tutorials from photographers who think out loud while they shoot. In this William Patino tutorial filmed in a mountain valley in Fiordland, New Zealand, Watch the full tutorial on YouTube, William walks the riverbed at sunrise, talks through every decision in real time, and demonstrates a compositional approach that translates directly to any wide open landscape with moving water. What follows is my breakdown of his method, with the practical details you need to apply it on your next early morning shoot.
Step 1: Scout the Foreground Before You Worry About the Background
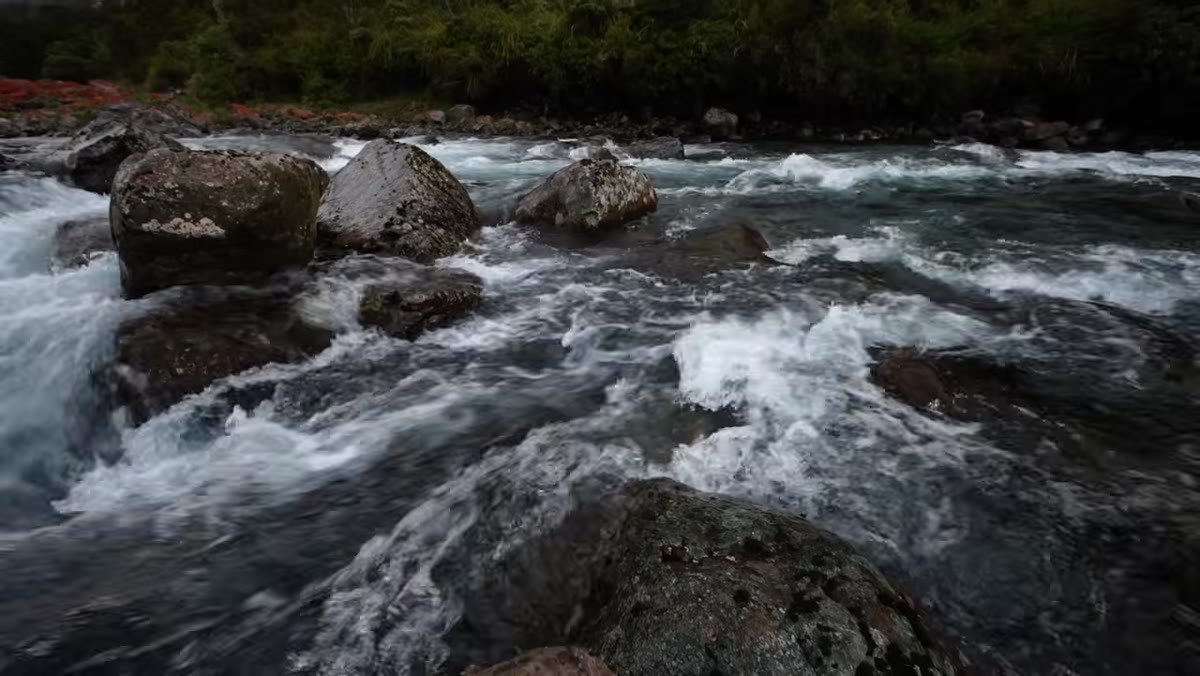 Photographer examining river cascade and rocks at water’s edge
The mountain isn’t going anywhere. William makes this point early, and it’s the most useful reframe in the entire video. When you arrive at a location with big peaks and dramatic sky, the instinct is to look up. But the foreground changes with every step. Water moves, rocks shift into different relationships, glare appears and disappears. Spend the first few minutes walking the riverbank and crouching down to examine the cascades and pooling patterns before you even raise the camera.
Photographer examining river cascade and rocks at water’s edge
The mountain isn’t going anywhere. William makes this point early, and it’s the most useful reframe in the entire video. When you arrive at a location with big peaks and dramatic sky, the instinct is to look up. But the foreground changes with every step. Water moves, rocks shift into different relationships, glare appears and disappears. Spend the first few minutes walking the riverbank and crouching down to examine the cascades and pooling patterns before you even raise the camera.
What you’re hunting for is flow that has visual energy without becoming chaotic. A small cascade or swirl gives the eye somewhere to enter the frame. Flat, glaring, static water is a dead zone. Too much white water overwhelms everything else. William keeps moving, keeps looking, and treats the foreground analysis as its own dedicated task.
Step 2: Match Your Focal Length to the Physical Space You’re In
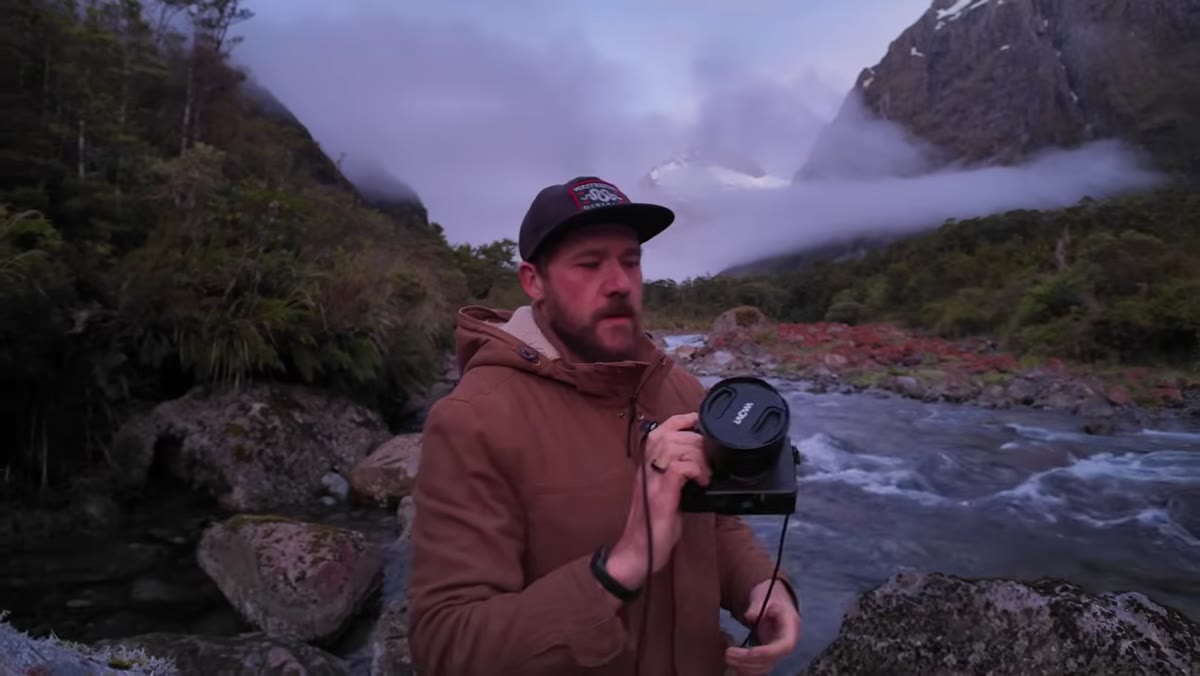 Wide angle prime lens mounted on camera, steep valley walls visible
William is shooting with a 10mm prime, and his reasoning is worth sitting with. In a steep, enclosed valley, the mountains are physically close to you. A standard wide angle like 24mm won’t capture both the peaks above and the foreground river below without forcing compromises. The 10mm creates breathing room, letting the entire scene fit coherently in a single frame.
Wide angle prime lens mounted on camera, steep valley walls visible
William is shooting with a 10mm prime, and his reasoning is worth sitting with. In a steep, enclosed valley, the mountains are physically close to you. A standard wide angle like 24mm won’t capture both the peaks above and the foreground river below without forcing compromises. The 10mm creates breathing room, letting the entire scene fit coherently in a single frame.
If you’re shooting a full-frame sensor, this logic holds directly. If you’re on a crop sensor, factor in your crop multiplier. The broader principle is that your focal length should be chosen for the geometry of the specific location, not habit. In wide open plains, a 16-24mm might be plenty. In a box canyon or steep fjord, you might genuinely need something more extreme. The lens choice is a spatial decision, not just an aesthetic one.
Step 3: Dial In a Slow Shutter for Moving Water, Then Shoot Test Frames Immediately
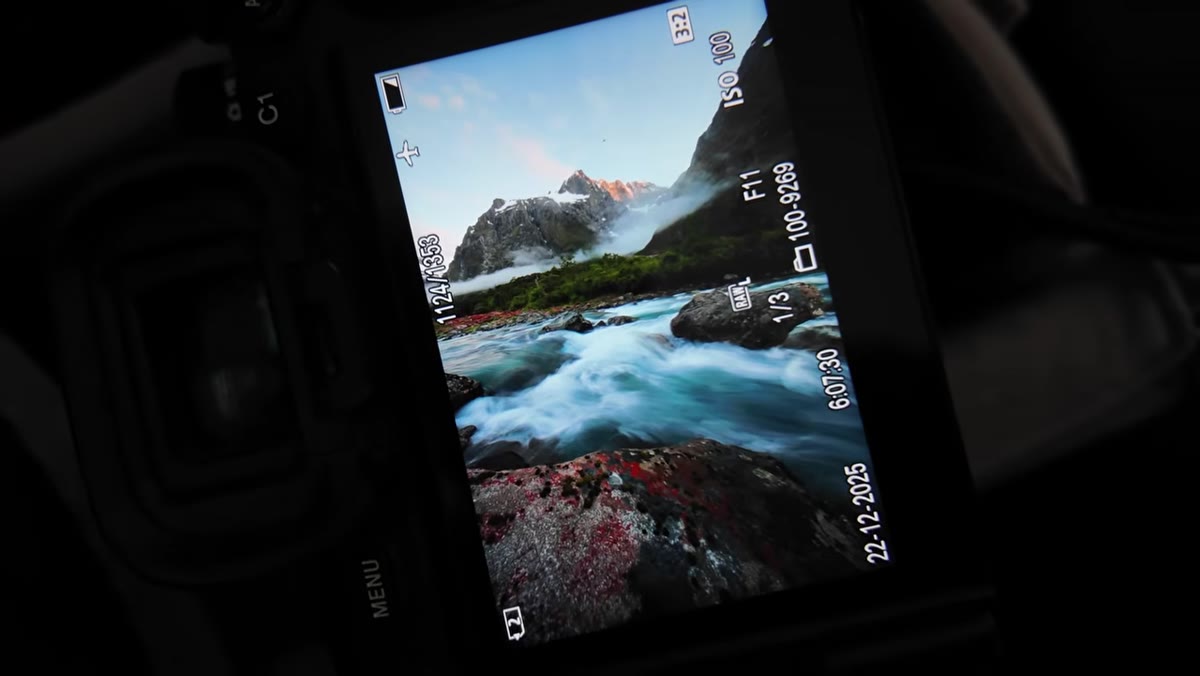
 Camera settings displayed, slow shutter speed on moving river
William targets a shutter speed between 1/5 and 1/3 of a second for the river. This range softens the water into texture without turning it into the formless silk you get with multi-second exposures. He pairs that with ISO 100 and an aperture around f/8 to f/11. At 10mm, depth of field is generous, so he doesn’t need to stop down to f/16 the way you might with a longer lens to keep a close foreground sharp.
Camera settings displayed, slow shutter speed on moving river
William targets a shutter speed between 1/5 and 1/3 of a second for the river. This range softens the water into texture without turning it into the formless silk you get with multi-second exposures. He pairs that with ISO 100 and an aperture around f/8 to f/11. At 10mm, depth of field is generous, so he doesn’t need to stop down to f/16 the way you might with a longer lens to keep a close foreground sharp.
The critical habit here is shooting test frames immediately and reviewing them in camera before committing. William takes three frames and plays them back right there in the field. He’s not chimping obsessively. He’s getting calibrated feedback on whether the shutter speed feels right for the water’s movement and whether the composition holds together. Early test frames are diagnostic, not precious. Treat them that way.
Step 4: Build the Composition Around the Dominant Shapes First
 Photographer framing mountain peaks and river together in wide composition
Before details, before light, before color. William describes his compositional logic clearly: start with the big obvious shapes. In a valley like this one, those shapes are the mountain peaks. Everything else in the frame needs to relate to and support those anchors. The rocks in the river create depth and visual weight in the lower third. The river itself provides a line that moves through the scene. The trees in the mid-distance are what he calls complementary subjects, not the main event.
Photographer framing mountain peaks and river together in wide composition
Before details, before light, before color. William describes his compositional logic clearly: start with the big obvious shapes. In a valley like this one, those shapes are the mountain peaks. Everything else in the frame needs to relate to and support those anchors. The rocks in the river create depth and visual weight in the lower third. The river itself provides a line that moves through the scene. The trees in the mid-distance are what he calls complementary subjects, not the main event.
The reason most compositions fall apart is that photographers try to balance too many competing subjects of equal importance. Decide what the main subject is, position it to dominate the frame, and then arrange the supporting elements around it. Rocks become foreground interest that push you toward the peaks. The river becomes the connective tissue. The sky completes the context. Everything has a role.
Step 5: Let the Light Tell You Where to Point the Camera
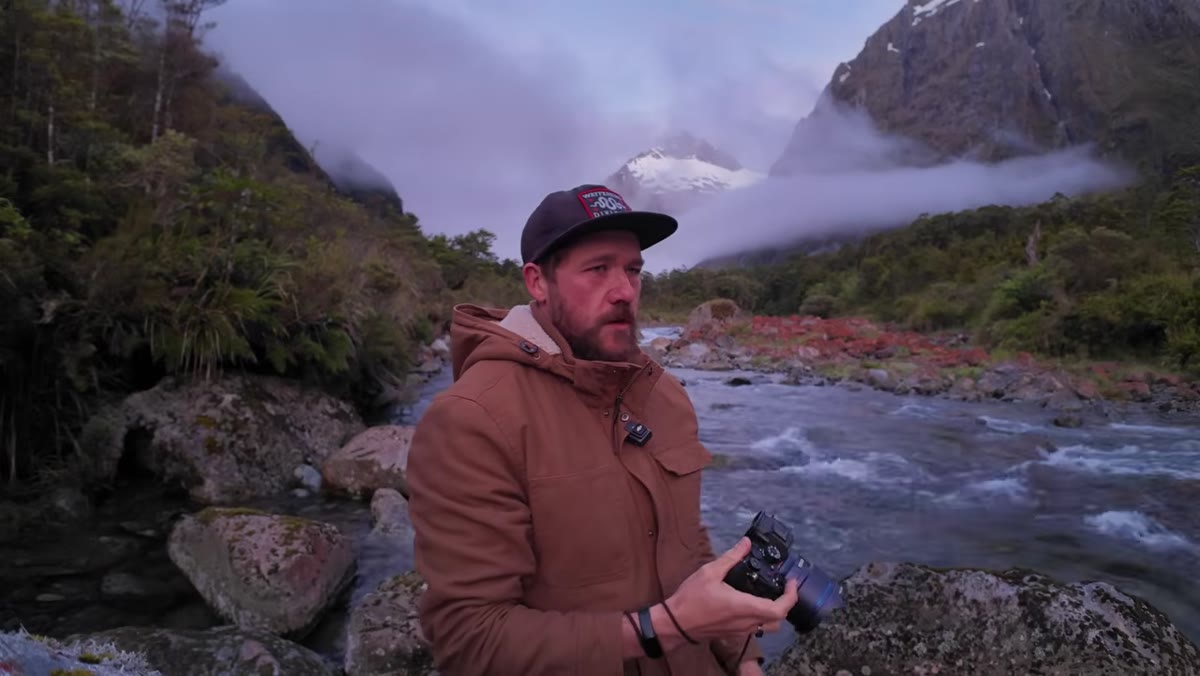
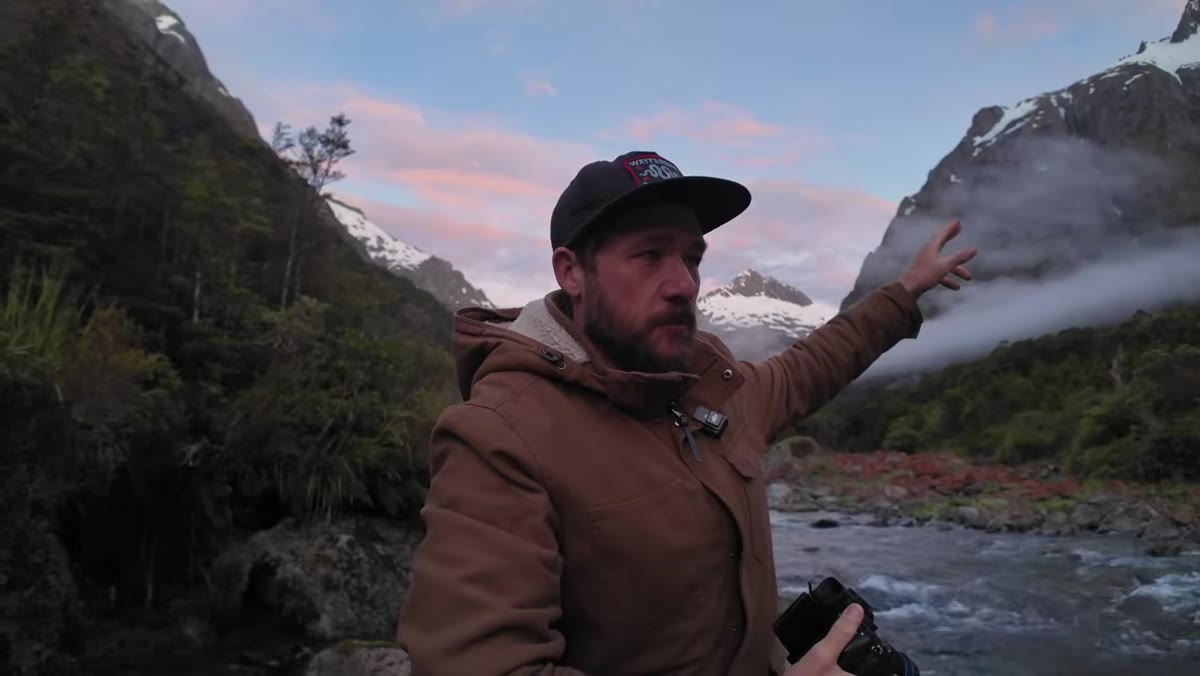 Photographer turning to face opposite peak as sunrise light shifts direction
Partway through the session, William pivots completely. The peak he started with has lost its atmosphere. Another direction is lighting up. He doesn’t resist this or try to rescue the original composition. He turns and follows the light.
Photographer turning to face opposite peak as sunrise light shifts direction
Partway through the session, William pivots completely. The peak he started with has lost its atmosphere. Another direction is lighting up. He doesn’t resist this or try to rescue the original composition. He turns and follows the light.
This sounds obvious written down. In the field it’s harder, because you’ve invested time and positioning in one spot. The ego wants to make that spot work. But the light doesn’t owe you anything, as a mentor once told me. The conditions are the brief. If the color and atmosphere have moved, you move with them. Keep your eye on the whole scene, not just the frame you’ve already committed to.
Step 6: Review Raw Files With Composition and Processing in Mind Together
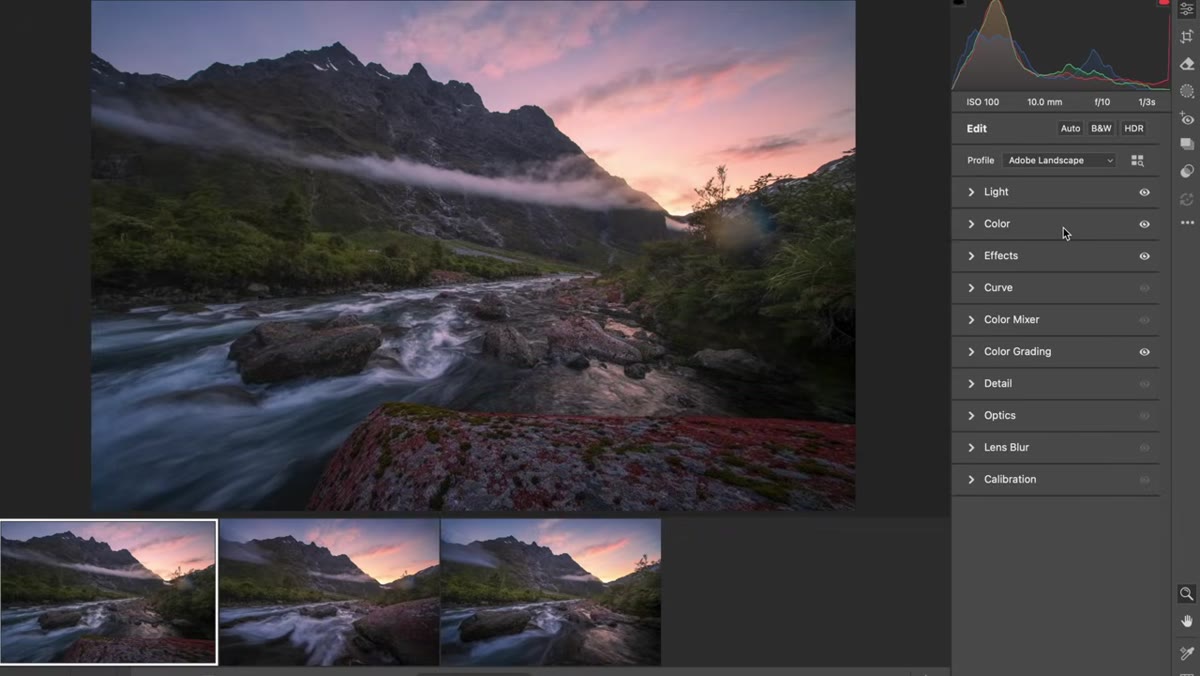 Raw files displayed on camera screen for real-time review and evaluation
William flags something at the end of the session that trips up a lot of photographers: reviewing images directly into bright sunlight or into a light source creates a misleading read of exposure and color. Pull up the histogram, not just the visual preview. The histogram doesn’t lie about highlight clipping or shadow detail the way a screen read in the wrong conditions does.
Raw files displayed on camera screen for real-time review and evaluation
William flags something at the end of the session that trips up a lot of photographers: reviewing images directly into bright sunlight or into a light source creates a misleading read of exposure and color. Pull up the histogram, not just the visual preview. The histogram doesn’t lie about highlight clipping or shadow detail the way a screen read in the wrong conditions does.
He also reviews with composition as an active question, not just to check sharpness. Is the balance right between the peaks and the river? Is the foreground element doing its job of creating depth, or is it competing with the main subject? The field review session is part of the creative process, not cleanup.
What Twenty Years in the Field Adds to This
I’ve spent more early mornings in rivers than I can count, often with waders that have definitely seen better days. The thing William’s tutorial reinforced for me is the value of moving slowly through a location before you commit to a position. My worst sessions are always the ones where I rush to set up because the light looks good, then spend the hour wishing I’d walked fifty more feet downstream first.
The foreground-first scouting approach has become non-negotiable for me, especially at new locations. Even at places I know well, I try to walk the riverbank at least briefly before setting the tripod, because water levels change, vegetation changes, and what worked in autumn may not work when the snowmelt is running high. The scene is always slightly different. Stay curious about it.
The single most transferable idea from this tutorial is also the simplest: the mountain background is fixed, so stop managing it and spend your creative energy on the foreground and the light. Everything else falls into place once you’ve got those two things right.
Watch the full tutorial on YouTube to see William’s complete field session, including his real-time composition adjustments and the raw file review at the end.
Comments
Leave a Comment