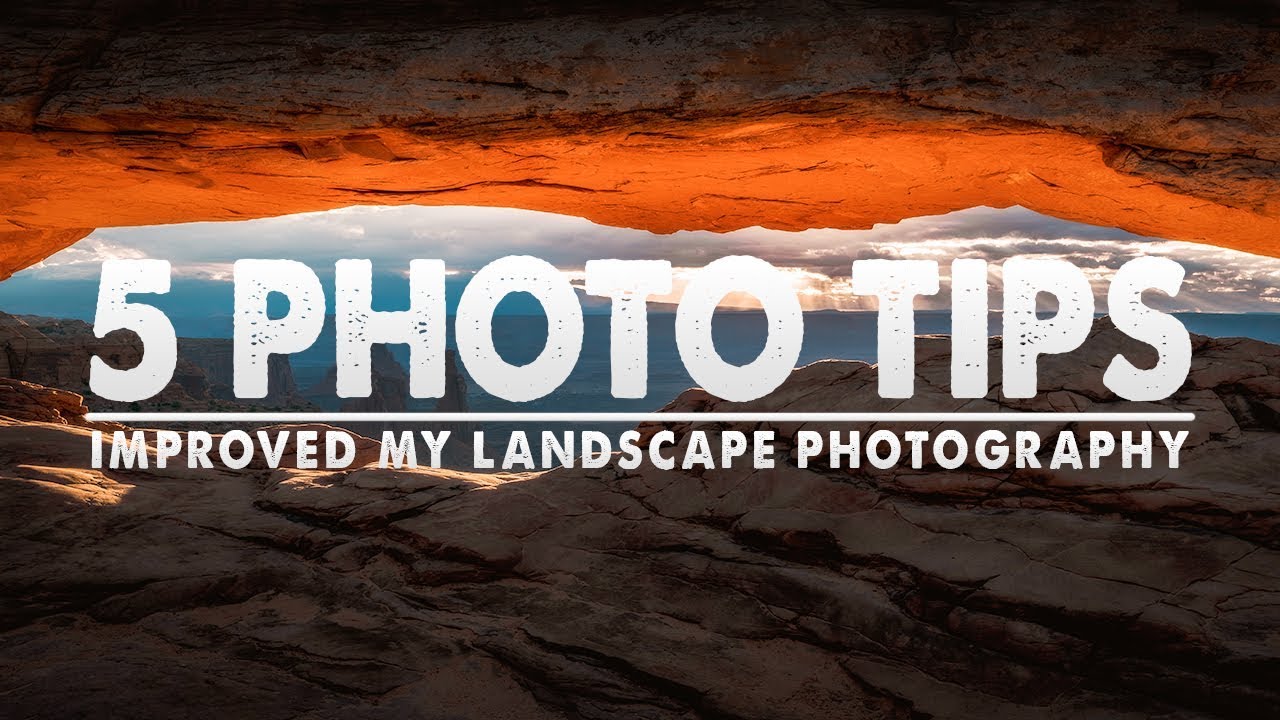
There’s a particular kind of frustration that comes with standing at a location you’ve planned for weeks, watching the light do something extraordinary, and realizing your timing was off by ten minutes. You caught the buildup but missed the peak. Or you packed up too early and the real show started as you were walking back to the car. I’ve made both mistakes more times than I’d like to admit, and after two decades shooting landscapes full-time out of Bend, Oregon, I still have to fight the urge to call a shoot done before it actually is.
When I came across this tutorial from Mark Denney, a landscape photographer whose work I’ve followed for a while, I found myself nodding along to every point. Not because the tips are exotic or technical, but because they address the real problems that trip up photographers at every level, including working pros who should know better. Watch the full tutorial on YouTube if you want to hear it in Mark’s own voice, but what follows is my breakdown of each tip with the practical layer I’ve added from my own field experience.
Step 1: Shoot Through the Entire Event, Not Just the Moment
 Photographer arriving at location before sunrise to set up
Mark’s first tip is the one I wish someone had told me in year one: stop treating sunrise or sunset as a single moment to capture, and start treating it as an event to document from beginning to end. Most photographers, especially when starting out, check the official sunrise time, plan to arrive ten minutes early, fire off a few frames right at the peak, and leave. The problem is you can’t predict where the peak actually falls. Some mornings the best light comes fifteen minutes before the sun clears the horizon. Other mornings it’s a slow burn that peaks thirty minutes after.
Photographer arriving at location before sunrise to set up
Mark’s first tip is the one I wish someone had told me in year one: stop treating sunrise or sunset as a single moment to capture, and start treating it as an event to document from beginning to end. Most photographers, especially when starting out, check the official sunrise time, plan to arrive ten minutes early, fire off a few frames right at the peak, and leave. The problem is you can’t predict where the peak actually falls. Some mornings the best light comes fifteen minutes before the sun clears the horizon. Other mornings it’s a slow burn that peaks thirty minutes after.
The fix is simple but requires a mental shift. Arrive early, set your composition, and keep shooting. Don’t stop when it looks like the moment has passed. I’ve come home from shoots with hundreds of frames of nearly identical compositions, and buried in that sequence is almost always one frame where everything aligned in a way I couldn’t have consciously timed. Shoot the whole event. You can always delete later.
Step 2: Arrive Earlier Than You Think You Need To
 Camera on tripod set up in darkness before first light appears
This follows naturally from the first tip. If you’re going to shoot the entire event, you need to be set up and composed before the light starts doing interesting things. Rushing a composition in low light is a recipe for crooked horizons, missed focus points, and the specific anxiety of feeling behind before the shoot has even started.
Camera on tripod set up in darkness before first light appears
This follows naturally from the first tip. If you’re going to shoot the entire event, you need to be set up and composed before the light starts doing interesting things. Rushing a composition in low light is a recipe for crooked horizons, missed focus points, and the specific anxiety of feeling behind before the shoot has even started.
My own rule is to be on location with gear set up at least thirty minutes before the event begins. That window gives me time to walk the scene, try a few different angles, and settle into a composition I actually believe in rather than one I defaulted to because the light was already moving. The mountain doesn’t care about your schedule, as a mentor once told me, and neither does the light. Get there first.
Step 3: Vary Your Compositions Within the Same Location
 Multiple composition attempts at same scene shown side by side
One thing Mark emphasizes is that shooting through an event doesn’t mean locking down one frame and firing away until it’s over. Within a single location during a single shoot, you should be testing different compositions, focal lengths, and foreground elements as the light changes. What works as a wide establishing shot at blue hour may fall flat once direct light hits the scene, but a tighter frame might come alive.
Multiple composition attempts at same scene shown side by side
One thing Mark emphasizes is that shooting through an event doesn’t mean locking down one frame and firing away until it’s over. Within a single location during a single shoot, you should be testing different compositions, focal lengths, and foreground elements as the light changes. What works as a wide establishing shot at blue hour may fall flat once direct light hits the scene, but a tighter frame might come alive.
This is where keeping your tripod adjustments loose and intentional pays off. I’ll often mark two or three specific compositions before the light starts moving, so I can shift between them quickly without fumbling with gear. Minor adjustments in framing, whether it’s moving two steps left or dropping the tripod a few inches, can completely change how the foreground relates to the background when the light shifts.
Step 4: Take More Images Than You Think You’ll Need
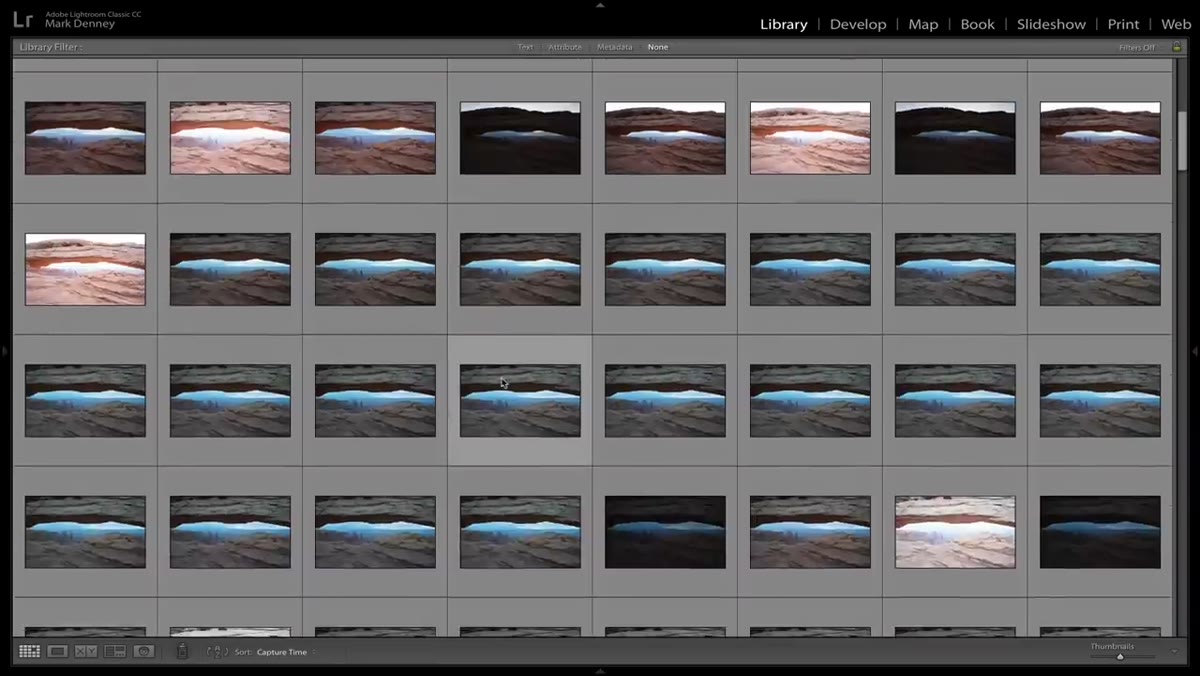 Large library of similar shots from one shoot displayed on screen
There’s a version of shooting discipline that works against you in landscape photography. Slowing down and thinking before you press the shutter is valuable, and I still shoot occasional film rolls specifically to train that habit. But during an active golden hour event, conserving frames is the wrong instinct. The light is changing constantly, sometimes second to second, and the difference between a good frame and a great one might be a thirty-second window you didn’t know was coming.
Large library of similar shots from one shoot displayed on screen
There’s a version of shooting discipline that works against you in landscape photography. Slowing down and thinking before you press the shutter is valuable, and I still shoot occasional film rolls specifically to train that habit. But during an active golden hour event, conserving frames is the wrong instinct. The light is changing constantly, sometimes second to second, and the difference between a good frame and a great one might be a thirty-second window you didn’t know was coming.
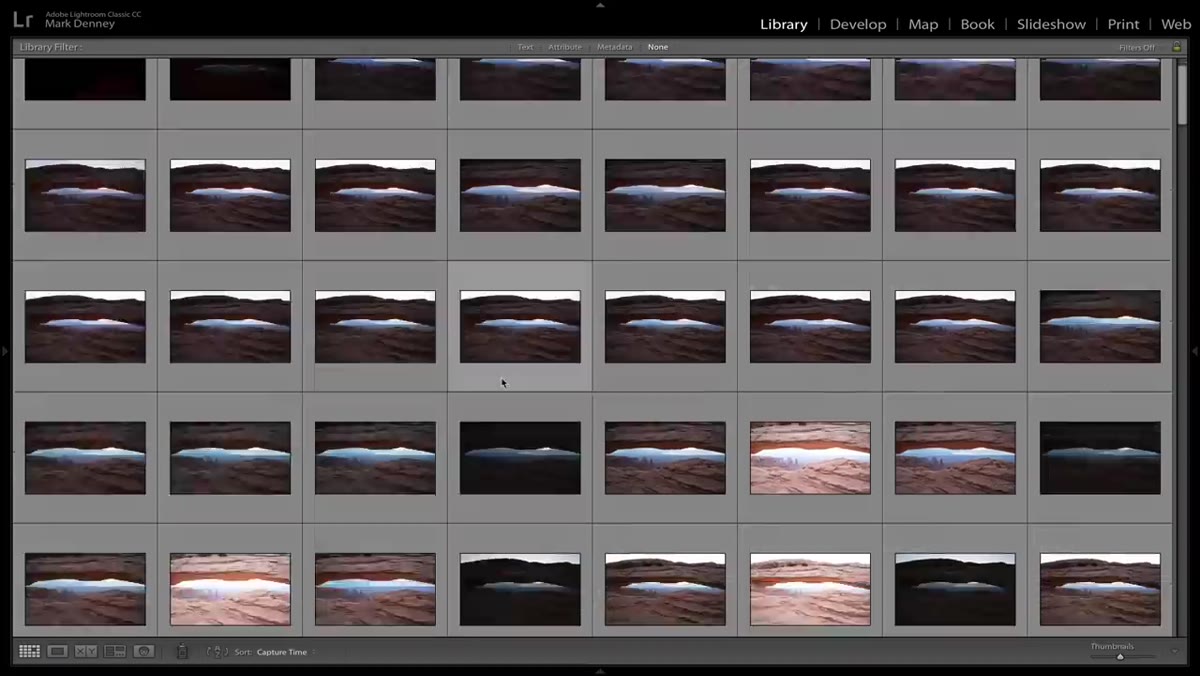
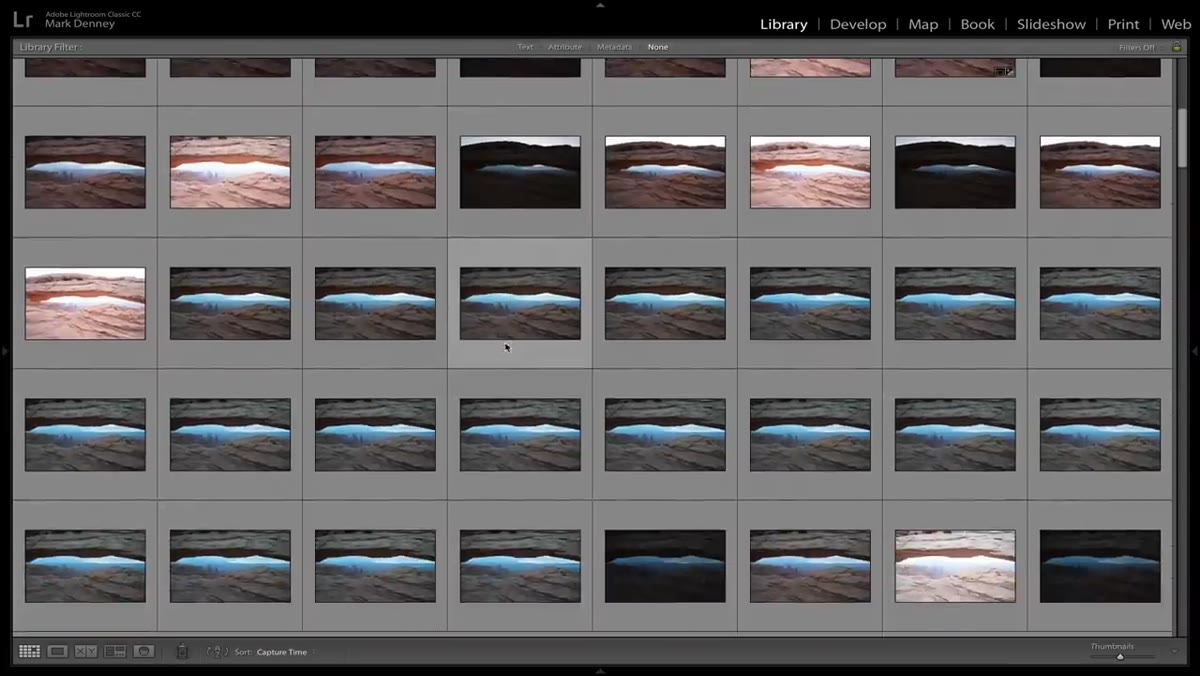
Mark talks about coming home from a shoot with what feels like a redundant library, dozens of nearly identical frames, and that’s actually the goal. Storage is cheap. Light doesn’t repeat. Cull aggressively back at the desk, but in the field, err on the side of more.
Step 5: Let the Scene Dictate Your Settings, Not Habit
 Camera settings being adjusted manually in the field during shoot
The fifth tip is about staying manual and staying attentive. As the light shifts during an event, your exposure needs to shift with it. This sounds obvious, but it’s easy to lock in settings during setup and forget to revisit them as the scene evolves. A sky that’s two stops brighter than your foreground at 6:00am might be completely balanced by 6:20am, and if you haven’t adjusted, you’re either blowing highlights or losing shadow detail unnecessarily.
Camera settings being adjusted manually in the field during shoot
The fifth tip is about staying manual and staying attentive. As the light shifts during an event, your exposure needs to shift with it. This sounds obvious, but it’s easy to lock in settings during setup and forget to revisit them as the scene evolves. A sky that’s two stops brighter than your foreground at 6:00am might be completely balanced by 6:20am, and if you haven’t adjusted, you’re either blowing highlights or losing shadow detail unnecessarily.
I never use auto mode on any camera setting, not out of stubbornness but because handing that control over means I stop paying attention. Checking my histogram every few frames keeps me honest. If the scene is changing faster than I can manually track, I’ll bracket exposures rather than trust the camera to guess what I’m after.
What I’d Add From Twenty Years in the Field
The one thing this tutorial doesn’t spend time on, and it’s not a criticism because you can’t cover everything in one video, is the emotional side of shooting through an event. There’s a point on most early-morning shoots where nothing interesting is happening and the temptation to pack up is strong. Cold feet, flat light, the drive home calling. The photographers who consistently get the best images are the ones who’ve trained themselves to stay anyway. Some of my best-selling work came from mornings I almost didn’t finish. The fog doesn’t always lift. But sometimes it does, and you want to be there with your camera up when it does.
The single most important takeaway from Mark’s tutorial is the shift from treating a shoot as a moment to treating it as an event. Arrive early, stay late, shoot more than you think you need, and let the light tell you when it’s over rather than deciding in advance. Every one of the five tips here reinforces that core idea.
Watch the full tutorial on YouTube to see Mark walk through each point with his own field examples.
Comments
Leave a Comment