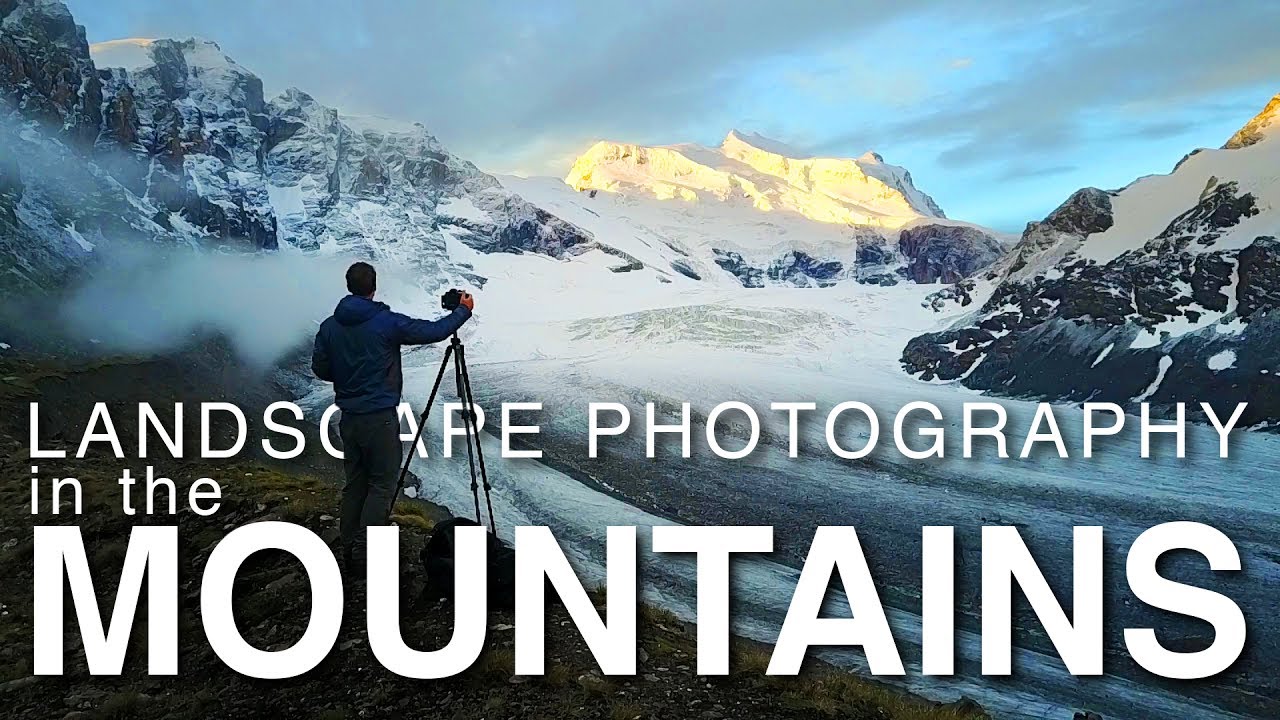
There’s a particular kind of dread that every landscape photographer knows. You wake before dawn, check the window, and see nothing but a gray wall of mist. After six hours of hiking the day before, the warm sleeping bag makes a compelling argument. This is the moment that separates the frames you’ll sell from the ones you’ll never take. I’ve been dragging myself out of bed at four in the morning for two decades, and I still have to actively talk myself into it on mornings like that.
That’s why this Thomas Heaton tutorial hit close to home for me. Watch the full tutorial on YouTube. Heaton is shooting from a mountain hut in the Alps, and when he wakes before sunrise the visibility is near zero. What unfolds over the next few minutes is one of the best real-time demonstrations of field discipline and fast exposure decision-making I’ve seen from another working photographer. He doesn’t just share the shot. He shares the doubt, the turnaround, and the three-minute window where all of it came together.
The techniques here are simple on paper: expose for the highlights, skip the graduated filter when your shadows are snow, use a polarizer. But the context around those decisions is where the real instruction lives. Let me walk through it step by step.
Step 1: Get Outside Regardless of What the Window Tells You
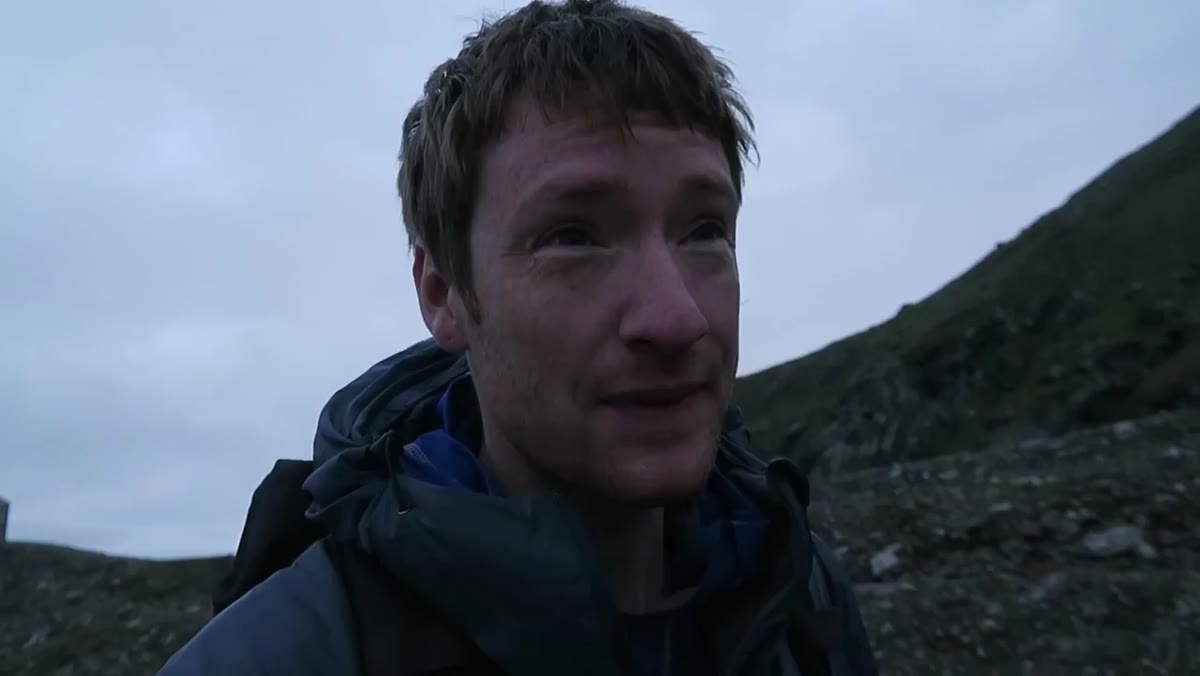 Heaton speaking outside hut, mist clearing behind him
The tutorial opens with Heaton outside the hut, describing how the view twenty minutes earlier looked completely hopeless. His logic is simple: conditions change, and you cannot photograph what you refuse to look at. A mentor of mine once told me that the mountain doesn’t care about your schedule, and what he meant was that the light operates on its own timeline. Your job is to be present for it. Heaton commits to going out despite zero evidence that it will pay off. That act of showing up is step one, and most tutorials skip it entirely.
Heaton speaking outside hut, mist clearing behind him
The tutorial opens with Heaton outside the hut, describing how the view twenty minutes earlier looked completely hopeless. His logic is simple: conditions change, and you cannot photograph what you refuse to look at. A mentor of mine once told me that the mountain doesn’t care about your schedule, and what he meant was that the light operates on its own timeline. Your job is to be present for it. Heaton commits to going out despite zero evidence that it will pay off. That act of showing up is step one, and most tutorials skip it entirely.
Step 2: Read the Scene as It Transitions, Not After It Settles
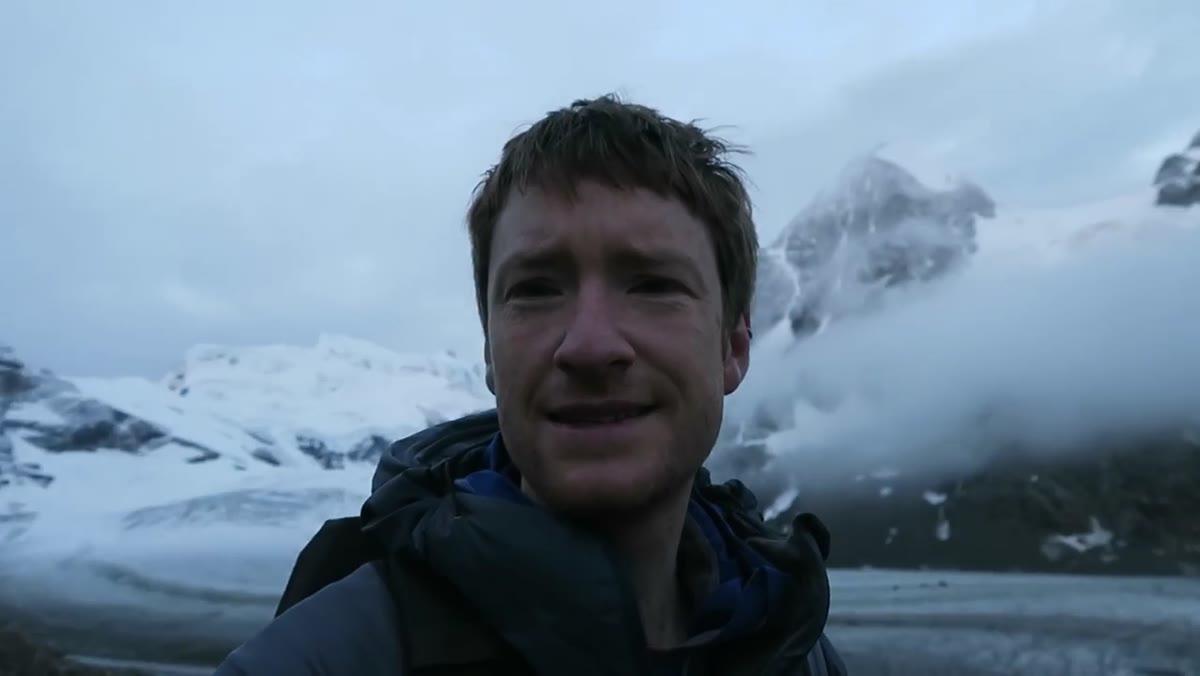 Mist lifting to reveal mountain peaks at dawn
As the mist begins to lift, Heaton is already watching the mountain tops. He’s not waiting for perfect conditions to start thinking. He’s tracking the direction the cloud is moving, gauging how quickly the peaks are becoming visible, and estimating when the sun will clear the ridgeline enough to throw warm light on the snow. He puts that window at roughly twenty minutes from where he’s standing. This kind of active scene-reading is a muscle. I practice it by making myself narrate out loud what I’m seeing, even when I’m alone. It forces you to be analytical rather than just reactive.
Mist lifting to reveal mountain peaks at dawn
As the mist begins to lift, Heaton is already watching the mountain tops. He’s not waiting for perfect conditions to start thinking. He’s tracking the direction the cloud is moving, gauging how quickly the peaks are becoming visible, and estimating when the sun will clear the ridgeline enough to throw warm light on the snow. He puts that window at roughly twenty minutes from where he’s standing. This kind of active scene-reading is a muscle. I practice it by making myself narrate out loud what I’m seeing, even when I’m alone. It forces you to be analytical rather than just reactive.
Step 3: Decide Early Whether You Need a Graduated Filter
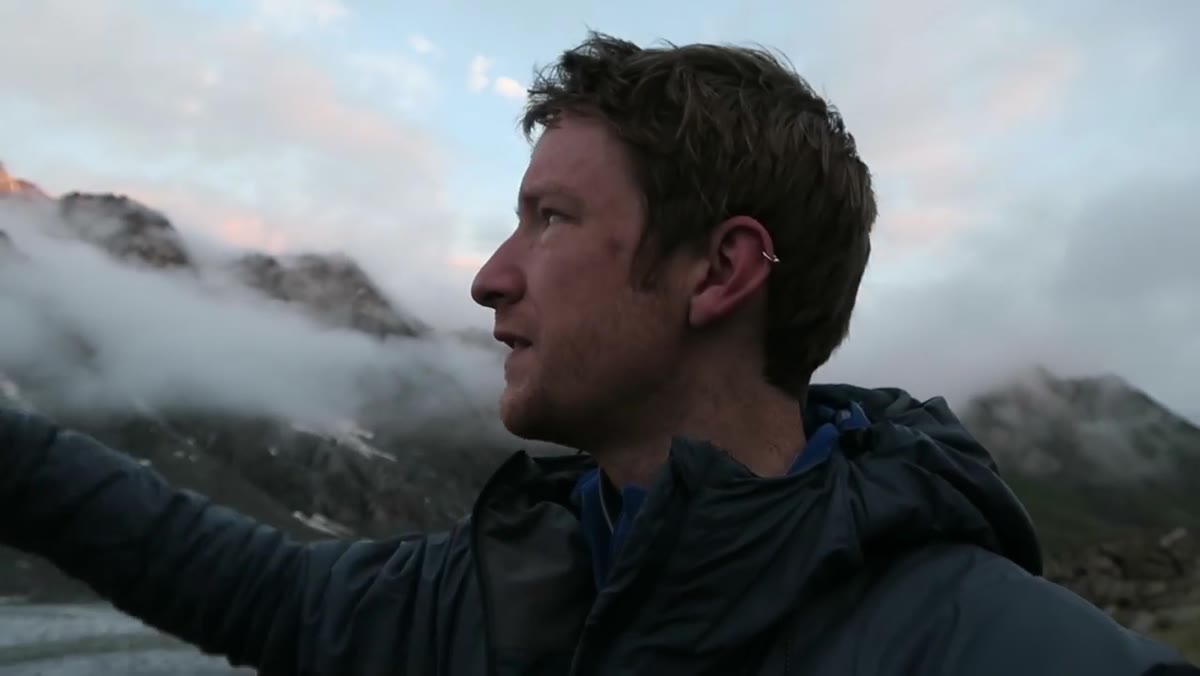 Heaton framing snowy peaks, explaining filter decision
This is one of the most practically useful moments in the video. Heaton makes a deliberate choice not to use a graduated ND filter, and he explains exactly why. His shadows are filled with snow and ice rather than dark rock or forest. Snow in shadow still holds a significant amount of brightness, which means the dynamic range between the lit peaks and the darker foreground is far more manageable than it would be in a typical landscape scene. Reaching for a grad filter out of habit would have added contrast in the wrong direction, flattening the very separation that makes the image work. Before every shot I set up, I ask myself what the darkest area actually is, not what I assume it to be.
Heaton framing snowy peaks, explaining filter decision
This is one of the most practically useful moments in the video. Heaton makes a deliberate choice not to use a graduated ND filter, and he explains exactly why. His shadows are filled with snow and ice rather than dark rock or forest. Snow in shadow still holds a significant amount of brightness, which means the dynamic range between the lit peaks and the darker foreground is far more manageable than it would be in a typical landscape scene. Reaching for a grad filter out of habit would have added contrast in the wrong direction, flattening the very separation that makes the image work. Before every shot I set up, I ask myself what the darkest area actually is, not what I assume it to be.
Step 4: Expose for the Highlights on the Mountain
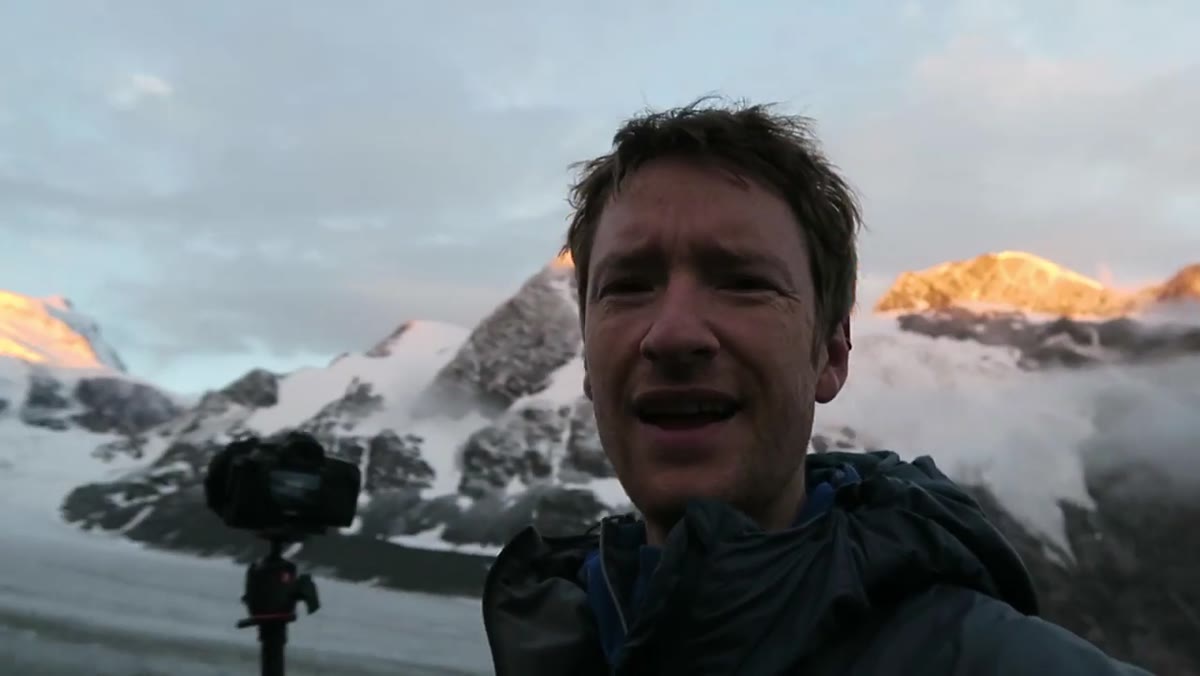 Camera settings discussion, bright snow on peaks
Heaton exposes specifically for the sunlit snow on the mountain face. His reasoning: the camera can hold that tone without blowing out, and since the shadows are also snow, they’ll read as a cool, compressed mid-tone rather than pure black. He names his settings clearly, f/11, ISO 100, which tells you he’s after maximum depth of field and minimum noise. In bright alpine conditions with fresh snow, this is a reliable starting point. I typically chimp the histogram once, look for any highlight clipping on the peaks, and dial back a third of a stop if I see it. You want texture in that snow, not a white void.
Camera settings discussion, bright snow on peaks
Heaton exposes specifically for the sunlit snow on the mountain face. His reasoning: the camera can hold that tone without blowing out, and since the shadows are also snow, they’ll read as a cool, compressed mid-tone rather than pure black. He names his settings clearly, f/11, ISO 100, which tells you he’s after maximum depth of field and minimum noise. In bright alpine conditions with fresh snow, this is a reliable starting point. I typically chimp the histogram once, look for any highlight clipping on the peaks, and dial back a third of a stop if I see it. You want texture in that snow, not a white void.
Step 5: Use a Polarizer in High-Alpine Conditions
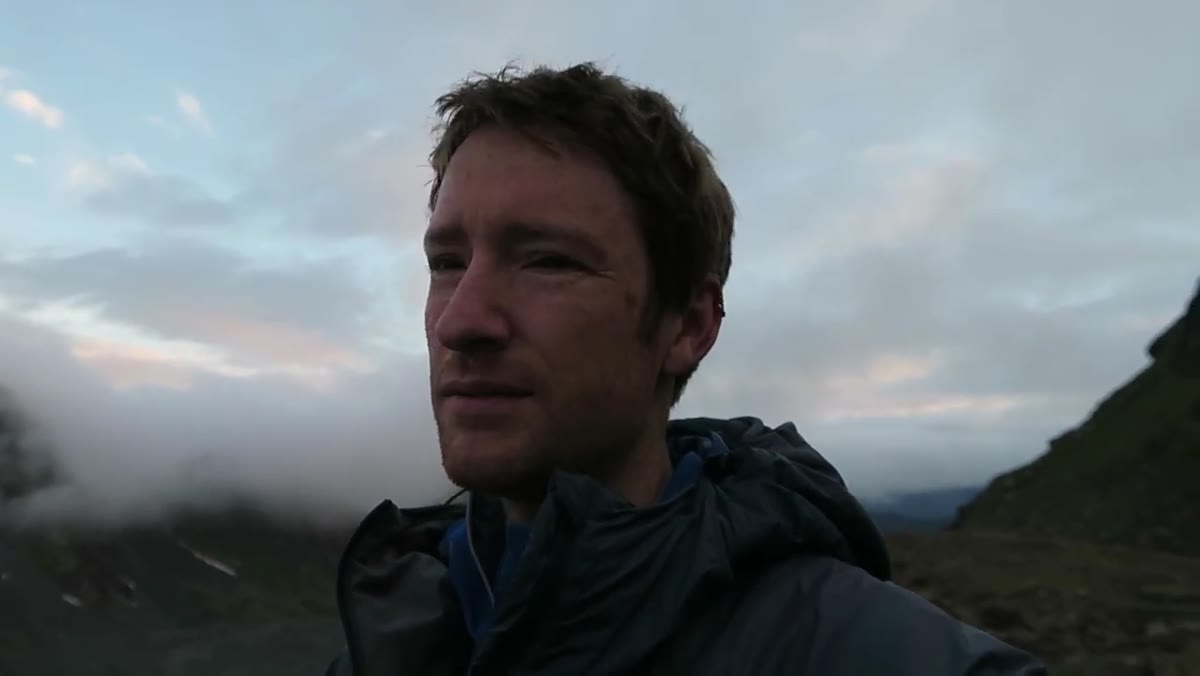 Heaton mentions polarizer as part of his minimal setup
Heaton’s filter kit for this shot is a single polarizer. In alpine terrain with snow, ice, and high-altitude blue sky, a polarizer earns its place in three ways: it deepens the blue of the sky, cuts glare off the ice and wet rock, and adds micro-contrast to the cloud formations. He doesn’t overthink it. The polarizer is on, it’s rotated to the position that looked best in the viewfinder, and that’s the end of the conversation. I use a slim circular polarizer in mountain environments specifically to avoid vignetting at wide apertures. Keep it simple.
Heaton mentions polarizer as part of his minimal setup
Heaton’s filter kit for this shot is a single polarizer. In alpine terrain with snow, ice, and high-altitude blue sky, a polarizer earns its place in three ways: it deepens the blue of the sky, cuts glare off the ice and wet rock, and adds micro-contrast to the cloud formations. He doesn’t overthink it. The polarizer is on, it’s rotated to the position that looked best in the viewfinder, and that’s the end of the conversation. I use a slim circular polarizer in mountain environments specifically to avoid vignetting at wide apertures. Keep it simple.
Step 6: Accept the Window and Work Fast
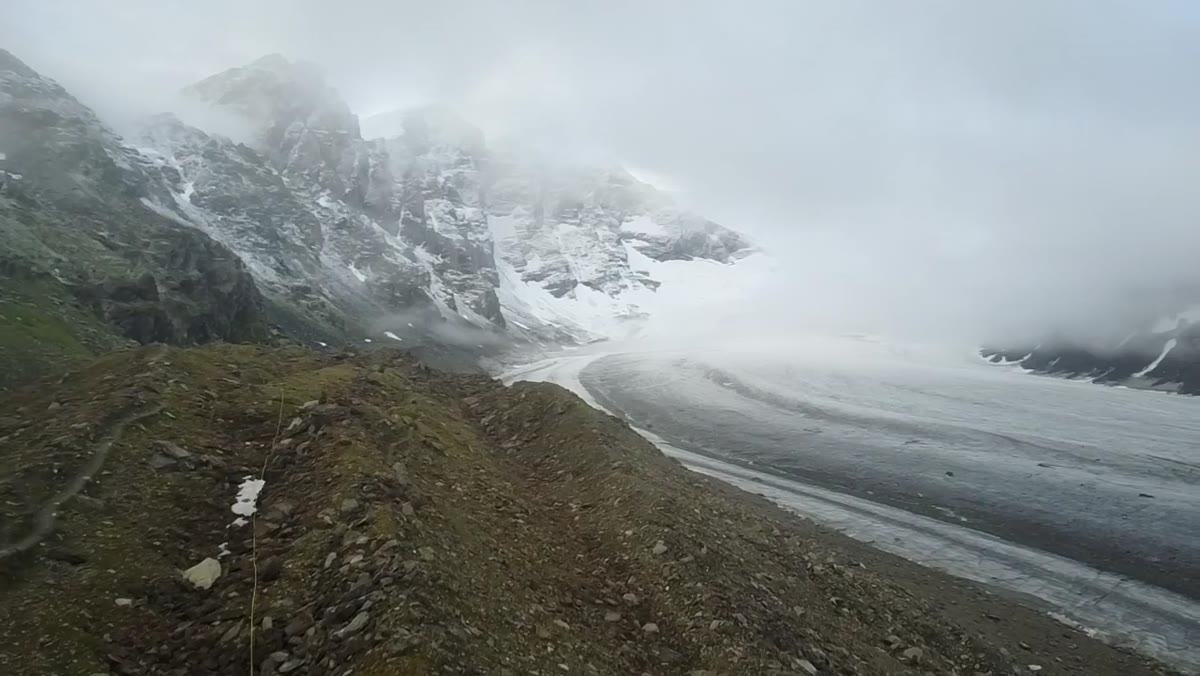 Mist rolling back in only minutes after sunrise light
Within five to ten minutes of capturing the shot, the mist rolls back in and the view disappears entirely. Heaton describes the light as fleeting, which is accurate, but what I want to draw your attention to is his decision-making speed during those minutes. He doesn’t spend them second-guessing his composition or fussing with accessories. He’s already made those decisions. The composition was locked in before the light arrived. The filter choice was settled. The exposure was set. When the moment came, the only thing left to do was press the shutter. The preparation happens before the magic, not during it.
Mist rolling back in only minutes after sunrise light
Within five to ten minutes of capturing the shot, the mist rolls back in and the view disappears entirely. Heaton describes the light as fleeting, which is accurate, but what I want to draw your attention to is his decision-making speed during those minutes. He doesn’t spend them second-guessing his composition or fussing with accessories. He’s already made those decisions. The composition was locked in before the light arrived. The filter choice was settled. The exposure was set. When the moment came, the only thing left to do was press the shutter. The preparation happens before the magic, not during it.
What I’d Add From My Own Experience
The video focuses on color light at sunrise, but Heaton briefly mentions heading back out for black and white work if the light returns softer. This is worth dwelling on. Overcast mountain conditions, especially with mist moving through the peaks, produce the kind of even, diffused light that black and white landscape photography was practically invented for. The tonal separation between rock, snow, and sky in flat light can be extraordinary in monochrome. I carry a screw-on warming filter for this reason, not for the color shift, but because it slightly reduces blue channel noise in gray conditions, which makes converting to black and white cleaner in post. Some mornings when the drama doesn’t materialize, the quiet image is the one that ends up on someone’s wall.
The single most important thing I took from this tutorial is the reminder that showing up in bad conditions is not hope over experience. It is the experience. The frames that have mattered most in my career came from mornings I almost didn’t go out. You don’t earn the light by deserving it. You earn it by being there when it arrives.
Watch the full tutorial on YouTube and pay particular attention to the moment the mist clears. The speed at which Heaton shifts from narrating the scene to working the shot is worth watching more than once.
Comments
Leave a Comment