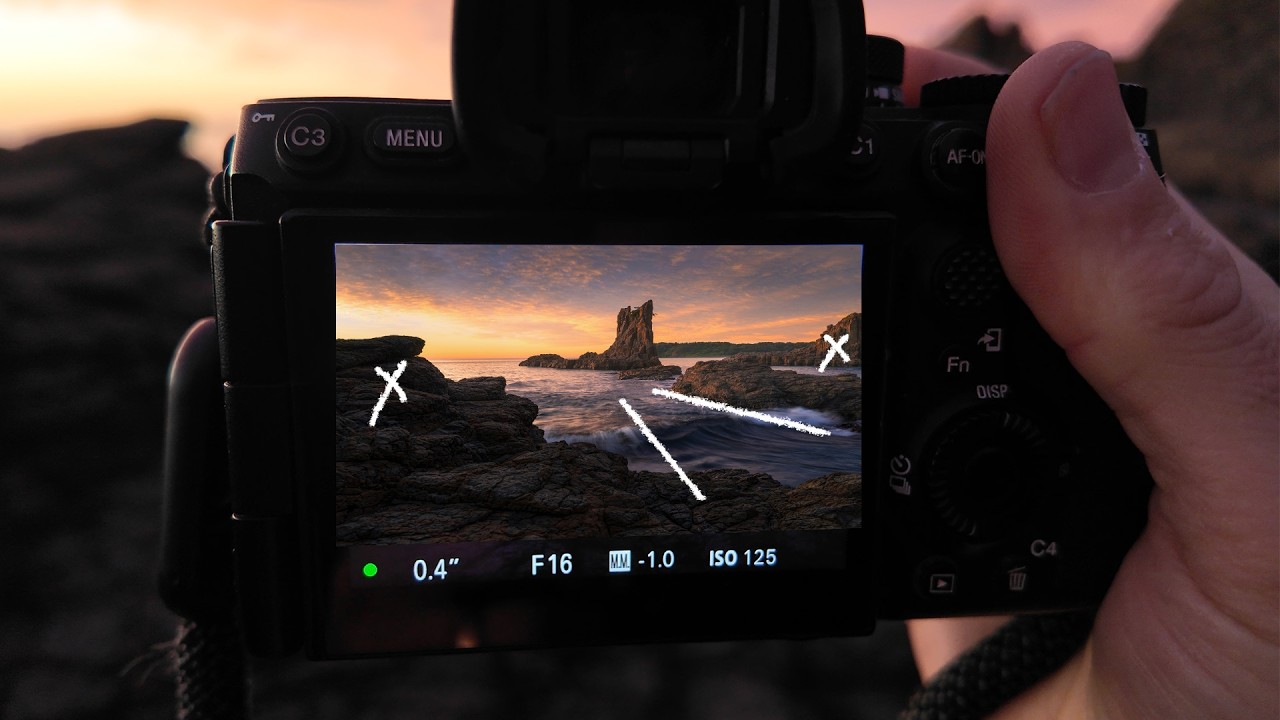
There’s a compositional problem I keep seeing in workshop students’ work, and honestly, in my own early images when I look back at them. You arrive at a stunning coastal location, the sky is doing something extraordinary, and you raise the camera to eye level and shoot. The resulting image has a great sky and a great subject, but it feels unanchored. The eye wanders. Nothing holds the frame together. The shot looks like a record of a beautiful place rather than a considered photograph of one.
In this William Patino tutorial, filmed at Cathedral Rocks on the south coast of New South Wales, Patino walks through exactly how he solves that problem in the field. He’s at a location he’s visited hundreds of times, and he’s found a fresh composition by getting low and using a rock ledge in the foreground to visually balance a distant sea stack. What he demonstrates isn’t a trick or a gimmick. It’s a disciplined, repeatable way of reading a scene that any photographer can learn to apply before they ever touch the shutter.
I’ve been shooting coastlines and river scenes in the Pacific Northwest for long enough that some of these ideas are now instinct. But watching Patino work through this methodically reminded me why it helps to make the underlying logic explicit. Here’s how the technique breaks down, step by step.
Step 1: Arrive Early and Observe Before You Shoot
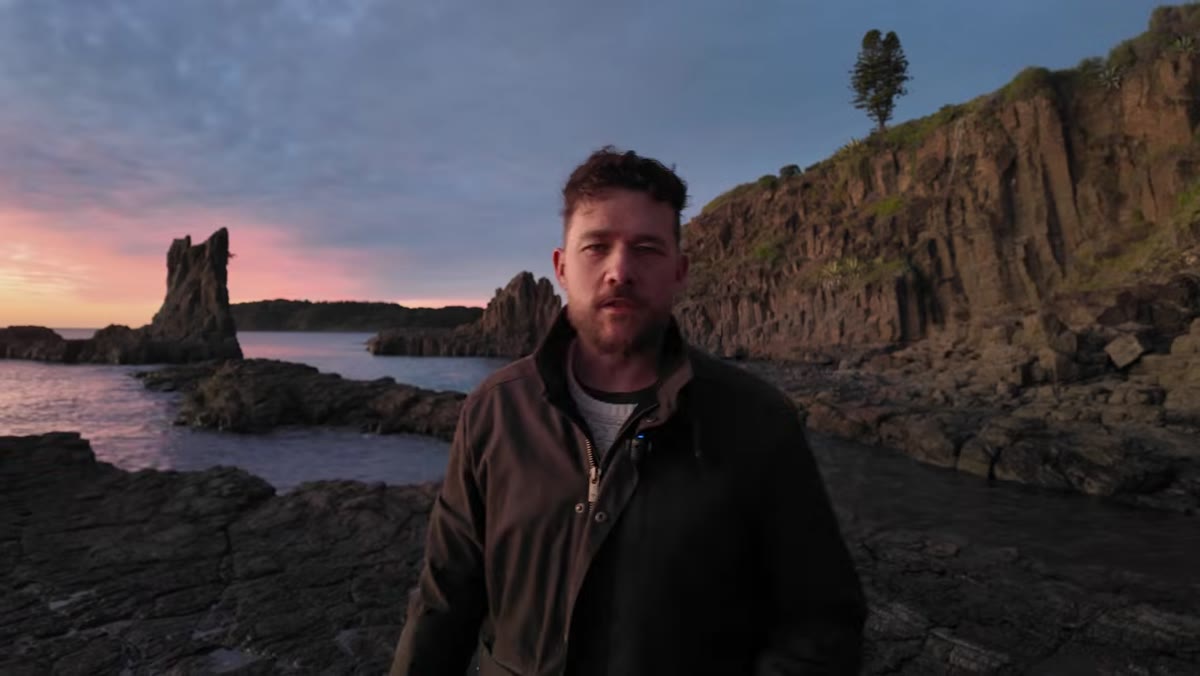 Patino walking the location without camera raised
When Patino arrives at Cathedral Rocks with a spectacular sunrise building, his first move is not to pull the camera out. He walks the location. He looks at the sea stacks from different angles. He thinks about where the light is coming from and where the clouds are sitting. This might sound obvious, but the pull to start shooting when conditions are good is real, and it costs you.
Patino walking the location without camera raised
When Patino arrives at Cathedral Rocks with a spectacular sunrise building, his first move is not to pull the camera out. He walks the location. He looks at the sea stacks from different angles. He thinks about where the light is coming from and where the clouds are sitting. This might sound obvious, but the pull to start shooting when conditions are good is real, and it costs you.
The practical discipline here is simple: give yourself at least five to ten minutes of camera-down observation when you arrive at any iconic location. Ask what separates this view from every photograph already taken here. The answer almost always lives in a different vantage point or a foreground element that isn’t obvious at first glance.
Step 2: Look for a Foreground Element That Does Compositional Work
 Low angle showing rock ledge and sea stack alignment
Patino identifies a rock ledge in the foreground that, from a standing position, looks like dead weight in the frame. But he notices something: from a lower angle, that ledge lines up spatially to counterbalance the vertical mass of the sea stack on the opposite side of the frame. This is the core move. He’s not just adding foreground interest for texture. He’s using foreground mass to solve a balance problem.
Low angle showing rock ledge and sea stack alignment
Patino identifies a rock ledge in the foreground that, from a standing position, looks like dead weight in the frame. But he notices something: from a lower angle, that ledge lines up spatially to counterbalance the vertical mass of the sea stack on the opposite side of the frame. This is the core move. He’s not just adding foreground interest for texture. He’s using foreground mass to solve a balance problem.
When you’re scouting, look at your foreground elements and ask whether they carry visual weight that can work against something in the mid-ground or background. A rock, a tide pool, a line of wet sand, a cluster of sea grass – any of these can serve this function if you find the right angle. The ledge on its own is unremarkable. In relation to the stack, it becomes load-bearing.
Step 3: Get Low to Separate the Subject from the Background
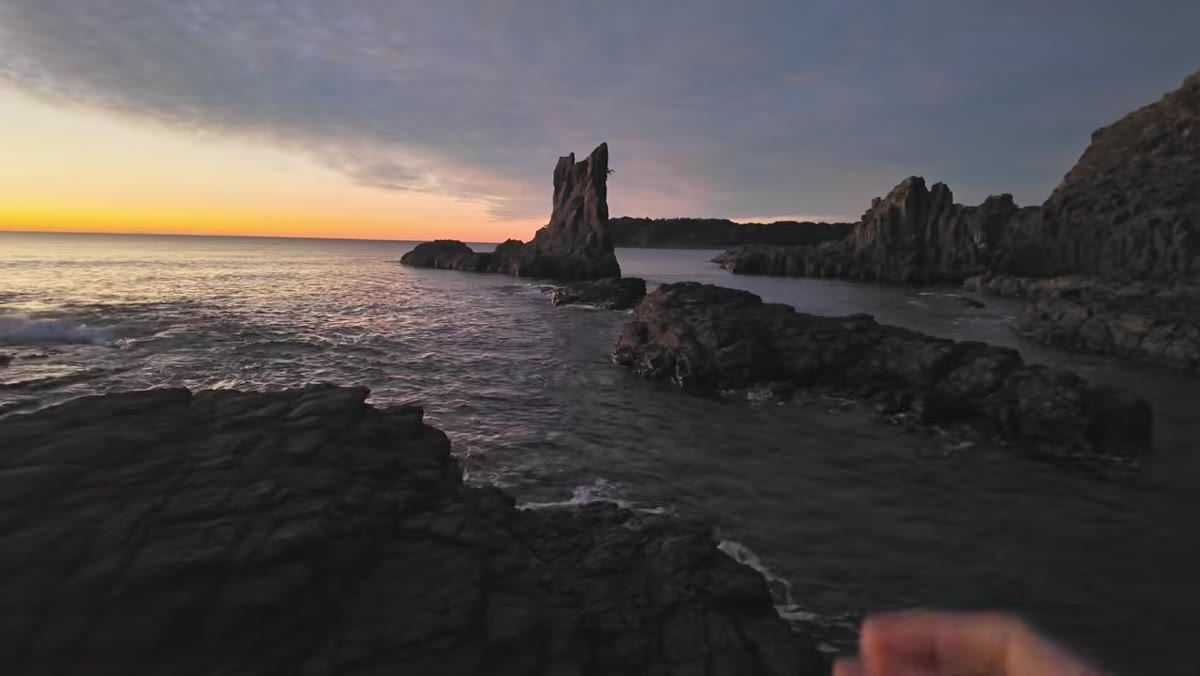 Camera positioned close to rocks, stack visually separated
One of the clearest things Patino demonstrates is how dramatically the relationship between the sea stack and its background changes as he lowers his position. Standing at eye level, the stack merges visually with the cliffs and landmass behind it. Getting down low gives the stack sky behind it, which creates separation and lets it read as its own distinct element.
Camera positioned close to rocks, stack visually separated
One of the clearest things Patino demonstrates is how dramatically the relationship between the sea stack and its background changes as he lowers his position. Standing at eye level, the stack merges visually with the cliffs and landmass behind it. Getting down low gives the stack sky behind it, which creates separation and lets it read as its own distinct element.
This is not a minor aesthetic preference. Separation between subject and background is one of the fundamental reasons some images read clearly and others feel cluttered. The lower you get with a wide lens near the coast, the more sky comes in behind coastal subjects. Even dropping six or eight inches of camera height can make the difference.
Step 4: Use a 24mm Perspective to Keep the Subject Readable
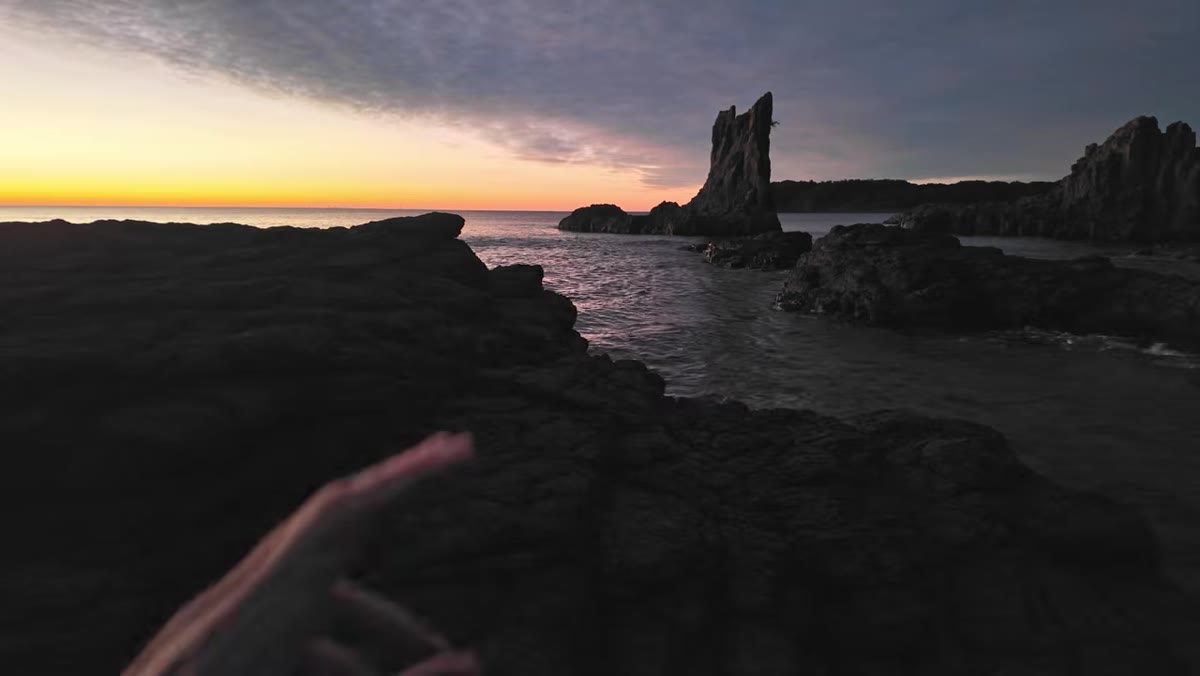 Wide composition framing foreground rock and distant stack
Patino is shooting at roughly 24mm for this composition. His reasoning is direct: he needs to be close enough to the foreground rocks to give them presence in the frame, but he doesn’t want the sea stack in the background to shrink to the point where it loses impact. A wider lens used at close range exaggerates foreground size and pushes the background further away. 24mm is wide enough to include the ledge prominently but not so wide that the stack becomes a footnote.
Wide composition framing foreground rock and distant stack
Patino is shooting at roughly 24mm for this composition. His reasoning is direct: he needs to be close enough to the foreground rocks to give them presence in the frame, but he doesn’t want the sea stack in the background to shrink to the point where it loses impact. A wider lens used at close range exaggerates foreground size and pushes the background further away. 24mm is wide enough to include the ledge prominently but not so wide that the stack becomes a footnote.
If you’re recreating this kind of composition, think about your focal length as a tool for controlling the foreground-to-background size relationship, not just your field of view. Move your feet as much as you adjust your zoom. The combination of physical position and focal length together determine how these spatial relationships land in the final frame.
Step 5: Focus Stack When You’re Close to a Near Foreground
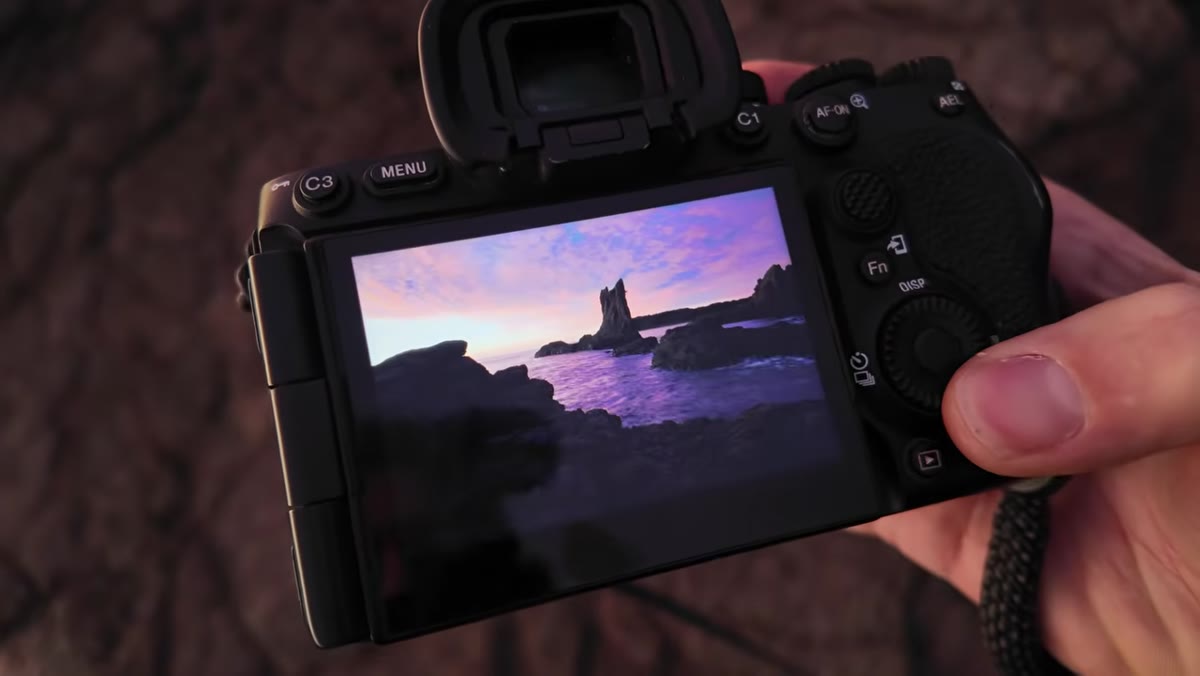 Patino demonstrating two-frame focus stack at f/16
Because he’s close to the foreground rocks, Patino is working at f/16 and still can’t get both the near foreground and the distant stack sharp in a single frame. His solution is a two-frame focus stack: one frame focused on the foreground rocks, one frame focused on the background. He focuses, recomposes, and shoots. Then he refocuses quickly to the background and shoots again. Two frames, blended in post.
Patino demonstrating two-frame focus stack at f/16
Because he’s close to the foreground rocks, Patino is working at f/16 and still can’t get both the near foreground and the distant stack sharp in a single frame. His solution is a two-frame focus stack: one frame focused on the foreground rocks, one frame focused on the background. He focuses, recomposes, and shoots. Then he refocuses quickly to the background and shoots again. Two frames, blended in post.
You don’t need a camera with a built-in focus bracketing feature for this. The two-frame manual method Patino describes works reliably as long as you’re on a solid tripod and the scene isn’t moving in the foreground. Focus on the nearest object you want sharp, lock down, shoot. Then shift focus to the distant subject and shoot again. Blend in Photoshop using auto-align layers and a luminosity or manual mask. It adds ten minutes to your edit and consistently produces sharper results than stopping down until diffraction starts softening the image.
Step 6: Wait for the Light to Hit Your Subject Before You Commit
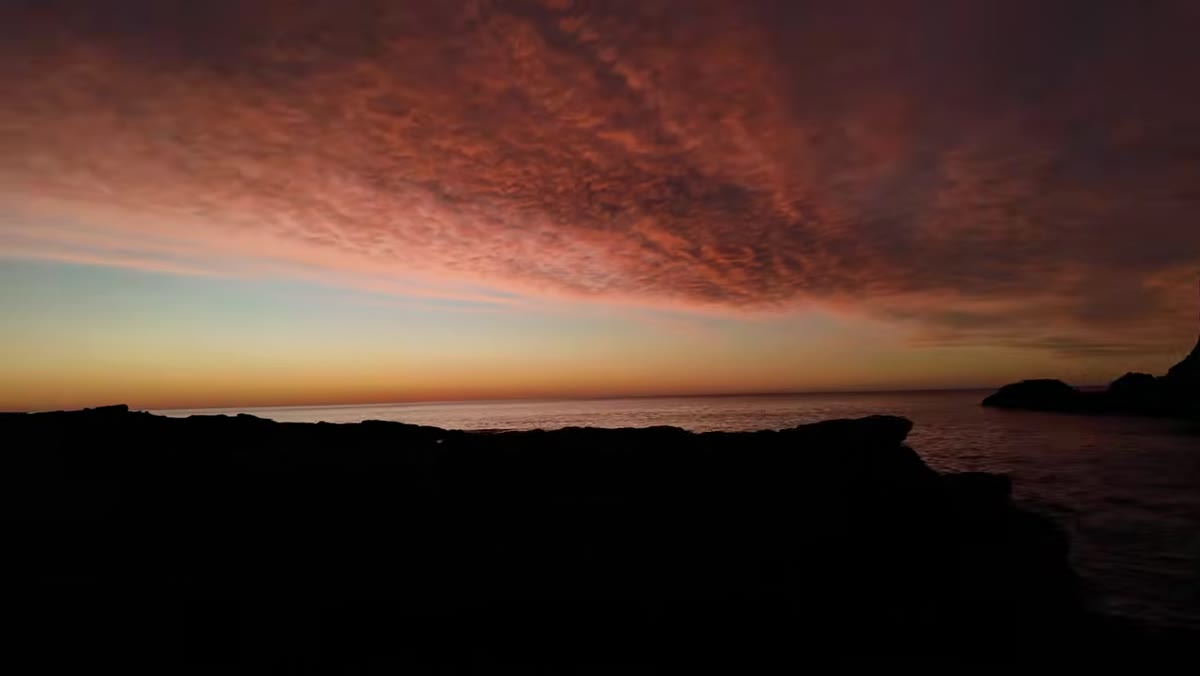 Sky beginning to color as sun approaches horizon
Patino is upfront that he’s capturing test frames but holding his energy for the moment the rising sun actually strikes the sea stack. He knows the sky is going to ignite. He’s positioned, he’s dialed in, and he’s waiting. This is a discipline that separates photographers who come home with one strong image from those who come home with three hundred mediocre ones.
Sky beginning to color as sun approaches horizon
Patino is upfront that he’s capturing test frames but holding his energy for the moment the rising sun actually strikes the sea stack. He knows the sky is going to ignite. He’s positioned, he’s dialed in, and he’s waiting. This is a discipline that separates photographers who come home with one strong image from those who come home with three hundred mediocre ones.
Identify the specific moment you’re building toward – a shaft of light, warm color on a rock face, a wave pushing into the mid-ground – and treat everything before that as setup, not the main event.
What I’d Add From My Own Experience
The idea of returning to a familiar location and finding something new is one I’d take further. I’ve shot the same ridge outside Bend in every season for years. The images from year one and year six don’t look related. Familiarity breeds creative permission. When you’re not anxious about navigating a new place, you have mental bandwidth to notice the ledge, the angle, the relationship between elements that a first-time visitor would walk right past. If you’re serious about a location, revisit it. Schedule it. The place doesn’t reveal everything on the first visit.
The single most transferable idea from this tutorial is that foreground elements should do compositional work, not just add texture. A rock ledge, a pool, a ridge – each of these can balance, frame, or direct the eye toward your primary subject if you find the angle that activates that relationship. That’s the thinking to carry into the field.
Watch the full tutorial on YouTube to see Patino work through the composition in real time as the Cathedral Rocks sunrise unfolds. The field footage makes the spatial relationships concrete in a way that’s hard to fully communicate in words.
Comments (4)
My workflow just got 10x faster. Not even kidding.
This is fantastic. I've been recommending this approach to my readers too.
Love how you break down complex stuff into manageable steps.
Well explained. I think my audience would really benefit from this — mind if I link to it?
Leave a Comment