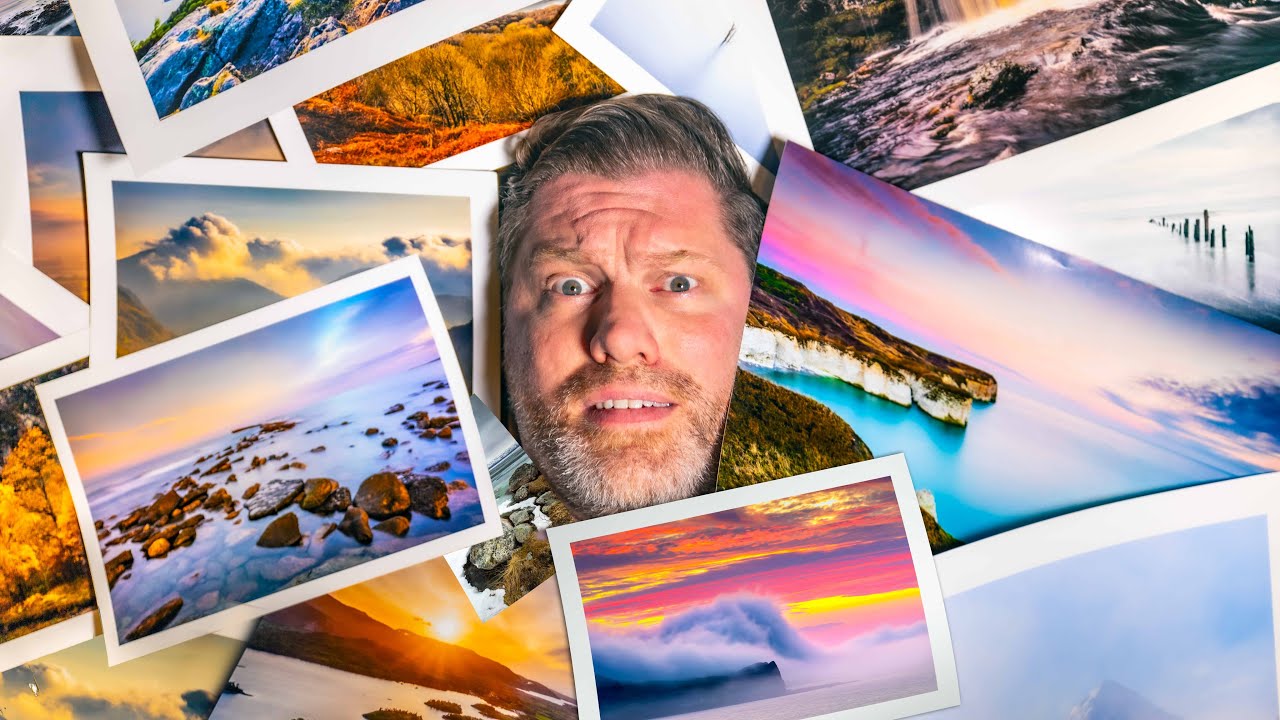
There is a particular kind of frustration that only landscape photographers know. You have driven hours, hiked in the dark, set up your tripod in exactly the right spot, and then a wall of cloud swallows the light thirty seconds before golden hour peaks. I have been standing in that exact moment more times than I can count, and after twenty years of doing this professionally, I still have not found a way to make it hurt less. What I have found is a way to keep showing up anyway, and to keep enjoying it when things go sideways. That is the real skill, and it is the one nobody talks about enough.
In this First Man Photography tutorial, Adam distills a decade of shooting into three lessons that he calls invaluable. He frames the whole thing around the Greek myth of Tantalus, the man condemned to stand beneath fruit he could never quite reach, and the parallel to landscape photography is uncomfortably accurate. The shot is always just out of reach. His three lessons are not about camera settings or editing software. They are about building a practice that sustains you across years, not just across a weekend shoot. That framing is what made me sit up and pay attention, because it is the conversation I have been trying to have with my own workshop students for years.
Step 1: Match Your Gear to How You Actually Shoot
 Photographer handling camera body in field setting
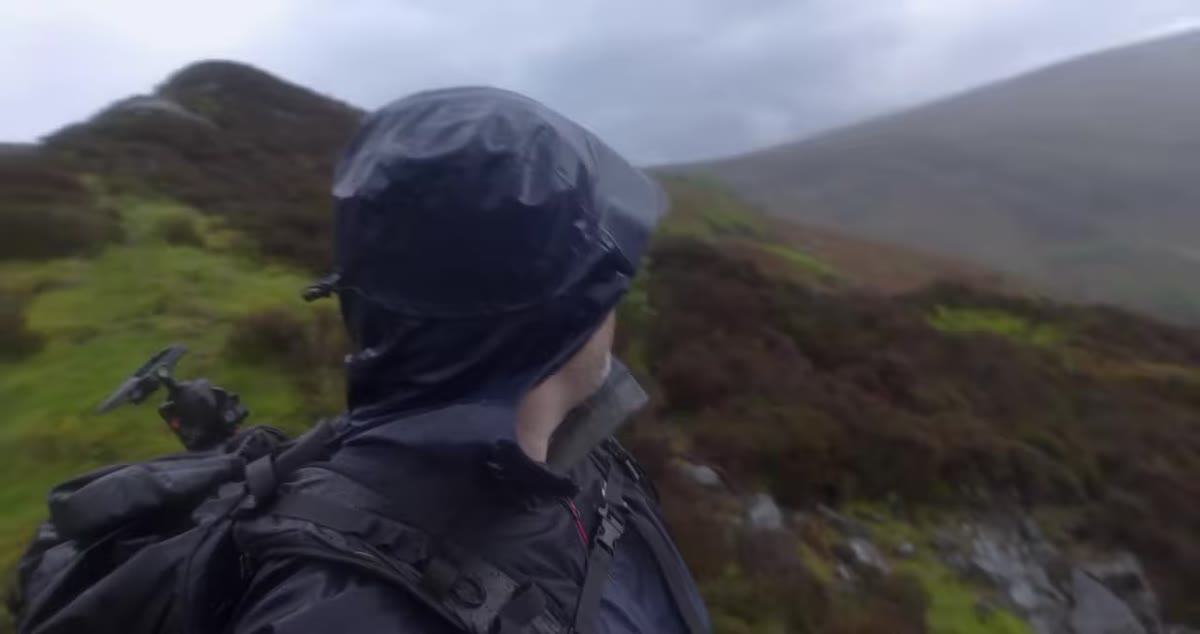
Adam makes a point here that sounds obvious until you think about how rarely photographers actually act on it. He says that nothing disrupts the creative process more than being out of tune with your tools. The gear does not have to be the best on the market. It has to feel right in your hands. He mentions returning to his Canon 5D Mark IV again and again, not because it beats every rival on a spec sheet, but because it has become an extension of how he thinks when he is shooting.
Photographer handling camera body in field setting
Adam makes a point here that sounds obvious until you think about how rarely photographers actually act on it. He says that nothing disrupts the creative process more than being out of tune with your tools. The gear does not have to be the best on the market. It has to feel right in your hands. He mentions returning to his Canon 5D Mark IV again and again, not because it beats every rival on a spec sheet, but because it has become an extension of how he thinks when he is shooting.
This applies to everything you carry, including bags, tripods, filters, and clothing. If you are fussing with a bag that does not open the right way in the dark, or a filter system that takes three minutes to attach when the light is moving fast, that friction compounds. The practical step here is to spend a full season with one kit, resist swapping, and notice what slows you down. Cut those things. Keep what disappears in your hands.
Step 2: Build Physical Fitness as a Photography Skill
 Steep mountain trail leading to elevated viewpoint
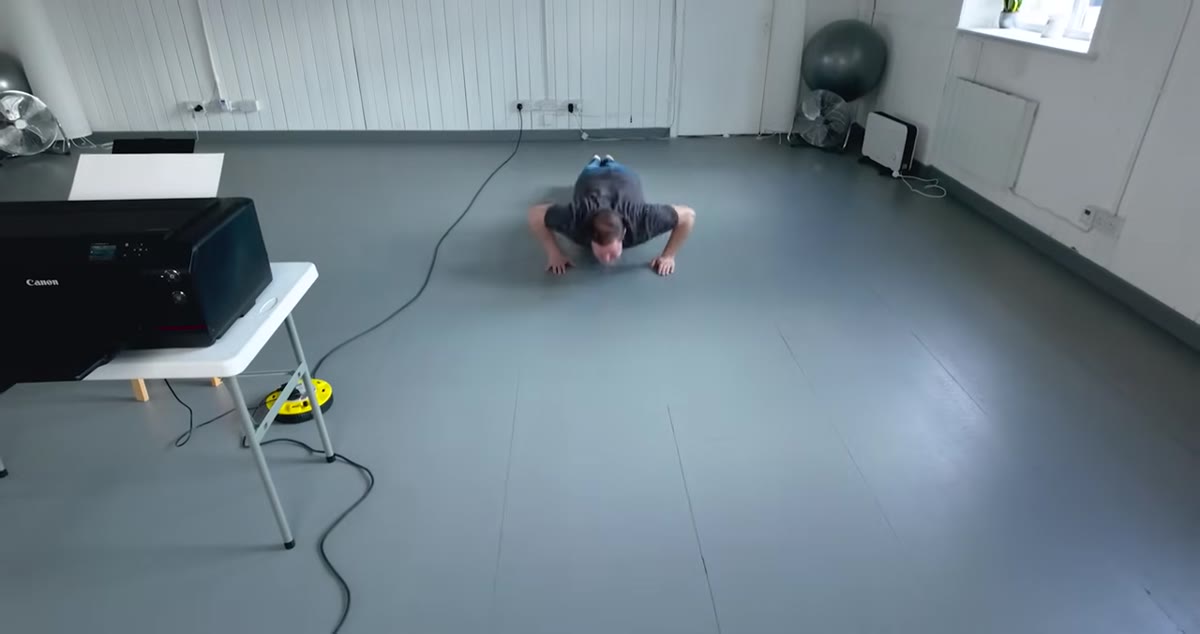
This is the lesson that most photography advice skips entirely, and it might be the highest-leverage one on the list. Adam is direct about it: getting fit will improve your landscape photography more than almost anything else you can do. When your body is strong, the high viewpoints become accessible. You arrive faster, you have more time to settle before the light peaks, and you can get out more often without the recovery time eating into your schedule.
Steep mountain trail leading to elevated viewpoint
This is the lesson that most photography advice skips entirely, and it might be the highest-leverage one on the list. Adam is direct about it: getting fit will improve your landscape photography more than almost anything else you can do. When your body is strong, the high viewpoints become accessible. You arrive faster, you have more time to settle before the light peaks, and you can get out more often without the recovery time eating into your schedule.
The practical application is straightforward. You do not need to train for a marathon. The goal is to do a little more than you are currently doing. Start with the walk you have been avoiding, the one that leads to the ridge you keep seeing in other photographers’ images. Add elevation to your hikes gradually. Adam also notes something worth paying attention to: when your heart rate is up, creative ideas surface more easily. Increased blood flow reaches the brain as well as the muscles. Some of my clearest compositional thinking has happened halfway up a climb, not standing still at a popular pullout.
Step 3: Keep Learning Something New Enough to Stay Uncomfortable
 Camera on tripod with long exposure setup at waterfall
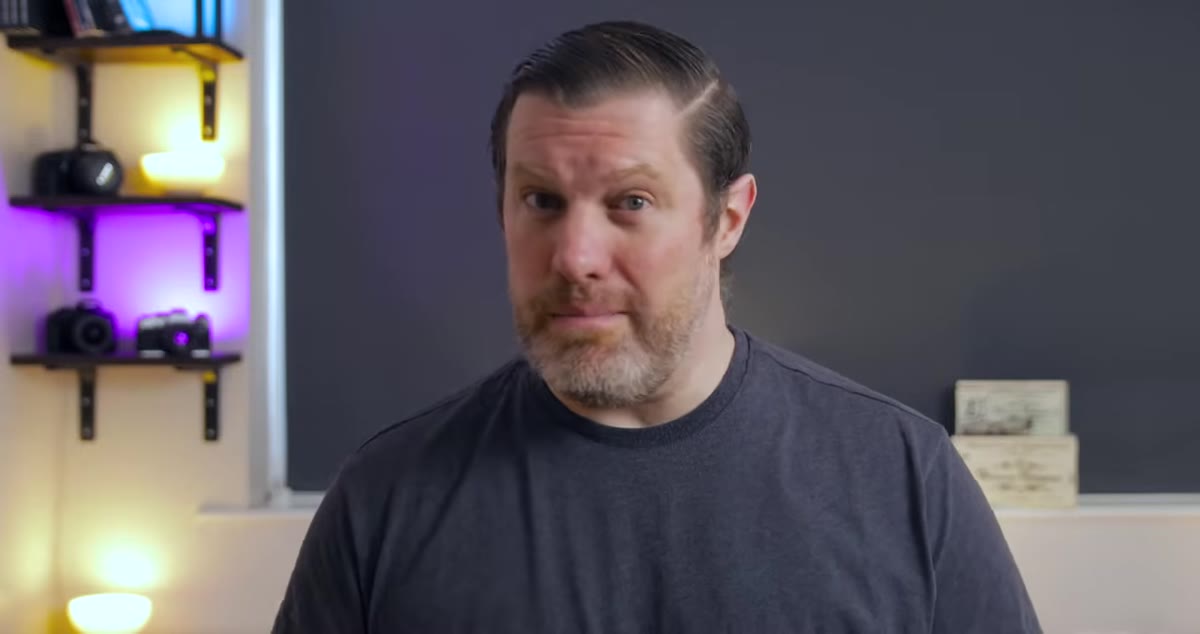
Adam’s third lesson is about maintaining curiosity as a deliberate practice, not waiting for inspiration to show up on its own. For newer photographers, that might mean shooting in full manual mode for the first time, or attempting a long exposure, or working with a drone to introduce light into a scene in unexpected ways. For experienced shooters, the frontier moves. He mentions printing your own photographs as a natural next step, and frame-making as something he has recently started exploring himself.
Camera on tripod with long exposure setup at waterfall
Adam’s third lesson is about maintaining curiosity as a deliberate practice, not waiting for inspiration to show up on its own. For newer photographers, that might mean shooting in full manual mode for the first time, or attempting a long exposure, or working with a drone to introduce light into a scene in unexpected ways. For experienced shooters, the frontier moves. He mentions printing your own photographs as a natural next step, and frame-making as something he has recently started exploring himself.
The point is not to chase every new technique. The point is to always have one thing you are figuring out. That state of productive struggle keeps your eye fresh. When I started shooting occasional film again a few years back, it slowed me down in a way that was genuinely uncomfortable. I could not chimp. I had to commit. And that constraint forced me to think before pressing the shutter in a way that carried back into my digital work.
What Twenty Years Adds to These Three Lessons
Adam’s framework holds up, and I want to add one thing that only becomes clear with time: these three lessons are not separate. They reinforce each other in a loop. When your gear feels right, you stop thinking about it, which frees up mental space for composition. When you are fit, you access better locations, which gives you more reasons to keep learning new techniques. When you are always learning, you have a reason to go out even when the forecast is bad, which keeps you fit.
A mentor told me early in my career that the mountain does not care about your schedule. I was frustrated at the time, but what he meant was that the only variable you can actually control is whether you show up prepared and whether you keep showing up. Gear, fitness, and curiosity are the infrastructure of showing up. They do not guarantee the shot. Nothing does. But they remove the excuses that would have kept you home.
The single most important takeaway from Adam’s tutorial is this: enjoying the process and caring about the result are not in conflict. You do not have to choose between loving the craft and wanting something to show for it. But the way you build that enjoyment is by removing friction, building capacity, and staying genuinely curious. Do those three things long enough and the tantalization becomes part of what you love about this work, not the part that drives you away from it.
Watch the full tutorial on YouTube and hear Adam walk through these lessons in his own words. It is worth your time.
Comments (2)
The tip about three hard won lessons that wi was the missing piece for me. Thank you.
Applied this to my portfolio shots and the improvement is noticeable.
Leave a Comment