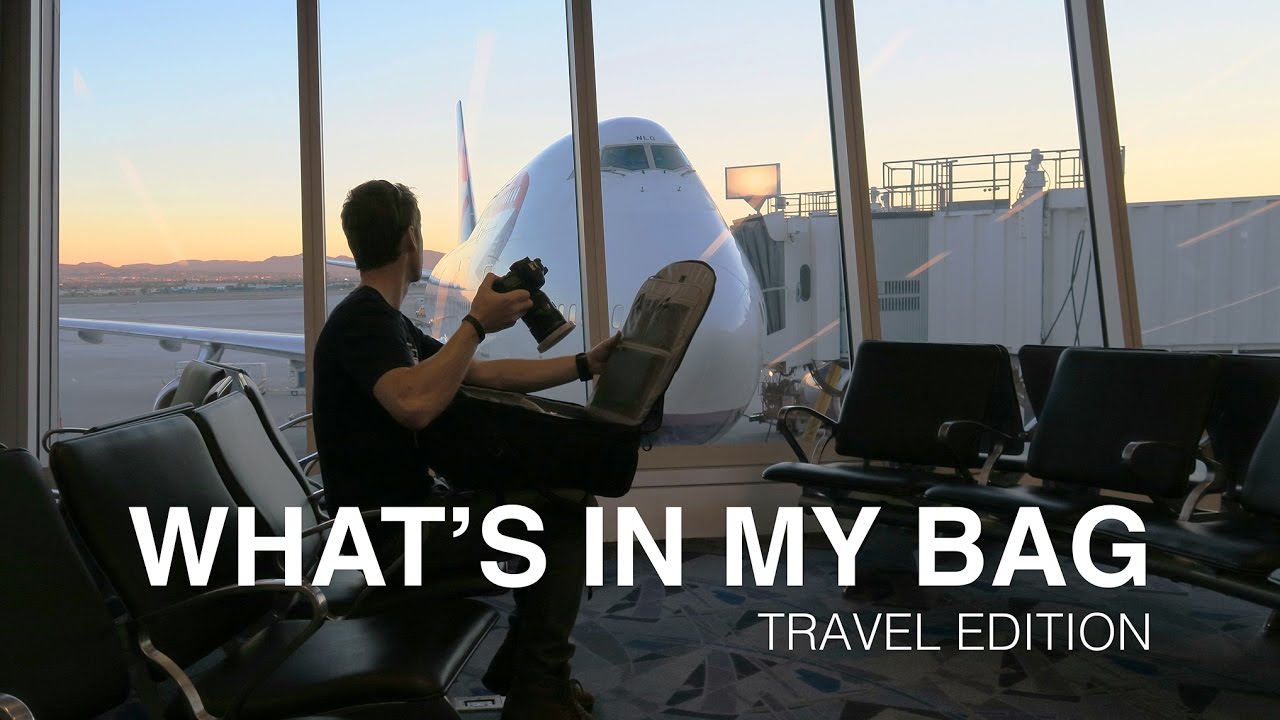
I’ve stood in the dark more times than I can count, headlamp on, stuffing gear into a bag while trying not to wake anyone up at 4am. The question of which bag, and what goes inside it, is never really settled. You think you’ve figured it out, and then you book a flight, and suddenly the whole system falls apart. Airlines get stricter, weight limits shrink, and that bag you loved for driving to a trailhead becomes a liability at the gate. That’s exactly the tension Thomas Heaton works through in this tutorial filmed during a two-week photography trip to Hawaii, and it mirrors conversations I have with students at my workshops almost every season.
What makes this video worth your time is that Heaton isn’t theorizing. He’s standing there with the actual gear he packed, explaining the reasoning behind each decision in real time. It’s a working photographer’s kit list, not a sponsored wish list. He’s upfront about what was given to him versus what he bought himself, and that honesty sets the tone. Watch the full tutorial on YouTube if you want to see every item up close, but what follows is my breakdown of the key decisions and what they mean for how you pack.
Step 1: Accept That One Bag Will Never Do Everything
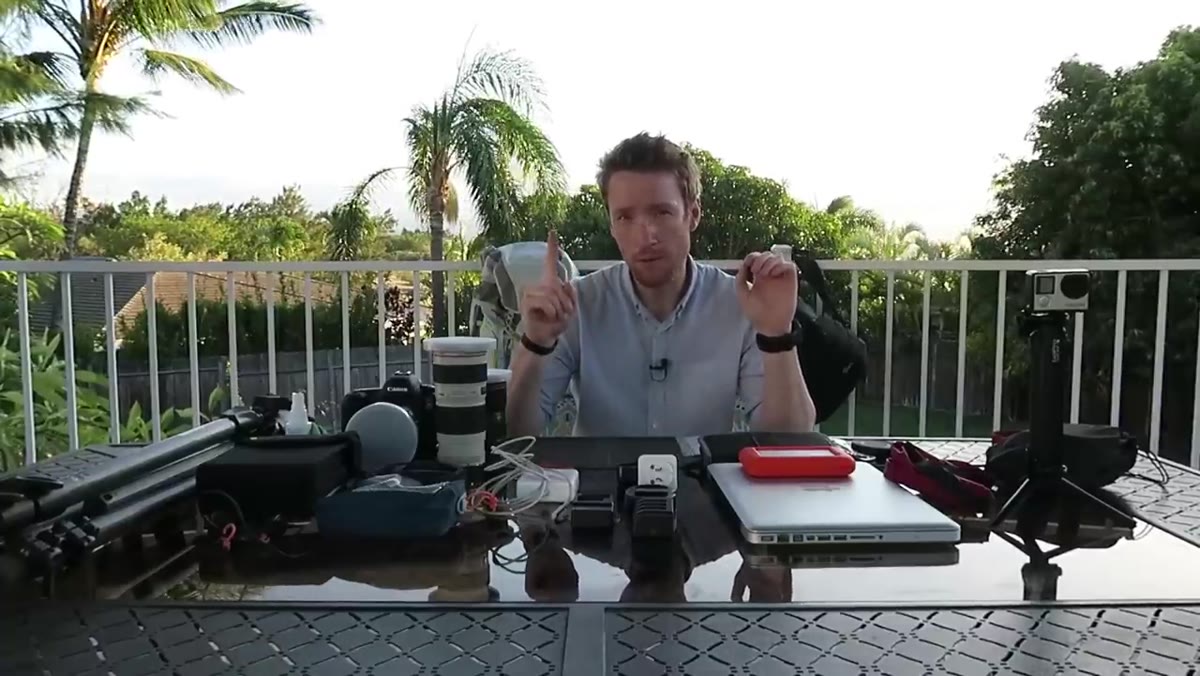 Thomas Heaton holding two different camera backpacks side by side
The first thing Heaton establishes is a principle I’ve arrived at the hard way myself: there is no single bag that handles every situation. He travels with two bags, each serving a distinct purpose. One is for the field, one is for the flight. Trying to make one bag do both usually means it does neither particularly well. For years I carried a single large pack everywhere, and I’d either be lugging dead weight on a short coastal walk or feeling underprepared on a longer mountain hike. Separating the roles freed me up considerably.
Thomas Heaton holding two different camera backpacks side by side
The first thing Heaton establishes is a principle I’ve arrived at the hard way myself: there is no single bag that handles every situation. He travels with two bags, each serving a distinct purpose. One is for the field, one is for the flight. Trying to make one bag do both usually means it does neither particularly well. For years I carried a single large pack everywhere, and I’d either be lugging dead weight on a short coastal walk or feeling underprepared on a longer mountain hike. Separating the roles freed me up considerably.
Step 2: Choose Your Adventure Pack Based on Weight, Not Just Volume
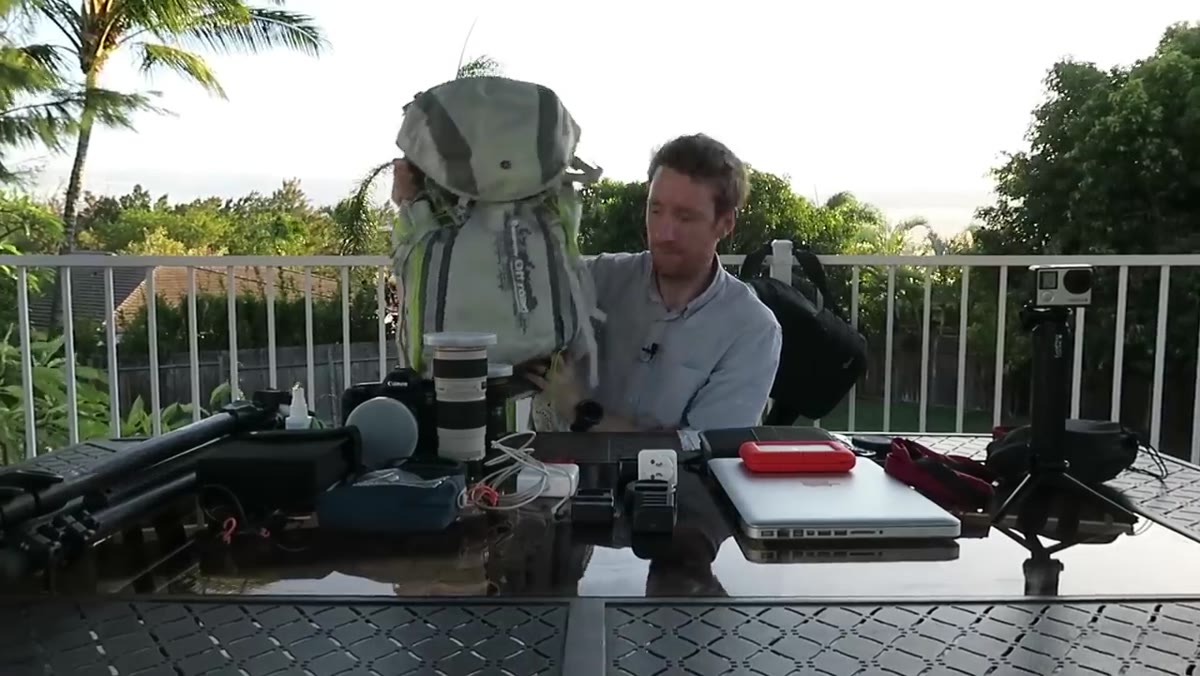 Close-up of the Manfrotto off-road backpack on a table
For serious hiking and longer days in the field, Heaton uses the Manfrotto Off Road backpack, a 35-liter bag that was sent to him but that he vouches for genuinely. The key detail here isn’t the brand, it’s the reasoning: he chose it over his 45-liter Lowepro Rover specifically because it’s lighter, and lighter matters when you’re traveling by air and then hiking to a location. Volume isn’t everything. A bag that’s 10 liters smaller but significantly lighter is a better travel companion if it still holds your essential kit. When I’m packing for a workshop in the Cascades, I’m always asking myself whether I actually need what I’m about to put in, not just whether it fits.
Close-up of the Manfrotto off-road backpack on a table
For serious hiking and longer days in the field, Heaton uses the Manfrotto Off Road backpack, a 35-liter bag that was sent to him but that he vouches for genuinely. The key detail here isn’t the brand, it’s the reasoning: he chose it over his 45-liter Lowepro Rover specifically because it’s lighter, and lighter matters when you’re traveling by air and then hiking to a location. Volume isn’t everything. A bag that’s 10 liters smaller but significantly lighter is a better travel companion if it still holds your essential kit. When I’m packing for a workshop in the Cascades, I’m always asking myself whether I actually need what I’m about to put in, not just whether it fits.
Step 3: Use a Removable Camera Insert to Get Two Bags for the Price of One
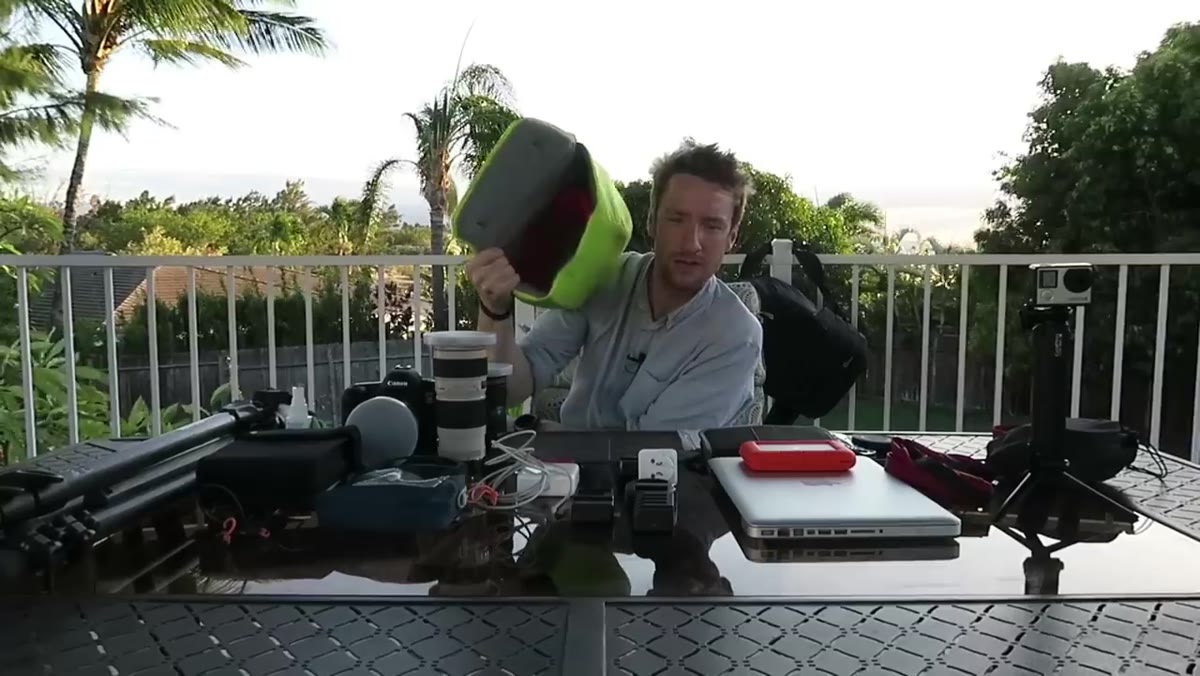 Heaton removing the internal camera insert from the backpack
The Manfrotto pack includes a removable padded camera insert that holds the camera body and lenses. Pull that insert out and you have a straightforward daypack for hiking without gear. Leave it in and it’s a fully protective camera bag. This is a genuinely useful design feature because there are days on a trip when you’re scouting on foot, moving fast, and you don’t want to carry a full camera setup. Being able to strip the bag down without repacking everything is a real time-saver. I’ve started prioritizing this kind of modularity in every bag I evaluate. The top compartment on Heaton’s pack handles filters, a spare layer, water, and smaller accessories, which is exactly how I organize that space too.
Heaton removing the internal camera insert from the backpack
The Manfrotto pack includes a removable padded camera insert that holds the camera body and lenses. Pull that insert out and you have a straightforward daypack for hiking without gear. Leave it in and it’s a fully protective camera bag. This is a genuinely useful design feature because there are days on a trip when you’re scouting on foot, moving fast, and you don’t want to carry a full camera setup. Being able to strip the bag down without repacking everything is a real time-saver. I’ve started prioritizing this kind of modularity in every bag I evaluate. The top compartment on Heaton’s pack handles filters, a spare layer, water, and smaller accessories, which is exactly how I organize that space too.
Step 4: Pick Your Airline Bag Around Carry-On Restrictions, Not Preference
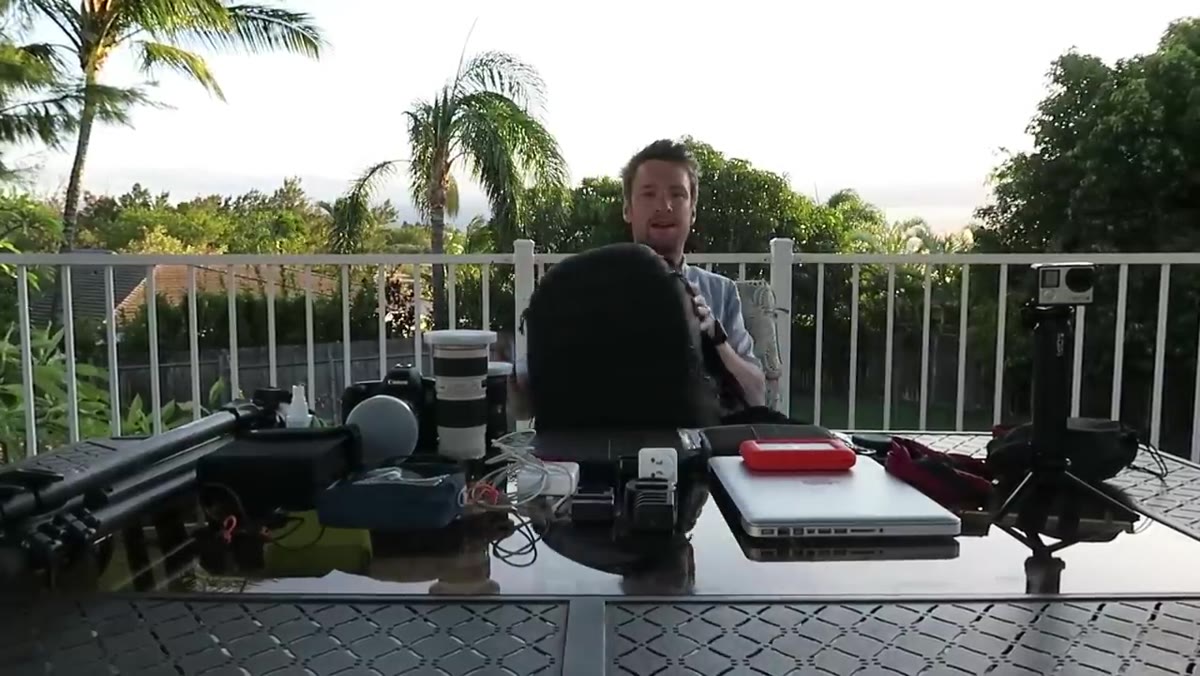 Heaton displaying the Lowepro Pro Tactic 450 AW bag
For air travel, Heaton switched to the Lowepro Pro Tactic 450 AW after finding that his previous Lowepro bag had become too large and bulky to reliably pass as a carry-on. Airlines have gotten more aggressive about enforcing size limits, and if you’ve ever had to gate-check a bag full of camera gear, you know the anxiety that follows it all the way to baggage claim. His solution was to do the research and find a bag that was genuinely sized for overhead bins. This is the right approach. I keep a tape measure near my gear storage at home and I check every bag I’m considering against the most restrictive airline dimensions I’m likely to encounter, not the most lenient.
Heaton displaying the Lowepro Pro Tactic 450 AW bag
For air travel, Heaton switched to the Lowepro Pro Tactic 450 AW after finding that his previous Lowepro bag had become too large and bulky to reliably pass as a carry-on. Airlines have gotten more aggressive about enforcing size limits, and if you’ve ever had to gate-check a bag full of camera gear, you know the anxiety that follows it all the way to baggage claim. His solution was to do the research and find a bag that was genuinely sized for overhead bins. This is the right approach. I keep a tape measure near my gear storage at home and I check every bag I’m considering against the most restrictive airline dimensions I’m likely to encounter, not the most lenient.
Step 5: Be Honest About What Gear Is Actually Sponsored
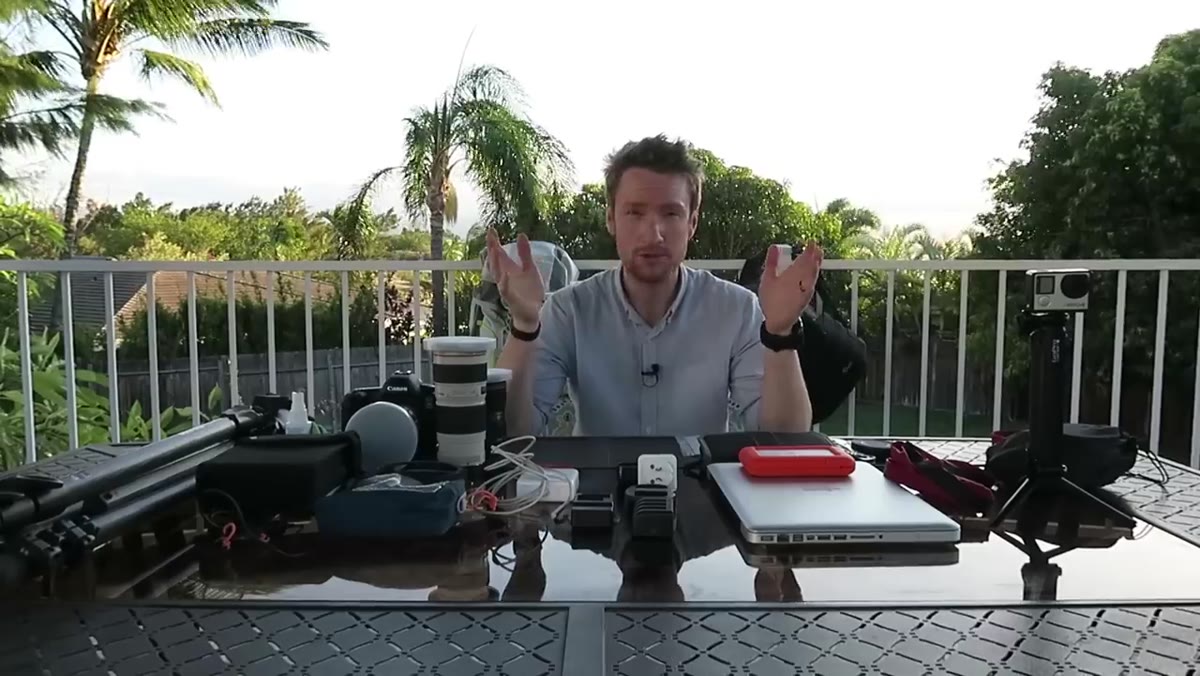 Heaton speaking directly to camera about product transparency
This isn’t a packing step, but it’s worth treating it like one. Heaton takes time early in the video to explain his policy on sponsored and gifted gear. He turns down roughly 90 percent of what companies offer him, and he only features items he’d use regardless of whether they were free. He flags each gifted item clearly throughout the video. That discipline matters because it changes how you should interpret any gear recommendation, including mine. When I tell students what to buy, I want them to know whether I paid for it out of my own pocket after comparing it to alternatives, or whether it showed up in a box. The former carries more weight, and Heaton seems to understand that.
Heaton speaking directly to camera about product transparency
This isn’t a packing step, but it’s worth treating it like one. Heaton takes time early in the video to explain his policy on sponsored and gifted gear. He turns down roughly 90 percent of what companies offer him, and he only features items he’d use regardless of whether they were free. He flags each gifted item clearly throughout the video. That discipline matters because it changes how you should interpret any gear recommendation, including mine. When I tell students what to buy, I want them to know whether I paid for it out of my own pocket after comparing it to alternatives, or whether it showed up in a box. The former carries more weight, and Heaton seems to understand that.
What I’d Add After 20 Years of Packing for the Field
The two-bag system Heaton describes is sound, and I use a version of it myself. But there’s one layer he doesn’t go into that I think is worth raising: the inside of the bag matters as much as the bag itself. I’ve watched workshop participants show up with excellent bags packed in ways that slow them down at the worst moments. Filters buried under a jacket. A second battery somewhere at the bottom. When the light breaks at dawn, you have maybe four minutes before it’s gone. Your bag needs to work like a reflex, not a puzzle.
I organize by frequency of access. Whatever I’m most likely to reach for in the field, lens cloths, a spare card, my ND filters, lives at the top or in an outer pocket. The stuff I’ll only need once, charging cables, adapters, rain covers, goes at the bottom. It sounds obvious, but in the dark at 4am, obvious systems are the only ones that actually work.
The single most important takeaway from Heaton’s video is this: your gear system should be built around the specific constraints of your trip, not around what worked last time. A bag that’s perfect for driving to a location in Oregon might be a liability on a flight to Hawaii. Think backwards from the environment you’re shooting in and the logistics you’re navigating, then build your kit outward from that. Heaton does exactly that, and it shows in how clean and purposeful his setup is.
Watch the full tutorial on YouTube to see every item Heaton unpacks and hear his reasoning in his own words. It’s one of the more practical gear videos I’ve come across in a while.
Comments (3)
The tip about two bags no compromises what a was the missing piece for me. Thank you.
Finally someone explains this in a way that actually makes sense.
This is fantastic. I've been recommending this approach to my readers too.
Leave a Comment