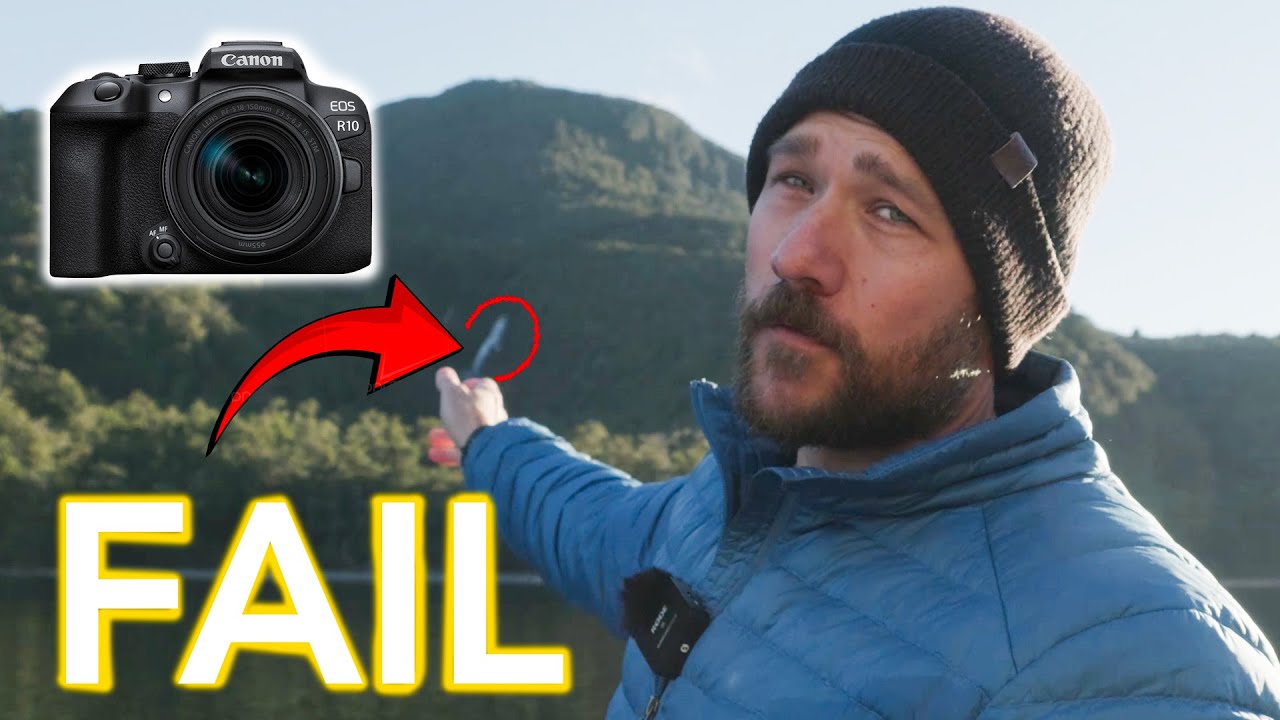
There’s a particular kind of silence that settles over you when you’ve hiked two hours into the backcountry, the light is doing something genuinely beautiful, and you know — you just know — that nothing you’re framing is working. I’ve stood in that silence more times than I care to count. After twenty years of doing this full time, I still haven’t found a way to shortcut it. What I have found is that watching another experienced photographer navigate that failure honestly is worth more than a dozen polished tutorials where everything goes perfectly.
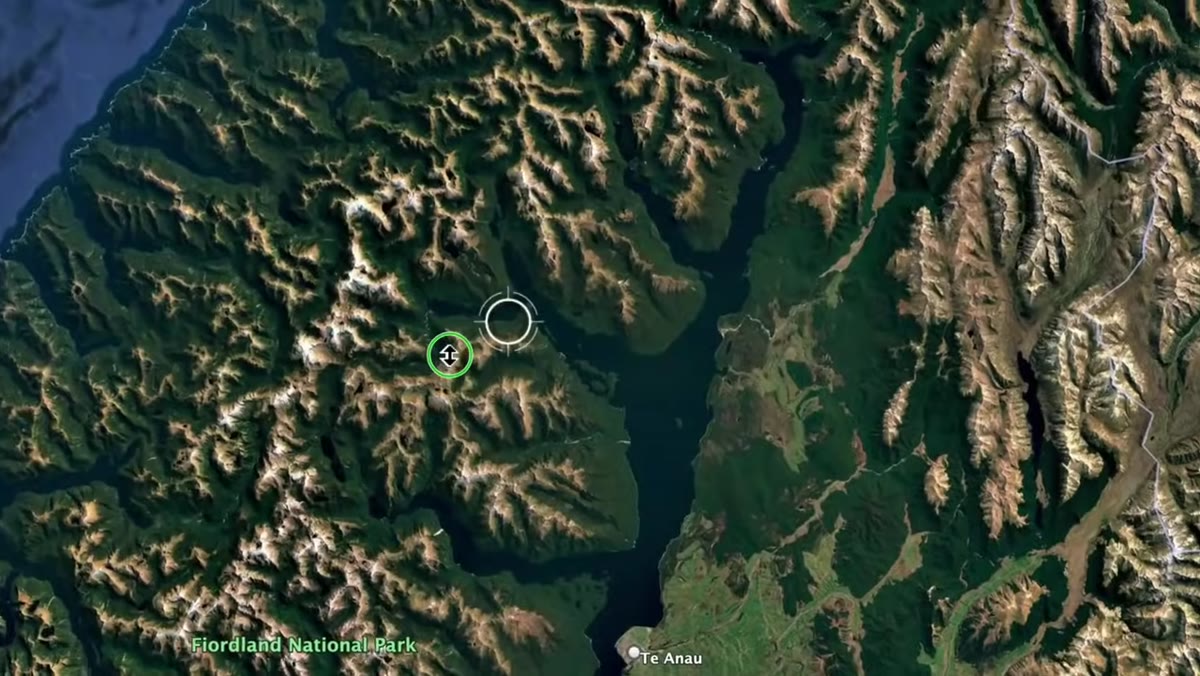
That’s exactly what makes this William Patino tutorial worth your time. Watch the full tutorial on YouTube — and notice that I’m recommending it precisely because Patino doesn’t walk away with a hero shot. He explores a remote waterfall deep in Fiordland, New Zealand, works the light carefully, pushes through genuinely difficult terrain, and then tells you straight: he didn’t get anything he was happy with. The reasons he gives are a masterclass in two of the most underestimated problems in landscape photography: composition under pressure and water spray destroying your glass at close range.
What follows is a field breakdown of how Patino works through this location, where the decision-making gets interesting, and what I’d carry into the same situation differently.
Step 1: Commit to a Specific Subject Before You Arrive
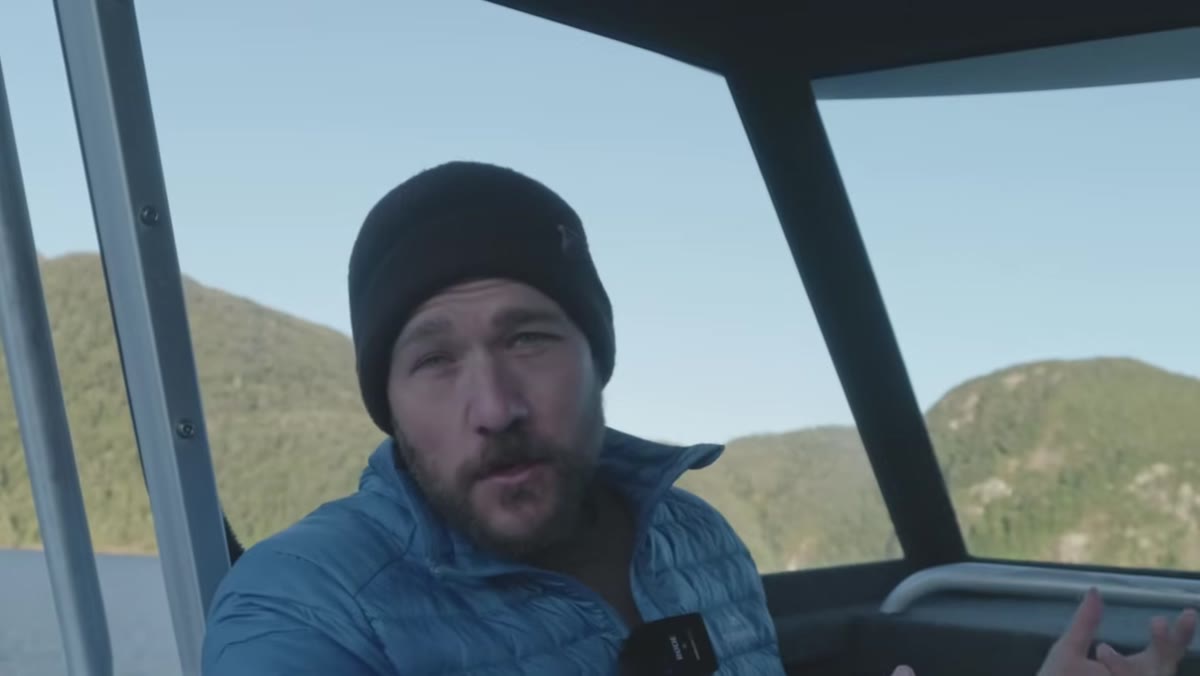
 Patino on the boat describing waterfall plan
Before Patino even steps off the boat, he’s already narrowed his intention. He’s not interested in photographing the whole waterfall. He wants the lower section, the stream feeding into it, and the lush rainforest framing those elements. This sounds obvious, but most photographers arrive at a new location and let the scale of it overwhelm their decision-making. They try to photograph everything and end up with nothing that holds.
Patino on the boat describing waterfall plan
Before Patino even steps off the boat, he’s already narrowed his intention. He’s not interested in photographing the whole waterfall. He wants the lower section, the stream feeding into it, and the lush rainforest framing those elements. This sounds obvious, but most photographers arrive at a new location and let the scale of it overwhelm their decision-making. They try to photograph everything and end up with nothing that holds.
Pick one anchor subject before you leave the trailhead. It focuses your scouting, it tells you which direction to face when the light changes, and it saves you from chasing three compositions at once when the window is closing fast.
Step 2: Race the Light - Know Your Shade Window
 Patino on the water navigating toward shaded waterfall
Patino times his approach deliberately. The waterfall sits in the lee of a mountain, which means it stays shaded longer into the morning. He knows this before he arrives, and he paddles hard to get there before the sun clears the ridge. Once direct sunlight hits a waterfall environment, you’re dealing with blown highlights on white water, harsh shadows cutting through ferns, and a contrast range that no sensor handles gracefully.
Patino on the water navigating toward shaded waterfall
Patino times his approach deliberately. The waterfall sits in the lee of a mountain, which means it stays shaded longer into the morning. He knows this before he arrives, and he paddles hard to get there before the sun clears the ridge. Once direct sunlight hits a waterfall environment, you’re dealing with blown highlights on white water, harsh shadows cutting through ferns, and a contrast range that no sensor handles gracefully.
The practical takeaway here is to use a topographic map or an app like PhotoPills to model where shadow will fall at a given location during your planned shoot window. Shade is not just a lucky bonus. It’s something you can predict and plan for. Patino treats it as a hard deadline, which is the right way to think about it.
Step 3: Read the Light Quality, Not Just the Direction
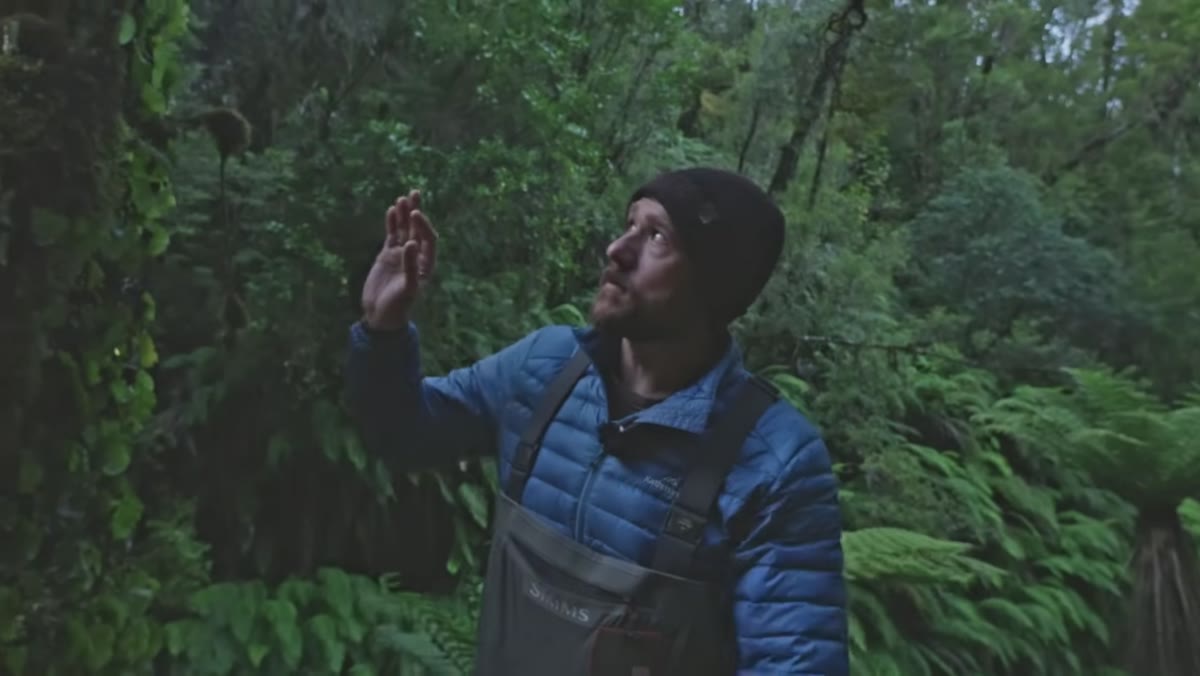 Patino describing cloud acting as softbox overhead
When Patino reaches the waterfall, he notices something worth pausing on. The sun is hitting cloud cover above the valley, and that cloud is diffusing the light back down into the scene like a giant softbox. He can see direct sunlight catching the tops of trees at the edge of the forest, which tells him that clean diffused light is temporary. In roughly twenty minutes, the sun will clear those clouds or clear the ridge, and the whole scene will shift toward harsh and unworkable.
Patino describing cloud acting as softbox overhead
When Patino reaches the waterfall, he notices something worth pausing on. The sun is hitting cloud cover above the valley, and that cloud is diffusing the light back down into the scene like a giant softbox. He can see direct sunlight catching the tops of trees at the edge of the forest, which tells him that clean diffused light is temporary. In roughly twenty minutes, the sun will clear those clouds or clear the ridge, and the whole scene will shift toward harsh and unworkable.
This kind of real-time light reading is a skill that only develops through repetition. Train yourself to look not just at where light is coming from, but at the quality of that light and what will cause it to change. Watch the edge of shadows. Watch where direct sun is falling relative to your subject. Give yourself a timeline and work backward from when the light will go bad.
Step 4: Scout Before You Set Up the Tripod
 Patino exploring platforms above lower waterfall
Rather than planting his tripod at the first promising spot, Patino keeps moving. He works his way up from the base pool, checks a second ledge above the obvious composition, and evaluates whether a cleaner view exists further up the system. This costs him time he doesn’t have a lot of, but it’s the correct call.
Patino exploring platforms above lower waterfall
Rather than planting his tripod at the first promising spot, Patino keeps moving. He works his way up from the base pool, checks a second ledge above the obvious composition, and evaluates whether a cleaner view exists further up the system. This costs him time he doesn’t have a lot of, but it’s the correct call.
Setting up early at a mediocre position is one of the most expensive habits in landscape photography. The better angle is almost always ten more minutes of scrambling away. Scout the full space first, even quickly, then commit to your position. I make myself do at least one full loop of any new location before the tripod legs touch the ground.
Step 5: Identify What’s Blocking the Frame and Decide If You Can Fix It
 Patino noting large tree cutting across lower waterfall
At the lower waterfall, Patino identifies the core problem clearly. A large tree cuts directly across the face of the fall, fragmenting the composition and pulling the eye in conflicting directions. He tries to work around it by climbing to a higher vantage point, looking for a sight line that clears the obstruction.
Patino noting large tree cutting across lower waterfall
At the lower waterfall, Patino identifies the core problem clearly. A large tree cuts directly across the face of the fall, fragmenting the composition and pulling the eye in conflicting directions. He tries to work around it by climbing to a higher vantage point, looking for a sight line that clears the obstruction.
This is the right problem-solving instinct. When something is visually broken in a scene, name it specifically rather than just feeling vaguely unsatisfied. Is it a tree? A rock? Merging tonal values? Once you’ve named it, you can test whether changing your position solves it. Sometimes it does. Sometimes, as Patino finds here, the obstruction is structural and no angle fully clears it.
Step 6: Know When Spray Is a Technical Problem, Not Just an Inconvenience
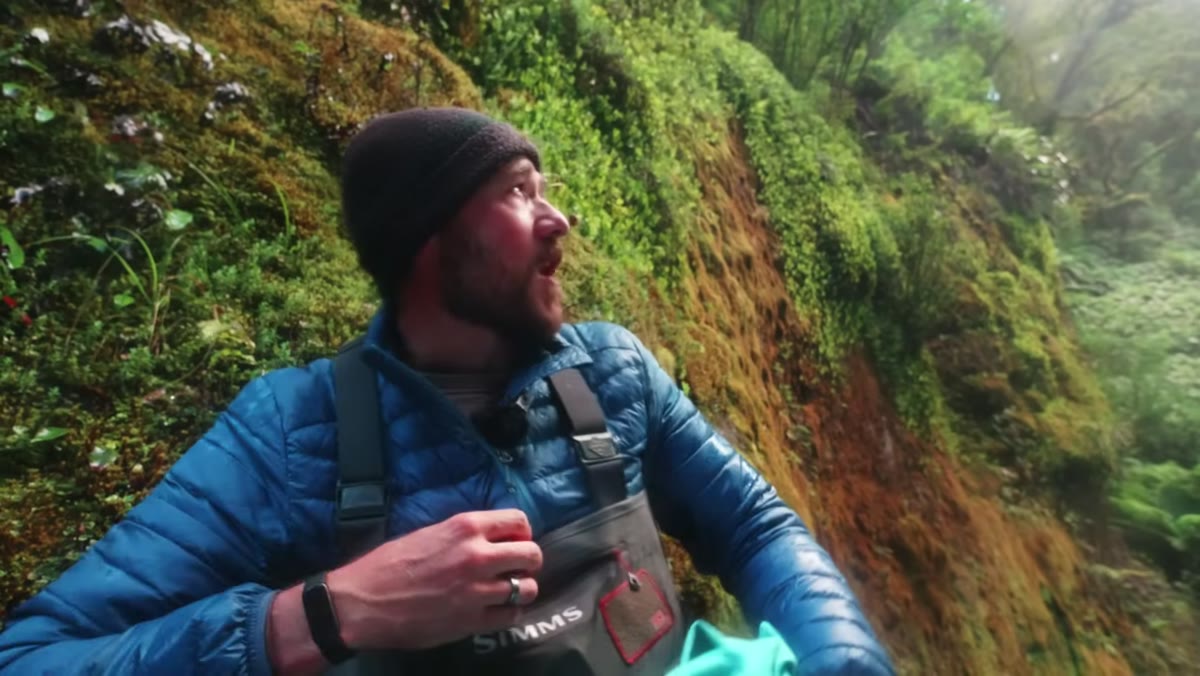 Patino close to waterfall describing spray challenge
Getting close to a high-volume waterfall in a confined gorge means constant mist on your front element. Patino notes this directly. It’s not a minor annoyance. Spray causes soft focus, flare, and a milky quality that kills contrast in the final image. A microfiber cloth helps, but in heavy spray conditions you’re wiping the lens between nearly every frame.
Patino close to waterfall describing spray challenge
Getting close to a high-volume waterfall in a confined gorge means constant mist on your front element. Patino notes this directly. It’s not a minor annoyance. Spray causes soft focus, flare, and a milky quality that kills contrast in the final image. A microfiber cloth helps, but in heavy spray conditions you’re wiping the lens between nearly every frame.
My approach in these situations is to shoot in short bursts immediately after wiping the element, then check the first frame before continuing. A lens hood helps marginally. Shooting from a slightly elevated angle rather than straight into the mist source also reduces accumulation. If the spray is heavy enough, consider whether a longer focal length from a drier position gives you a more usable result than fighting proximity.
What I’d Do Differently: Return Visits as Part of the Plan
Patino mentions in passing that the creek below the waterfall looked extraordinarily photogenic, and that he intends to return and spend real time there. I want to underline that instinct because it’s something most photographers treat as a consolation prize rather than a legitimate strategy.
A mentor once told me that the mountain doesn’t care about your schedule. I’ve carried that for years. Some locations require multiple visits before they give you what you came for. I drove six hours once to photograph a volcanic ridgeline in fog for two days straight. I came home with one usable shot. That print outsells almost everything else I’ve ever made. The creek Patino walked past might hold his best Fiordland image. The first visit was reconnaissance. That’s not failure. That’s field craft.
The most important thing this tutorial demonstrates is that honest field reporting is itself a teaching tool. Patino had strong light, a stunning subject, and real experience. He still came home without a satisfying image, and he tells you exactly why. That kind of transparency about the gap between conditions and results is rarer than it should be in photography content, and it’s exactly what will make you a more grounded, adaptable shooter in the field.
Watch the full tutorial on YouTube and pay particular attention to how Patino talks himself through each decision in real time. That running commentary is the actual lesson.
Comments
Leave a Comment