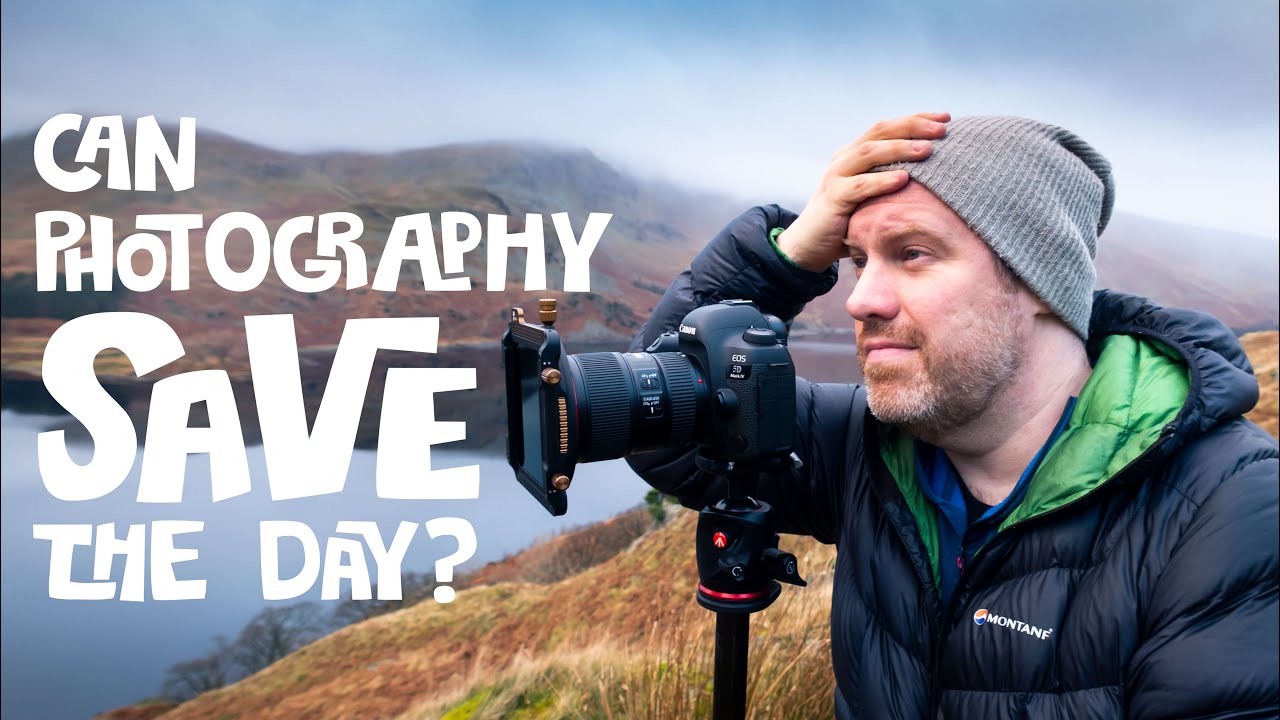
There is a particular kind of pressure that comes when you are making a photograph for someone specific. Not for your portfolio, not for Instagram, not to satisfy your own restless eye. For a person you love, who knows your work well enough to notice if you phoned it in. I have felt that pressure more times than I can count over twenty years of doing this professionally, and it never really gets easier. What changes is how you respond to it when the weather turns, the light fails, and the mountain just sits there, indifferent to your schedule.
That tension is exactly what Adam Keal works through in this First Man Photography tutorial, and it is one of the more honest landscape photography videos I have watched in a while. He heads into the Lake District with a real deadline - a Christmas gift for someone close to him, someone who knows his catalogue - and the conditions do not cooperate. What unfolds is a practical lesson in decision-making, location philosophy, and reading a scene as it actually is rather than as you hoped it would be. Watch the full tutorial on YouTube before or after reading this breakdown.
Step 1: Define the Purpose Before You Pick Up the Camera
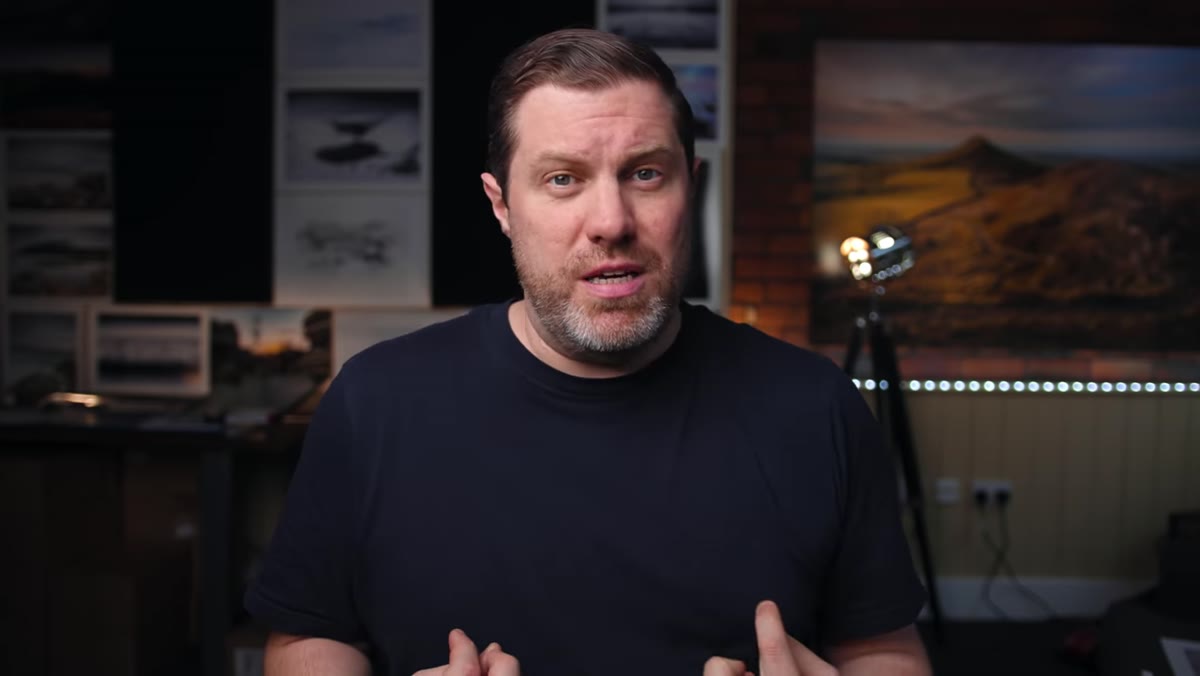 Adam speaking to camera about giving photographic prints as gifts
Before any location research, any alarm set for dark o’clock, any gear packed - know what this photograph is for and who it is for. Adam frames the whole shoot around a specific person who is familiar with his existing work. That constraint immediately eliminates the easy option of reprinting something he has already taken. The gift has to be new, has to be personal, has to carry some weight.
Adam speaking to camera about giving photographic prints as gifts
Before any location research, any alarm set for dark o’clock, any gear packed - know what this photograph is for and who it is for. Adam frames the whole shoot around a specific person who is familiar with his existing work. That constraint immediately eliminates the easy option of reprinting something he has already taken. The gift has to be new, has to be personal, has to carry some weight.
This kind of intentional framing changes how you shoot. You stop hedging. You commit to a subject, a place, a feeling. Treating a shoot as a creative brief - even a personal one - forces clarity that general portfolio building rarely demands.
Step 2: Research Location and Conditions, Then Accept the Gap
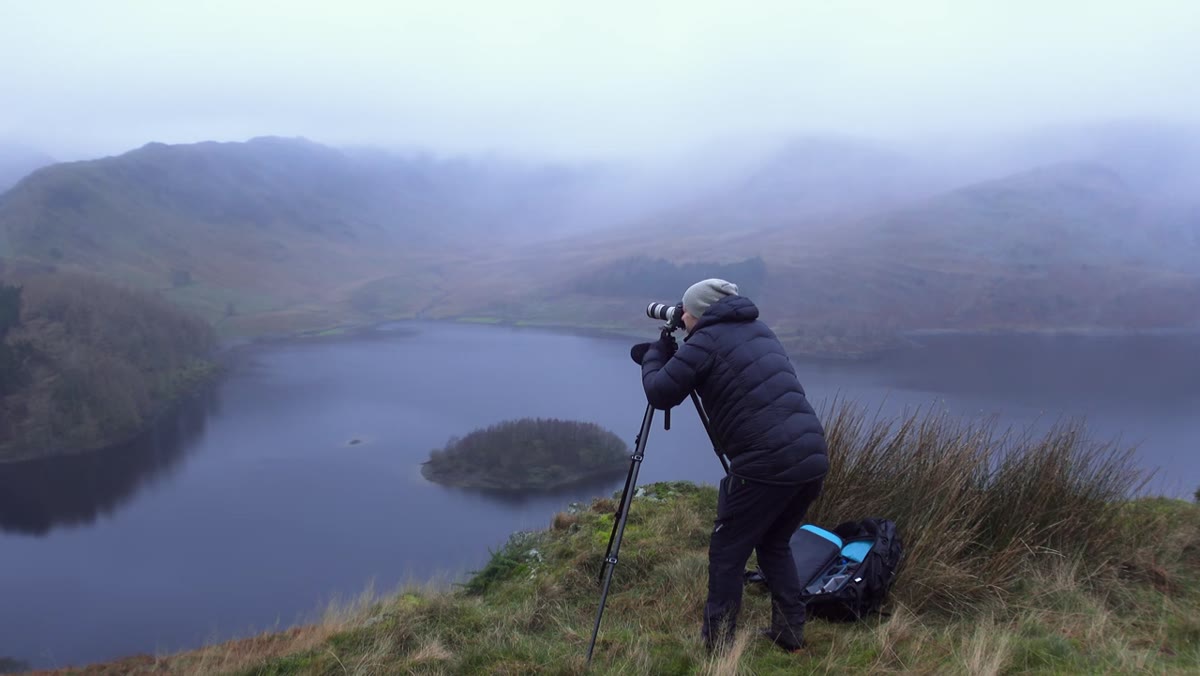
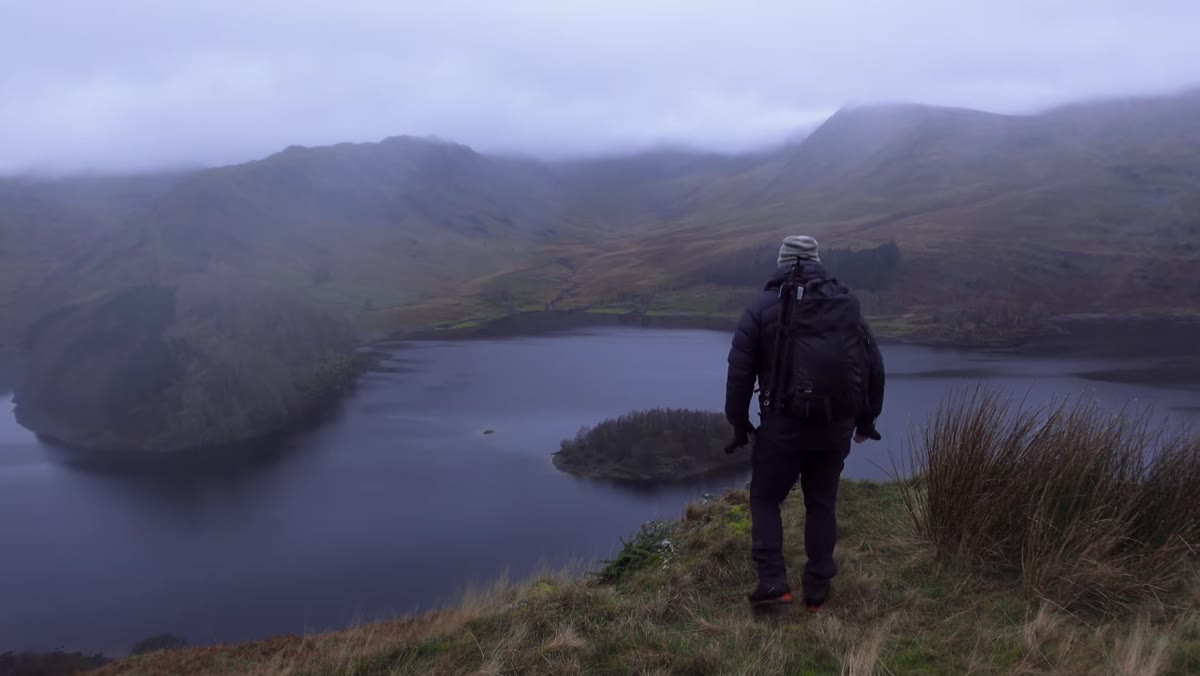 Adam hiking uphill in overcast misty conditions, mountains visible behind
Adam does the preparation work: location research, weather checks, an early rise. And then conditions arrive as something different from what he anticipated. His honest admission here is worth sitting with. He describes a feeling of near-entitlement that creeps in when you have done everything right in preparation - as if effort earns you good light. It does not. The mountain does not care about your schedule. A mentor told me that once, early in my career, and I have had to relearn it roughly every season since.
Adam hiking uphill in overcast misty conditions, mountains visible behind
Adam does the preparation work: location research, weather checks, an early rise. And then conditions arrive as something different from what he anticipated. His honest admission here is worth sitting with. He describes a feeling of near-entitlement that creeps in when you have done everything right in preparation - as if effort earns you good light. It does not. The mountain does not care about your schedule. A mentor told me that once, early in my career, and I have had to relearn it roughly every season since.
The practical takeaway is this: research gives you probability, not certainty. Build your shoot plan around a condition hierarchy. Know what you will do if the primary conditions do not arrive. Adam sees mist rolling in and, rather than retreating, starts reading it as a new set of possibilities.
Step 3: Stay on Location and Let the Scene Develop
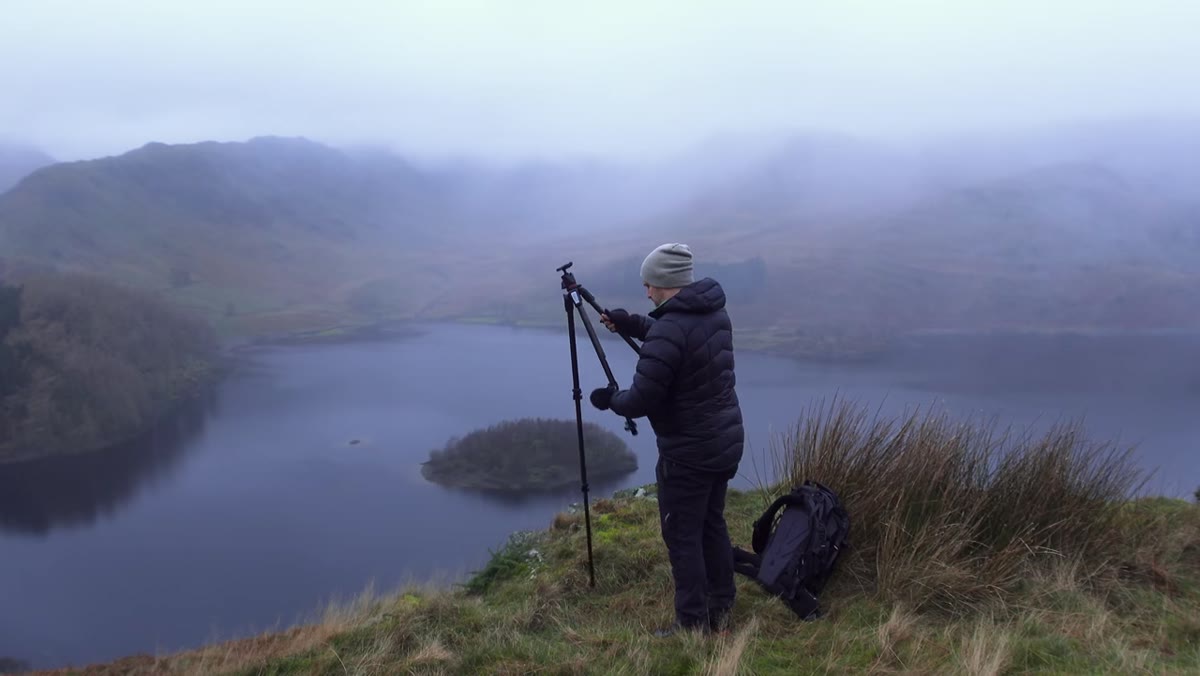 Wide valley view with low cloud base kissing mountain ridgelines
When the mist thickens after he has already hiked up, Adam makes the decision to stay rather than descend to safer, clearer ground. He notices small details - patches of blue appearing in the sky, the cloud base sitting against the mountain tops in interesting shapes, the movement of fog through the valley. He is not waiting passively. He is watching actively, cataloguing what is changing, staying ready.
Wide valley view with low cloud base kissing mountain ridgelines
When the mist thickens after he has already hiked up, Adam makes the decision to stay rather than descend to safer, clearer ground. He notices small details - patches of blue appearing in the sky, the cloud base sitting against the mountain tops in interesting shapes, the movement of fog through the valley. He is not waiting passively. He is watching actively, cataloguing what is changing, staying ready.
This is a discipline that takes time to build. In my early years I would have been disheartened and started walking back to the car. Now I set a minimum dwell time for any location - at least ninety minutes after arrival before I decide the conditions are not going to shift. Some of my best frames have come in the final twenty minutes before I gave up.
Step 4: Shoot Popular Locations Without Apology
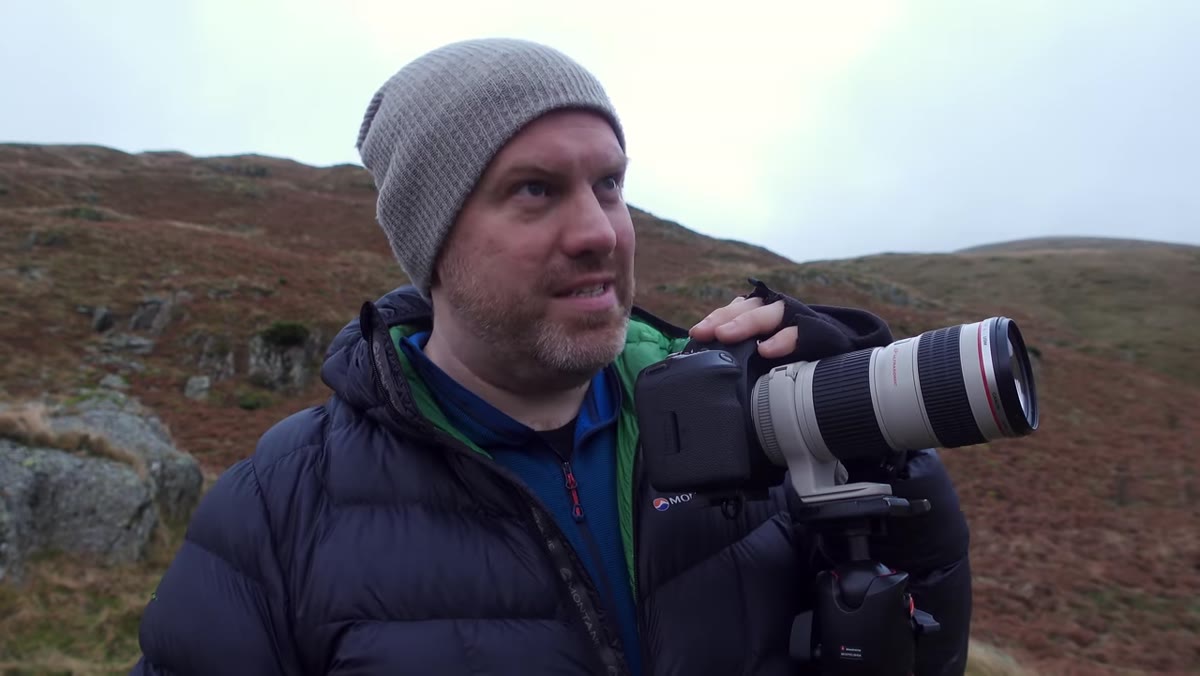
 Adam explaining his view on shooting well-known or honeypot locations
Adam pushes back firmly against the advice that photographers should avoid well-known or heavily photographed locations. His reasoning is grounded and practical, particularly if you are making work to sell or gift. Recognisable places carry emotional resonance for viewers. People put familiar scenes on their walls because they have a personal connection to that place. The famous view exists for a reason.
Adam explaining his view on shooting well-known or honeypot locations
Adam pushes back firmly against the advice that photographers should avoid well-known or heavily photographed locations. His reasoning is grounded and practical, particularly if you are making work to sell or gift. Recognisable places carry emotional resonance for viewers. People put familiar scenes on their walls because they have a personal connection to that place. The famous view exists for a reason.
The more nuanced point is that a great view is not automatically a great photograph, but it gives you a strong foundation to work from. What elevates a popular location from snapshot to print-worthy image is almost always the conditions layered on top of it. Extraordinary weather at an ordinary place is interesting. Extraordinary weather at an already-compelling location is something else entirely.
Step 5: Switch Between Focal Lengths to Find the Real Photograph
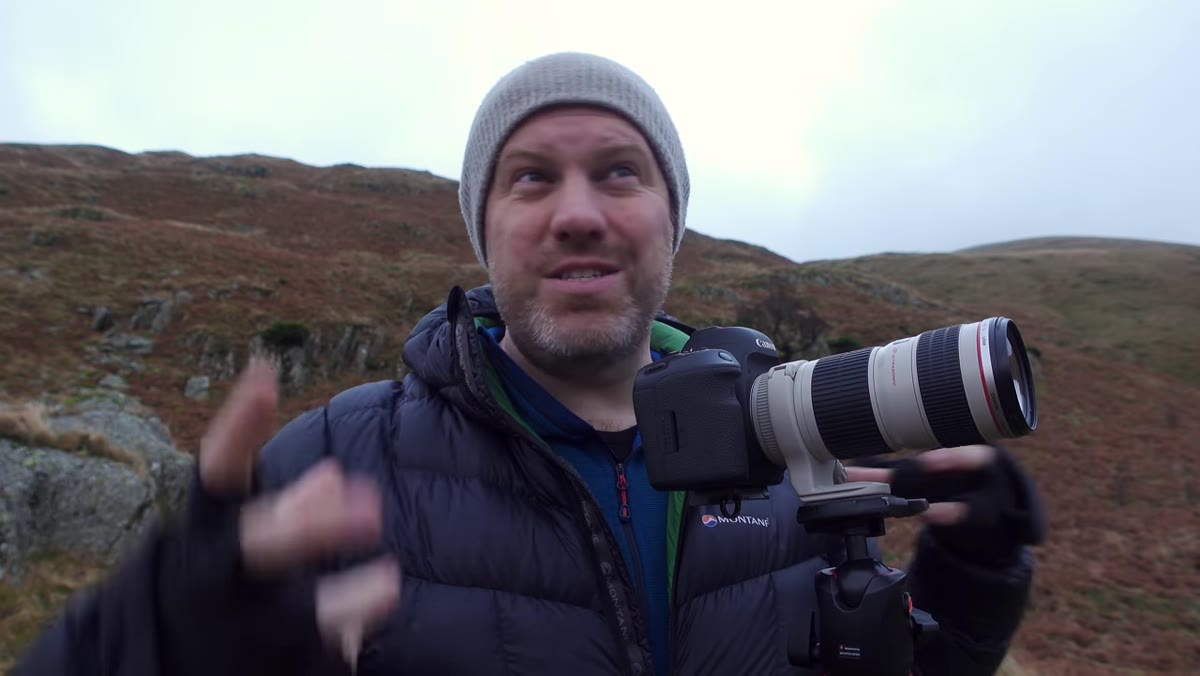
 Adam switching to a longer lens and zooming in on cloud formations over ridges
Adam’s most directly actionable move in the tutorial is putting a long lens on once the mist starts doing interesting things. He stops thinking about the wide establishing shot and starts zooming into the relationship between cloud form and mountain form - the way fog drapes over a ridge, the negative space between peaks, the texture of low cloud in changing light.
Adam switching to a longer lens and zooming in on cloud formations over ridges
Adam’s most directly actionable move in the tutorial is putting a long lens on once the mist starts doing interesting things. He stops thinking about the wide establishing shot and starts zooming into the relationship between cloud form and mountain form - the way fog drapes over a ridge, the negative space between peaks, the texture of low cloud in changing light.
This is a habit I try to build into every shoot. I arrive with a composition in mind - usually a wider scene - and I spend the first thirty minutes on that. Then I deliberately spend time with a longer focal length searching for the detail photographs hidden inside the bigger view. More often than I expect, those compressed, intimate frames are the ones that sell, because they show a viewer something they could not have seen standing in the same spot.
Step 6: Look for the Interaction, Not Just the Subject
 Close telephoto view of cloud shapes against dark mountain silhouettes
Adam describes his process with the long lens as looking for the conversation between elements - specifically between the mountain’s shape and the cloud’s shape. He is not just photographing a mountain with weather above it. He is looking for moments when those two forms relate to each other in a way that creates tension, balance, or something unexpected.
Close telephoto view of cloud shapes against dark mountain silhouettes
Adam describes his process with the long lens as looking for the conversation between elements - specifically between the mountain’s shape and the cloud’s shape. He is not just photographing a mountain with weather above it. He is looking for moments when those two forms relate to each other in a way that creates tension, balance, or something unexpected.
This is compositional thinking that applies at every focal length, but the long lens makes it easier to isolate. By removing the foreground clutter and compressing the scene, you are forced to think in two dimensions - shape against shape, tone against tone. Practice identifying those relationships before you press the shutter and your keeper rate improves significantly.
What I Would Add From Twenty Years in the Field
There is one element Adam’s situation touches on that I think deserves its own emphasis: the value of the one-of-one print as a gift philosophy. Making a photograph specifically for one person, with no intention of selling or reproducing it, changes how you see when you are shooting. You start making creative decisions based on what that specific person would feel rather than what a broad audience might like. That is a narrower brief, and narrower briefs produce more focused, more personal work.
I still occasionally load a roll of film for shoots like this. The finite number of frames forces exactly the kind of deliberate, person-specific thinking Adam is describing. You cannot hedge. You cannot spray and hope. You commit to the moment that matters.
The single most important thing Adam demonstrates here is that a photograph made under pressure, for a real person, in imperfect conditions, is not a compromise. It is an opportunity to make something that no amount of planning in ideal light would have produced. Conditions that force you to adapt produce images that carry the evidence of that adaptation, and viewers feel it even when they cannot name it.
Watch the full tutorial on YouTube to follow Adam’s complete shoot from the misty hillside through to the final image selection.
Comments
Leave a Comment