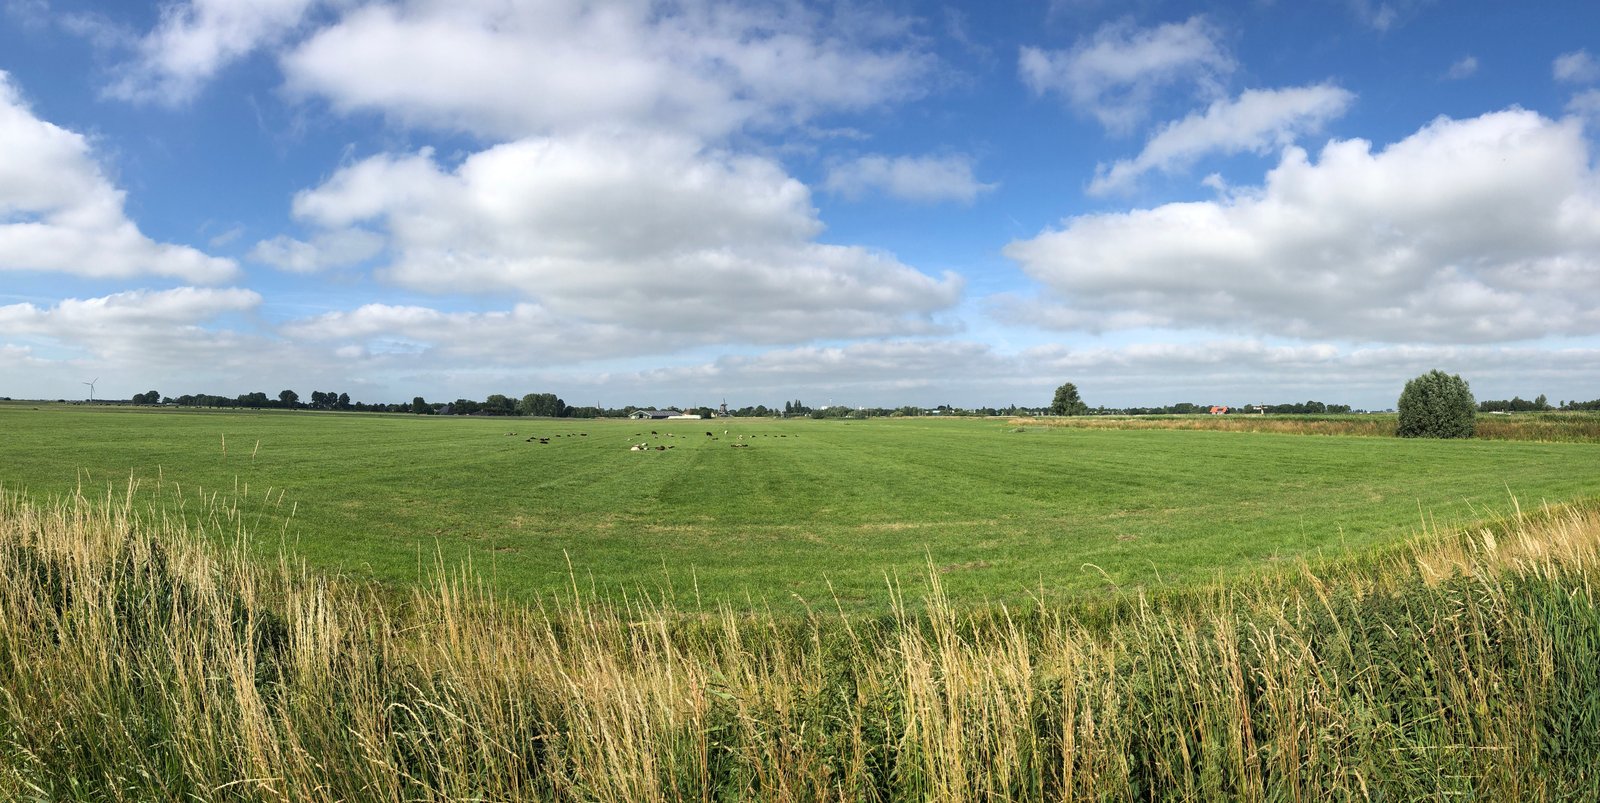
There’s a ridge above Steens Mountain in southeastern Oregon where the scene simply will not fit in a frame. I’ve stood there with a 14mm lens pointed at a sky that feels three times wider than the horizon deserves, and I’ve watched photographers next to me throw up their hands and shoot anyway, knowing they’re settling. The image they’ll take home is a cropped apology for what they actually saw.
A panorama done right isn’t a compromise. It’s a deliberate construction, assembled with the same care you’d bring to any other exposure decision. But it requires understanding a few things that most tutorials skip past.
The Real Reason Panoramas Fall Apart
The problem isn’t the stitching software. Lightroom, PTGui, and Autopano are all capable enough. The problem is almost always parallax error, and it starts the moment you put your camera on a tripod and rotate it around the wrong axis.
When you rotate your camera around the tripod head’s center, you’re pivoting around a point somewhere in the middle of your lens barrel. But what you actually need to pivot around is the entrance pupil, sometimes called the nodal point, which sits at a different location inside the lens depending on its design. The result of rotating around the wrong point is that near and far elements in the scene shift relative to each other between frames. The software tries to reconcile those mismatched overlaps and either warps the image or leaves seams you can’t remove.
On a 24mm prime, the entrance pupil might sit 60 to 80mm back from the front element. On a zoom at wide end, it moves. This is why handheld panoramas occasionally stitch fine at true infinity distances but fall apart the moment there’s a foreground element within fifty feet. The stitching software can hide parallax error when everything is effectively at the same depth. It cannot hide it when you’ve got a rock at ten feet and a ridgeline at ten miles.
The Gear Setup That Actually Works
Fix this with a panning clamp designed for nodal point adjustment. I’ve used the Really Right Stuff MPR-CL II for years. It runs around $275 and mounts between your ball head and your L-bracket, letting you slide the camera forward or backward until the lens’s entrance pupil sits directly over the tripod’s axis of rotation.
Finding the entrance pupil for any given lens is a one-time calibration. Set up two vertical reference points at different distances, maybe a doorframe in the foreground and a corner of a building fifty feet away. Rotate the camera while watching through the viewfinder. When the near and far objects stop shifting relative to each other, you’re pivoting around the entrance pupil. Mark the position on your rail. I put a small piece of gaffer tape and write the focal length directly on it.
For overlap, I shoot at 30 to 40 percent frame overlap in moderate conditions. In scenes with lots of sky, I push to 50 percent because the software needs recognizable texture to find match points, and clear blue sky gives it almost nothing to work with. Shoot in portrait orientation, always. You lose the horizontal field of view but you gain vertical depth that makes the final stitch feel like a real scene rather than a letterbox.
Exposure and the One Setting Most People Get Wrong
Lock everything manually before you start. Shutter speed, aperture, ISO, and most importantly, white balance. Auto white balance will drift slightly from frame to frame as the color temperature shifts across a wide sky. In post, those seams become color banding that no amount of patching will fully hide.
I shoot panoramas with the camera set to manual exposure, manual focus, and a fixed Kelvin white balance, typically 5500K for golden hour, 7000K for open shade. Focus is set by hyperfocal distance using the depth of field scale on the lens, or if I’m shooting at f/11 on a 24mm, I’ll focus roughly a third of the way into the scene and leave it. Never use autofocus between frames. The camera will hunt, and your focus plane will drift.
One more thing: shoot RAW. Always RAW. I have never understood shooting a panorama in JPEG. You’re about to ask software to blend, warp, and correct a sequence of files. Give it the maximum latitude you can.
When I Drove Six Hours for One Shot
The image that still sells more than anything else I’ve ever made came from a trip to the Oregon coast where I spent two full days sitting in fog so thick I couldn’t see the sea stacks I’d come for. On the third morning, thirty minutes before I was going to pack up and drive home, the fog lifted just enough to reveal the scene in layers: a foreground of wet basalt, a middle distance of white water, the stacks emerging from mist behind them. I shot a seven-frame panorama in portrait orientation, 40 percent overlap, f/10, ISO 64, 1/15th at 24mm. Stitched in PTGui with a cylindrical projection. The final file came out at just over 180 megapixels.
That print now hangs in homes across the country at sizes I never could have achieved with a single frame. The fog, the two lost days, the early morning departure, none of that is visible in the image. What’s visible is the patience required to wait for it.
Stitching Order and Final Output
In PTGui, import your frames, let the software find control points automatically, then switch the projection to cylindrical for wide, flat horizons or equirectangular for anything approaching 180 degrees. Check your control point distribution before rendering. You want points spread across the full image, not clustered in one corner.
Output at 16-bit TIFF before you do any toning. Flatten only after you’ve confirmed the stitch is clean. For prints larger than 24 inches on the long edge, I never downsample below 300 PPI at final output size. At 180 megapixels, you have room.
The single most important thing I can tell you is this: solve the parallax problem at the tripod, not in the software. Everything downstream gets easier when the frames actually match.
Comments
Leave a Comment