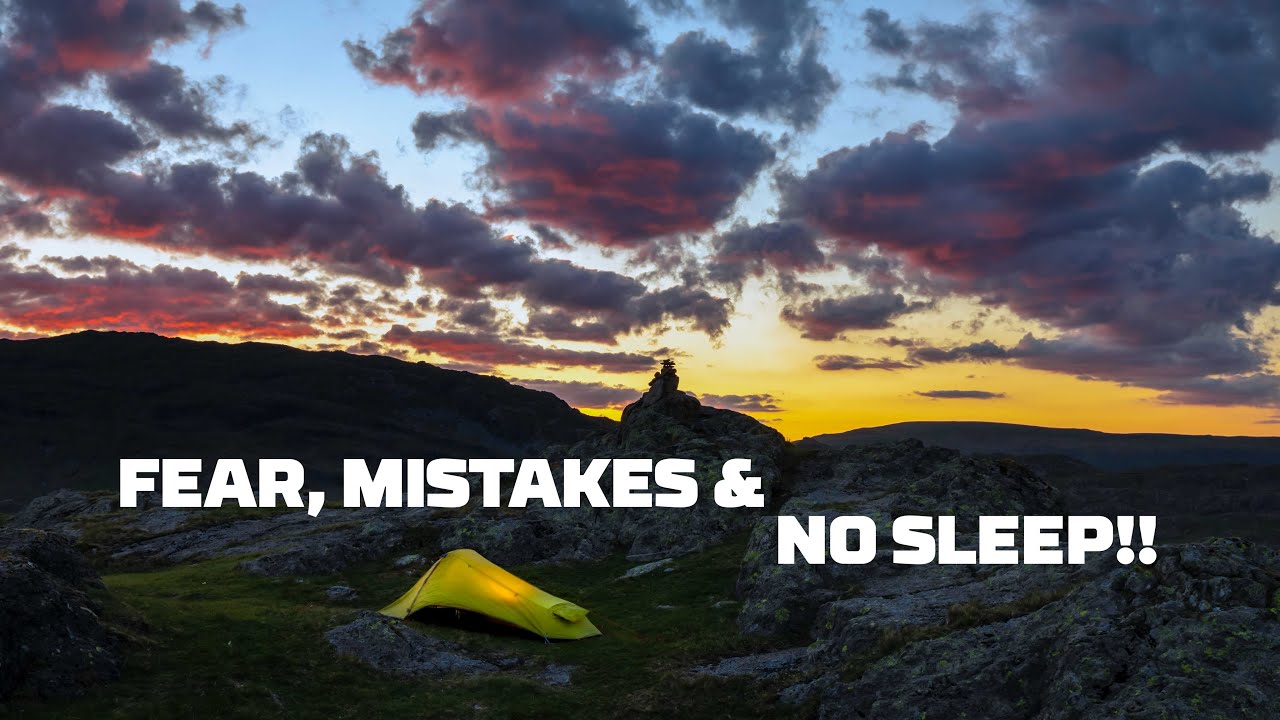
There’s a particular kind of pressure that comes with solo landscape photography. No one to problem-solve with, no one to share the misery when the light goes flat, and no one to talk you off the ledge when the weather turns. I’ve done hundreds of solo shoots over the years, and I still feel that low hum of anxiety before a big one. So when I came across this First Man Photography tutorial, I stayed with it. Adam isn’t presenting a polished masterclass from the comfort of a studio. He’s hauling gear up a mountain alone, second-guessing himself, and figuring it out in real time. That honesty is worth something.
Watch the full tutorial on YouTube
What this video does well is treat the mental and logistical sides of landscape photography as inseparable from the technical side. Because they are. Composition decisions made on four hours of sleep feel different than decisions made well-rested. Knowing your camp is solid frees your mind to actually see. Adam works through all of it on camera, and there’s real instruction buried in the chaos if you know where to look.
Step 1: Confront the Anxiety Before You Even Pack
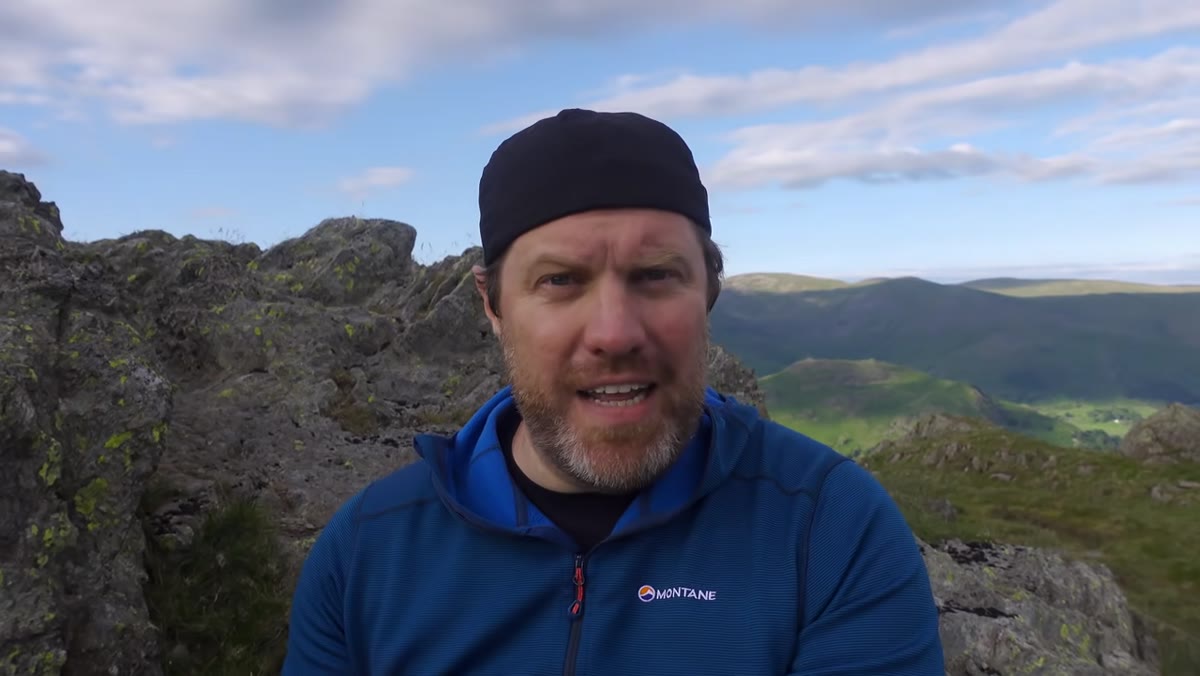 Adam on mountaintop describing confidence returning after the climb
Adam opens by acknowledging something most photographers won’t say out loud: he almost didn’t come. He’d chickened out of a wild camp the week before, and this trip was a deliberate act of pushing back against that hesitation. This matters practically because anxiety about solo remote shooting tends to compound over time if you don’t address it directly. The longer you wait, the heavier the imagined risks feel.
Adam on mountaintop describing confidence returning after the climb
Adam opens by acknowledging something most photographers won’t say out loud: he almost didn’t come. He’d chickened out of a wild camp the week before, and this trip was a deliberate act of pushing back against that hesitation. This matters practically because anxiety about solo remote shooting tends to compound over time if you don’t address it directly. The longer you wait, the heavier the imagined risks feel.
The fix isn’t motivational. It’s logistical. Choose a location you can research thoroughly. Check forecasts obsessively the day before. Tell someone where you’re going. Adam knew thunderstorms were active across the region but had checked that his specific pocket of the Lake District was in the clear. That kind of targeted preparation replaces vague dread with something actionable.
Step 2: Scout Your Camp Spot with Shelter in Mind, Not Just Scenery
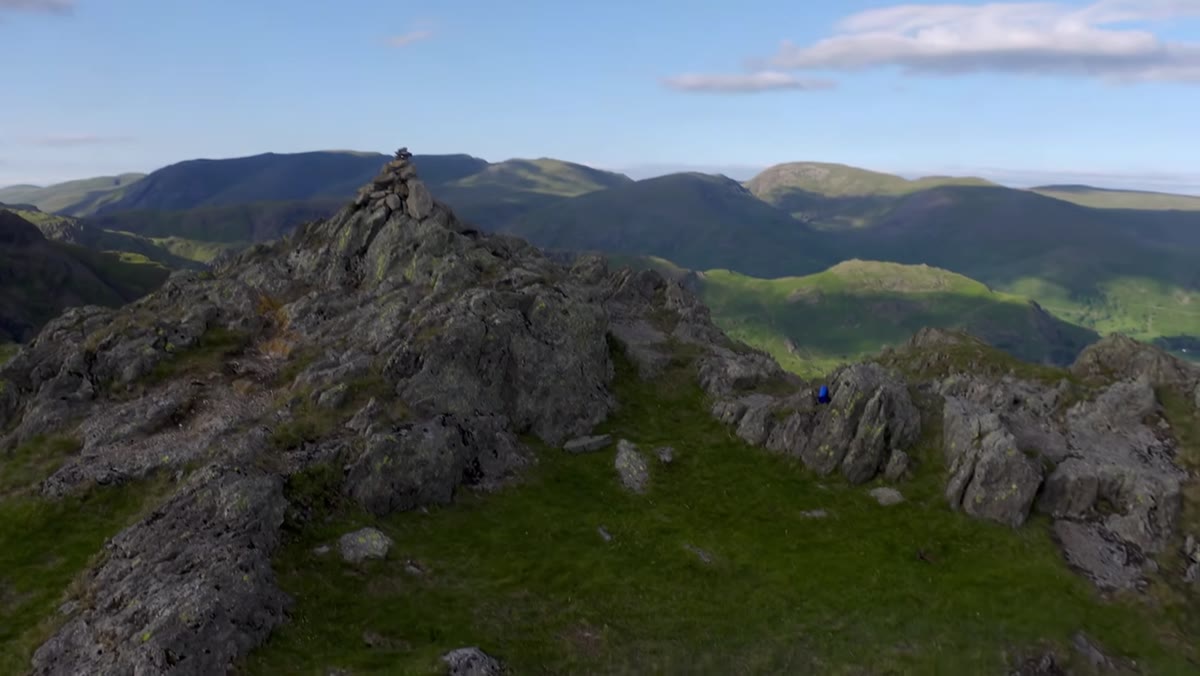 Adam crouching behind low rock wall describing wind protection
Before any photography thinking happens, camp has to be sorted. Adam finds a spot that looks exposed from standing height but, once he crouches behind a low rock wall, turns out to be well-sheltered from the wind. That small observation is a genuine field craft lesson. Wind at altitude reads completely differently at ground level than it does at eye level. What feels brutal standing up can be perfectly calm once you’re low and behind natural terrain features.
Adam crouching behind low rock wall describing wind protection
Before any photography thinking happens, camp has to be sorted. Adam finds a spot that looks exposed from standing height but, once he crouches behind a low rock wall, turns out to be well-sheltered from the wind. That small observation is a genuine field craft lesson. Wind at altitude reads completely differently at ground level than it does at eye level. What feels brutal standing up can be perfectly calm once you’re low and behind natural terrain features.
When you’re scouting for a wild camp, don’t just look for flat ground. Look for natural windbreaks. Rock walls, boulders, slight depressions, the lee side of a ridgeline. Your comfort overnight directly affects how present you are when the light actually arrives. If you’re shivering and miserable at 2am, your sunset shots from the evening before suddenly feel like they cost more than they were worth.
Step 3: Time Your Meal Around the Light, Not Around Habit
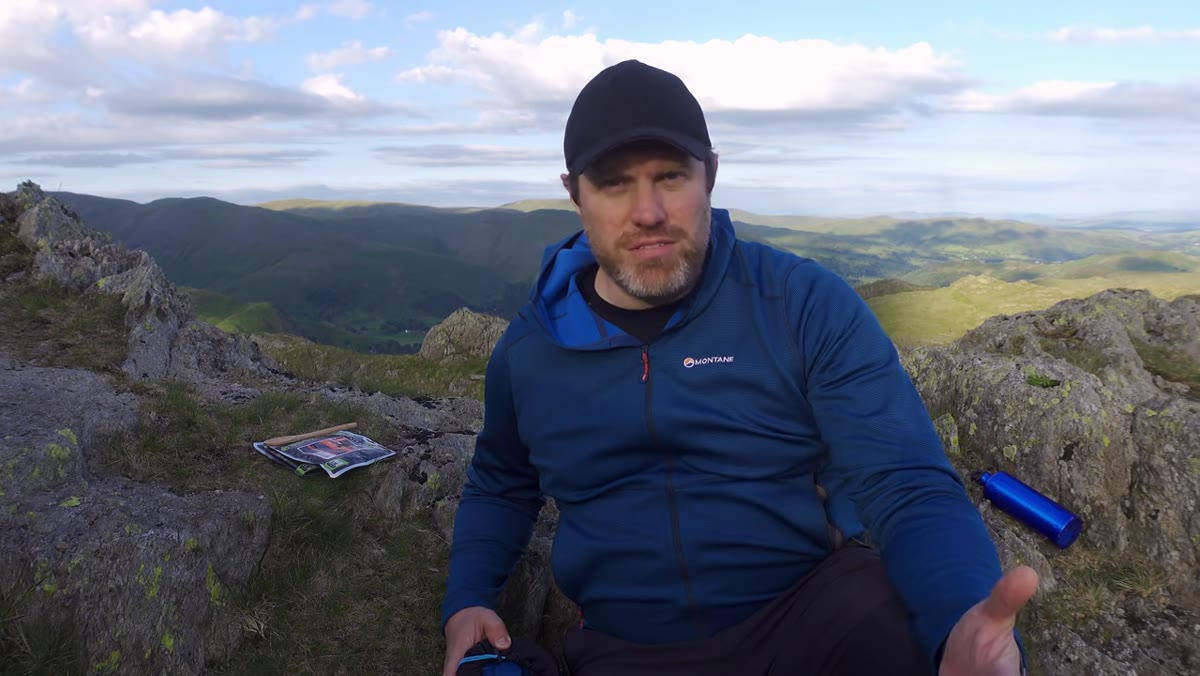 Adam cooking with portable stove, alpkit brew kit visible
Adam cooks before sunset, not after, and this is a small decision that pays real dividends. He’s got roughly half an hour before golden hour begins and he uses it to heat two dehydrated meal pouches on an Alpkit brew kit, a compact stove system similar to a Jetboil. The reasoning is straightforward: sunset in late spring is late, the climb was physical, and trying to shoot on an empty stomach with shaky hands is a losing proposition.
Adam cooking with portable stove, alpkit brew kit visible
Adam cooks before sunset, not after, and this is a small decision that pays real dividends. He’s got roughly half an hour before golden hour begins and he uses it to heat two dehydrated meal pouches on an Alpkit brew kit, a compact stove system similar to a Jetboil. The reasoning is straightforward: sunset in late spring is late, the climb was physical, and trying to shoot on an empty stomach with shaky hands is a losing proposition.
The kit choice is worth noting too. Adam specifically mentions preferring meal pouches that can be eaten cold if water becomes scarce. On a remote overnight, emergency flexibility in your food supply isn’t overcautious. It’s basic planning. Keep your cooking kit simple, fast, and light. You are not out there to eat well. You are out there to be ready when the sky does something extraordinary.
Step 4: Commit to One Lens and Limit Your Own Options
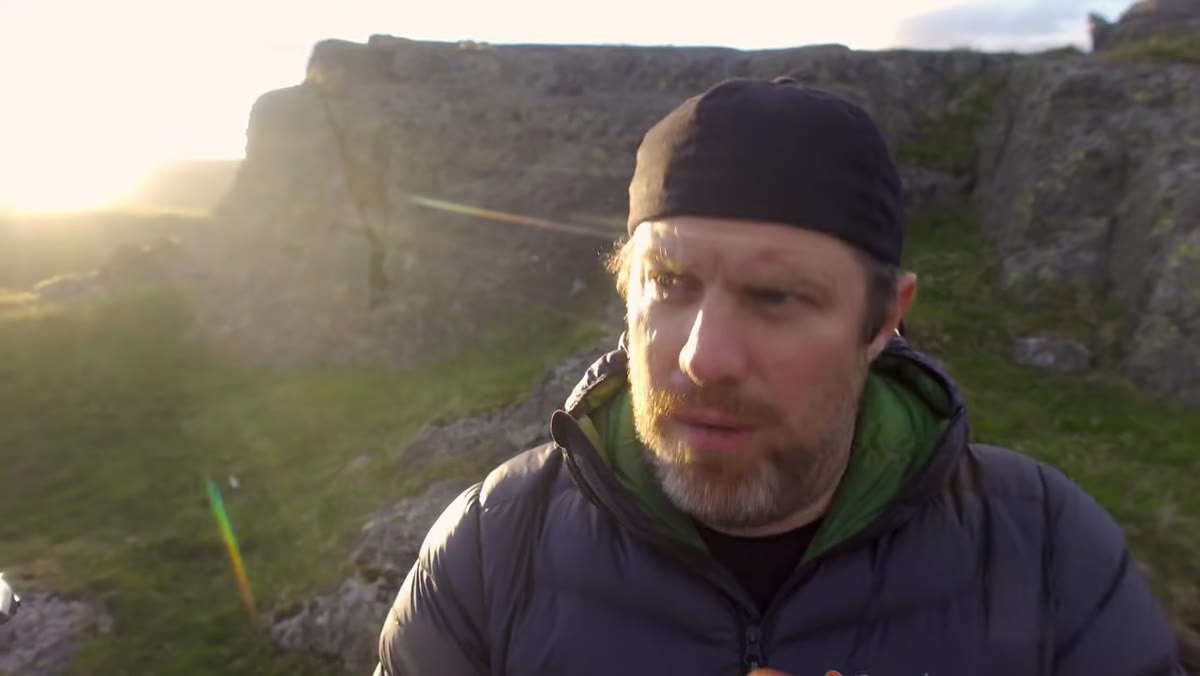
 Adam stating his intention to use one lens for the evening
Early in the video, Adam makes a deliberate call: one lens for the entire evening. This is a constraint with real creative value. When you carry three lenses, your brain is constantly negotiating between focal lengths instead of learning to see through one. Limiting yourself forces commitment. You stop wondering whether the wide angle would be better and start asking how to make the focal length in your hand work.
Adam stating his intention to use one lens for the evening
Early in the video, Adam makes a deliberate call: one lens for the entire evening. This is a constraint with real creative value. When you carry three lenses, your brain is constantly negotiating between focal lengths instead of learning to see through one. Limiting yourself forces commitment. You stop wondering whether the wide angle would be better and start asking how to make the focal length in your hand work.
For a location with this much visual possibility, where Adam can already see compositions everywhere, the single-lens discipline is actually protective. Too many options in a rich scene creates paralysis. Pick a focal length that suits the terrain before you leave the car, mount it, and leave the bag alone.
Step 5: Read Light to Understand Form, Not Just Color
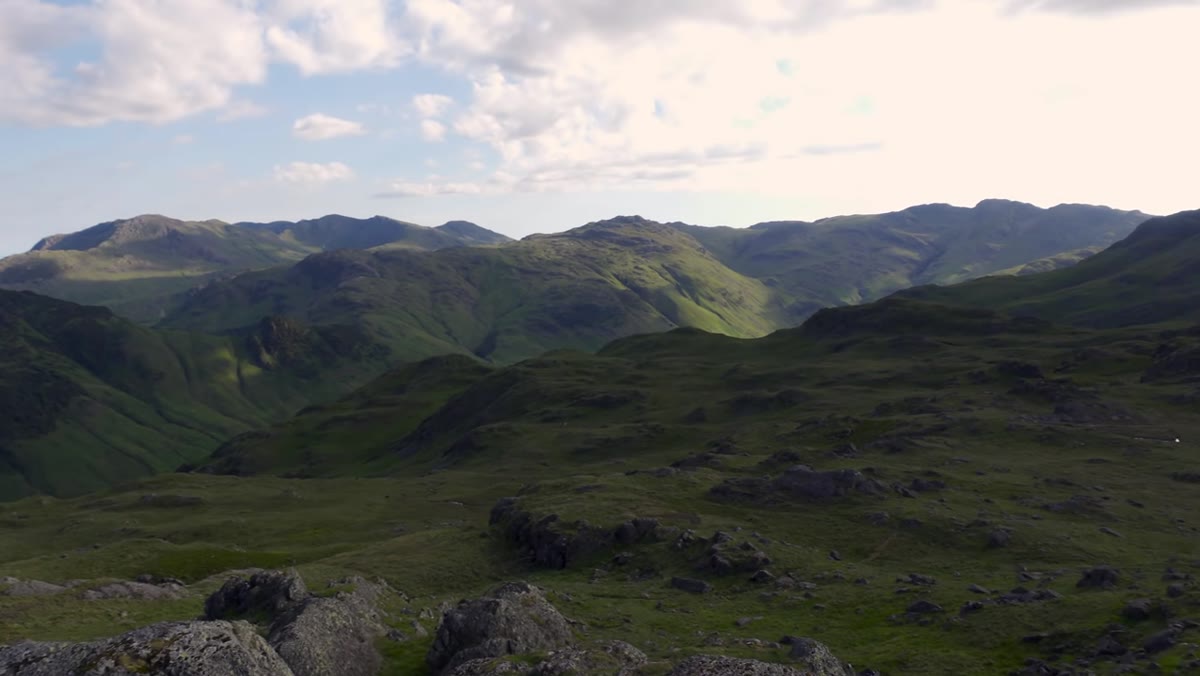
 Adam explaining layered mountain composition and how light reveals form
This is where the tutorial becomes genuinely instructive. Adam is drawn initially to the view of Scafell Pike and the surrounding peaks, not because of color but because the mountains are arranged in distinct layers. Near, mid, far. That layering creates depth in a way flat light completely destroys. He notes that just minutes earlier, without direct light hitting the slopes, the mountains blended together and the composition failed. The golden hour light arriving at a low angle suddenly separated each ridge, gave the peaks their triangular form, and made the whole frame read.
Adam explaining layered mountain composition and how light reveals form
This is where the tutorial becomes genuinely instructive. Adam is drawn initially to the view of Scafell Pike and the surrounding peaks, not because of color but because the mountains are arranged in distinct layers. Near, mid, far. That layering creates depth in a way flat light completely destroys. He notes that just minutes earlier, without direct light hitting the slopes, the mountains blended together and the composition failed. The golden hour light arriving at a low angle suddenly separated each ridge, gave the peaks their triangular form, and made the whole frame read.
The lesson here is about learning to anticipate how light reveals structure rather than just chasing warm tones. Ask yourself, before you set up the tripod, whether the light is currently working for or against the landforms in your frame. Flat overcast light can work beautifully on water and foreground texture. It often murders mountains.
What I’d Add from Twenty Years of Doing This Wrong First
Adam’s approach to composition in a target-rich environment resonates with something a mentor told me early on: the hardest skill in landscape photography isn’t finding the shot, it’s choosing which shot to ignore. When the light is good and you can see possibilities in every direction, the instinct is to run at all of them. You end up with twenty mediocre frames instead of three strong ones.
My own rule on a solo overnight is to pick two anchor compositions during setup, before the light gets interesting. One wide, one tighter. I know I’m going back to those two no matter what happens. If something spectacular presents itself in between, I’ll chase it. But those anchors keep me from spending the best fifteen minutes of the evening just wandering with my mouth open.
The single most important thing Adam demonstrates here isn’t a camera setting or a compositional rule. It’s that showing up despite the anxiety, doing the climb, setting the camp, cooking the meal, and giving yourself a real chance at the light is the whole job. The photography only happens if you actually get there.
Watch the full tutorial on YouTube and pay attention to how Adam talks himself through the uncertainty. That part is as useful as anything he does with the camera.
Comments
Leave a Comment